CapCut is a popular video editing application developed by ByteDance, the same company that created TikTok. Originally known as Viamaker, CapCut offers a range of features and tools for editing videos on mobile devices. The app allows users to trim and merge video clips, add music, apply filters and effects, adjust video speed, and more. CapCut has gained popularity for its user-friendly interface and the ability to create professional-looking videos with ease. It is available for both iOS and Android devices and has a large user base, particularly among content creators and social media enthusiasts.
What Is CapCut?

What Is CapCut
Easy Methods to Remove Watermark in CapCut
Although the free version of CapCut often adds a watermark to the exported videos, which can be a hindrance for those looking to share their creations without any branding or distractions, there are several easy methods available to remove the watermark in CapCut and enjoy watermark-free videos.
In this section, we will explore some effective techniques and video watermark removal tools that can help you remove the watermark and enhance the visual appeal of your videos. Whether you’re a social media influencer, a YouTuber, or simply a passionate video editor, these methods will empower you to produce clean, professional-looking videos that truly showcase your creativity. So let’s dive in and discover how to remove watermarks from your CapCut videos effortlessly.
Remove Watermark in CapCut with AI
The most straightforward way to remove watermark in CapCut is by using an AI Watermark Removal Tool . With its powerful capabilities, you can effortlessly eliminate watermarks from your CapCut videos, allowing you to enhance the quality and professionalism of your content.
Using Wipit is a breeze. Simply upload your CapCut video to our platform, select the watermark area you want to remove, and let the AI algorithms work their magic. Freely try Wipit now and enjoy its watermark removal features.
Wipit Key Features
- Support various video formats such as MOV and MP4.
- Choose to remove the watermark in CpuCut with AI or Smooth Filling model.
- Preview the watermark removal effect in a slide view.
- Ensure that the video’s overall quality is maintained after removing the watermark.
Step to Remove Watermark in CapCut with AI
Step 1. Free install Wipit and open it on your computer. Upload the video with CapCut watermarks.
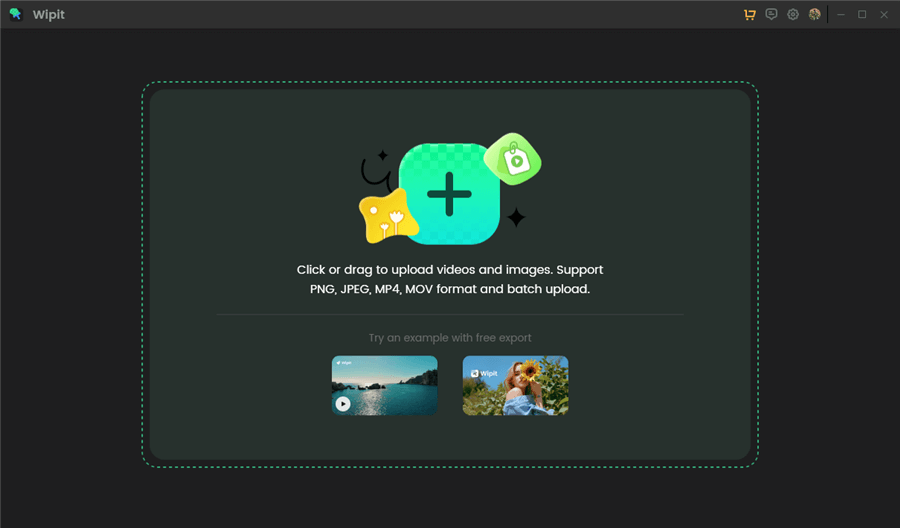
Upload CapCut Videos from Your Computer
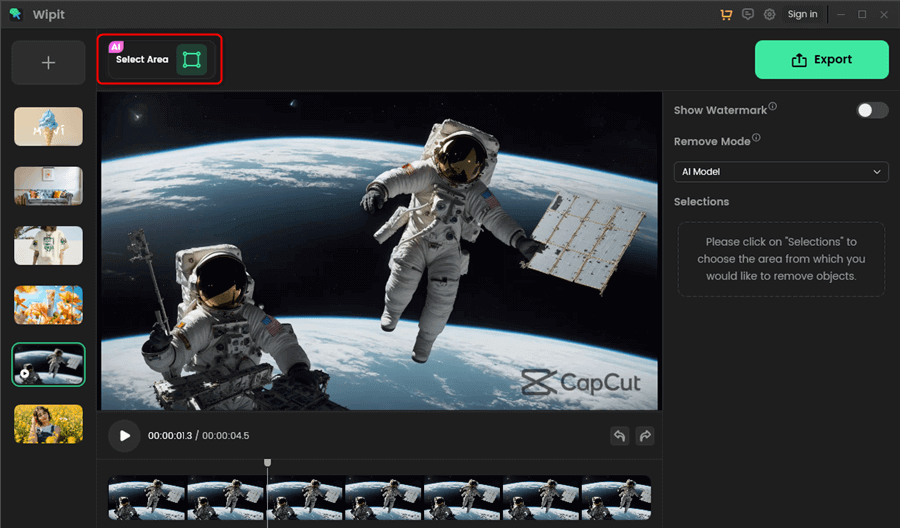
Step 2. Click the AI Select Area option and frame the CapCut logo on the video.
Frame the Area You Want to Remove
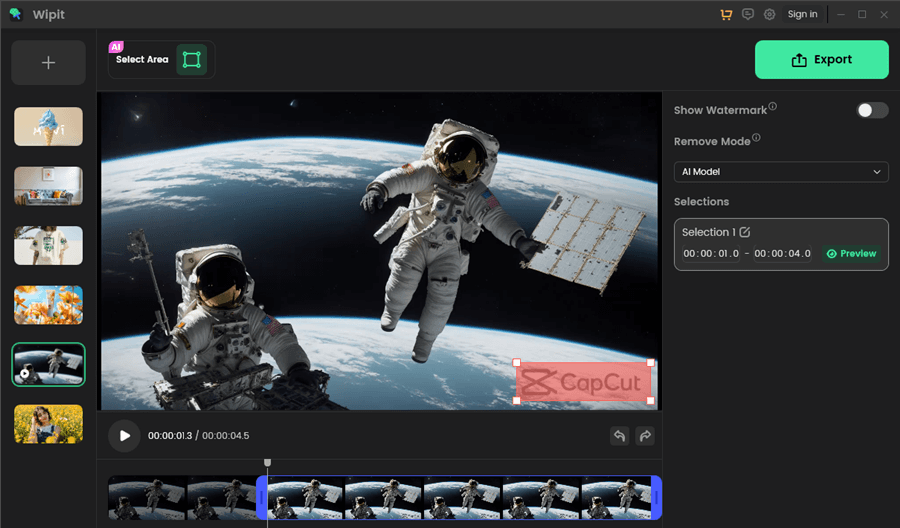
Step 3. Choose the AI Model option on the right panel and select the time duration you want to remove the watermark.
Select the AI Mode
Step 4. Click on the Preview button to check the CapCut watermark removal effect.
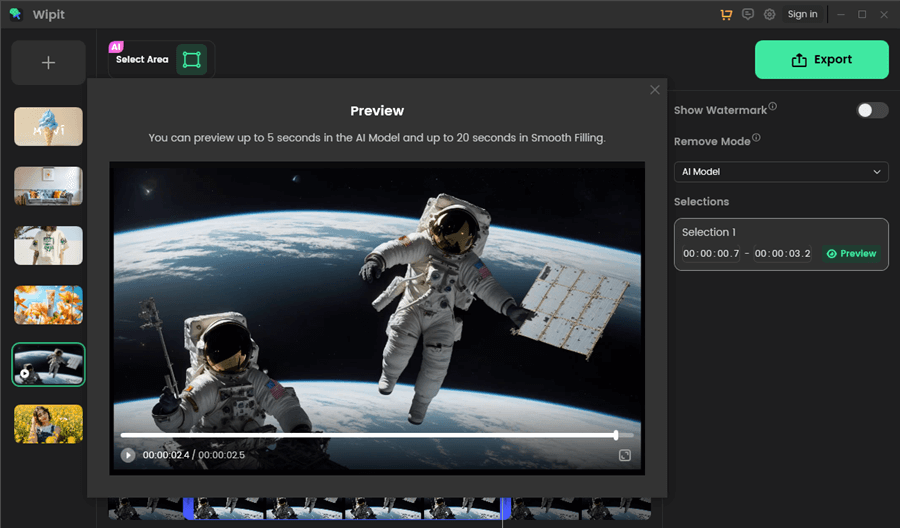
Remove Watermark from Videos and Preview the Effect
Upgrade to the Pro Version
Another straightforward way to remove the watermark in CapCut is by upgrading to the Pro version of the app. The Pro version provides access to additional features, including the ability to export videos without any watermarks. By subscribing to the Pro version, you can enjoy watermark-free videos and unlock other advanced editing options.
To upgrade to the Pro version of CapCut and unlock the ability to export videos without watermarks, you can follow these steps:
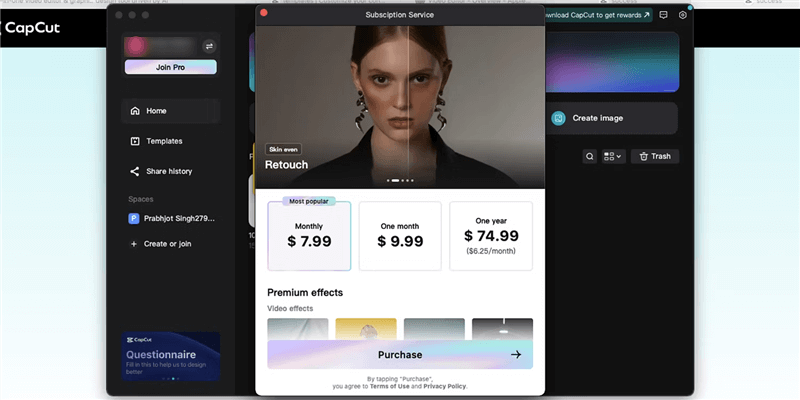
Upgrade to the Pro Version
Step 1. Free download and open the CapCut app on your device. Look for the “Upgrade to Pro” or “Go Pro” option in your profile section.
Step 2. Tap on the “Upgrade to Pro” or similar option to proceed with the upgrade.
Step 3. You will be presented with different subscription options. Select the subscription plan that suits your preferences and budget.
Step 4. Follow the on-screen instructions to complete the payment process. CapCut usually offers various payment methods, including credit/debit cards or app store payments.
Once the payment is successful, your CapCut app will be upgraded to the Pro version, and you will gain access to all the premium features, including the ability to export videos without watermarks.
Crop or Resize the Video
If you prefer not to upgrade to the Pro version or want to remove the watermark without any additional cost, you can consider cropping or resizing the video. By adjusting the dimensions of the video, you can potentially remove or obscure the watermark. However, keep in mind that this method may result in a loss of some content or quality, so it’s essential to preview the video after cropping or resizing to ensure it meets your expectations.
To crop or resize a video in CapCut and potentially remove the watermark, you can follow these steps:
Step 1. Open the CapCut app on your device and log in to your account. Tap on the “Create Project” button to start a new project and import the video with the watermark.
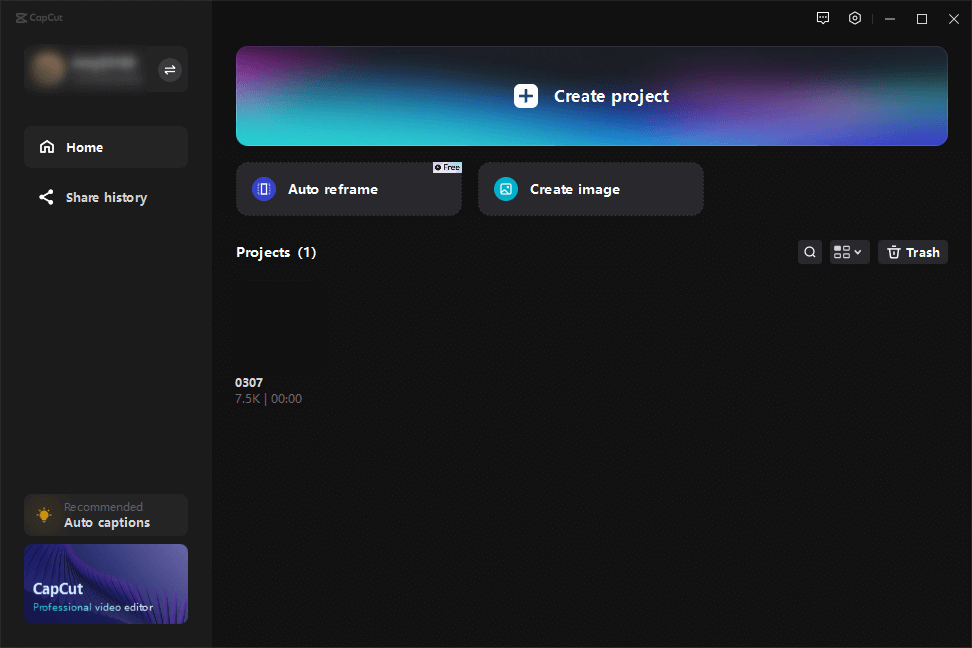
Open CapCut and Sign in to Your Account
Step 2. Once the video is imported, tap on it to select it to put it on the video track.
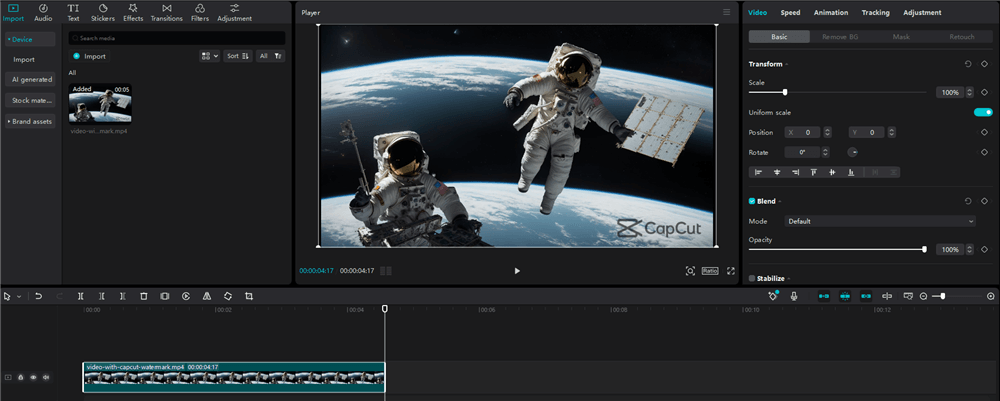
Upload a Video and Put it on the Video Track
Step 3. At the bottom of the screen, you’ll find various editing options. Tap on the “Crop” or “Resize” option.
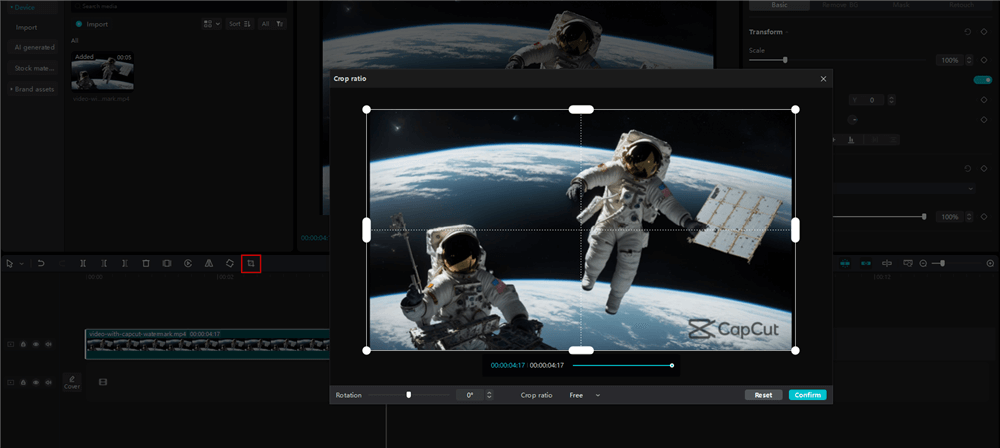
Tap on the Crop Icon
Step 4. While adjusting the frame, try to cover or exclude the area where the watermark is located. Ensure that the resulting video still maintains a desirable aspect ratio and doesn’t lose essential content.
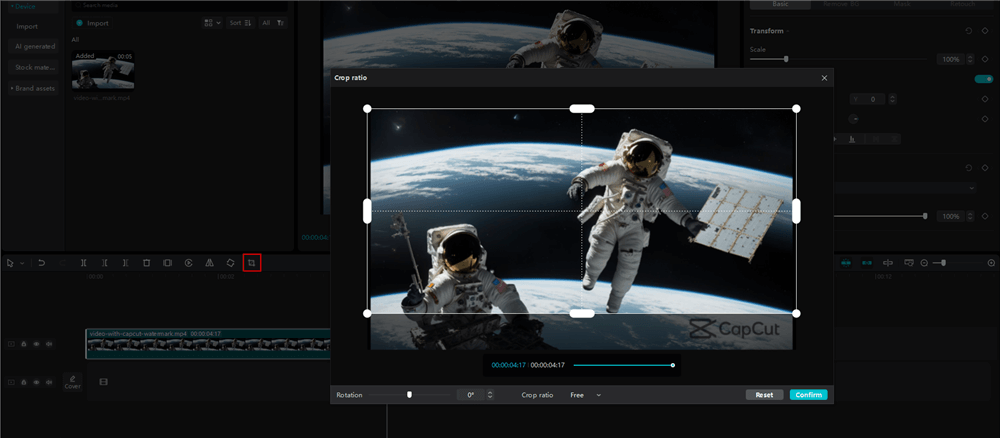
Crop the Video to Remove the Watermark
Step 5. Preview the video by tapping the play button to see how it looks after cropping or resizing. If you’re satisfied with the result, tap on the checkmark or the “Confirm” button to save the changes.
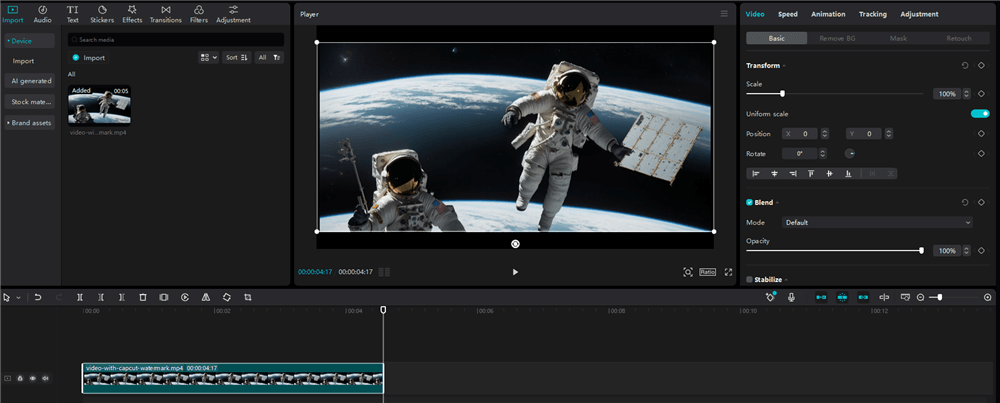
Click on the Confirm Button to Save the Changes
Use Online Video Watermark Remover
Alternatively, you can use third-party video editing software or apps to remove the watermark from your CapCut videos. These online tools or software solutions often apply advanced AI technology to remove moving watermark in video with ease. Except for CapCut watermark, you can also use them to remove TikTok, Movavi, Instagram, and many other watermarks from videos. Among these options, you can choose Online Video Cutter to take a free try.
Step 1. Navigate to the landing page and open a video with CapCut watermark.

Go to the Online Video Cutter
Step 2. Once your video is placed on the video track, select the watermark you want to remove from the video.

Upload the Video to Remove the Watermark
Step 3. Preview the watermark removal effect and rap on the Save button to download the video to your computer.
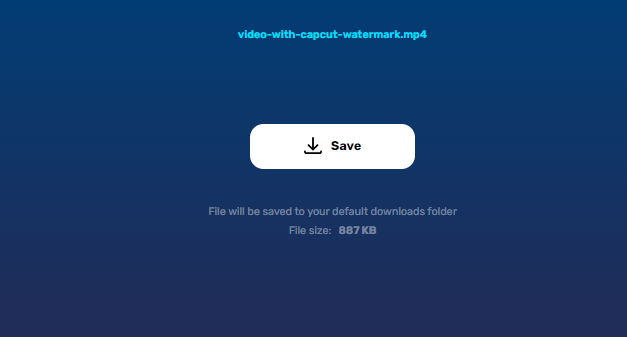
Save the Video without Capcut Watermark
Final Thought
Removing watermarks from CapCut videos can be achieved through various methods. Upgrading to the Pro version is the simplest and most convenient option, but if you prefer to explore alternatives, you can crop or resize the video, use third-party video editing software, or seek online watermark removal tools. Remember to select the method that best suits your needs while considering the trade-offs and potential impact on video quality. With these methods, you can enjoy watermark-free videos and showcase your creativity to the fullest.