How to Stop Sharing Location iPhone: A Tested Privacy Guide
Taking a break from location sharing is reasonable, but users fear triggering notifications or breaking apps, making it frustrating to find a private, temporary solution without affecting device functionality.
Needing a quick break from digital visibility is a completely reasonable boundary. Often, you simply want to temporarily stop sharing your location with friends and family without causing alarm or affecting other features. However, dealing with a rigid operating system when you just want a moment of privacy can be incredibly frustrating.
You might be unsure which settings to change to stop sharing selectively, worried about whether a temporary pause looks different from a permanent disconnect. The biggest hurdle for most users is the persistent fear of triggering automated family notifications when toggling off location features, coupled with the anxiety of accidentally breaking local weather or navigation apps. If you have spent time digging through menus trying to gain control over your device without alerting everyone in your contacts list, you are not alone.
This guide provides tested, real-world solutions. We will explore native system settings, secondary device methods, and how to manage app permissions selectively to give you total control over your digital footprint.
The Silent Solution: Use a Secondary Apple Device
If your primary objective is to stop sharing your location from your iPhone without sending a “Stopped Sharing Location” alert to your family, the most effective native technique is shifting your location anchor to a secondary Apple device.
Stopping location sharing improves personal privacy but may trigger notifications to family members if done through the main shutoff switch. To avoid this, you can leave an iPad or a secondary iPhone at home (or at the office) and designate it as your primary location device. Your family will see the location of the stationary device, allowing you to take your primary iPhone with you silently.
How to Shift Your Location to an iPad
For this method to work, the secondary device must be logged into the exact same Apple ID as your primary iPhone.
- Leave your iPhone and pick up your secondary device (e.g., your iPad).
- Open the Settings app on the iPad.
- Tap your name at the top to open your Apple ID settings.
- Select Find My.
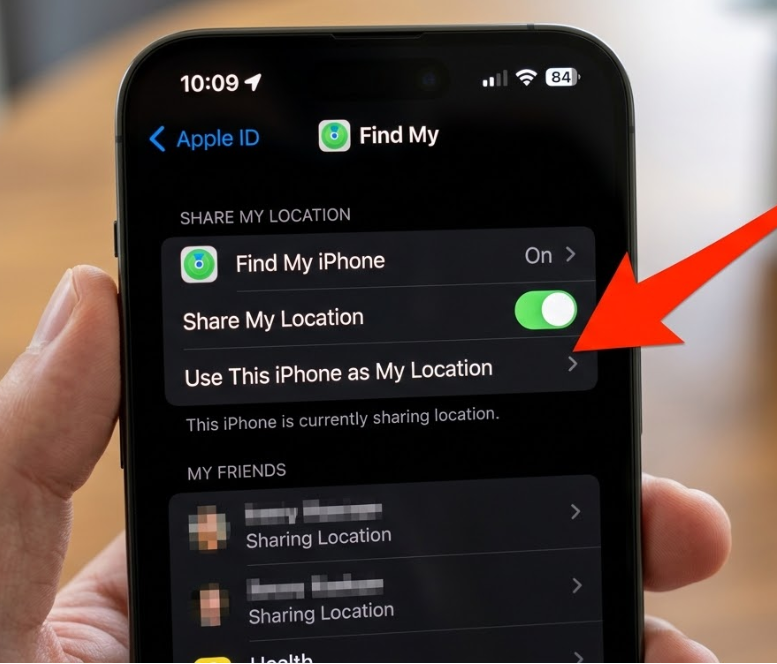
5. Tap the option that says Use This iPad as My Location.
Instantly, your location in the Find My network updates to reflect the iPad’s coordinates. You can now take your iPhone anywhere. Your GPS navigation and weather apps will still work perfectly on your iPhone, but your shared contacts will only see the stationary iPad. When you return, simply repeat the process on your iPhone, selecting “Use This iPhone as My Location.”
How to Stop Sharing Location Using the Find My App
If you do not have a secondary device and simply want to stop sharing your location with specific individuals, the best native method is using the Find My app directly. This provides far more granular control than a global shutoff.
Step-by-Step Procedure
- Open the Find My app on your iPhone.
- Tap the People tab at the bottom of the screen.
- Tap on the specific contact you want to stop sharing with.
- Scroll to the bottom of their contact card.
- Tap Stop Sharing My Location.
- Confirm your choice when the prompt appears.
This selectively severs the location data stream for that specific person while allowing other family members or friends to continue seeing your status.
How to Disable Global Location Sharing (Apple ID Settings)
For users who want to sever all location sharing across their entire Apple account simultaneously, you can use the global shutoff switch in your main settings.
Toggling this global switch will immediately halt location sharing for every person you are connected with. Anyone actively monitoring your location will see a status update in their Messages app or Find My app indicating that sharing has been turned off. Do not use this method if maintaining silent privacy is your primary goal.
- Open the Settings app on your iPhone.
- Tap on your name at the top of the screen.
- Select Find My from the list of iCloud options.
- Locate the toggle labeled Share My Location.
- Tap the toggle to turn it off. The switch will change from green to gray, confirming the action.
Troubleshooting: Why is “Share My Location” Greyed Out?
A very common issue users face when attempting to adjust their privacy settings is finding the “Share My Location” toggle completely greyed out and unclickable.
In almost all cases, this is caused by Screen Time restrictions. Whether you are a parent managing a child’s device, or you previously set up restrictions and forgot about them, iOS locks the location settings to prevent unauthorized changes.
How to Unlock the Location Toggle
- Go to Settings > Screen Time.
- Scroll down and tap on Content & Privacy Restrictions. (If prompted, enter your Screen Time passcode).
- Scroll down to the Privacy section and tap on Location Services.
- Ensure the top setting is switched to Allow Changes.
- Scroll down further within this same menu and tap on Share My Location. Ensure this is also set to Allow.

Once these restrictions are lifted, you can return to the Find My app or your Apple ID settings, and the toggle will be active again.
App-Specific Location Permissions vs. The Find My Network
When exploring system settings to regain privacy, it is crucial to understand the difference between app-specific permissions and the global Find My network. Many users attempt to secure their privacy by turning off location access for communication apps, but this method is often misunderstood.
Adjusting your device location permissions to “Never” for apps like WhatsApp, Facebook Messenger, or iMessage only stops those specific apps from attaching your location to a text message or dropping a live pin in a chat.
It does not hide you from family members tracking you through Apple’s native Find My network. If you only restrict WhatsApp, your family can still open the Find My app and see your exact coordinates.
To turn off your global GPS receiver entirely (which disables weather, navigation, and ride-sharing apps), you would navigate to Settings > Privacy & Security > Location Services and toggle the main switch off. However, to stop family tracking while keeping maps functional, you must use the Find My app methods or the secondary device technique outlined earlier.
The Desktop Alternative: Location Simulation Tools
If you do not own a secondary Apple device (like an iPad or Mac) to use as a stationary location anchor, and you absolutely must prevent your family from seeing a “Stopped Sharing” status, a third-party location simulation tool is your remaining option.
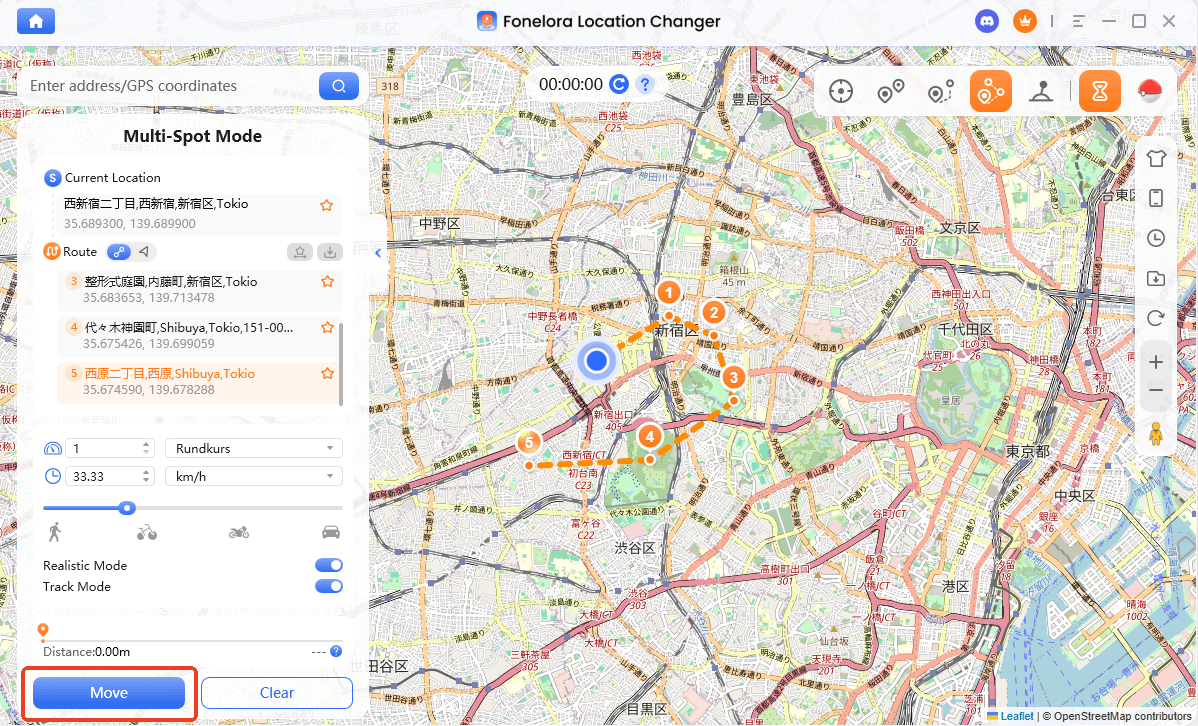
Software like Fonelora Location Changer operates from a Mac or Windows PC. It requires you to connect your iPhone to a computer and physically alter the coordinates your phone reports to Apple’s servers.
While this bypasses the notification system entirely—because your phone continues to broadcast a location, just a fake one—it is significantly less convenient than native iOS methods. It requires a premium software purchase, access to a computer, and a few minutes of setup before you leave your house.
How Simulation Tools Operate
Step 1: Download and Install
Download Fonelora Location Changer from the official website and install it on your computer.

Step 2: Connect Your Device
Connect your iPhone or Android device using a USB cable.
- On iOS: Tap “Trust This Computer” when prompted
- On Android: Enable USB Debugging

Step 3: Choose a Location
Open the map interface in the software:
- Enter a specific location (such as an airport or busy area)
- Or select a point directly on the map
While effective for specific, highly restricted scenarios, managing your native iOS settings and utilizing secondary devices remains the most practical day-to-day approach for iPhone users.
Frequently Asked Questions About iPhone Location Privacy
To resolve any lingering uncertainties about managing your location data, here are factual answers to the most common inquiries.
Will my family get a text message if I stop sharing my location?
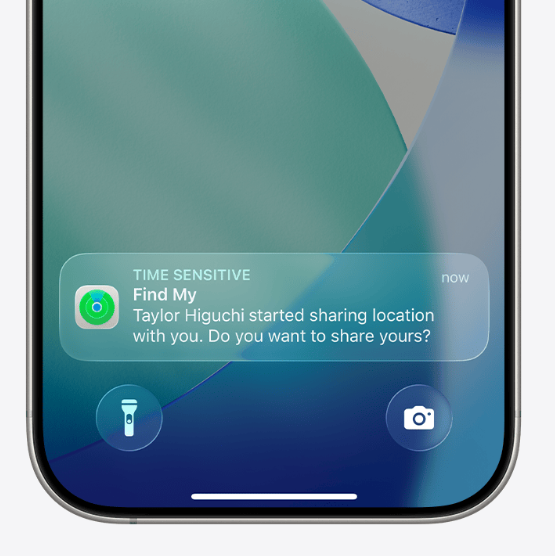
No, Apple does not send push notifications, pop-up alerts, or SMS text messages when you stop sharing your location. However, a silent status note saying “[Your Name] stopped sharing location” will appear inside your iMessage thread with that person and inside their Find My app.
Can I pause my location without anyone knowing?
The only native way to pause your location without updating your status to “Stopped Sharing” is to use the secondary device method (leaving an iPad at home as your location anchor) or to leave the iPhone itself at home. Alternatively, you must use third-party desktop simulation software.
Final Thoughts and Next Steps
Regaining your digital privacy should not require a constant struggle against your own device. By understanding the distinction between global Apple ID settings, app-specific permissions, and the Find My app, you can easily manage your visibility.
If you are looking for absolute discretion, remember that the secondary iPad method is an incredibly reliable way to pause your location without triggering status updates. If you do not mind your contacts seeing a status change, simply opening the Find My app and removing specific individuals is the fastest approach.
Ultimately, combining native system settings and selective app permissions provides complete control over your location visibility. Reviewing your family sharing settings regularly ensures only desired contacts can see your location long-term, keeping your digital boundaries secure and fully under your command.

Joy Taylor is a seasoned technical writer with over a decade of experience in mobile technology. At iMobie, she specializes in producing in-depth content on iOS data recovery, iPhone unlocking solutions, and iOS troubleshooting.
Product-related questions? Contact Our Support Team to Get Quick Solution >
