How to Record Streaming Video on PC
Streaming videos have become an integral part of our digital lives. Catch up on the latest shows to watch live sports events. We want to save these streaming videos for offline viewing, sharing, or archiving. In this guide, we will explore various methods and tools to help you record streaming video on your PC.
You’re watching a live concert or your favorite movie on a streaming platform. Suddenly, your internet connection falters, or the content becomes unavailable. Frustrating, right? That’s where the ability to record streaming video on your PC comes in handy. Whether you want to capture memorable moments, save educational content, or keep a library of your favorite shows, recording streaming video gives you the freedom to watch offline, share with friends, or revisit whenever you like.
First, let’s see the possibility of recording streaming on PC.
Is It Possible to Record Streaming Video on PC?
You might wonder if it’s even possible to record streaming video from various websites and platforms. The answer is a resounding yes! With the right tools and methods, you can easily capture streaming video content, and in the sections that follow, we’ll show you how.
Now, let’s dive into the specifics of how to record streaming video on your PC using various software and techniques.
How to Record Streaming Video with Screenify?
Screenify is a versatile and user-friendly software that empowers you to capture streaming video with ease. This tool proposes a range of features designed for seamless recording. Screenify is also the best streaming audio recorder 2026.
Features:
- Record Unlimited Videos in HD: Screenify lets you record as many streaming videos as you want in high-definition quality.
- No Watermark, No Time Limit: Say goodbye to annoying watermarks and recording time limits. Screenify gives you the freedom to record without any restrictions.
- Customize With Filters & Virtual Background: Add your personal touch to recordings by applying filters and virtual backgrounds to make them more engaging.
- Free: Screenify is totally free for you to use.
- 1-Click Save Recordings Locally: Saving your recordings is a breeze with Screenify’s one-click save feature, ensuring easy access to your captured videos.
Step-by-step guide
Step 1. Download, install, and launch Screenify on your computer.
Free Download * 100% Clean & Safe
Step 2. Now choose the mode you want to use in your recording.
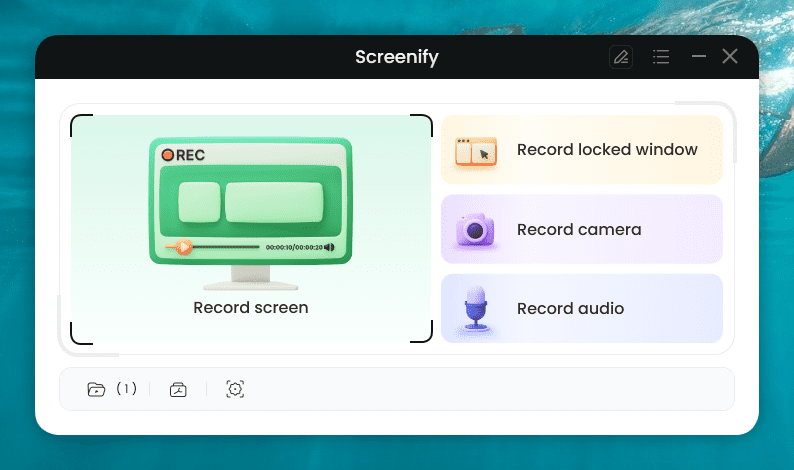
Choose the Mode You want to use
Step 3. Configure the settings before recording. Then, choose the recording screen. It has two options: either record full screen or a specific region. Select your preferred mode and hit “Record.” Then, there will be a three-second timer. After this countdown, the recording will start.
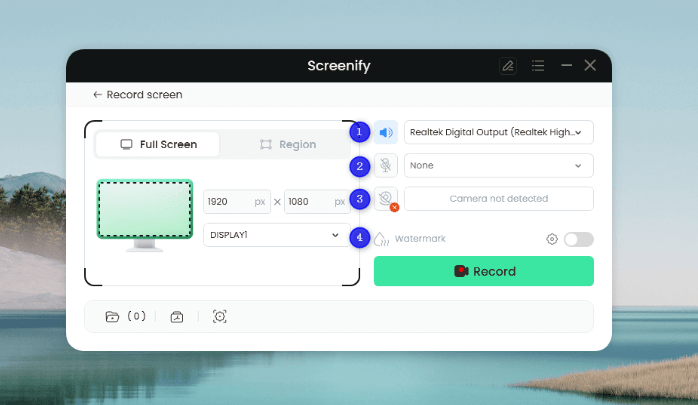
Configure the Settings and Hit the Record Button
Step 4. You can add annotations while recording the screen. You have brush, shape, text, arrow, and line options here.
Step 5. After you have finished recording, click on the Red “Stop” button. Your video will be displayed, and now you can preview and edit it.
With Screenify, you can effortlessly record streaming videos on your PC, giving you the flexibility to save and share your favorite content without limitations. Enjoy capturing videos in HD quality with ease.
Stay tuned for more wisdom and practical tips on recording streaming video!
How to Record Streaming Video with ShareX?
ShareX is another powerful tool that offers advanced features for recording streaming video on your PC. This versatile software comes with an array of options for customization and editing. Here’s how you can use ShareX to record streaming video:
Step-by-step guide
Step 1. First things first, head over to ShareX’s official website and download this nifty tool to your PC. Install it with the ease of a couple of clicks.
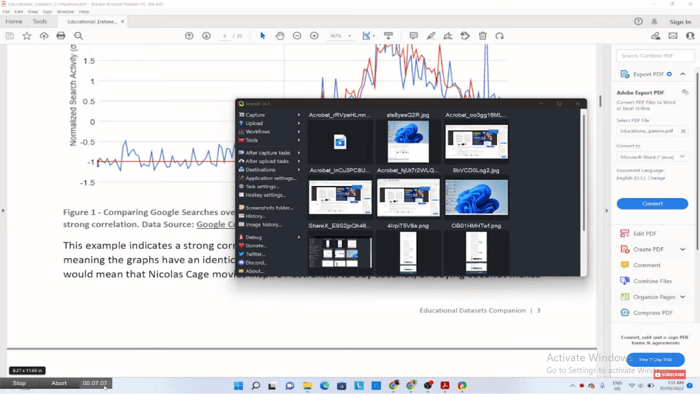
Step 2. To kick off the magic, navigate to the ‘Capture’ section within ShareX. There, you’ll find the ‘Screen Recording’ option.
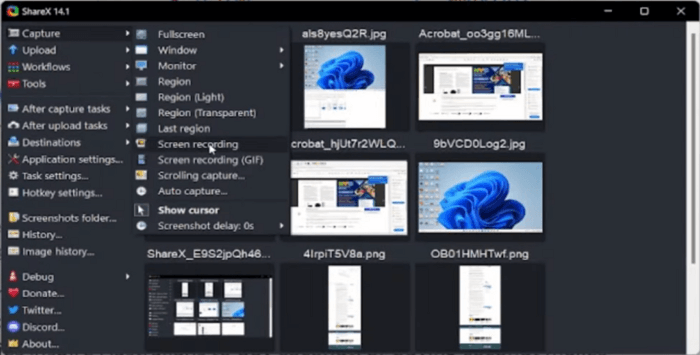
Choose Screen Recording in ShareX
Step 3. It will now allow you to cherry-pick or crop the exact part of your screen that deserves the spotlight. Select the area you want to record.
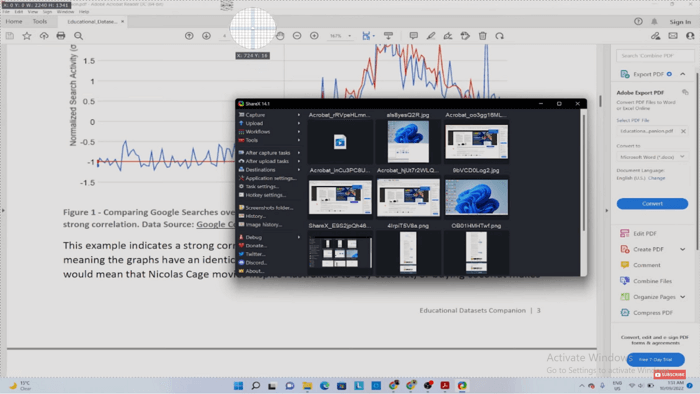
Select the Recording Area with ShareX
Step 4. Once you’ve made your screen selection, a simple left click confirms your choice and the recording begins. It’s as easy as that!
Recording Start in ShareX
Step 5. When your streaming video masterpiece is complete, glance at the bottom right corner of your screen. You’ll spot a red button. Hover over it, give it a gentle click, and voilà! Your recording session concludes.
ShareX’s flexibility and customization options make it a valuable tool for recording streaming video. Whether you need to record an entire screen or a specific region, ShareX has you covered.
Record Streaming Video Using Screencapture
Screencapture is a user-friendly online tool for capturing streaming video directly from your web browser. It offers a hassle-free way to record streaming content. Here’s how to use Screencapture.com:
Step-by-step guide
Step 1. Start by firing up your trusty web browser and heading over to Screencapture.com. It’s your virtual recording studio.
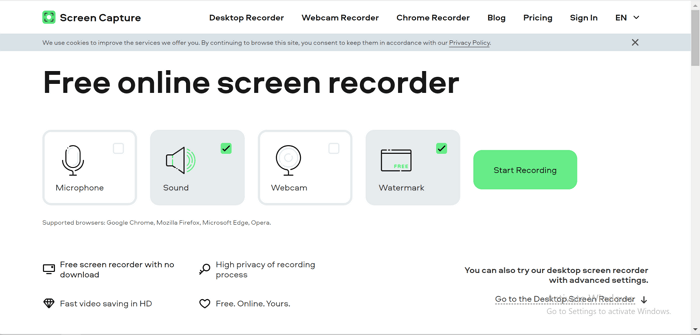
Go to Screencapture.com Webpage
Step 2. On the website’s interface, spot the inviting “Start Recording” button and give it a friendly click.
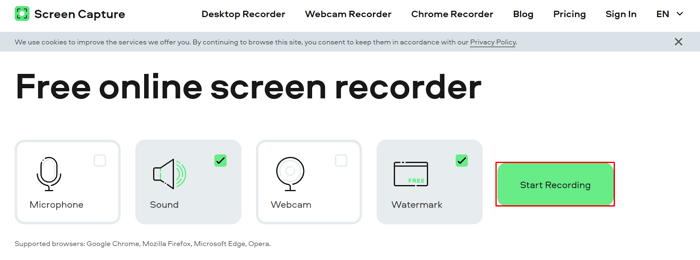
Click Start Recording on Screencapture.com
Step 3. Here’s where you get to choose the stage. Decide if you want to capture specific tabs, the entire window, or go big with the whole screen.
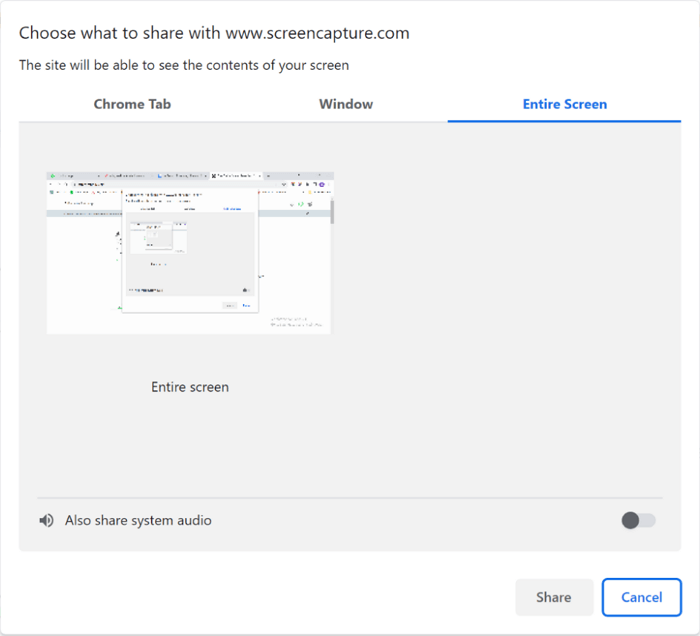
Select the Recording Area
Step 4. Once your recording area is set, click on the ‘Share’ button, and Screencapture.com will begin capturing everything within your chosen realm.
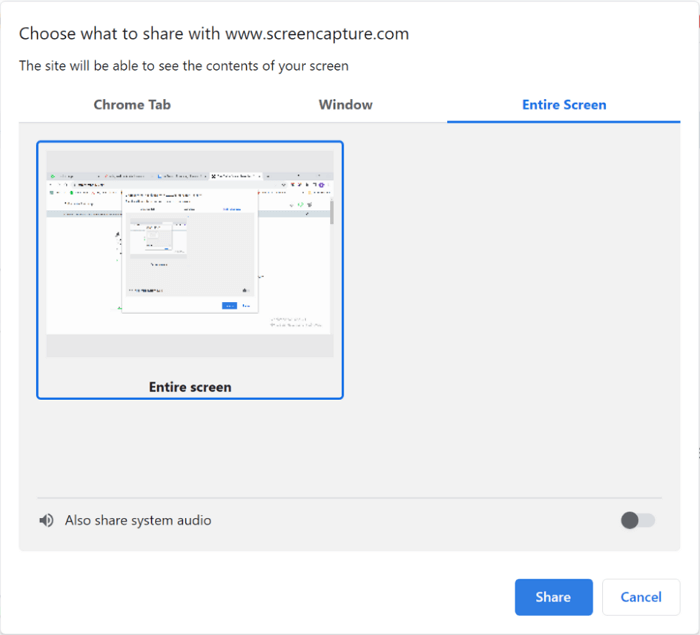
Click Share Button to Start Recording
Step 5. After you’ve recorded the streaming video magic you desired, head back to the Screencapture.com tab. Look for the ‘Stop Recording’ button on the website’s interface and give it a gentle click. You’ll be presented with the option to save your masterpiece right to your PC.
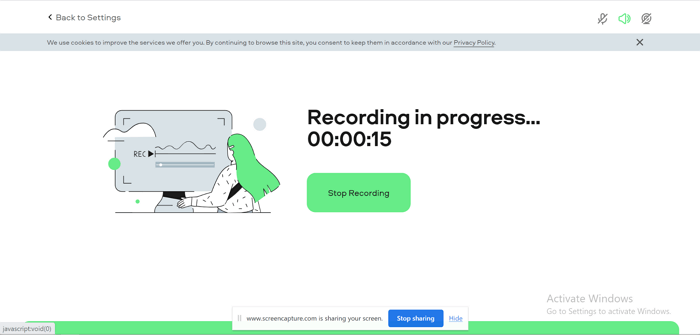
Stop Recording When Finished on Screencapture.com
Screencapture.com offers a convenient and browser-based solution for recording streaming video without the need to install additional software. So, dive in, hit that record button, and let your creativity shine!
Record Streaming Video on PC Using Xbox Game Bar
Lastly, the Xbox Game Bar! A nifty application that comes bundled with Windows 10. While it’s primarily known for enhancing your gaming experience, it also doubles as a powerful screen recording tool. With Xbox Game Bar, you can capture and save those streaming videos you love.
Step-by-step guide
Step 1. Summon the Xbox Game Bar: To start your recording journey, press Windows + G on your keyboard.
Step 2. Once the Xbox Game Bar overlay appears on your screen, click the “Capture” button. It looks like a classic movie camera.
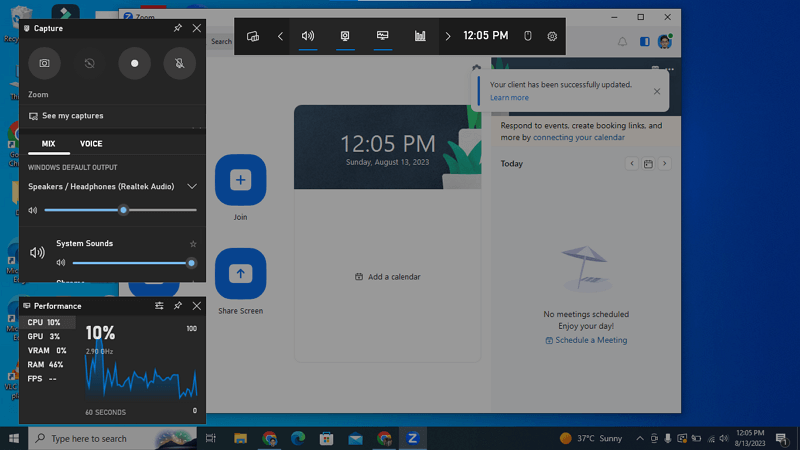
Xbox Game Bar operating interface
Step 3. A small settings panel will pop up. Here, you can choose your capture area. Pick between recording your entire screen or a specific window.
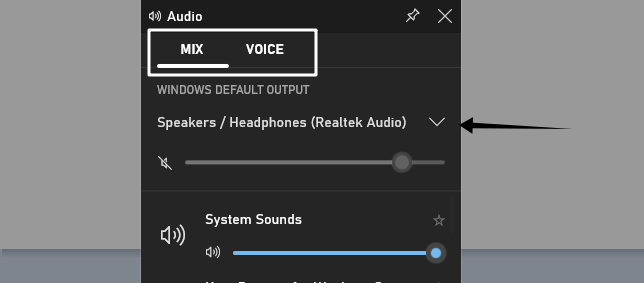
Set your microphone and system audio settings
Step 4. When you’re all set and ready to capture that streaming goodness, click the “Start Recording” button in the settings panel. You’ll also notice that the Xbox Game Bar interface vanishes, leaving you with an unobstructed view.
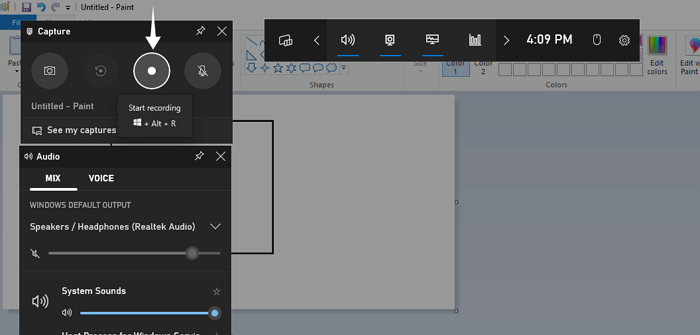
Start recording with Xbox Game Bar
Step 5. To wrap things up, press Windows + G again to bring back the Xbox Game Bar overlay. You’ll see a “Stop Recording” button; give it a tap to conclude your recording.
The Xbox Game Bar isn’t just for gaming highlights. It’s your trusty sidekick for recording streaming videos on your PC. Enjoy capturing and revisiting your favorite content hassle-free!
FAQs
1. How do I record the last 30 seconds of streaming video on my PC?
Recording the last 30 seconds of streaming video depends on the software you’re using. Some screen recording software, like ShareX, allows you to set up hotkeys to start and stop recordings. By pressing the designated hotkey, you can capture the last 30 seconds of your screen.
2. How do I upload a recorded video to Steam?
To upload a recorded video to Steam, follow these steps:
- Open Steam and go to your profile.
- Click on the “Videos” tab.
- Choose “Upload a Video” and select the video you want to upload.
- Fill in the required information and click “Upload.”
Conclusion
In this ultimate guide, we’ve explored various methods and tools to help you record streaming video on your PC. From user-friendly software like Screenify to versatile options like ShareX and online tools like Screencapture.com, you have a range of choices to suit your recording needs. Whether you’re capturing educational content, saving memorable moments, or creating tutorials, recording streaming video has never been easier. So, go ahead and start capturing your favorite streaming content effortlessly and enjoy the freedom of offline viewing and sharing!
If you have any more questions or need further assistance, feel free to explore the options presented here and embark on your streaming video recording journey. Happy recording!
Free Download * 100% Clean & Safe

Senior writer of the iMobie team as well as an Apple fan, love to help more users solve various types of iOS & Android-related issues.
Product-related questions? Contact Our Support Team to Get Quick Solution >
