Download PhoneClean to Start Your Excellent iOS Device Clean Experience!
Free Download For Win & Mac | 100% Clean & Secure
Quick Clean
Whether you encounter the similar situations below?
“How can I clean the Photo Cache from my iPhone ?”
“I want to clean cache garbage on my iPad 8. What should I do?”
If you just encounter the similar issue above, don't worry. You can try “Quick Clean” mode to clean junk files associated with Apps, Photos, Videos and Temp for your iOS devices. The following instructions will help you do it.
Tech Specs
| Windows OS | Windows 11, 10, 8, 7, Vista, XP (64bit & 32bit) |
| macOS | macOS 10.8 and later |
| iOS | iOS 5 and later |
Supported Junk File Types
Check the junk files that Quick Clean supports to clean under different iOS versions.
| Junk File Types | iOS 8.2 or earlier | iOS 8.3 or earlier |
| App Caches, App Cookies, App Temp | ||
| Storage, Movies, Crash Log, Download Temp Files, iTunes Radio, Invalid Data, Photo Caches, Others Photos, Filter Photo Caches, Photos in Trash, Artwork Caches |
Differences between Trial Version and Activated Version
| Benefits | Trial Version | Activated Version |
| Clean iPhone Junk Files With Quick Clean |
Apple blocks Apps access permission for iOS version 8.3 or higher because of security issue.
Step 1.Download PhoneClean on Your Computer.
Before you start to use Quick Clean function, get the tool downloaded and installed on your computer. Please make sure the network is stable while downloading and installing PhoneClean on your computer.
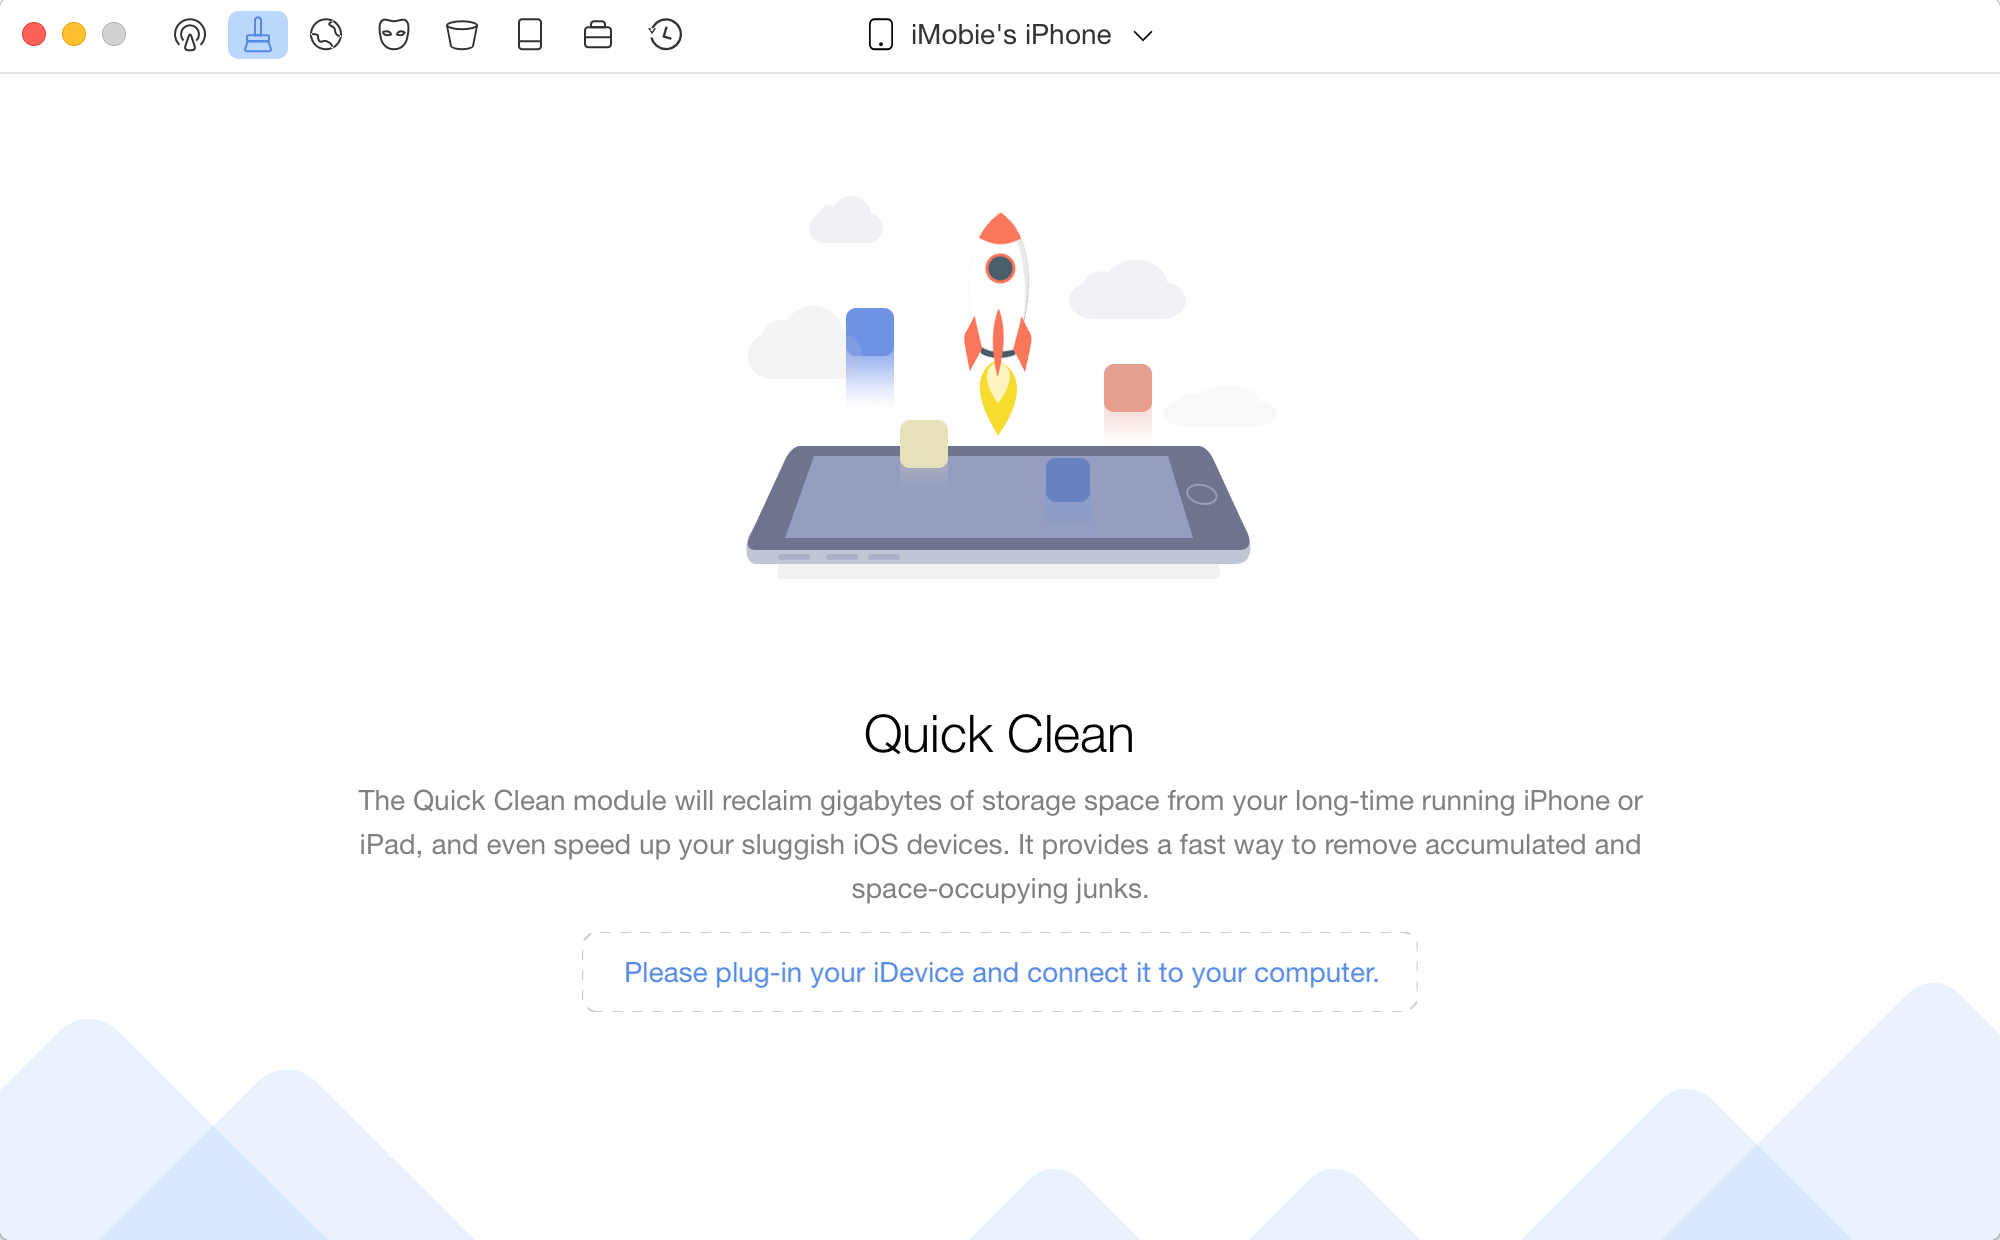
Step 2. Connect Your iOS Device to Computer with the USB Cable.
Choose Quick Clean mode. By default, PhoneClean will detect your iOS device automatically. If you don't connect your iOS device to computer or your iOS device is not recognized, you will see "No Device Connected" on the interface.
Device Connected
Once your iOS device is recognized, the interface below will display. PhoneClean supports multi-devices connection. You can check which iOS device is ready to be cleaned on the interface.
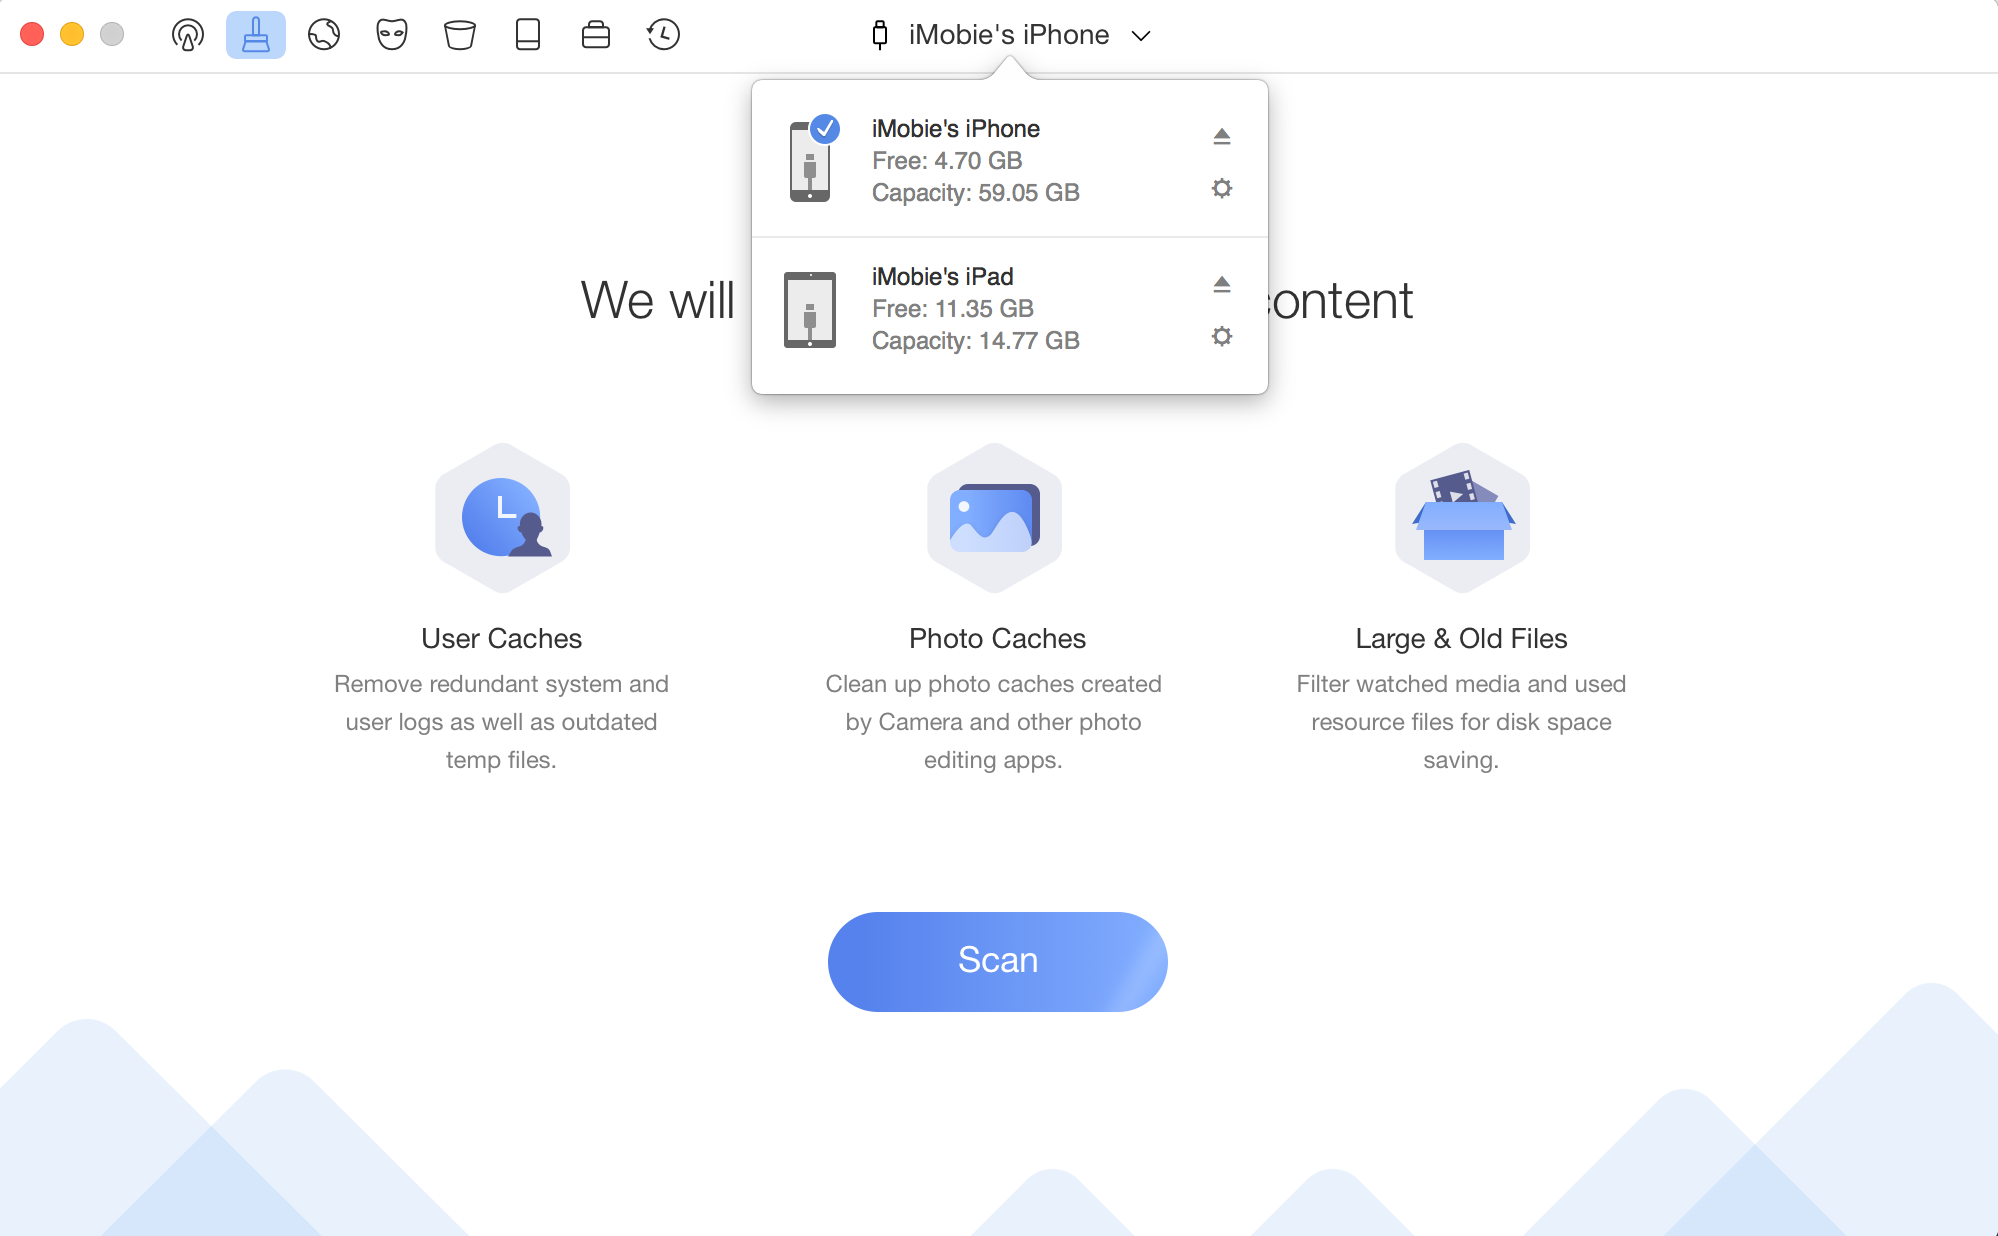
Recognized successfully
If PhoneClean is not able to recognize your iOS device, you may try these troubleshooting steps to solve this problem.
Step 3. Wait for the Analysis Process.
The interface of analyzing iOS device will display after clicking Scan button. You can abort the process at any time by clicking the Cancel button. Meanwhile, the analyzing time varies based on the size of junk files. Please keep patient.
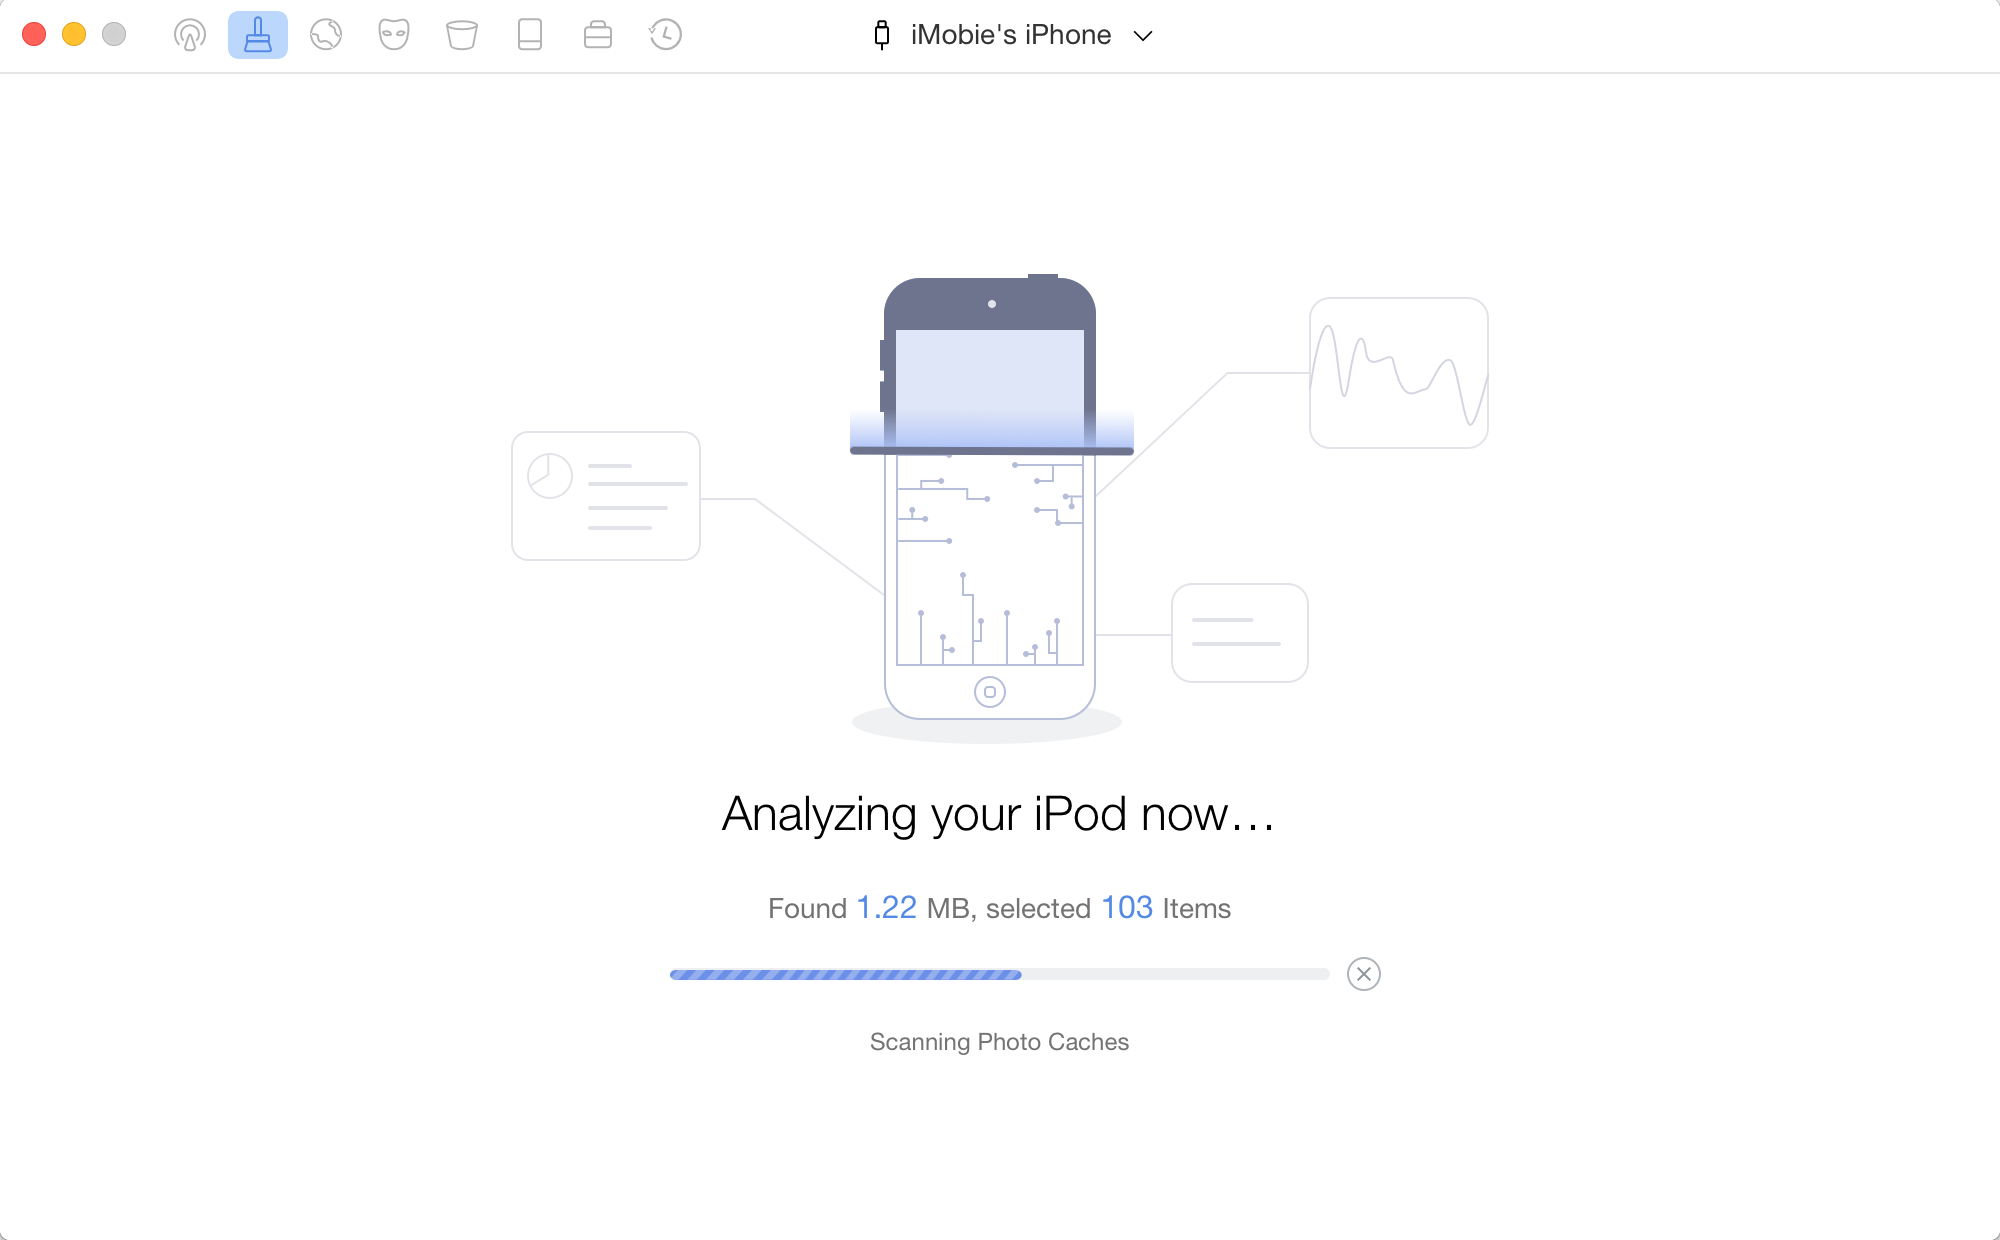
Analyzing Your Device
When the scanning begins, please keep your device connected and wait until the process is complete.
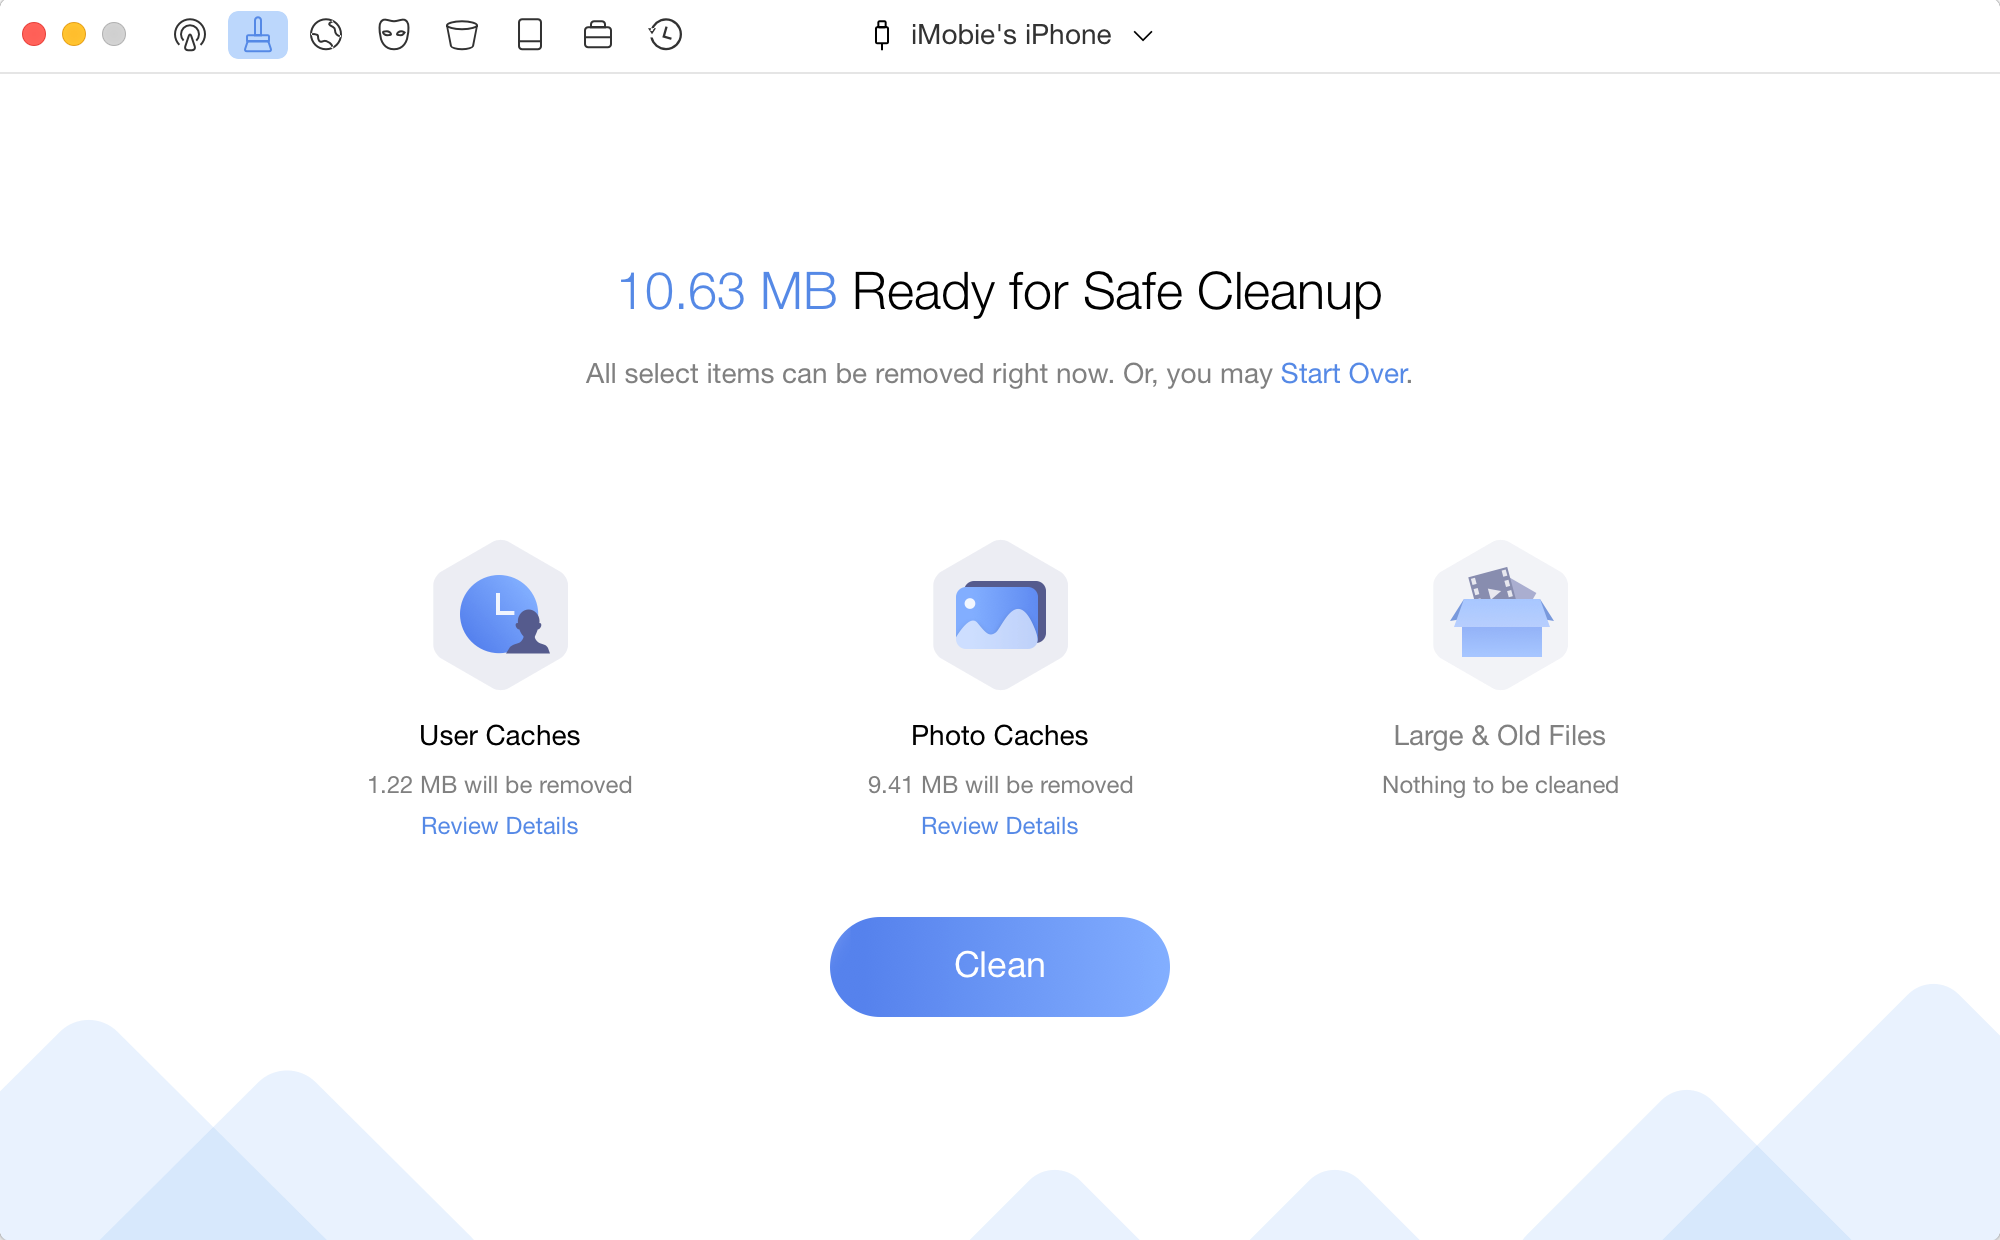
Step 4. Start the Quick Clean Process.
Please review the junk list before cleaning and then click Clean button.
When the scan process completes, the total amount of junk files will be displayed. To keep files you may need, you can click Review Details to view all scanned files before cleaning.
The Scanning Process Completed
You can choose the file which you want to clean by checking the box in front of it. You can also untick the box if you don’t want to clean the file. To go back to the previous page, please click Back button.
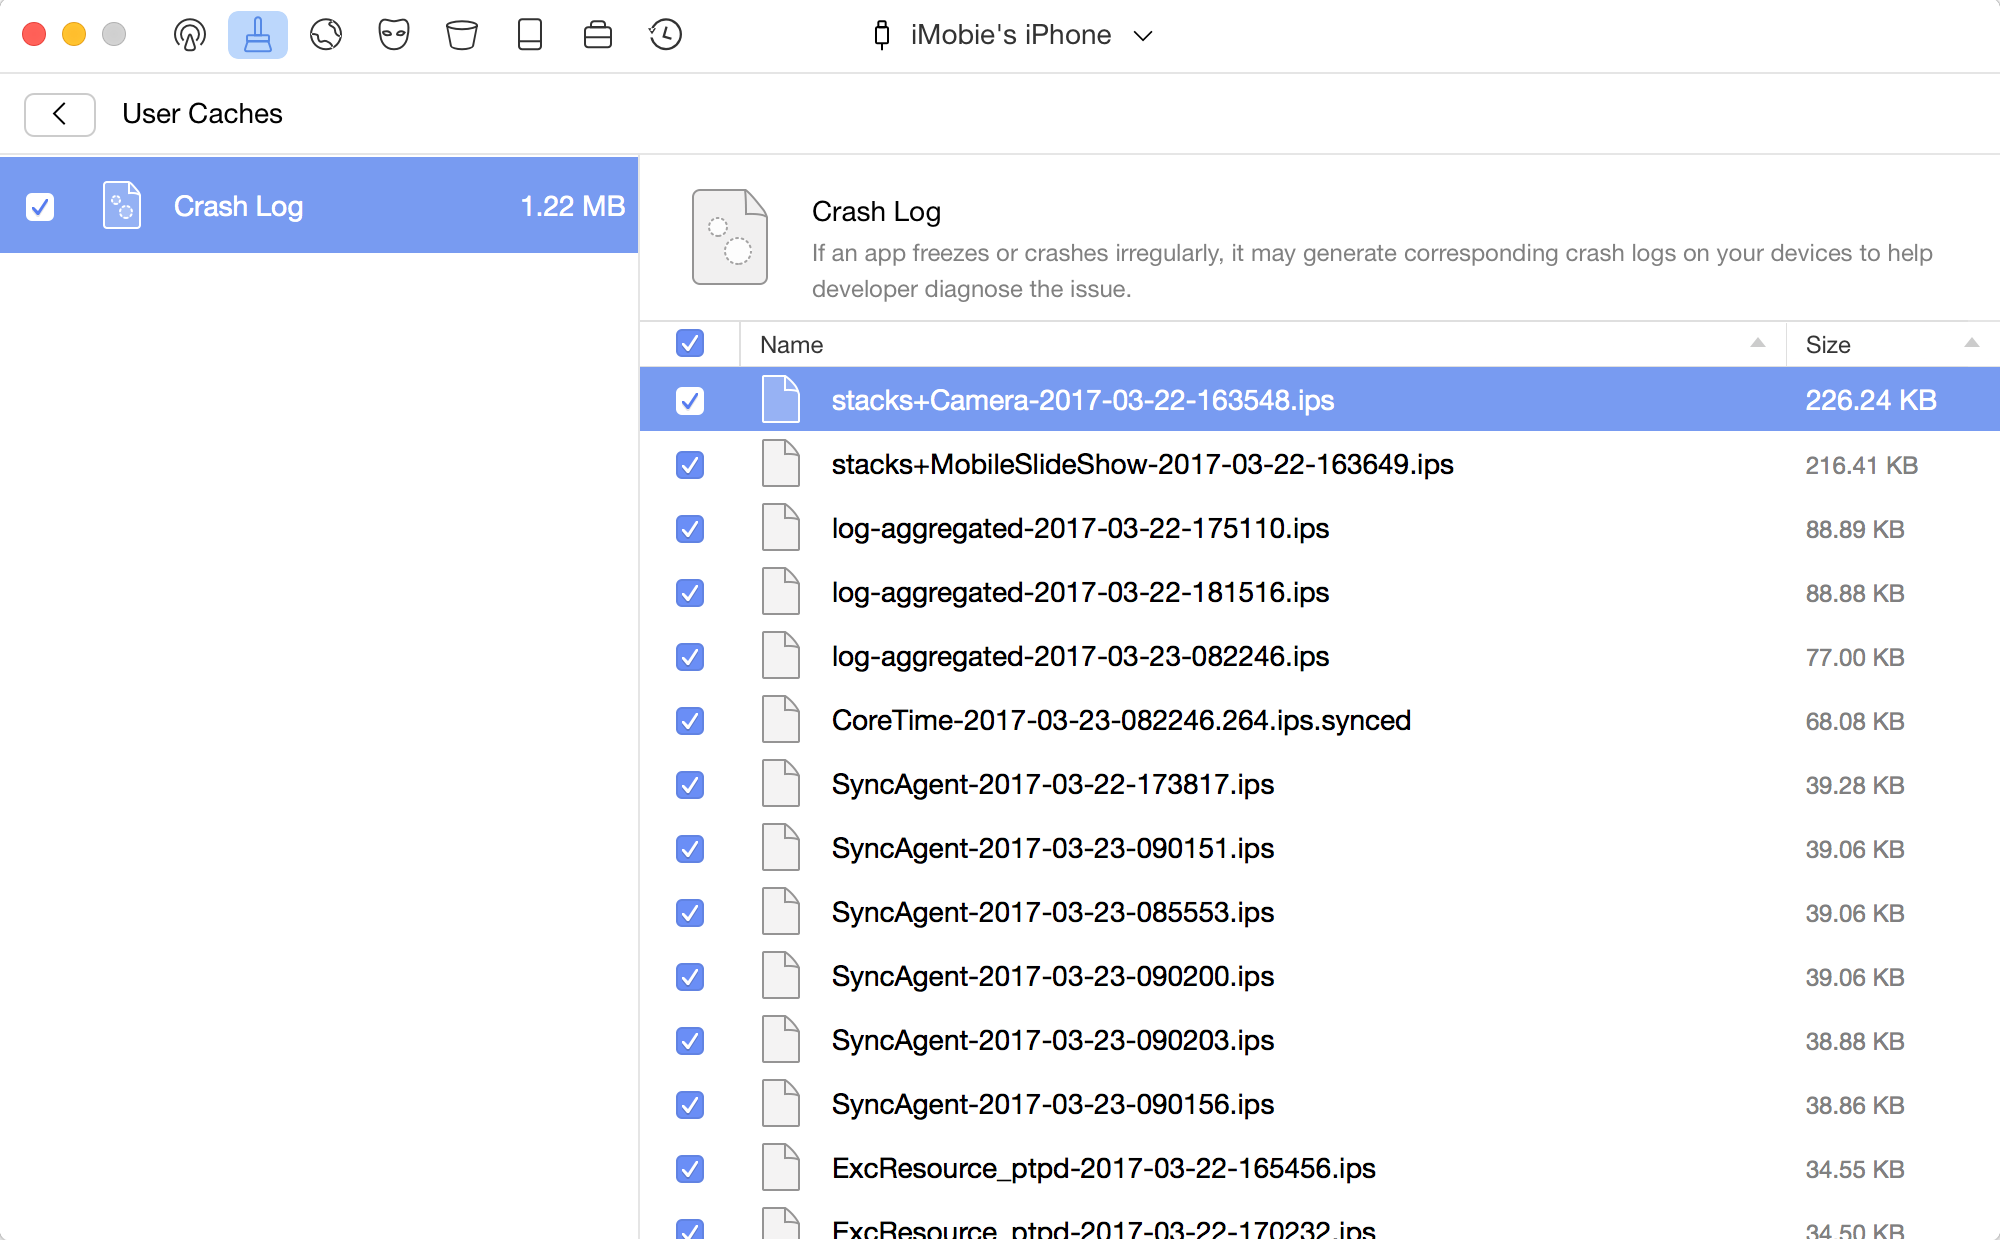
Choose the Files You Want to Clean
Click on Clean button to free up your device's space after checking. The time of cleaning junk files changes depending on the size of them. To ensure that the junk files are cleaned up totally, please keep your device connected during the whole process.
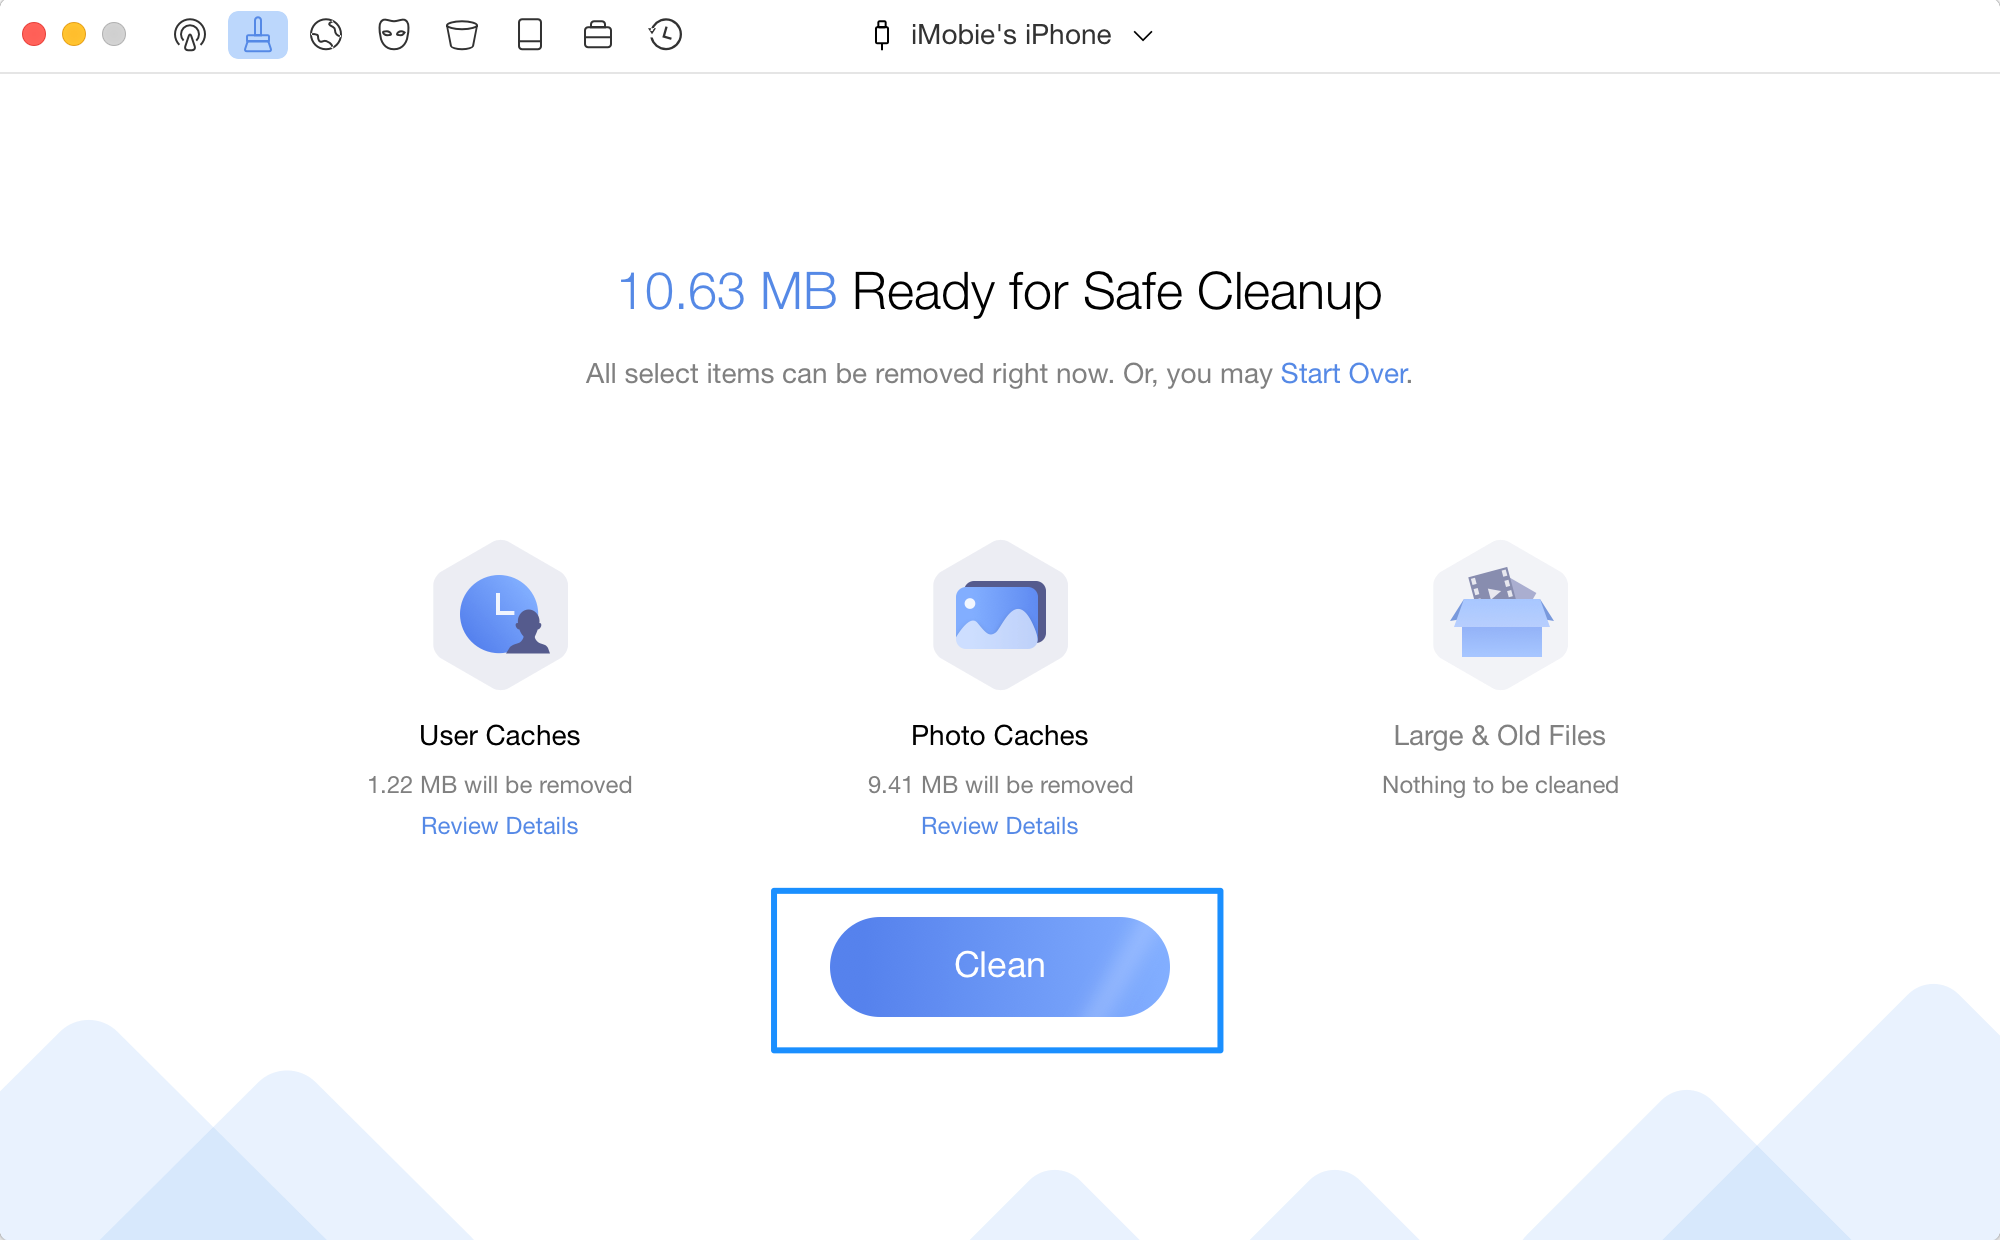
Click Clean Button
Step 5. Quick Clean Completed.
Once cleaning process completes, you will see the Complete screen. You can click Start Over button to return to the main window.
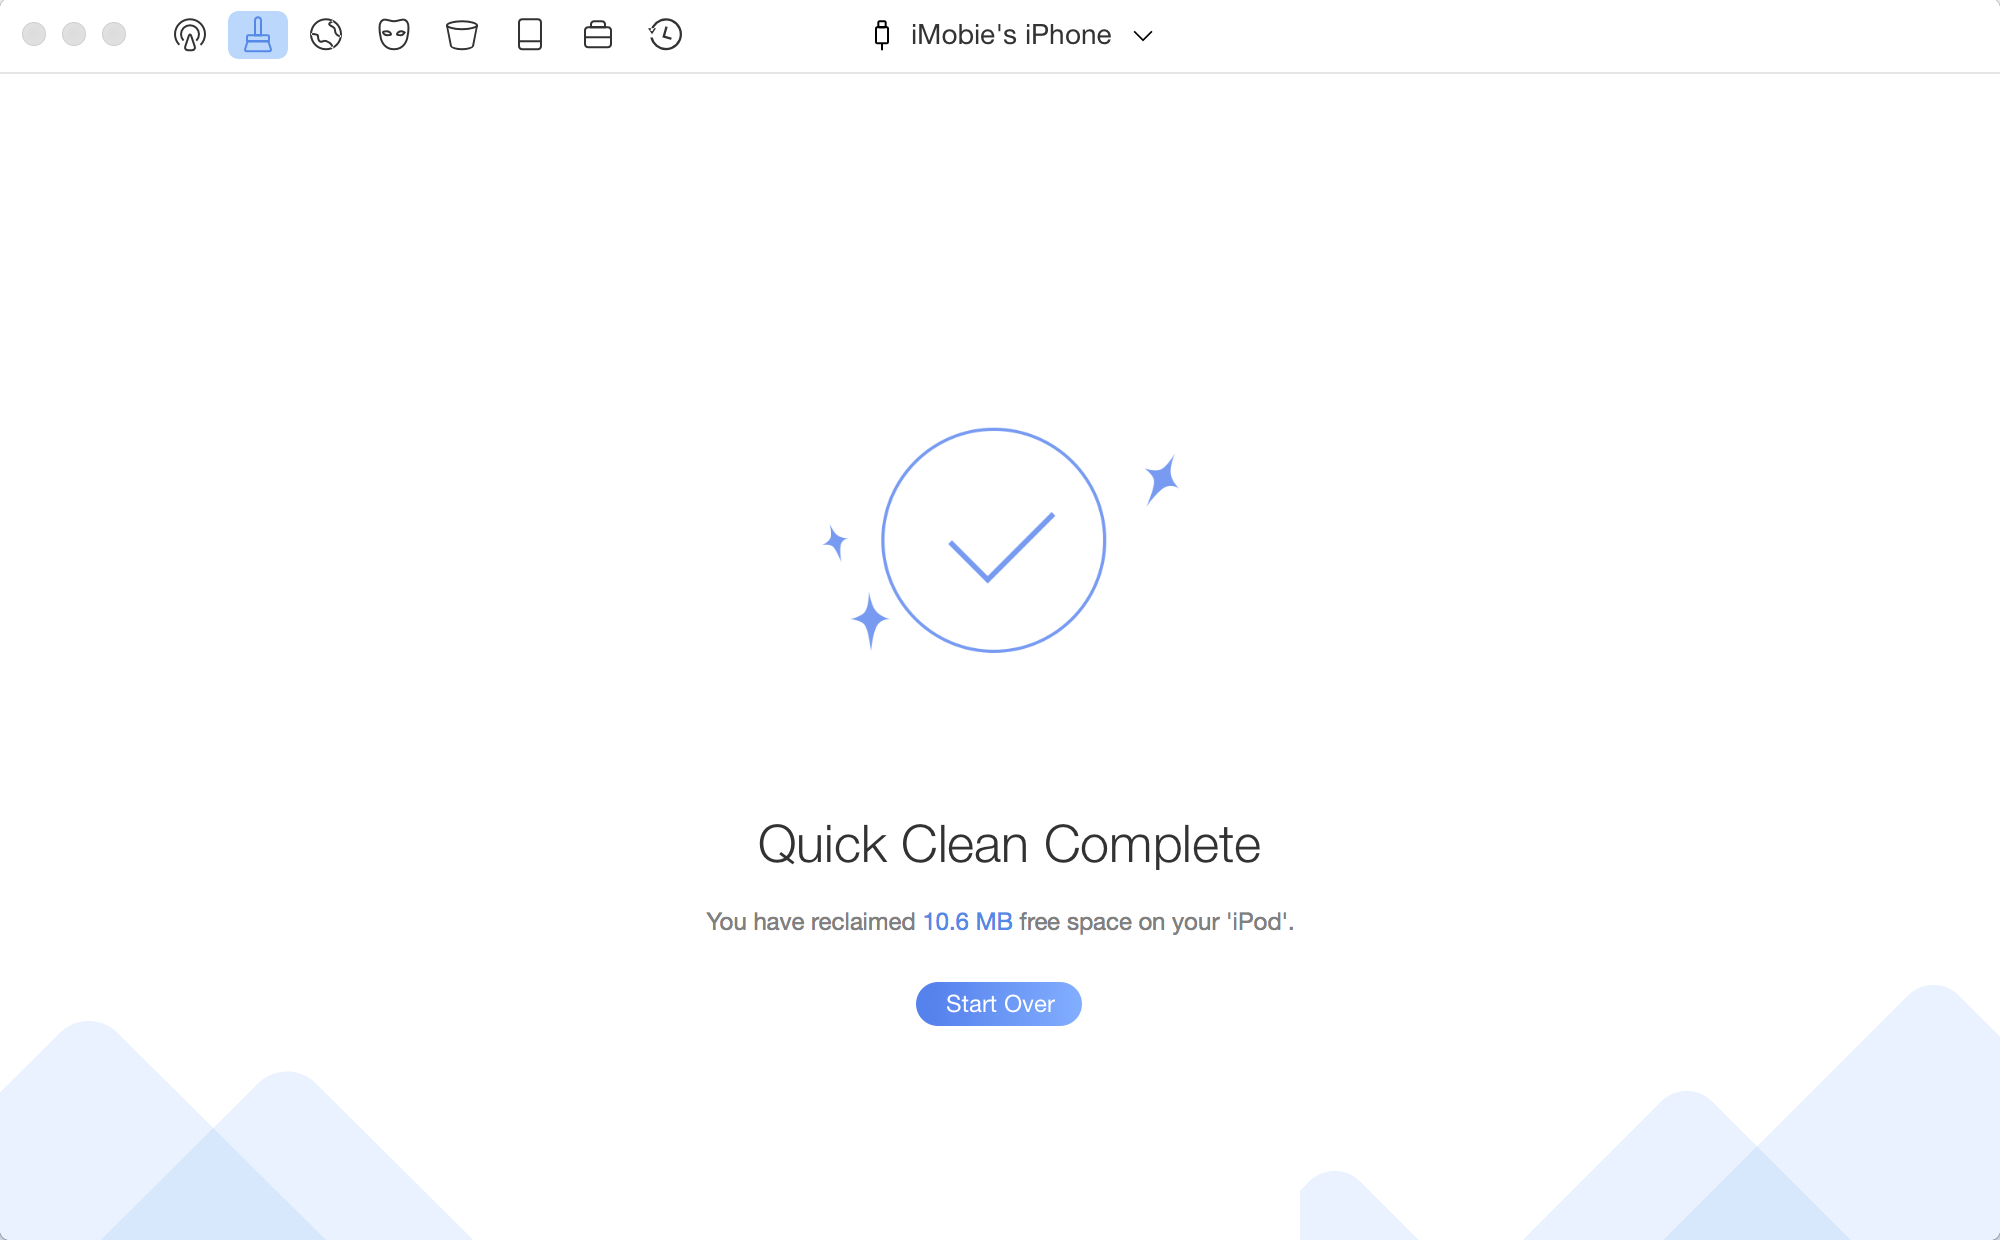
Quick Clean Completed
If you still have questions after reading this guide, please refer to FAQs page to check more solutions. Or you can contact our Support Team to get further help. We are here to help you!

Try It Out & Share Your Feedback!

We'd love to hear how PhoneClean is working for you.
Give it a try and share your thoughts—your feedback helps us keep improving.
If you're enjoying PhoneClean, we'd be so grateful if you could leave us a review on Trustpilot. Your support helps others discover PhoneClean and motivates our team!
Thank you for being part of the iMobie community — we couldn’t do it without you!
Try It Out & Share Your Feedback!
We'd love to hear how PhoneClean is working for you.
Give it a try and share your thoughts—your feedback helps us keep improving.
If you're enjoying PhoneClean, we'd be so grateful if you could leave us a review on Trustpilot. Your support helps others discover PhoneClean and motivates our team!
Thank you for being part of the iMobie community — we couldn’t do it without you!