3 Ways to Speed Up Internet on Windows 10
If you are facing a slowdown in the Internet speeds on your Windows 10 PC, this guide will help you resolve the issue by offering a few methods to speed up Internet on Windows 10. Read on to find out what those methods are.
Windows PC Clean Tips
Fix Computer is Slow
Windows Cleanup Tips
While many of the recent updates for Windows 10 have brought new features and performance improvements, a few of those have caused minor issues on some users’ systems. One of these issues is the slowdown in the browsing speed on computer. If you have installed an update and are facing Windows 10 slow Internet issue, you are not alone.
Fortunately, there are a few things you can do about it. In the following guide, we have provided some methods that you can use to fix the Internet slow down issue on your computer in Windows 10 system. Once the methods are applied, your Internet speed will be back to normal.
Method 1. Adjust the Internet Bandwidth Settings
In order to let the background and system apps use your Internet connection, the operating system allocates a certain amount of your Internet bandwidth to these apps. However, you do have the option to modify this allocation and keep the entire bandwidth to yourself.
If you would like to do it, here is how you do it on your Windows 10 PC:
Step 1 Press the Windows + R key to launch the Run dialog box, type in gpedit.msc into it, and hit the Enter key.
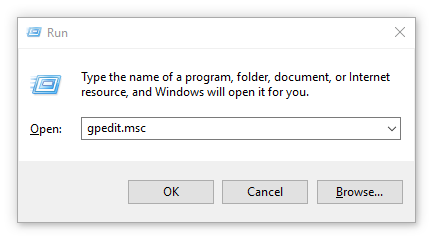
Launch Local Group Policy Editor on your computer
Step 2 Select Computer Configuration, head to the following path, and double-click on the entry that says Limit reservable bandwidth.
Administrative Templates > Network > Qos Packet Scheduler
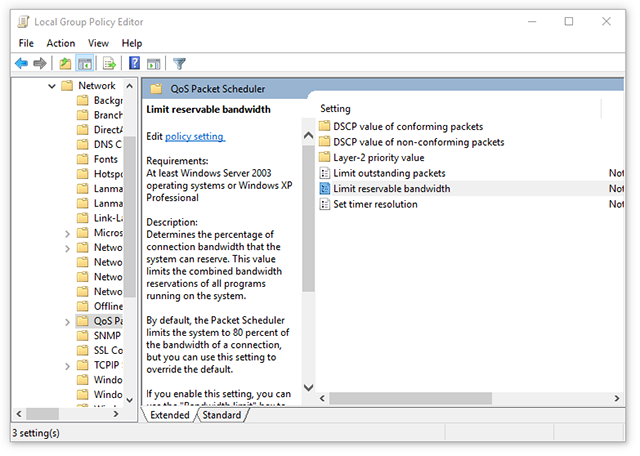
Find the entry and ope it
Step 3 When the entry opens, select the radio button that says Enabled. Then, enter 0% in the Bandwidth limit box and click on Apply followed by OK.
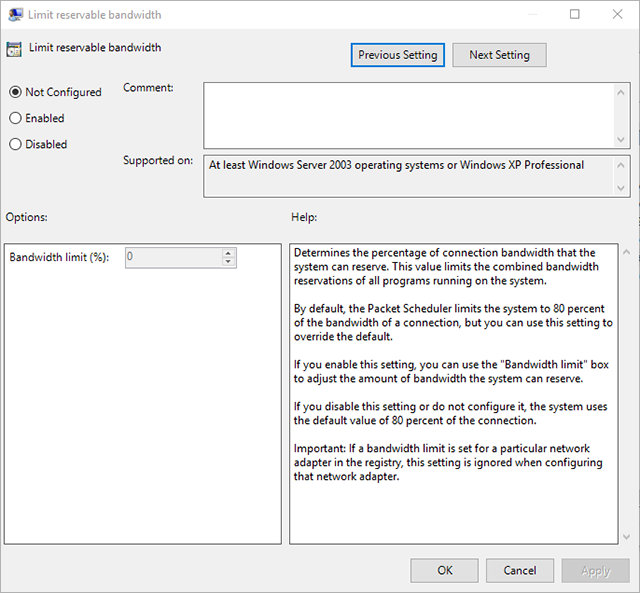
Remove bandwidth allocation
You have successfully adjusted the bandwidth settings on your Windows 10 PC.
Method 2. Disable Window Auto-Tuning
Window Auto-Tuning is one of the built-in features on your computer to help you speed up your Internet connection. However, sometimes it does the opposite of what it is supposed to do. Fortunately, you can disable the feature to see if it brings any changes in your Internet speed.
Here’s how you do it:
Step 1 Press the Windows + X key and select Command Prompt (Admin). Type in the following command into it and press Enter.
netsh interface tcp show global

Run command from the command prompt window
Step 2If the Receive Window Auto-Tuning Level shows normal on the following screen, run the following command using the command prompt utility.
netsh int tcp set global autotuninglevel=disabled

View data and run command if required
The Window Auto-Tuning feature should now be disabled on your PC. You may now try using your Internet connection to see if there is any improvements in its speed.
Method 3. Clean the Internet Cache
Over the time as you visit more and more websites using your web browsers, your PC collects cache files from the Internet. While these cache files help you quickly load websites in your browsers, having a lot of these files leads to slowness of your Internet.
Fortunately, there is an easy way to get rid of these Internet cache files from your computer. All you have to do is press a few buttons and all of these files will be removed from your computer.
In order to perform the task, you are going to use an app called Ashampoo WinOptimizer. The app lets you remove many kind of junk files including Internet cache files with a few quick clicks on your computer. The following is how you use it to fix your Windows 10 slow Internet issue.
Step 1 Launch the Ashampoo WinOptimizer website in your web browser and download and install the app on your PC.
Step 2 Launch the app and select All modules from the left panel. Click on One Click Optimizer in the right panel to launch the optimization module.
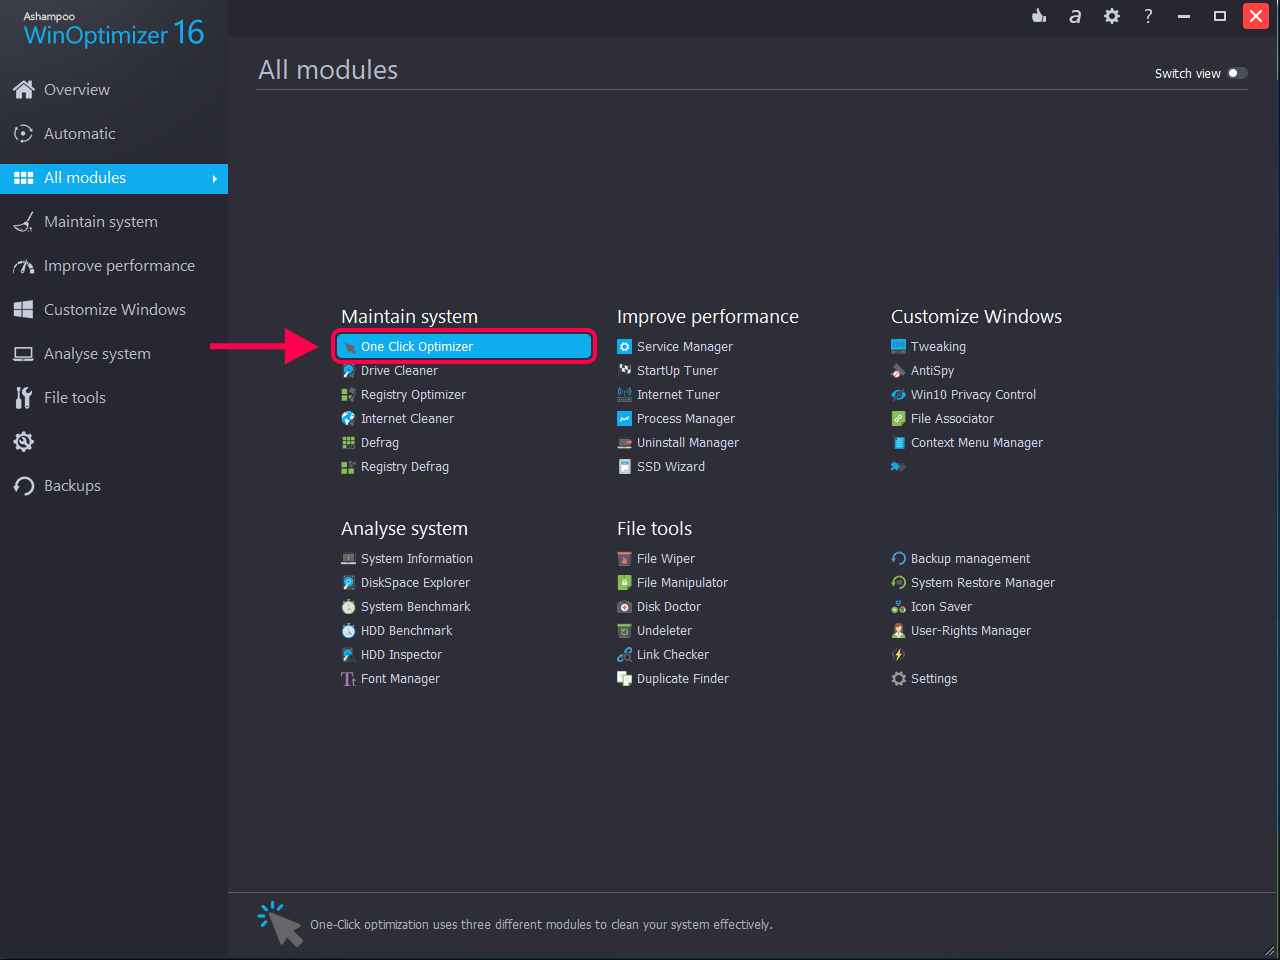
Access One Click Optimizer in the app
Step 3 Select work mode on the following screen, ensure the Run Internet Cleaner option is enabled, and click on the OK button.
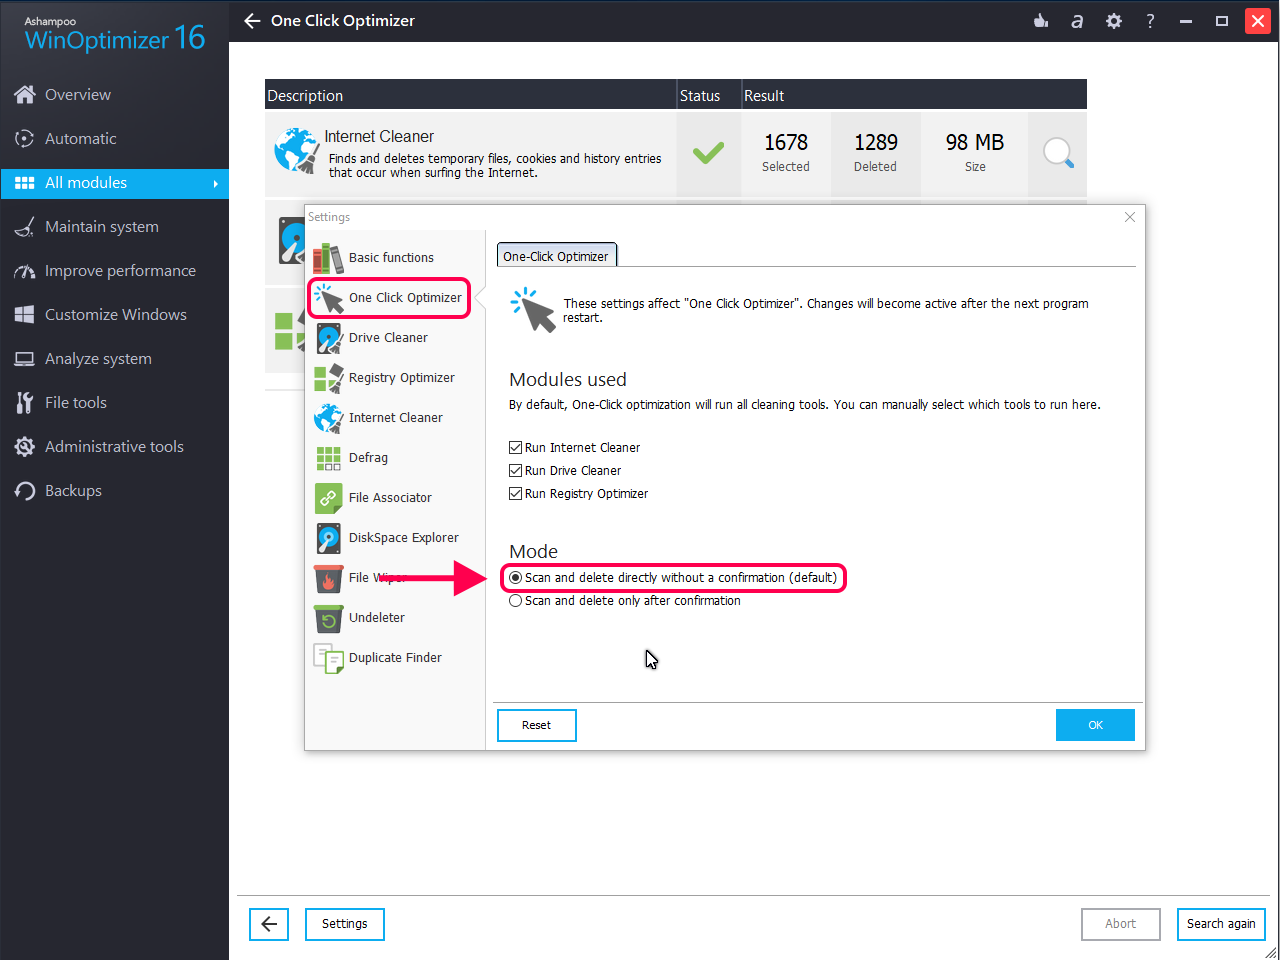
Review the cleaning options and continue
Step 4 You will see the live progress of the tasks being carried out on your system.
Cleaning tasks running on your machine
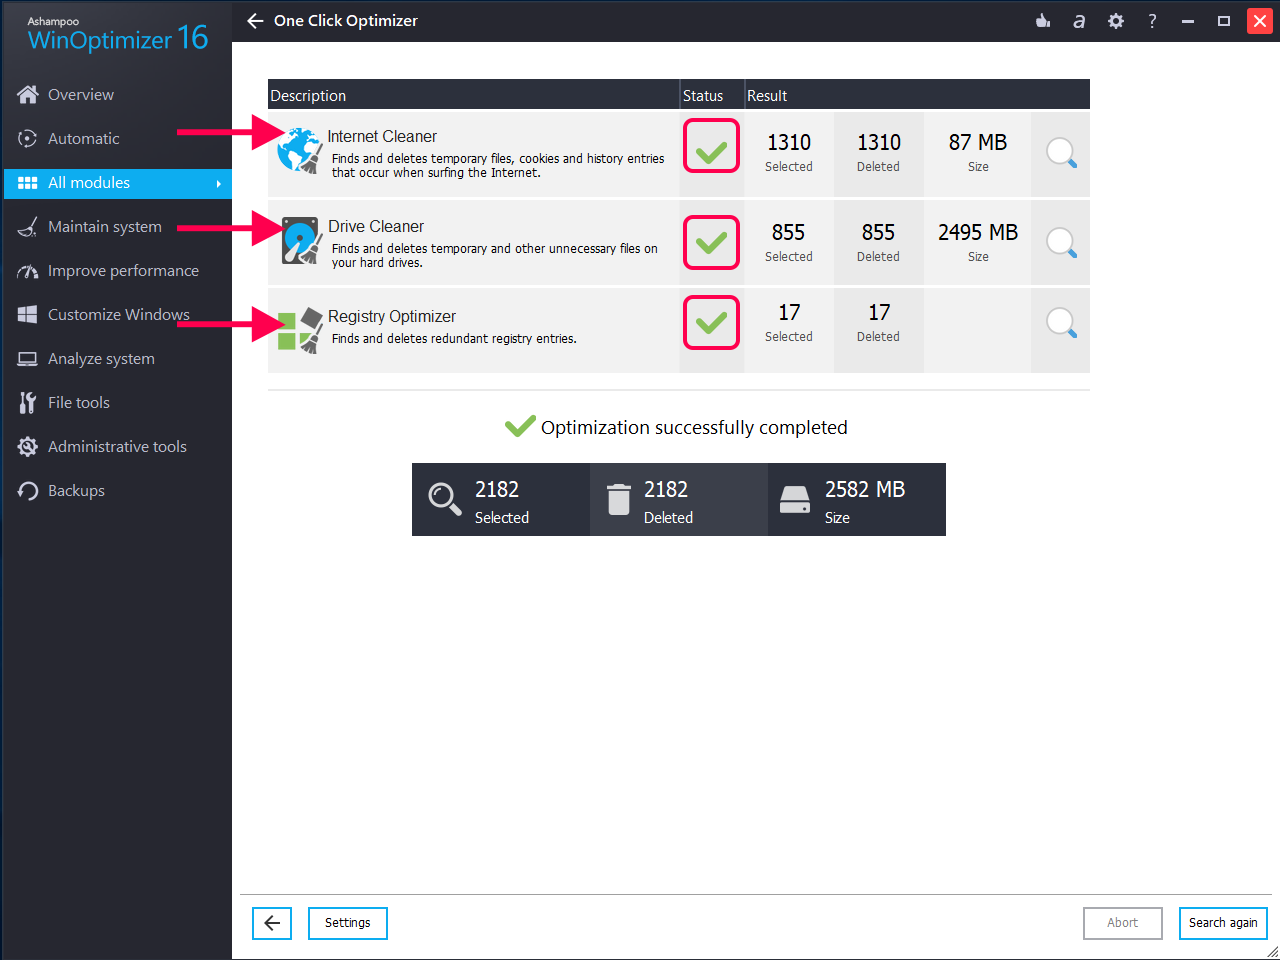
Step 5 Once the app has finished cleaning your Internet cache files, you will see something like the following on your screen.
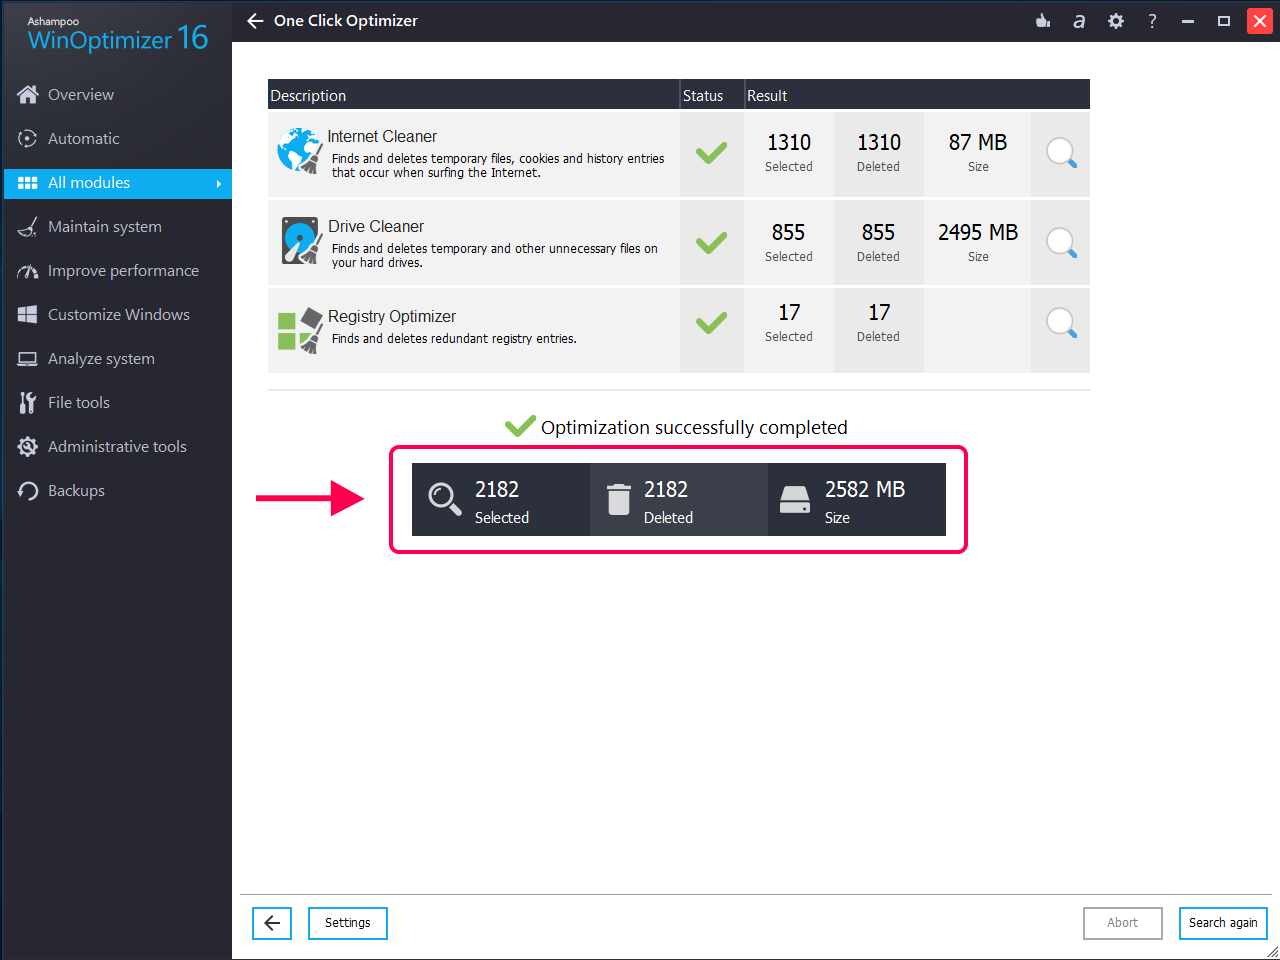
Cleaning tasks completed
You are all done. The Internet cache files have been removed and you will notice a significant positive impact in the speed of your Internet connection.
The Bottom Line
If your browsers are taking too long to load websites, the above guide will help you speed up the Internet speed on your Windows 10 computer. It uses many system techniques to ensure you can utilize the full speeds of your connection.

Member of iMobie_Inc, an enthusiastic fan of Apple and Jazz music, always ready to offer advice and solutions to any iOS & Android related issues.
Product-related questions? Contact Our Support Team to Get Quick Solution >