Wipit User Guide
Learn how to remove watermarks, logos, objects, and more from videos and photos with Wipit. Download and try it now.
Free DownloadFor Win & Mac | 100% Clean & Secure
Activate Wipit
If Wipit meets your expectations, feel free to download and give it a try. To enjoy all of Wipit's features, simply upgrade to the full version — See Pricing.
Part 1. Create an iMobie Account
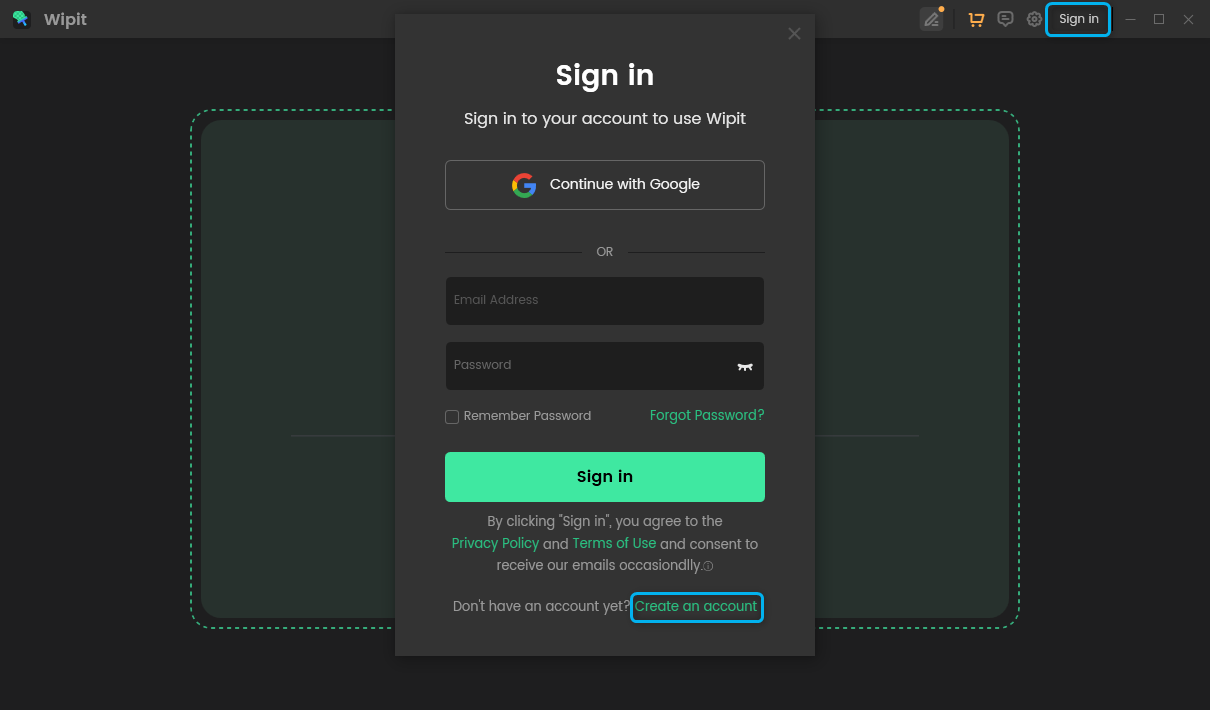
There are two ways to sign in to Wipit: using your iMobie account or your Google account. If you don't have an iMobie account yet, you'll need to create one. Simply click the Sign In icon in the upper right corner of Wipit, then select the Create an account button to register.
Start to Create iMobie Account
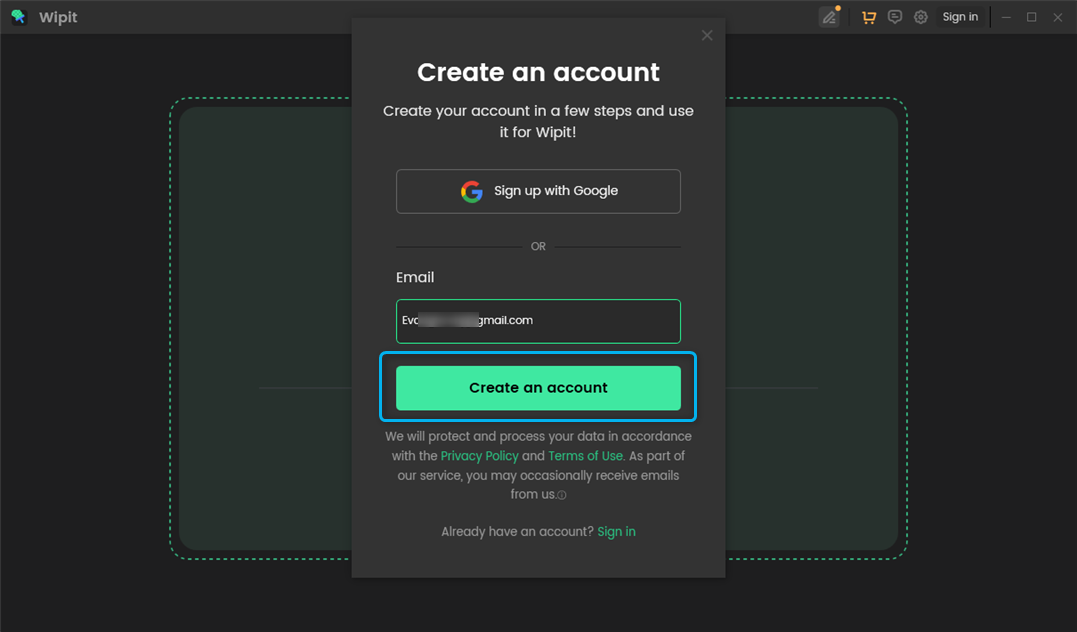
Enter your email address, then click the Create an Account button.
Click Create An Account Button
Please fill in your name, and set your password. Then click Continue button to create an iMobie account immediately.
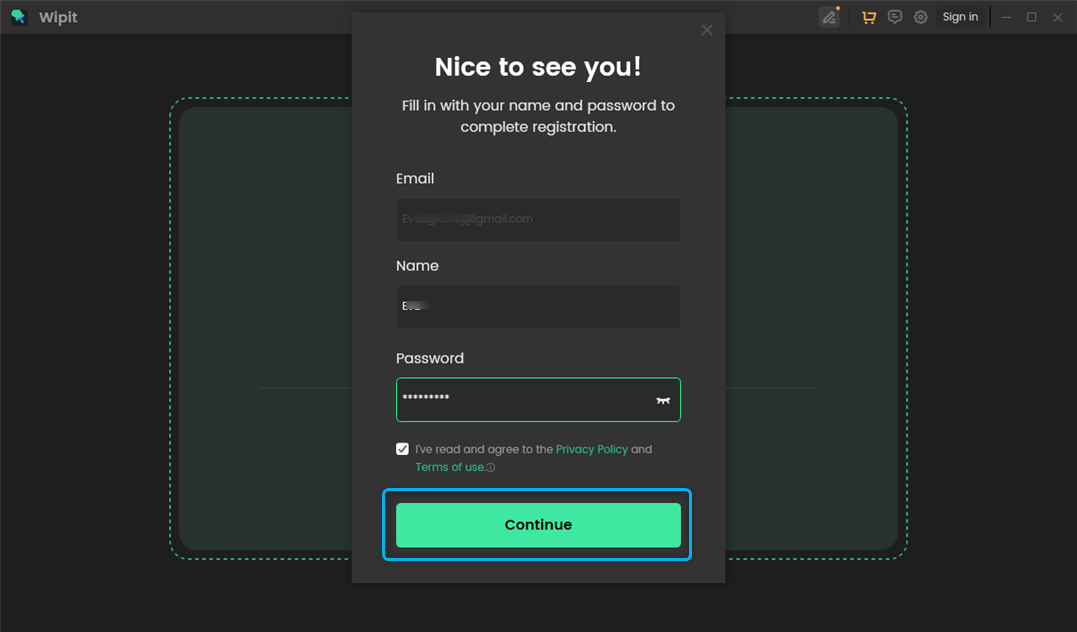
Click Continue Button
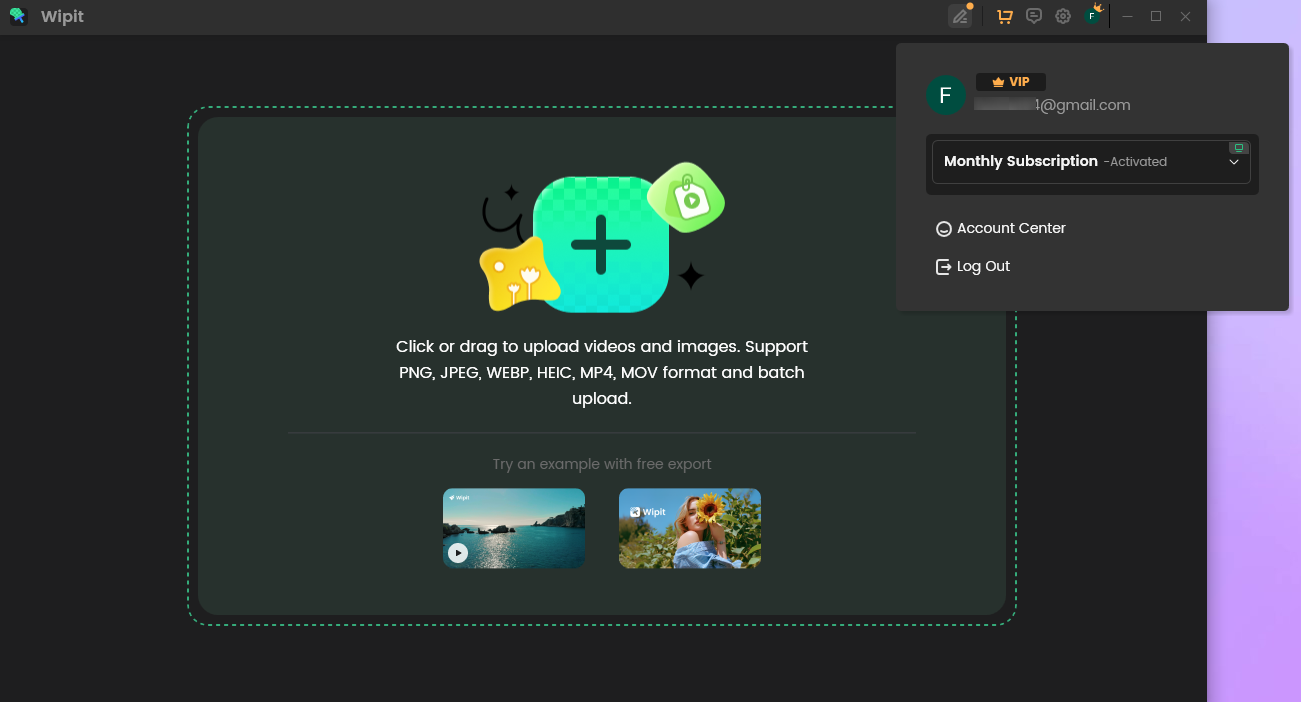
After clicking the Continue button, you'll be signed in to your iMobie account automatically. By clicking the User Avatar icon, you can view your account information, version details, and more.
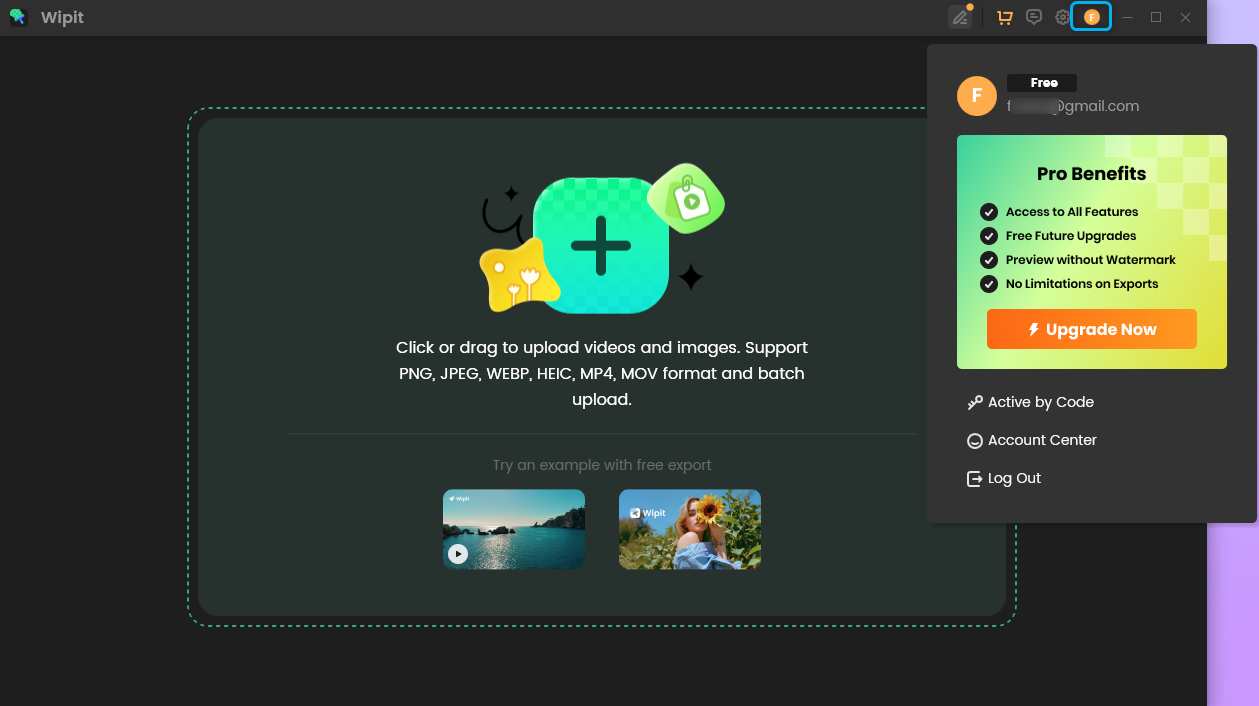
Your Account Information
Part 2. Activation Ways of Wipit
1. When you've purchased Wipit but haven't signed up for the software:
To ensure successful activation, we recommend creating your iMobie account using the same email address you used for the purchase. Once signed in, the software will activate automatically, providing a smooth and seamless activation experience.

Create An Account and Activate Wipit
2. When you sign up for Wipit and purchase the software within the software:
When you purchase Wipit within the software after signing up, your email address will be automatically filled in on the purchase page, ensuring it matches your login email for a smoother activation process.
Activate Wipit Automatically
3. When you sign up for Wipit and purchase it outside the software:
If you sign up for Wipit but purchase it externally, please enter the same email address used during signup in the shopping cart. If your purchase email differs from your signup email, create a new Wipit account with the purchase email to activate Wipit successfully.
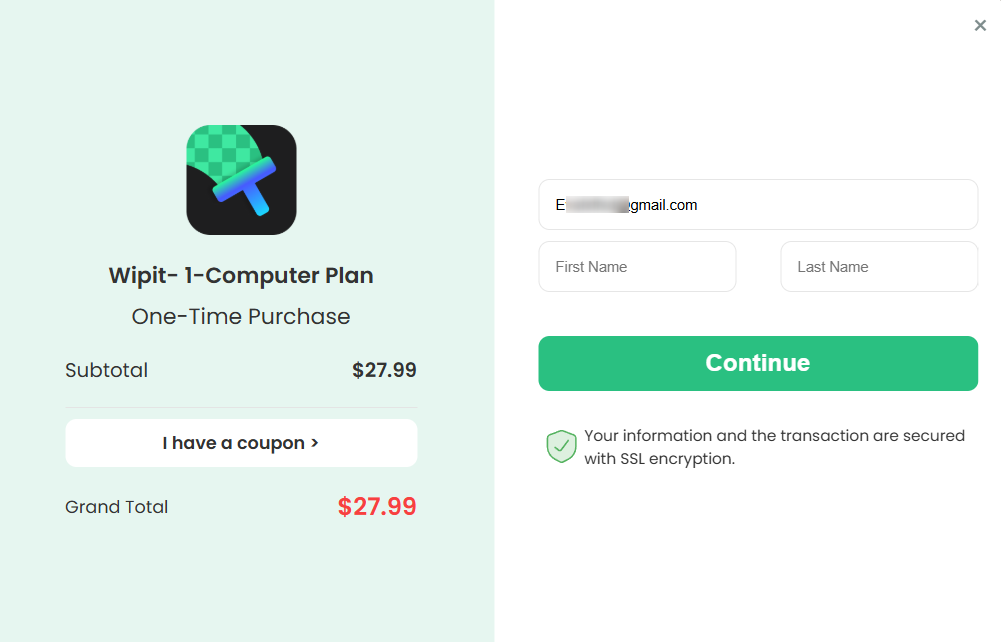
Enter the Sign-up Email onto the See Pricing Chekout Page
4. Activate Wipit via the Activation Code:
If you've received your Wipit activation code from a non-iMobie official website (such as one of our partners), you can manually activate it by signing in to your iMobie account.
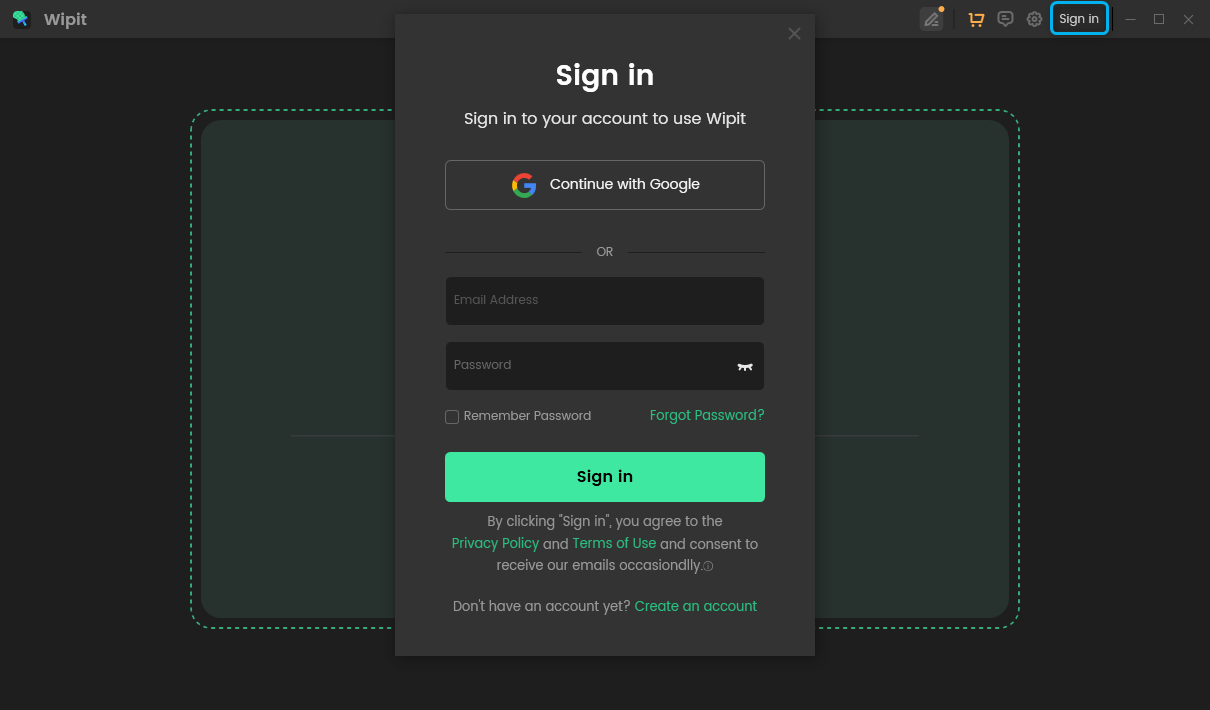
Log in Your iMobie Account
Then, click the User Avatar icon in Wipit and select the Active by Code option.

Choose Active by Code Option
Next, enter your activation code and click the Submit button. Your iMobie account will then be automatically activated.
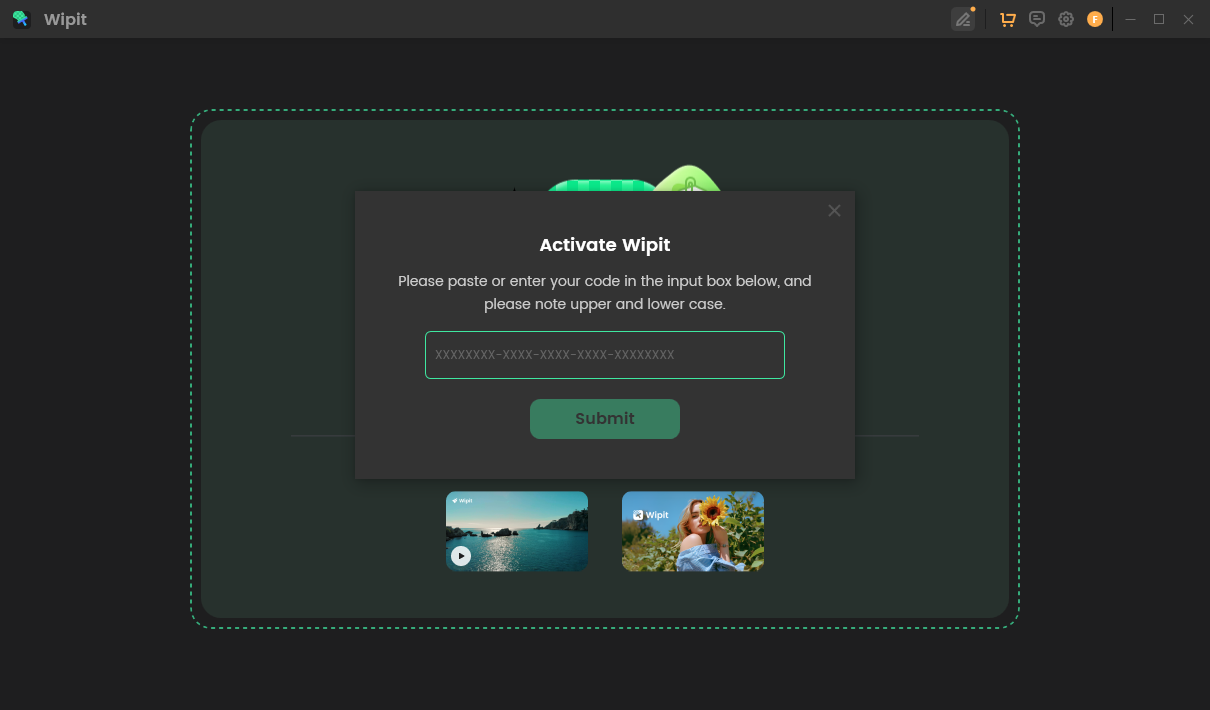
Click Submit Button
If you need to turn Wipit into the inactivate state, please click the User Avatar icon in the upper right corner of Wipit. Then, choose the Log Out option.
Part 3. Unbind Your Wipit Account
Your activation code's security and privacy are our top priority. If your old device is broken, sold, lost, or you need to switch devices for any reason, and you no longer have access to the activated device, please provide us with your Wipit account email and contact us to begin the unbinding process.
If you have further question after reading this guide, please refer to FAQs page to check more solutions. Or you can contact our Support Team to get further help. We are here to help you!