Wipit User Guide
Learn how to remove watermarks, logos, objects, and more from videos and photos with Wipit. Download and try it now.
Free DownloadFor Win & Mac | 100% Clean & Secure
Remove Watermark from Videos
Whether you encountered the similar situations below?
“The videos I record always have a watermark. I want to remove it. Can your software do that?”
“Is there a way to remove unwanted objects from videos?”
If you come across similar situations like the ones mentioned above, there's no need to worry. The Remove Watermark from Videos function allows you to remove watermarks from your videos. With its intuitive interface and powerful features, you can remove watermarks, logos, people, and other unwanted from videos, quickly and easily.

Computer System Requirements
| Windows OS | macOS | |
| Operating System | Windows 10 and above (64-bit only) | macOS 10.15 (macOS Catalina) and above |
Differences between Free & Activated Version
| Benefits | Free Version | Activated Version |
| Remove Watermark from Videos | ||
| Export Videos |
Step 1. Download and Install Wipit on Your Computer.
Visit our official website and get Wipit downloaded onto your computer. Ensure you have a stable network connection during the download and installation process. Follow the prompts on the screen to install Wipit.
Step 2. Upload Videos from Computer.
Drag and drop or simply click on the designated area to upload videos from your computer. We support both MP4 and MOV formats. The uploaded video will be displayed on the left panel, allowing you to view them in a slide view.
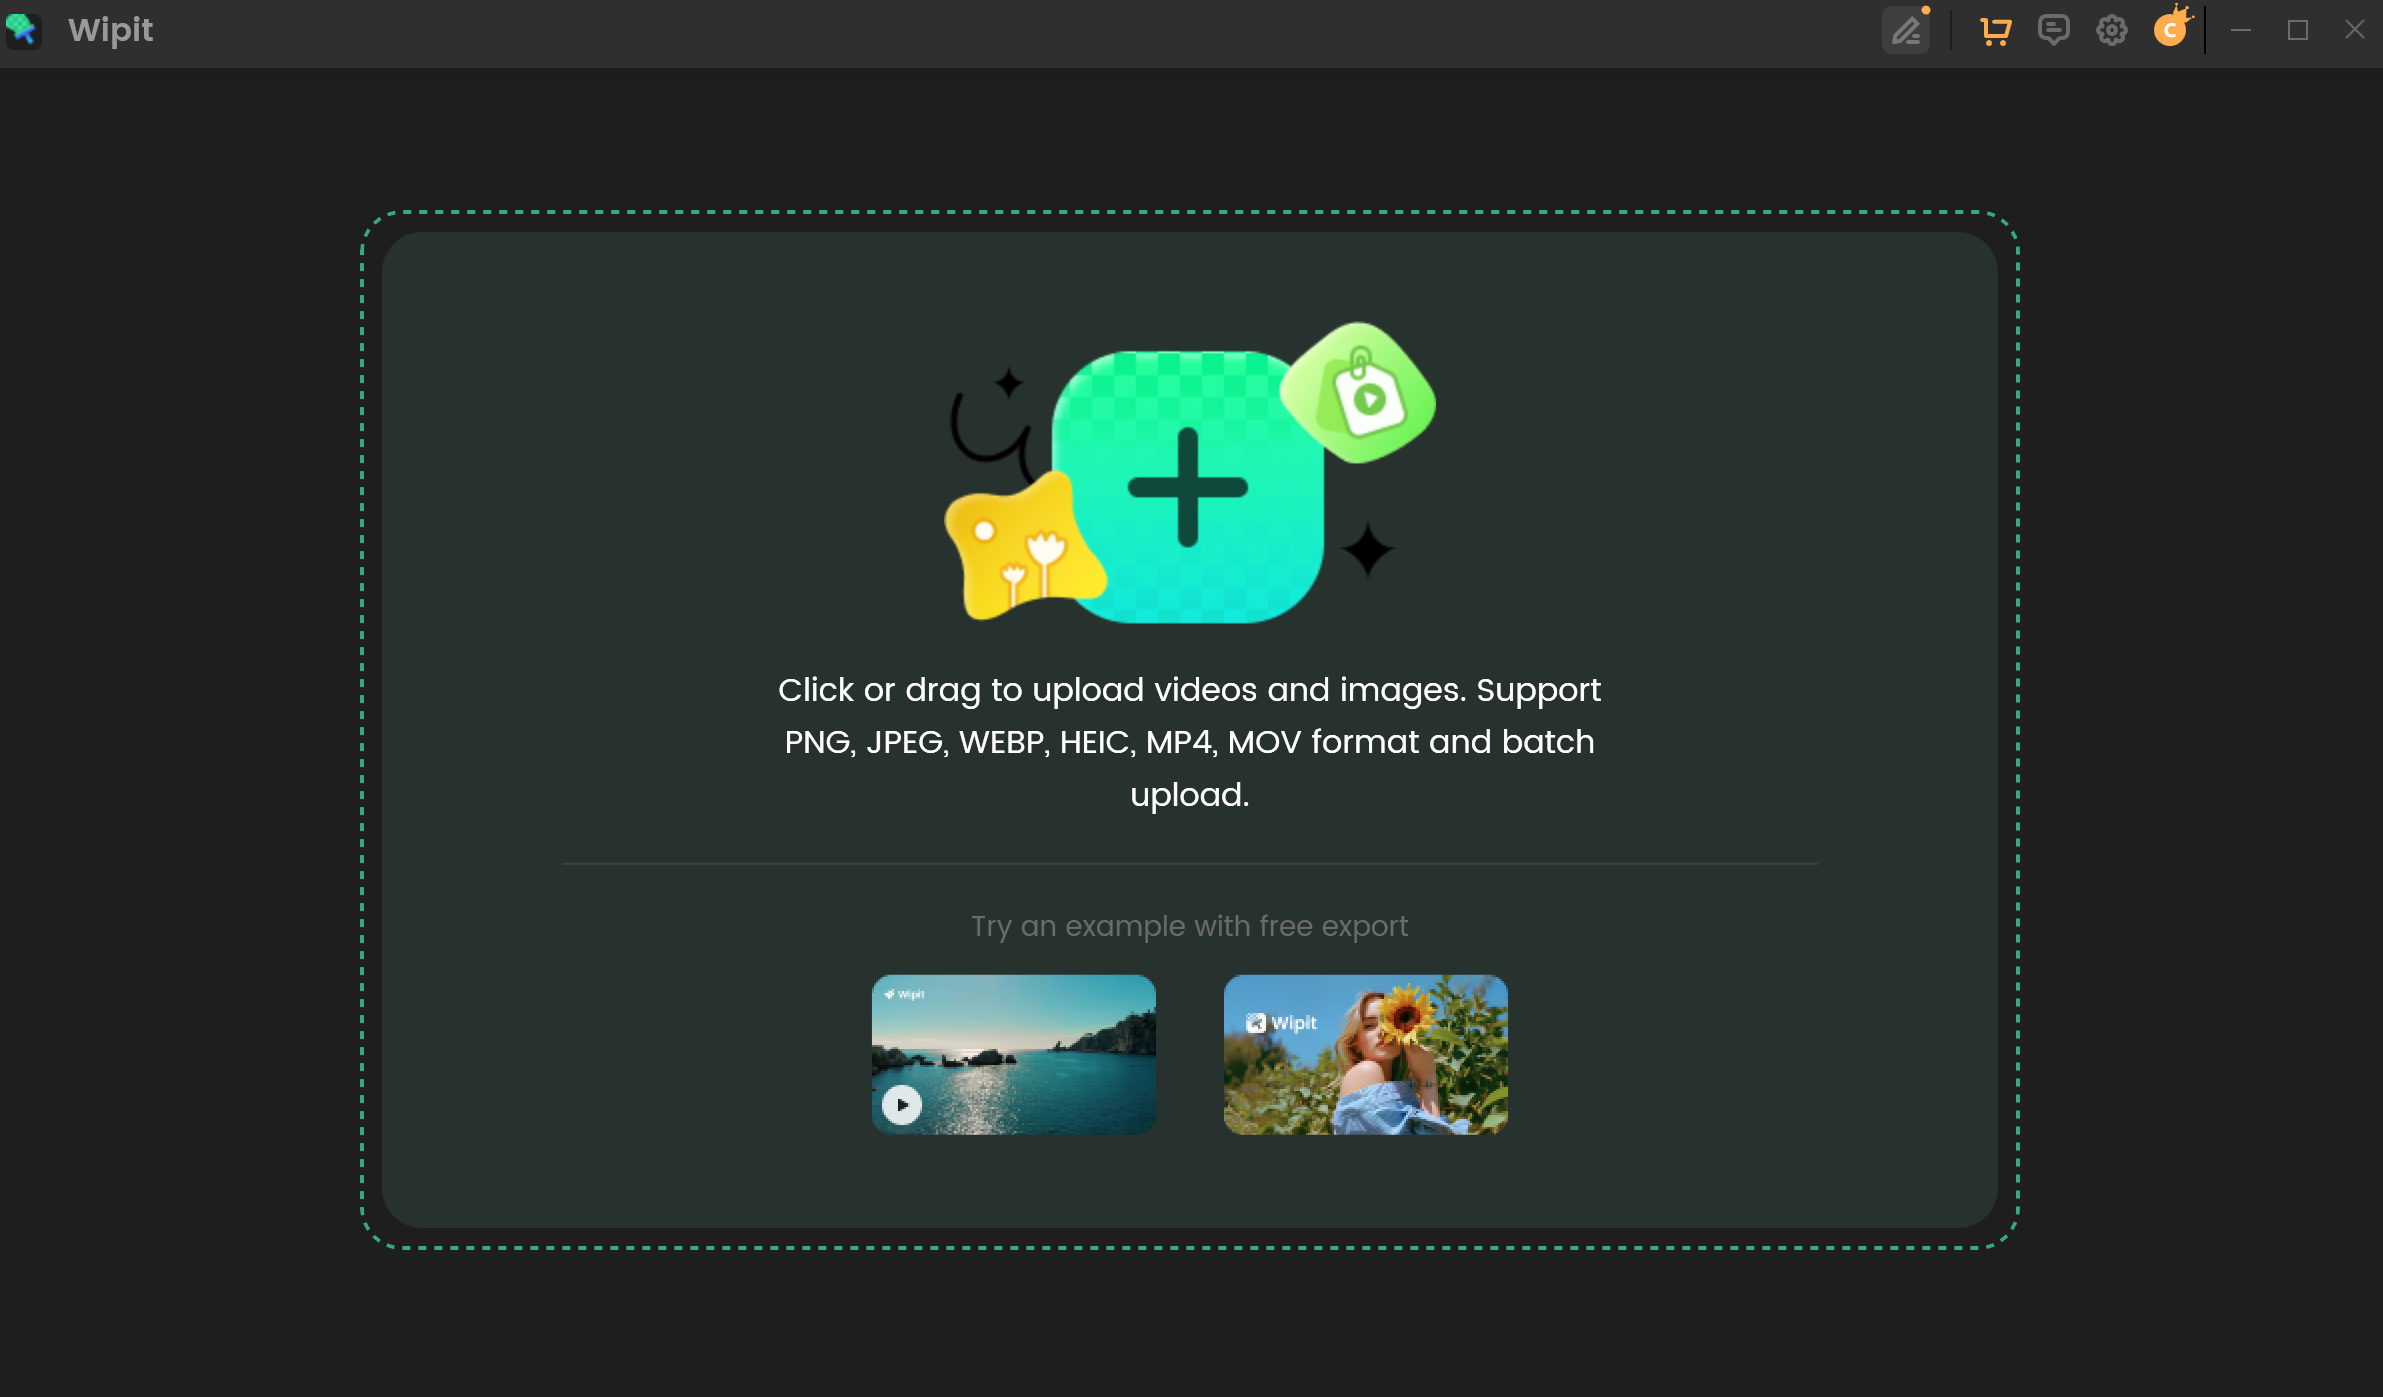
Upload Videos
Step 3. Select the Watermark Removal Areas.
Click on the Select Area option to frame the watermark removal areas. To specify the duration of the watermark you want to remove, either drag the sliders on the bottom video track to the desired start and end points or manually adjust the selection time on the right panel by entering the start and end times.
Select the Watermark Removal Areas
Each selection time is treated as a separate entity, and the selection times can overlap with each other.
Step 4. Select the Remove Model.
We offer two models for video watermark removal: AI Model and Smooth Filling. Each model produces different effects in removing video watermarks. Compare these two models and select the one that best suits your needs.

Select the Remove Model
Step 5. Remove Watermark from Videos.
After selecting the watermark removal areas, selection time, and removal model, simply click on the Preview button located on the right panel to preview the effect of each watermark removal.
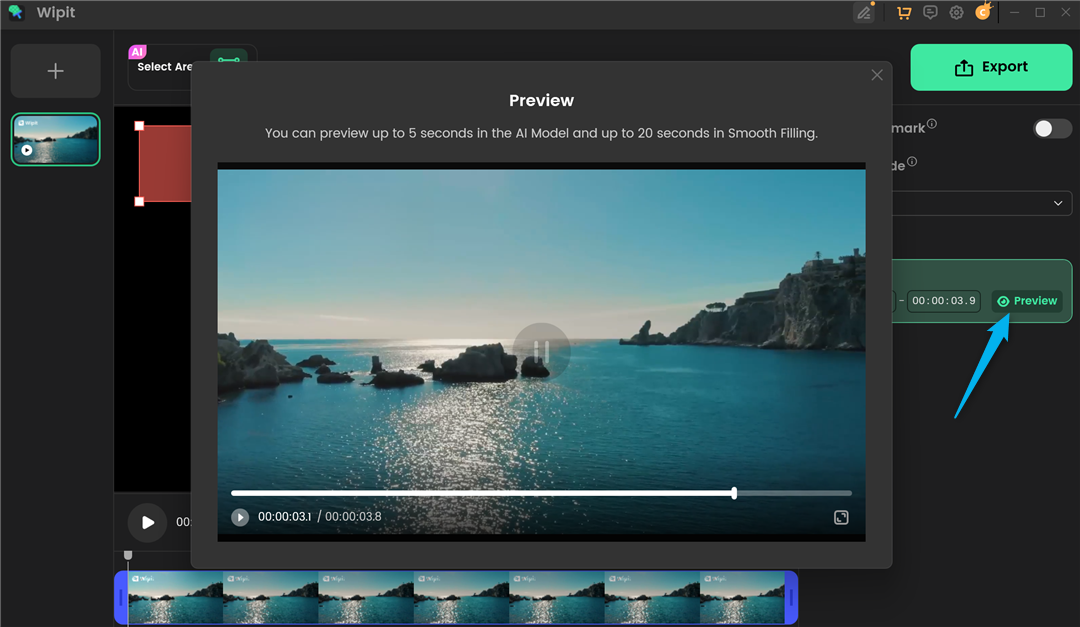
Remove Watermark from Videos
With the AI model, you can preview up to 5 seconds of the video, whereas with the Smooth Filling model, you can preview up to 20 seconds.
After removing watermarks or other unwanted objects from your video, you can use Wipit to add a brand logo.
Step 6. Export Videos.
Once you are satisfied with the watermark removal effect, click the Export to export the video.

Click Export Button
When you click the Export button, a pop-up window will appear where you can set the file name and the video save location. Once you've made your selections, click the Export button. After the export is complete, you can find the video in the specified location.
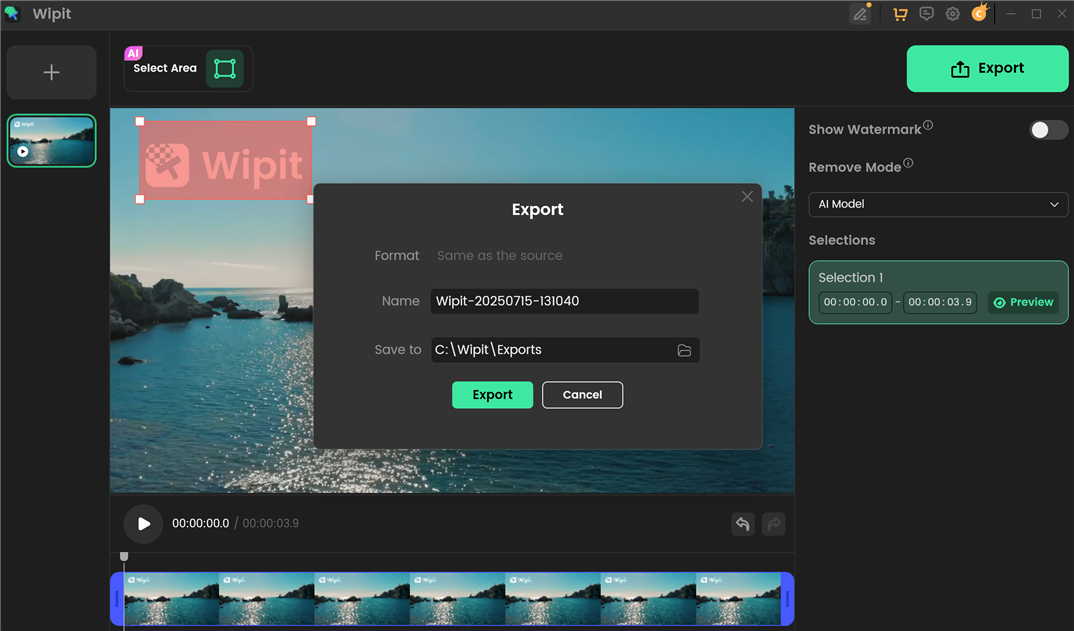
Export Video
If you have questions after reading this guide, please refer to FAQs page to check more solutions. Or you can contact our Support Team to get further help. We are here to help you!