Wipit User Guide
Learn how to remove watermarks, logos, objects, and more from videos and photos with Wipit. Download and try it now.
Free DownloadFor Win & Mac | 100% Clean & Secure
Remove Watermark from Images
Whether you encounter the similar situations below?
"I have a photo with a watermark, how can I remove it?"
"I need to erase some unwanted objects from my image. Is there an easy way to do that?"
If you’re facing similar issues, such as watermarks, logos, or other unwanted objects in your photos, Wipit's Remove Watermark from Images feature is here to help. It allows you to easily remove these elements and provides tools to paint over areas, preview changes, and perfect your photo before finalizing. Follow the steps below to quickly enhance your images.

Computer System Requirements
| Windows | macOS | |
| Operating System | Windows 10 and above (64-bit only) | macOS 10.15 (macOS Catalina) and above |
Supported Image Formats
| PNG, JPEG |
Differences between Free & Activated Version
| Benefits | Free Version | Activated Version |
| Remove Watermark from Images | ||
| Export Image |
Step 1. Download and Install Wipit.
First, download and install Wipit on your computer. Once installed, launch the software to get started with the watermark removal process.
Step 2. Upload Your Image.
After launching Wipit, you can quickly upload your image by either dragging and dropping it into the software or using the upload button.

Upload Images from Your Computer
Once the image is uploaded, it will be displayed in the slide view on the left panel, ready for editing.

Upload Images Successfully
Step 3. Select the Watermark Area.
To remove a watermark, click Select Area and use your mouse to outline the watermark or logo. Once you release the mouse, Wipit will automatically detect the edges and blend them naturally with the surrounding area.
Frame the Unwanted Object with AI
Alternatively, you can use the Brush or Eraser tools to manually paint over the unwanted watermark. Adjust the brush or eraser size as needed for precision, especially in small or detailed areas.
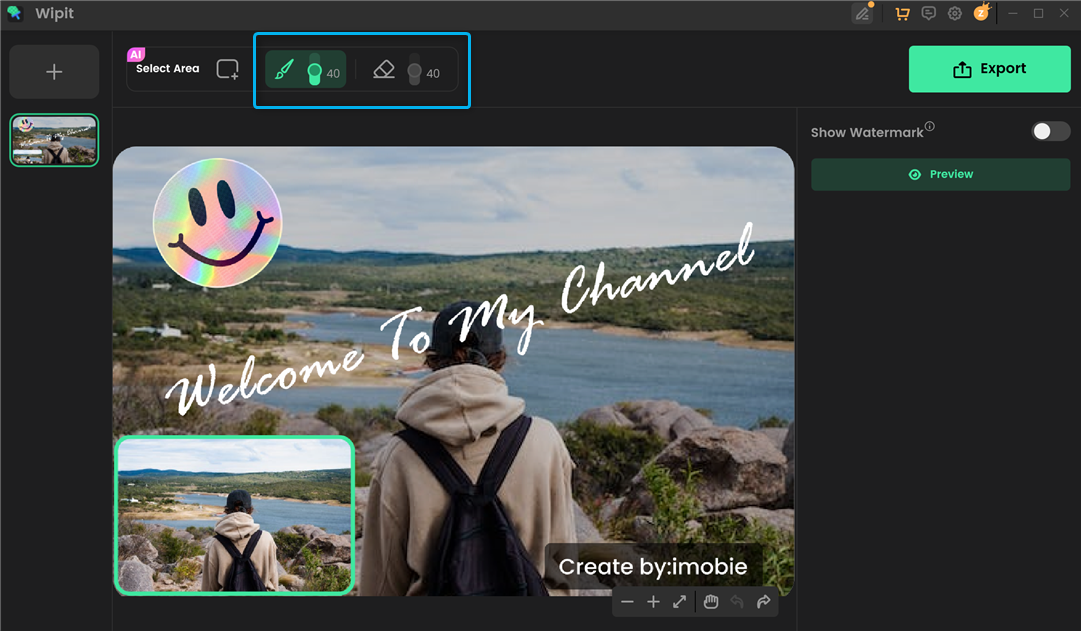
Paint Over Unwanted Object with Brush
Step 4. Preview the Watermark Removal Effect.
Once you've selected the watermark or unwanted object, click the Preview button to see how it looks after the removal.
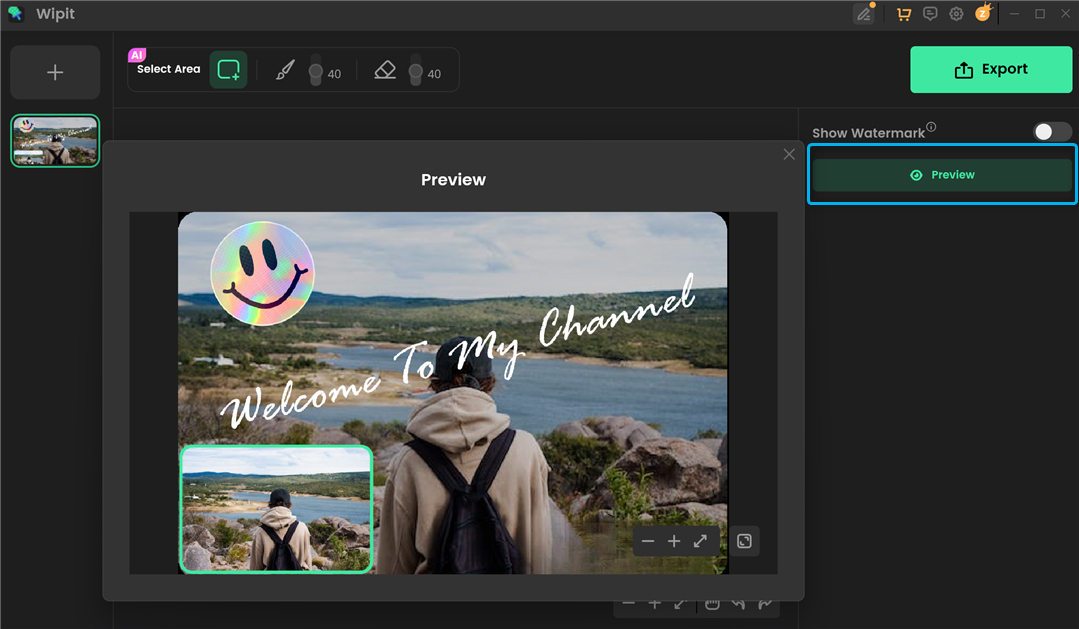
Preview Photo Watermark Removal Effect
Wipit uses AI to detect and handle the edges smoothly, ensuring the surrounding areas look natural.
Step 5. Export the Image.
Once you're satisfied with the result, click the Export button to save your edited image.

Click Export Button
When you click the Export button, a pop-up window will appear where you can set the file name and the image save location. Once you've made your selections, click the Export button. After the export is complete, you can find the image in the specified location.
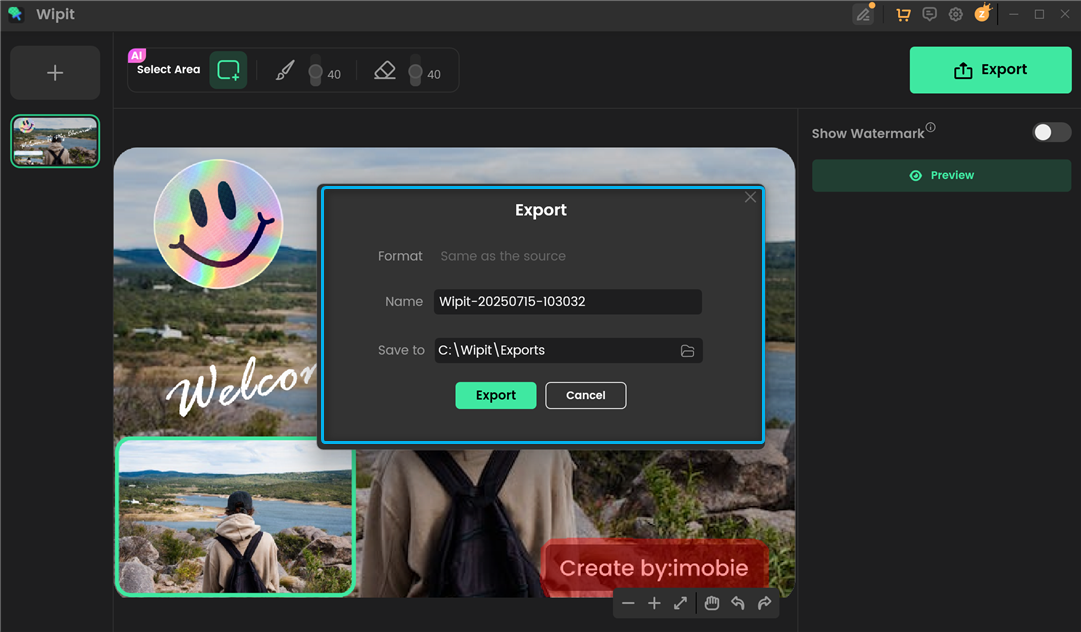
Export the Photo wihtout Watermark
1. Once you've successfully removed unwanted objects from your image, you can use Wipit to add a watermark and protect your intellectual property while strengthening your brand image.
2. If you have questions after reading this guide, please refer to FAQs page to check more solutions. Or you can contact our Support Team to get further help. We are here to help you!