Wipit User Guide
Learn how to remove watermarks, logos, objects, and more from videos and photos with Wipit. Download and try it now.
Free DownloadFor Win & Mac | 100% Clean & Secure
Get Started with Wipit
Learn how to use Wipit in just a few simple steps!

Part 1. What Is Wipit?
Wipit is a tool specifically designed to remove watermarks from images and videos. Its user-friendly interface and extensive range of features empower you to effortlessly and efficiently eliminate unwanted watermarks, text, emojis, and other unwanted objects from your multimedia content.
Free try Wipit and explore the remarkable features that set Wipit apart and make it an exceptional choice for watermark removal:
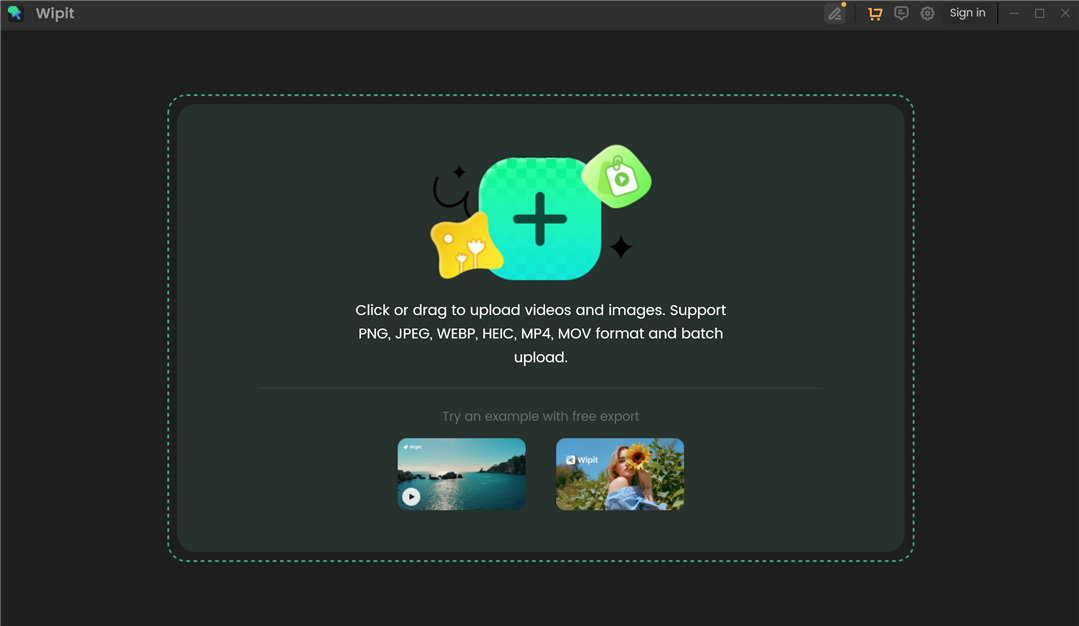
The Main Interface of Wipit
Upload Videos/Images in Batch: Support to upload videos and images in batches, streamlining your watermark removal workflow and conserving your valuable time.
Remove Watermark with AI: AI-powered removal ensures watermark removal without any blurring or distortion.
Preview Images/Videos in a Slide View: Allow previewing of images and videos in a slide view, effortlessly processing from one image or video to another.
Add Your Watermark: Upload and add your watermark to personalize your videos and safeguard them against unauthorized use.
Part 2. Computer System Requirements
| macOS | macOS 10.15 (macOS Catalina) and above |
| Windows OS | Windows 10 and above (64-bit only) |
Wipit supports a 64-bit operation system instead of a 32-bit one. To ensure a seamless experience and access to all the features and functionalities of Wipit, we highly recommend utilizing a device with a 64-bit version of the operating system.
Part 3. How to Check Your Computer Specifications?
For Windows Computer:
Step 1. Find "Settings" option on your computer.
Step 2. Choose "System" option.
Step 3. Choose "About" option. And you will view the detailed info about computer specification.
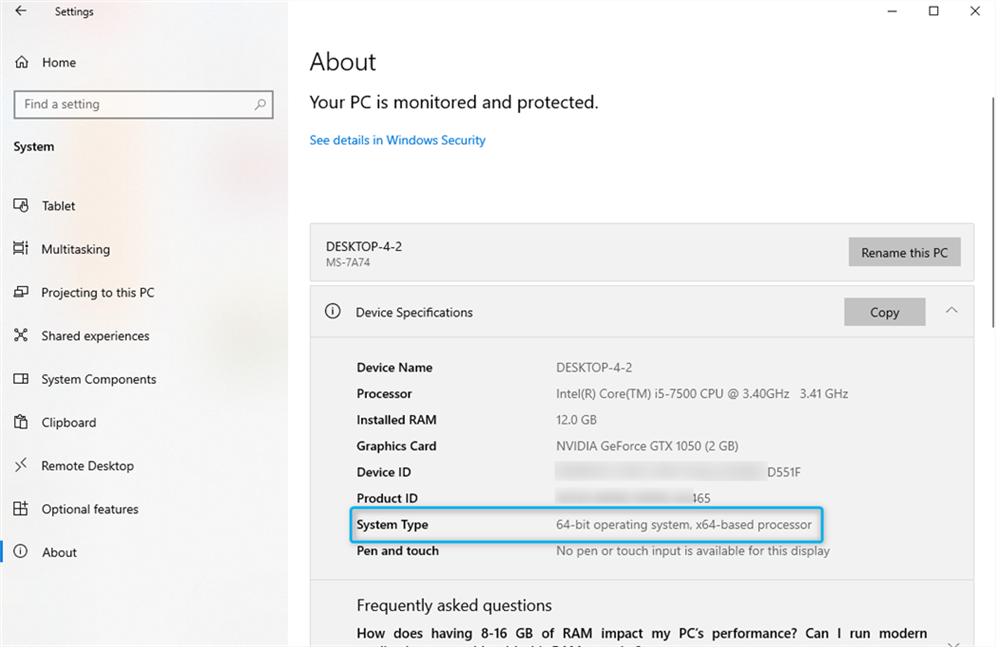
How to Check Windows Computer Specifications
For Mac Computer:
Step 1. Click the Apple icon on the top left of your computer screen.
Step 2. Click "About This Mac".
Step 3. You will find the computer specifications in the following appearing window.
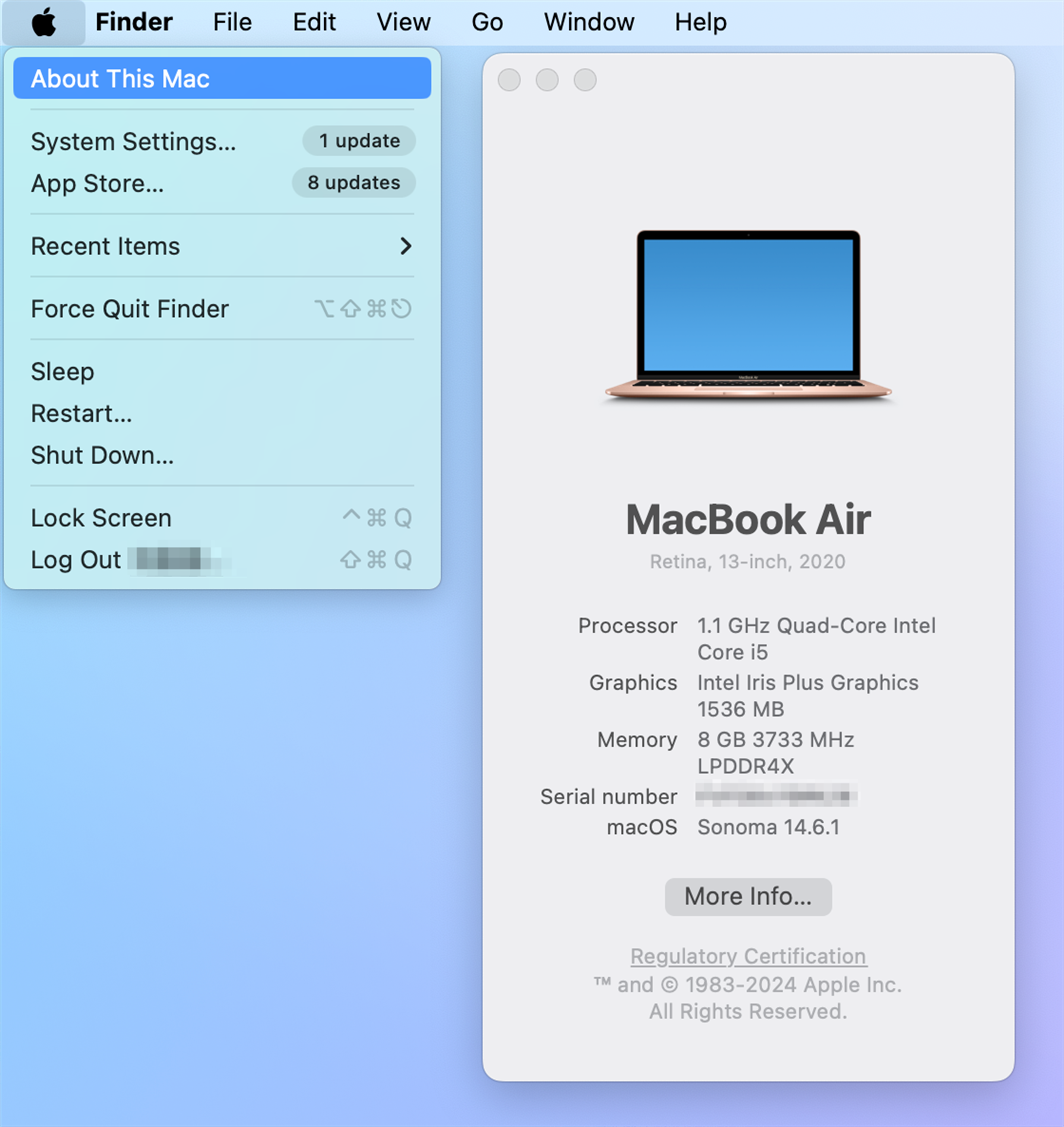
How to Check Mac Computer Specifications
Part 4. Differences between Free & Activated Version
| Benefits | Free Version | Activated Version |
| Remove Watermarks on Videos | ||
| Remove Watermarks from Images | ||
| Slide View | ||
| Add Watermark | ||
| Export Videos/Images |
Part 5. Download & Installation
The download and installation process of Wigit is designed to be straightforward and user-friendly. Here’s a step-by-step guide to help you download and install Wipit.
For Windows:
Step 1. Click the download link of Wipit on your computer. After downloading it successfully, please double-click "wipit-en-setup.exe".
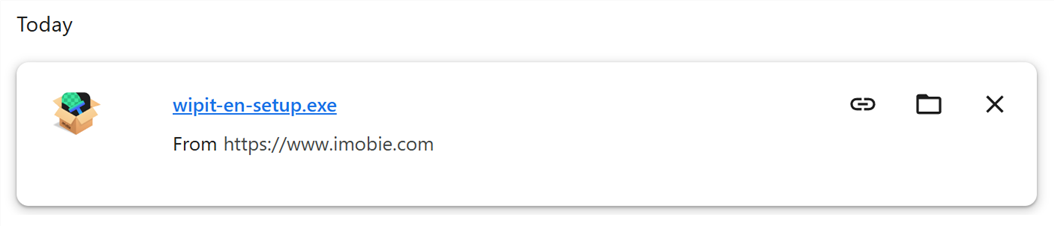
Click the Download Link of Wipit on Windows
Step 2. Once the download is complete, locate the downloaded file on your computer. Double-click on the downloaded file to initiate the installation process. Review and agree to any terms or agreements that may be presented during the installation process.
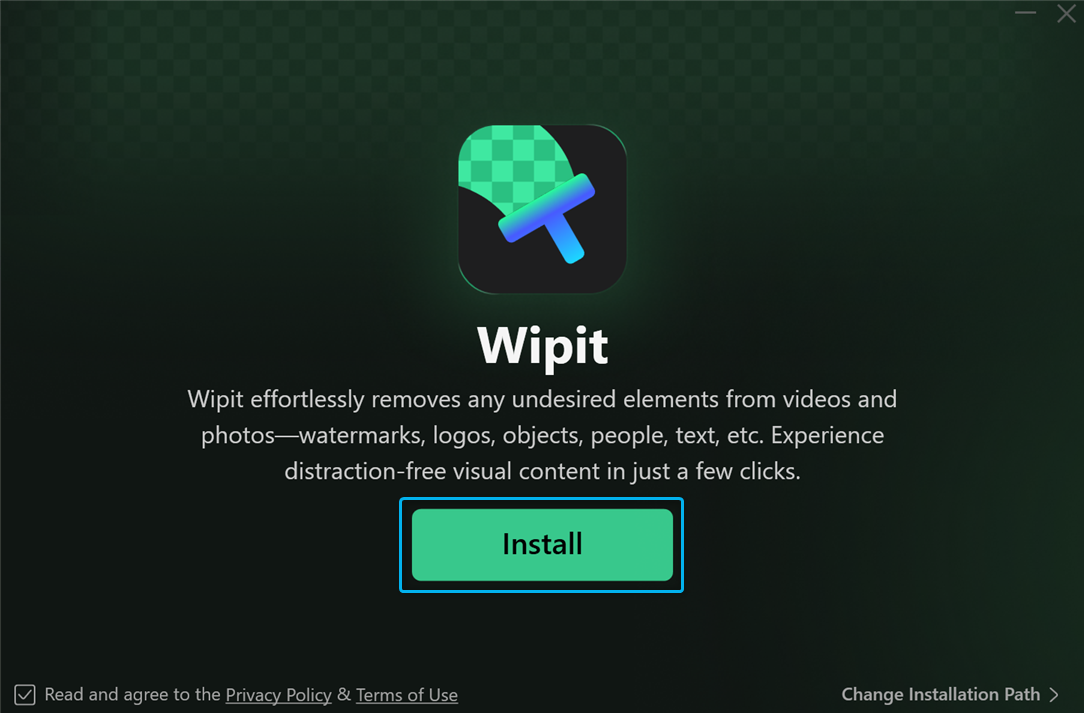
Click the Install Button on Windows
Step 3. After the installation completes, you can launch Wipit by locating its icon on your desktop.
The Installation Process Completes on Windows
For Mac:
Step 1. Click the download link of Wipit on your computer. After downloading it successfully, please double-click "wipit-en-mac.dmg".
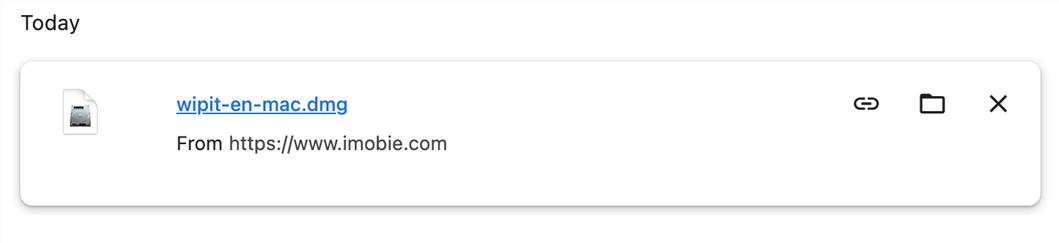
Click the Download Link of Wipit on Mac
Step 2. Once the download is complete, locate the downloaded file on your computer. Double-click on the downloaded file to initiate the installation process. Review and agree to any terms or agreements that may be presented during the installation process.
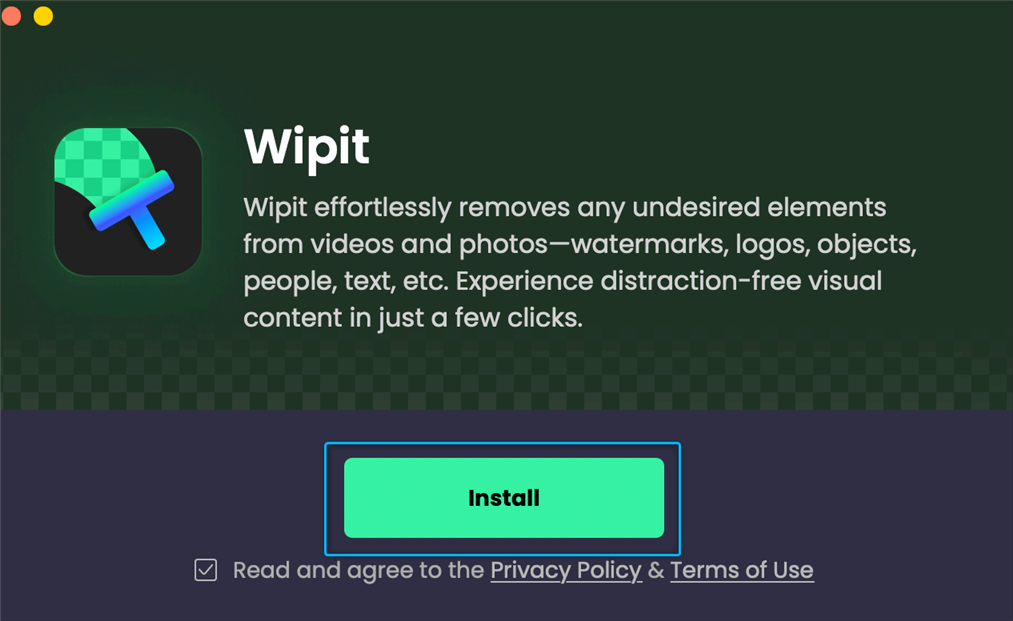
Click the Install Button on Mac
Step 3. After the installation completes, you can launch Wipit by locating its icon on your computer.
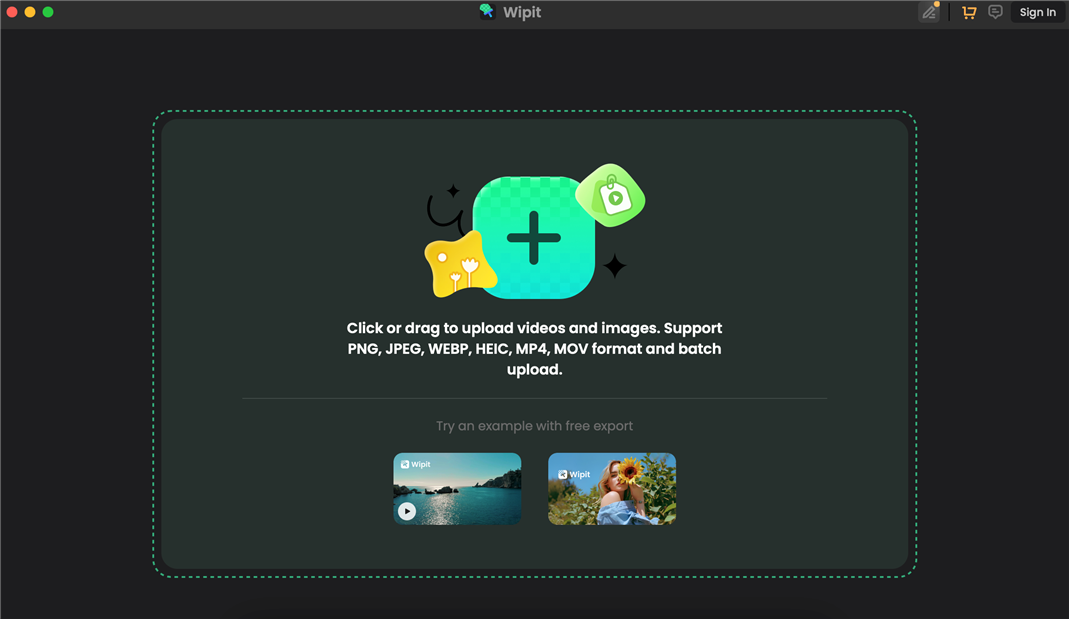
The Installation Process Completes on Mac
Part 6. Menu Bar Settings
After you launch Wipit, you will see the Menu Bar Settings button in the upper right corner of the software.
Here you can unfold the Menu Bar Settings button to:
About: Check Wipit version.
Check for updates: Check if there is a newer version of the app and upgrade Wipit.
Open Log file: Open the log file of Wipit.
Guide: View the user guide to make good use of Wipit.
FAQ: Visit the FAQ to get quick solutions.
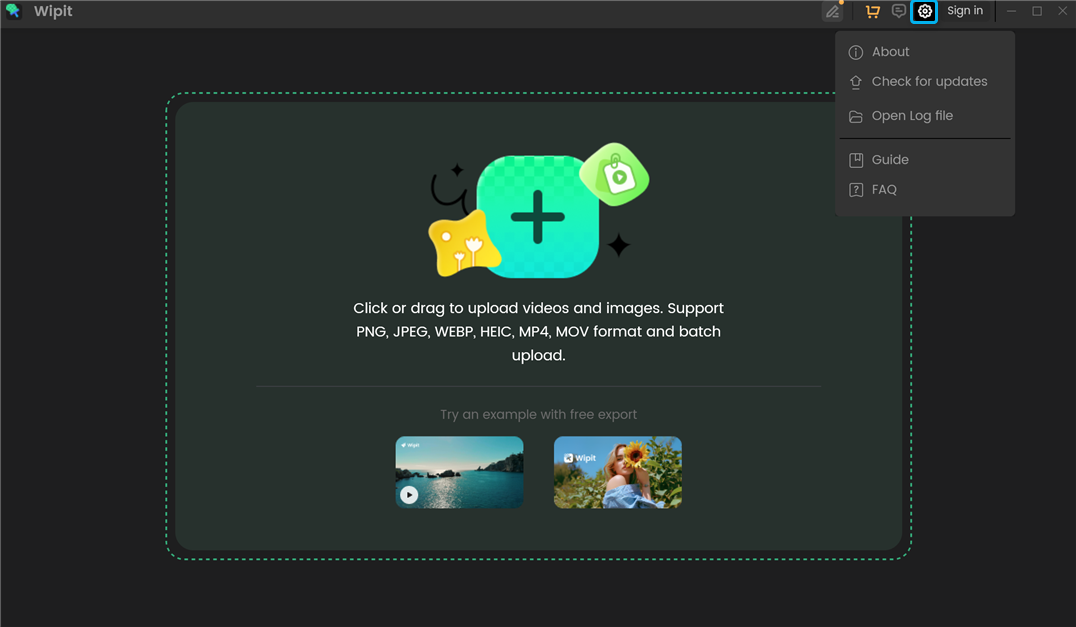
Menu Bar Settings
Part 7. Features Overview
1. Remove Watermarks on Videos
Wipit helps you to remove watermarks from your videos with AI on a frame-by-frame basis. It offers two watermark removal models: the AI model and the Smooth Filling model. You can manually select and adjust the watermark area and specify the duration for the removal effect with Wipit.
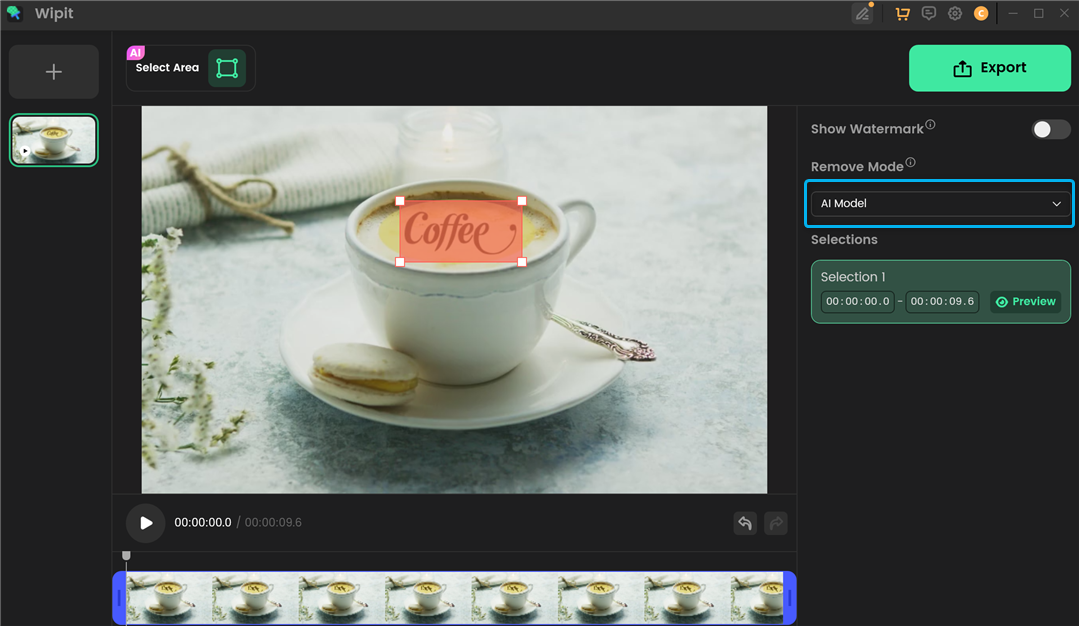
Remove Watermarks on Videos
2. Remove Watermarks from Images
Wipit enables you to efficiently remove watermarks, emojis, stickers, logos, text, and other unwanted objects from images and photos in formats like PNG and JPEG.
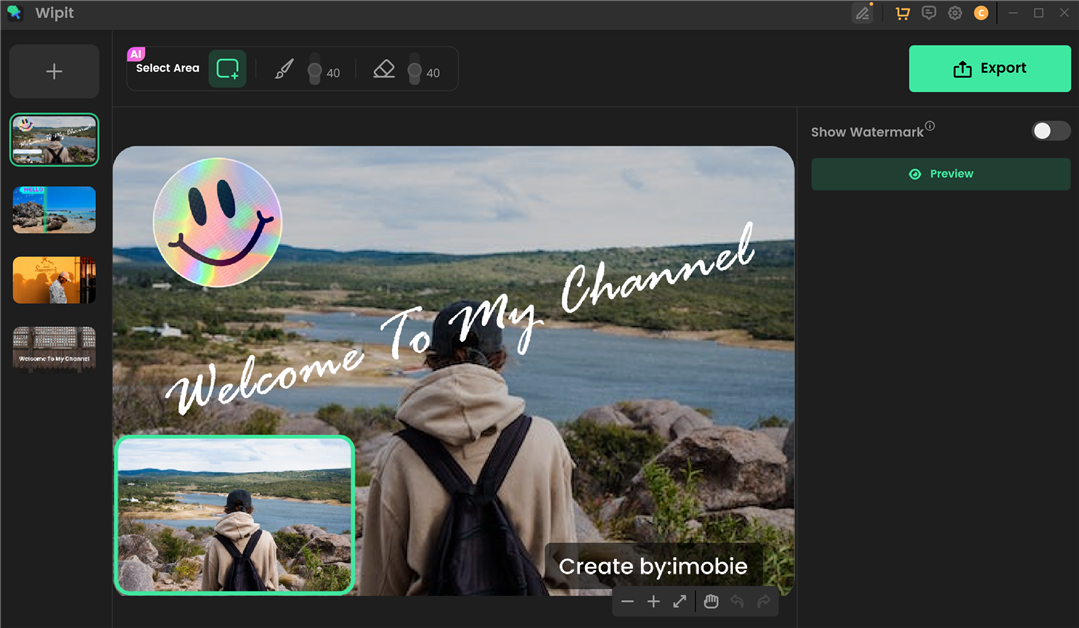
Remove Watermarks from Images
When an area is selected for removal, Wipit automatically recognizes the element edges, while maintaining natural borders. With AI technology, it analyzes surrounding pixels and seamlessly blends resulting blank spaces with contextually appropriate backgrounds.
Wipit offers the convenience of batch uploading, allowing you to upload multiple videos and images simultaneously. Once uploaded, these videos and images will be displayed in a slide view on the left panel. This slide view feature makes it convenient to switch between different videos and images, facilitating the seamless removal of watermarks from one image or video to another.
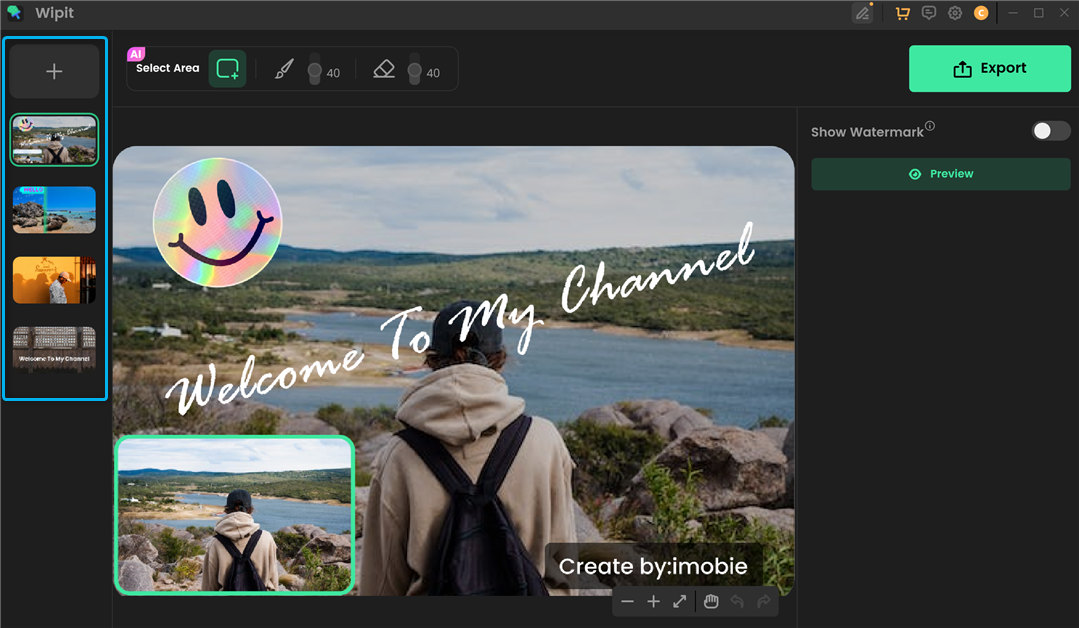
Preview Images and Videos in a Slide View
Once you’ve removed watermarks from your images or videos, you can choose to upload a personal watermark image from your computer. Customize its opacity, placement, and size to suit your needs. Adding a watermark will add a personal touch to your work while safeguarding against unauthorized sharing or use.
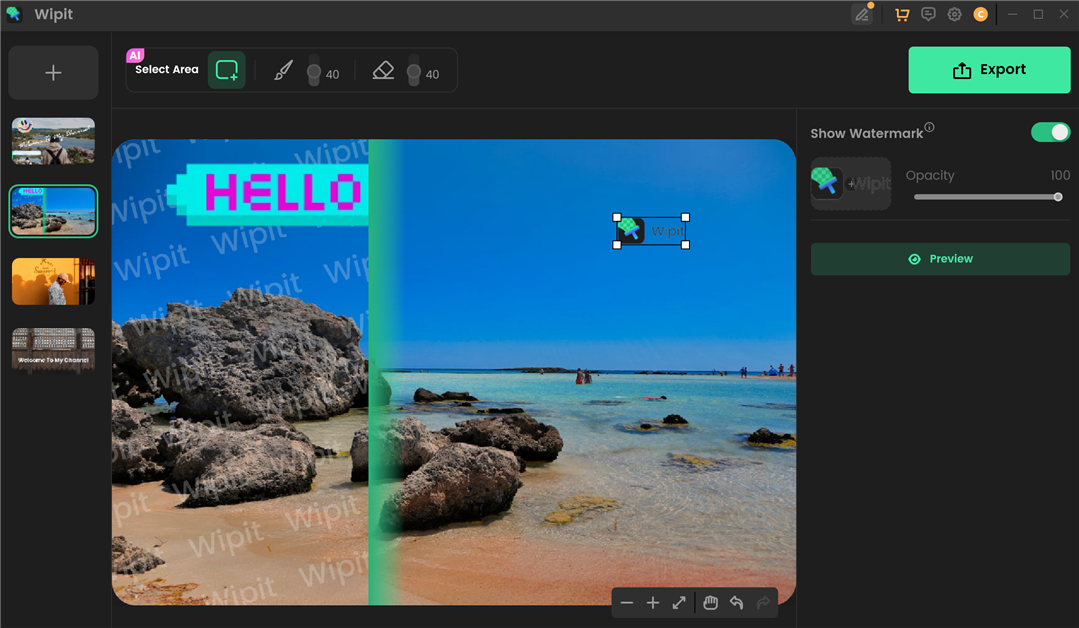
Add Watermark
If you have questions after reading this guide, please refer to FAQs page to check more solutions. Or you can contact our Support Team to get further help. We are here to help you!