Wipit User Guide
Learn how to remove watermarks, logos, objects, and more from videos and photos with Wipit. Download and try it now.
Free DownloadFor Win & Mac | 100% Clean & Secure
Add Watermark
Whether you encounter the similar situations below?
"I'd like to add watermark protection to my video. Does your software support this feature?"
"Is there a way to embed my own watermark for copyright purposes?"
If you have questions like these, rest assured that the Add Watermark function can address your needs. This feature enables you to apply watermarks to your videos, combining an intuitive interface with robust capabilities. Whether you aim to safeguard your intellectual property or strengthen brand identity, the tool allows for customizable watermark integration—ensuring your content carries clear copyright assertions while maintaining a polished, professional look.
Computer System Requirements
| Windows OS | macOS | |
| Operating System | Windows 10 and above (64-bit only) | macOS 10.15 (macOS Catalina) and above |
Step 1. Download and Install Wipit on Your Computer.
Before performing any functional operation, please download Wipit your to computer. Please ensure that network is stable while downloading and installing Wipit on your computer.
Step 2. Upload a Video or Images from the Computer.
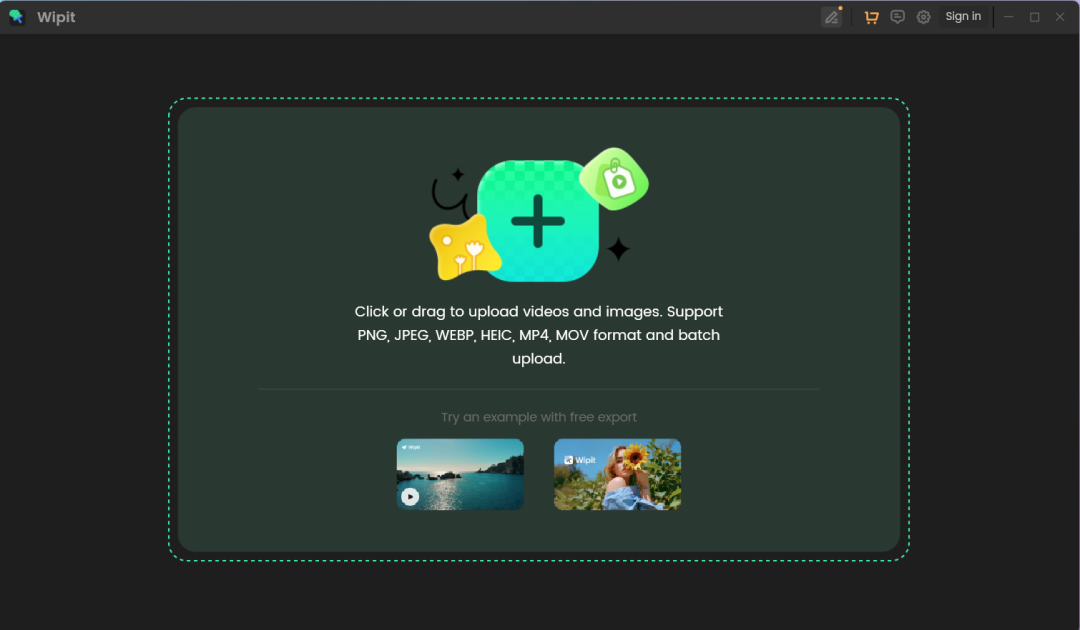
Please drag and drop or click on the designated area on your computer to upload videos or images. We support MP4 and MOV video formats as well as PNG and JPEG images. The uploaded files will be shown on the left panel.
Upload Videos and Images
Step 3. Add Watermark.
After adding the video or image, you will see the following page. Please enable the Show Watermark icon in the right column of the software.
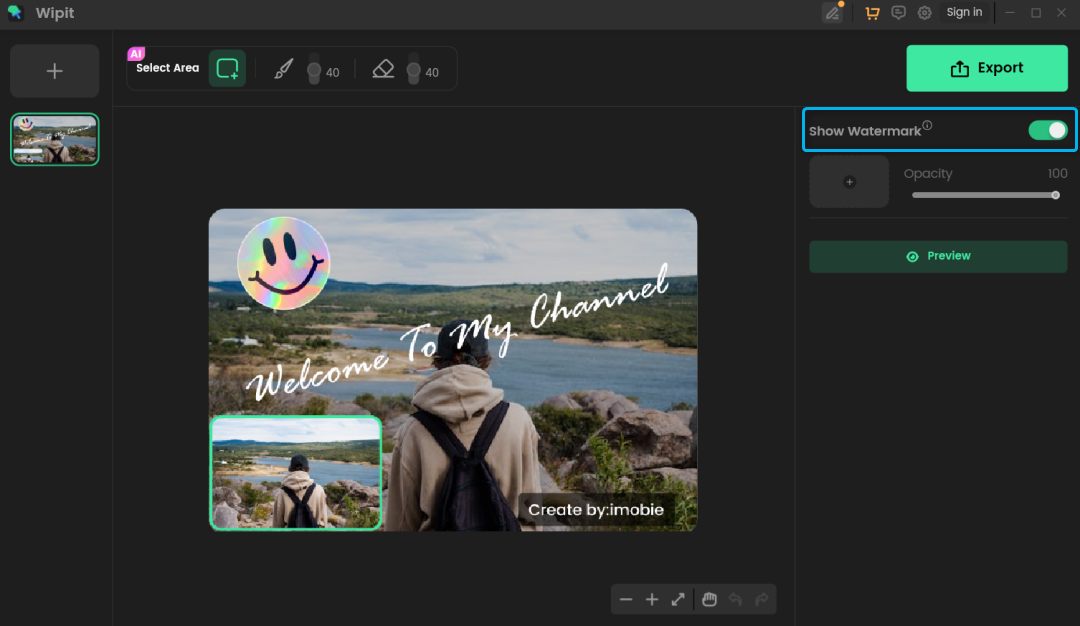
Click Show Watermark
Then click + to select the watermark image.
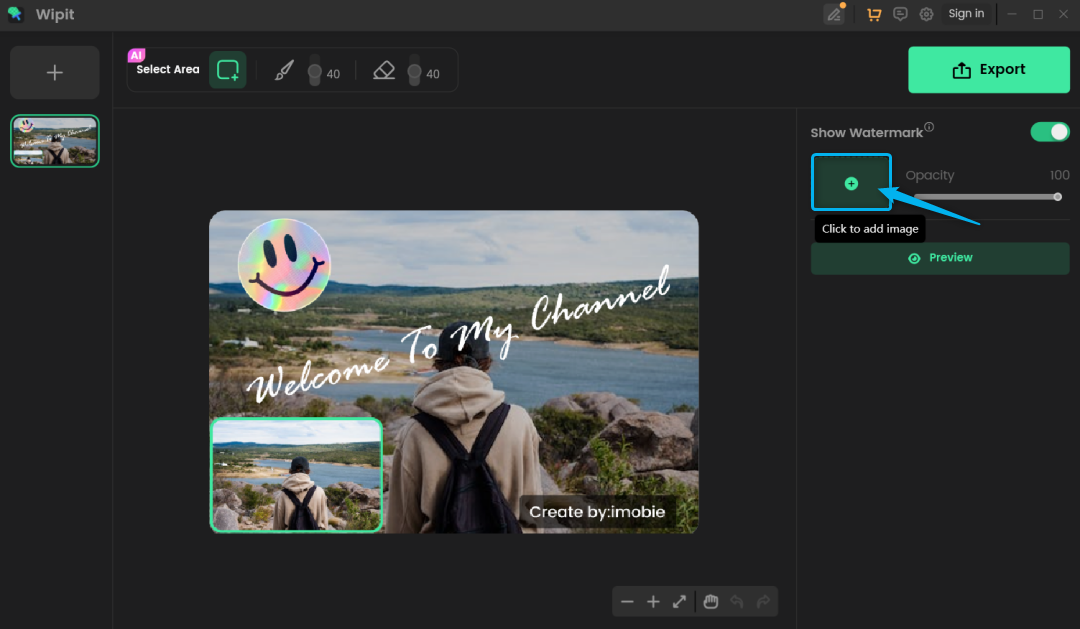
Select Watermark Image
Step 4. Edit Watermark.
Once you have uploaded the watermark image, you can easily adjust its position by dragging it. In addition, you can also drag the four corners of the watermark image to set the watermark size, and drag the opacity bar to set the transparency of the watermark.
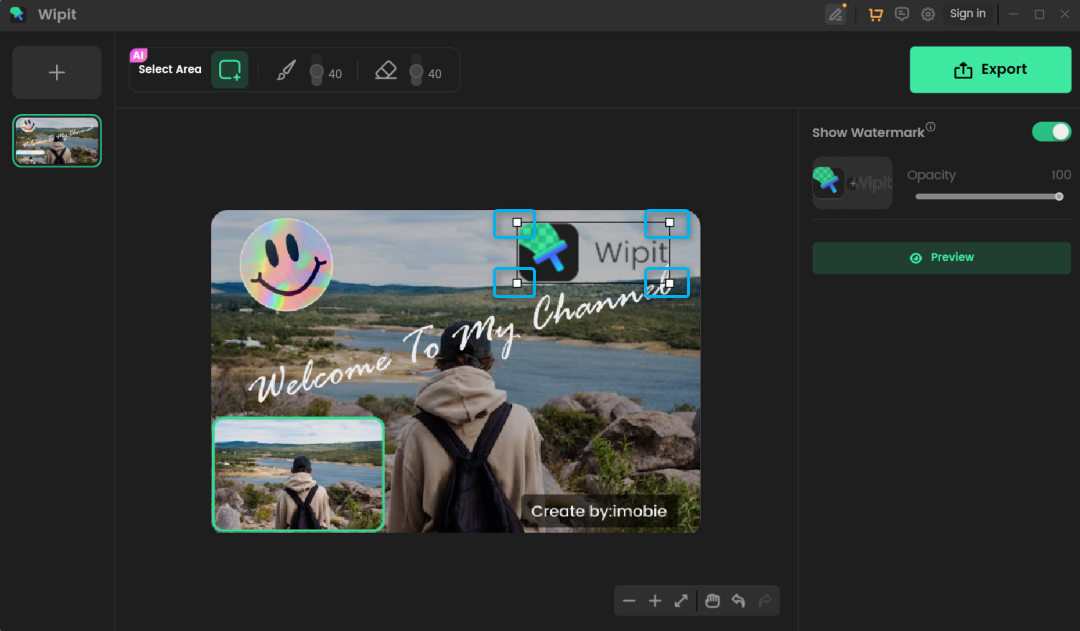
Edit Watermark Image
You can upload one watermark image at a time. If you need to switch to another watermark image, simply click on the + area again to upload a new one.
Step 5. Preview and Export.
After editing the watermark, you can click the Preview to view the watermark you added, and then click the Export to export your work.
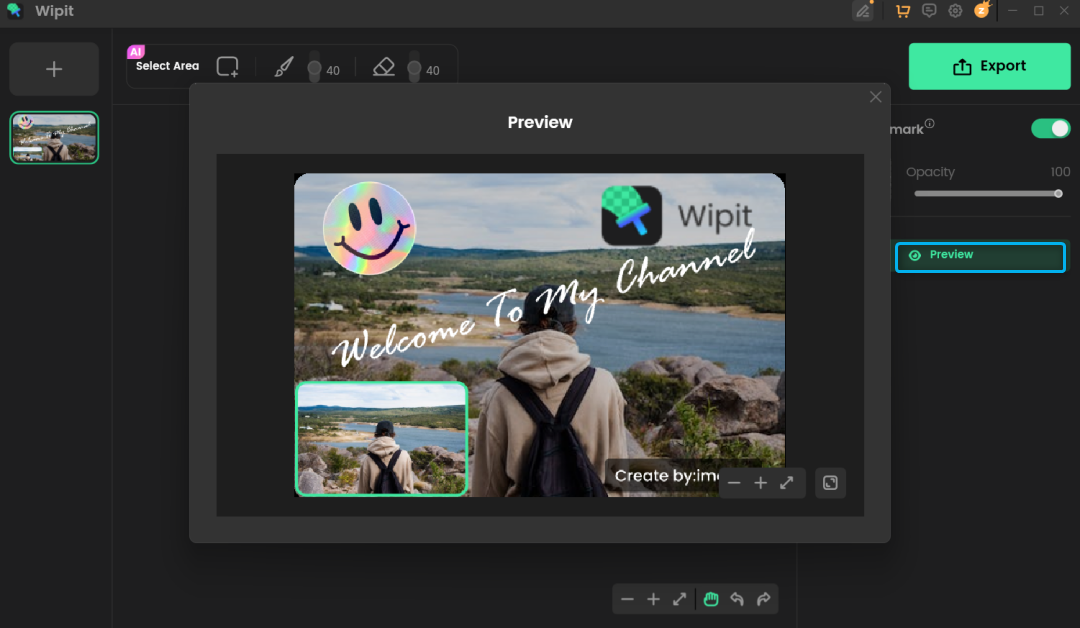
Preview and Export
While clicking the Export button, a window will pop up where you can set the file name and save location. After setting, you can Export the work, and you can find it in the specified path.
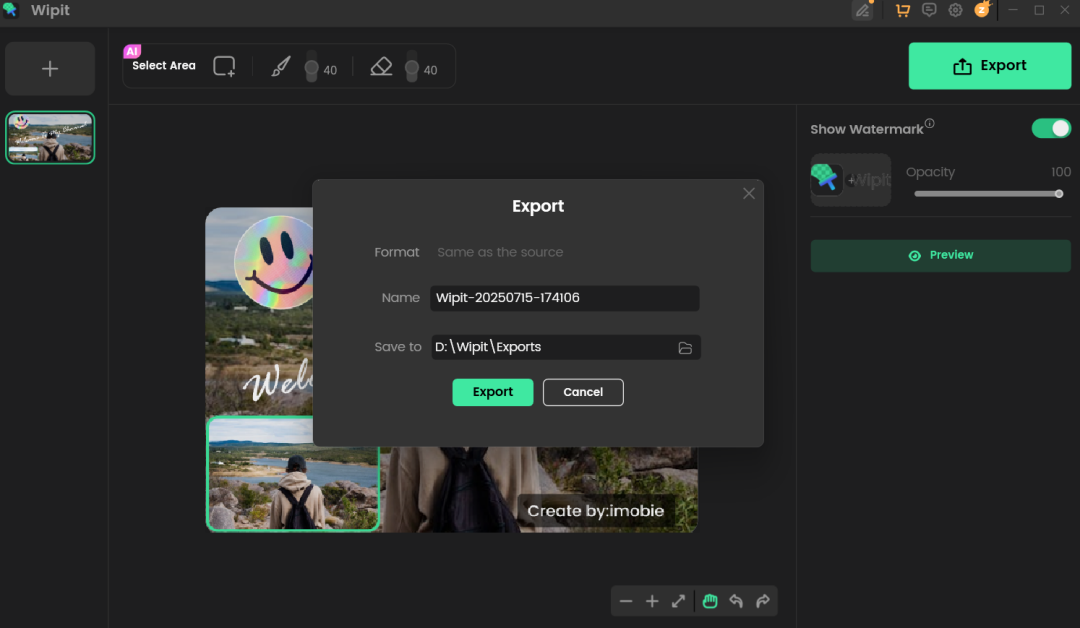
Export the Work
1. If you're using the free trial, note that a watermark will appear in the middle of the image. For unlimited exports without the Wipit watermark, simply upgrade to a premium Wipit account.
2. If you have any question after reading this guide, please refer to FAQs page to check more solutions. Or you can contact our Support Team to get further help. We are here to help you!