Quick Answer: What to Check Before Buying a Used Android Phone
When meeting a seller to buy a used Android phone, perform these three absolute must-do checks before handing over any cash:
- Inspect the hardware: Check the screen for dead pixels, ensure the charging ports work, and test the battery health to rule out physical damage.
- Check the IMEI: Dial *#06# to find the device’s IMEI number, then run it through an online checker to confirm the phone isn’t stolen or blacklisted by a carrier.
- Verify Google Account removal (FRP check): Check the device’s settings to ensure the previous owner has completely logged out of their Google account. Have them factory reset the phone and boot it all the way to the home screen in front of you to guarantee you won’t be locked out later.
Buying a secondhand device is a great way to save money, but it comes with hidden risks. Hardware issues, carrier blacklists, and software security locks can quickly turn a good deal into an expensive paperweight. To protect yourself, follow this detailed pre-purchase checklist.
Step 1: Test the Hardware Using Secret Dialer Codes
Hardware issues are incredibly difficult—and often impossible—to fix with software tools later. To ensure the screen, battery, and internal sensors actually work, you need to test them thoroughly during the meetup.
Basic Physical Checks
- Examine the ports: Bring a power bank and cable to ensure the phone actively charges. Test the headphone jack if the phone has one.
- Look for water damage: Check the SIM tray slot with a flashlight. Most Android phones have a small water damage indicator sticker inside (usually white; if it is pink or red, the phone has water damage).
- Inspect the frame: Look closely for bent frames or uneven screen gaps, which might indicate a swollen battery or a poor-quality aftermarket screen replacement.
Advanced Hardware Testing (Dialer Codes)
You do not need technical skills to test the phone’s internal sensors. Many Android phones have a hidden diagnostic menu you can access straight from the phone’s keypad.
- Open the phone app and navigate to the dialer.
- Type the secret diagnostic code. For Samsung devices, dial *#0*#. (Note: Codes can vary by brand. For Motorola, you can usually find the “Device Help” app, and for Xiaomi, dialing *#*#6484#*#* often opens the test menu).
- Use the menu options to systematically test:
Display/Dead Pixels: Tap “Red,” “Green,” and “Blue” to fill the screen and spot any dead pixels or screen burn-in.
Touch: Trace the blocks on the screen to ensure the digitizer registers touch in all corners.
Vibration and Speakers: Trigger the vibration motor and audio playback to ensure they are fully functional.
Sensors: Test the proximity sensor (cover the top of the screen to see if it reacts) and the cameras.
Step 2: Check the IMEI for Blacklists and Carrier Locks
A phone that looks physically perfect might still be a “brick” if it has been reported stolen or has unpaid carrier bills. This is known as an IMEI blacklist.
Every mobile device has a unique 15-digit International Mobile Equipment Identity (IMEI) number. If an owner reports the phone lost or stolen, or stops paying their contract, network carriers will block this IMEI. A blacklisted phone will not connect to cellular networks, meaning you cannot make calls or use mobile data, no matter whose SIM card you put in.
How to check the IMEI before buying:
1. Turn on the phone, open the dialer app, and type *#06#. The IMEI number will appear on the screen.
2. Do not rely solely on the IMEI printed on the phone’s box, as scammers sometimes swap boxes.
3. Enter the IMEI into a trusted pre-purchase checking tool like Swappa IMEI Checker, CheckMend, or PhoneCheck.
Important Warning: Carrier Block vs. Software Lock
It is critical to understand that an IMEI blacklist is an external network carrier-level issue, which is fundamentally different from an on-device Google account software lock (FRP). No software tool can bypass a carrier blacklist, which is why verifying the IMEI before you pay is absolutely non-negotiable.
Step 3: Verify Google Account Removal (Avoid the FRP Trap)
One of the most common and frustrating traps secondhand buyers fall into is Factory Reset Protection (FRP). FRP is an Android security feature designed to prevent thieves from wiping and using a stolen phone. If the previous owner resets the phone without signing out of their Google account first, the device will be locked. Upon restarting, it will demand the previous owner’s email and password.
To ensure you do not buy a locked phone, ask the seller to safely remove previously synced Google account from Android devices in front of you. Perform this critical verification checklist before you hand over any money:
FRP Verification Checklist
- Check Settings manually: Go to Settings > Accounts and backup > Manage accounts (this path varies slightly by brand). Ensure there are absolutely no Google accounts listed. If there are, ask the seller to tap the account and select “Remove account.”
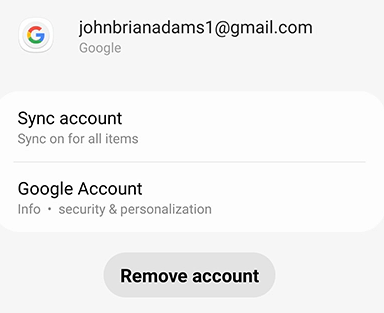
- Demand a fresh reset: Do not accept a phone that is already sitting on the initial “Hello” setup screen unless you can complete the setup in person.
- Boot to the home screen: Ask the seller to perform a factory reset right in front of you. Once the phone restarts, go through the setup process. If the phone reaches the standard home screen without asking for a “previously synced Google account,” the FRP lock has been successfully removed, and the phone is safe to buy.
What to Do If You Accidentally Bought an FRP-Locked Phone
Despite the best preparations, mistakes happen.
The Common Scenario: You meet a seller, verify the hardware, and check the IMEI. Everything seems legitimate, so you buy the phone. When you get home, you decide to factory reset the device for a fresh start. But when the phone reboots, you are hit with a “Verify your account” screen, asking for the previous owner’s Google credentials because you cannot login Google after factory reset. You are now stuck with an FRP-locked phone.
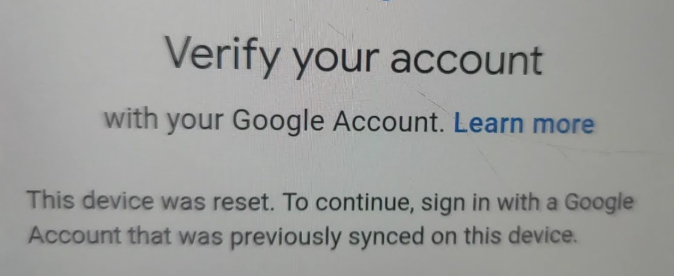
If you find yourself in this situation, it is important to realize that IMEI checkers and network unlocks cannot solve this problem. FRP is an on-device software security lock, completely separate from carrier blocks.
Your Best First Step:
The official and safest resolution is to contact the seller. If they are an honest seller who simply forgot to log out, they can either meet you to enter their password or log into their Google account from a computer and remotely remove the device from their account.
The Workflow Gap:
But what happens if the seller is a stranger who is now unresponsive, ignores your messages, or has completely disappeared? You have legally paid for a phone, but you are completely locked out of using it. In this exact post-purchase scenario, authorized owners need a safe software recovery path to bypass the verification screen.
How to Bypass FRP on a Used Phone Using DroidKit
If you legally purchased the device but cannot reach the original owner to remove the Google verification, DroidKit provides a practical safety net. DroidKit FRP Bypass is a dedicated module designed to help authorized owners bypass the software-level FRP lock through a guided desktop workflow.
Before starting, check your compatibility limits: DroidKit’s FRP Bypass currently supports specific brands including Samsung, Xiaomi, Redmi, OPPO, POCO, Motorola, Lenovo, VIVO, Realme, SONY, and OnePlus, running Android versions 6 through 16.
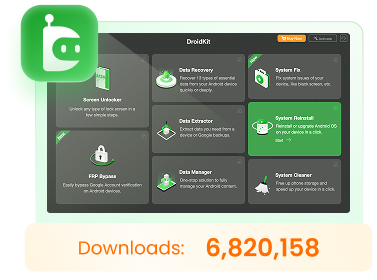
DroidKit – Unlock Android Screen in 1 click
Easily recover data, fix system issues, and optimize your Android performance.
DroidKit removes the software-level FRP lock on the device. It cannot, and will not, remove carrier blacklists or IMEI blocks.
Guided FRP Bypass Workflow
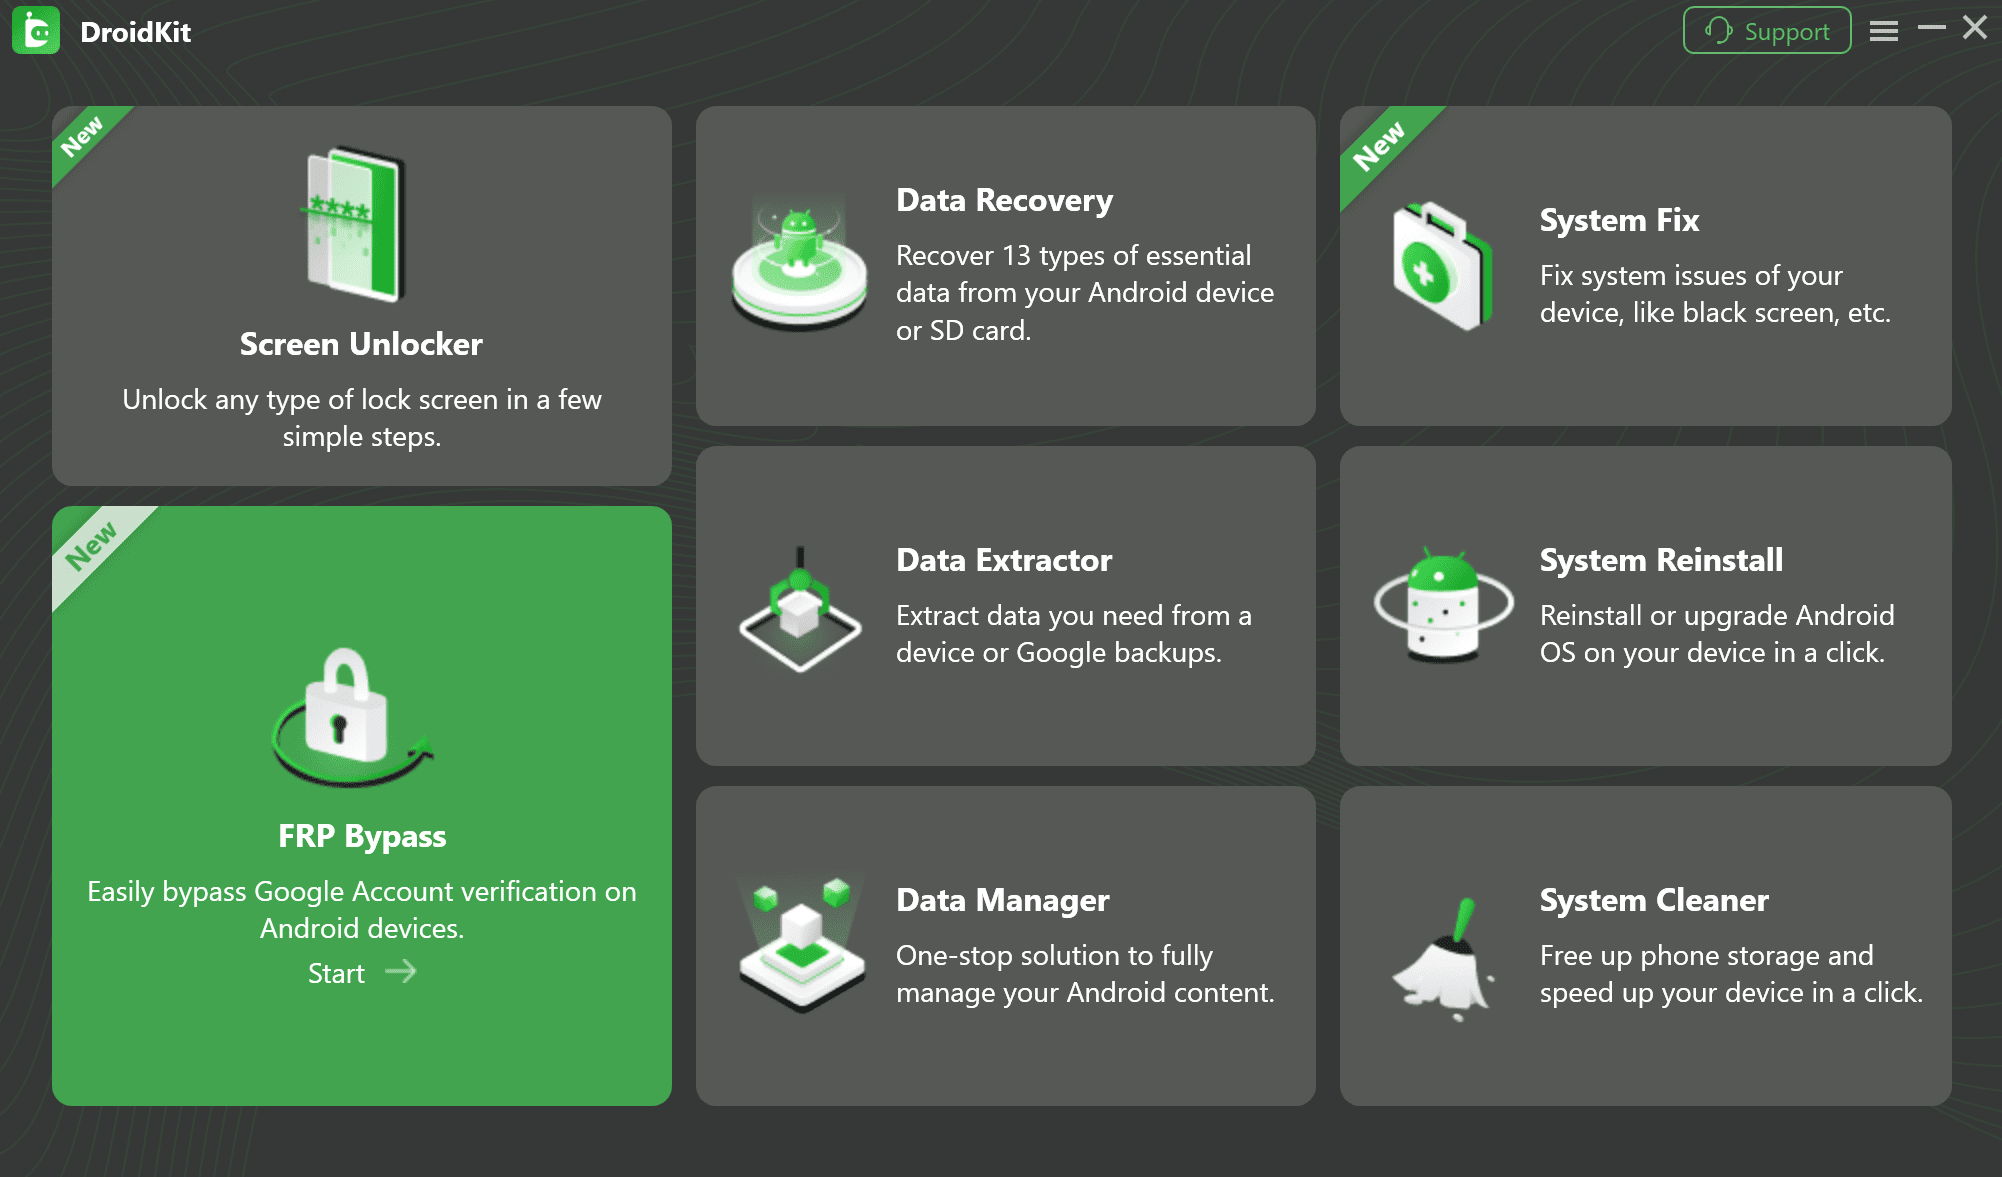
1. Open the Product: Download and launch DroidKit on your PC or Mac, then select the FRP Bypass module from the main interface.
2. Connect the Device: Connect your locked Android phone to your computer using a USB cable.
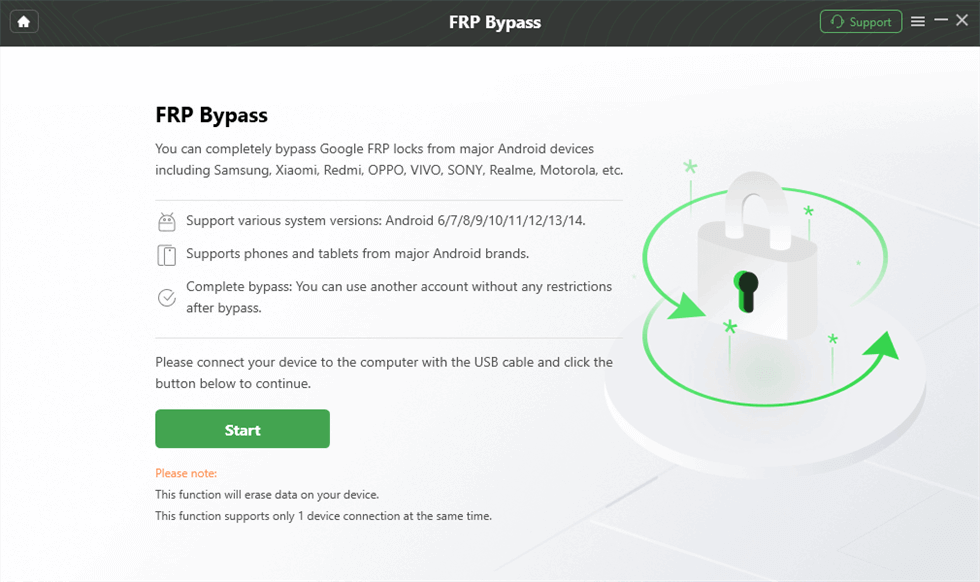
3. Verify Compatibility: Detect your device brand and prepare the correct configuration file.
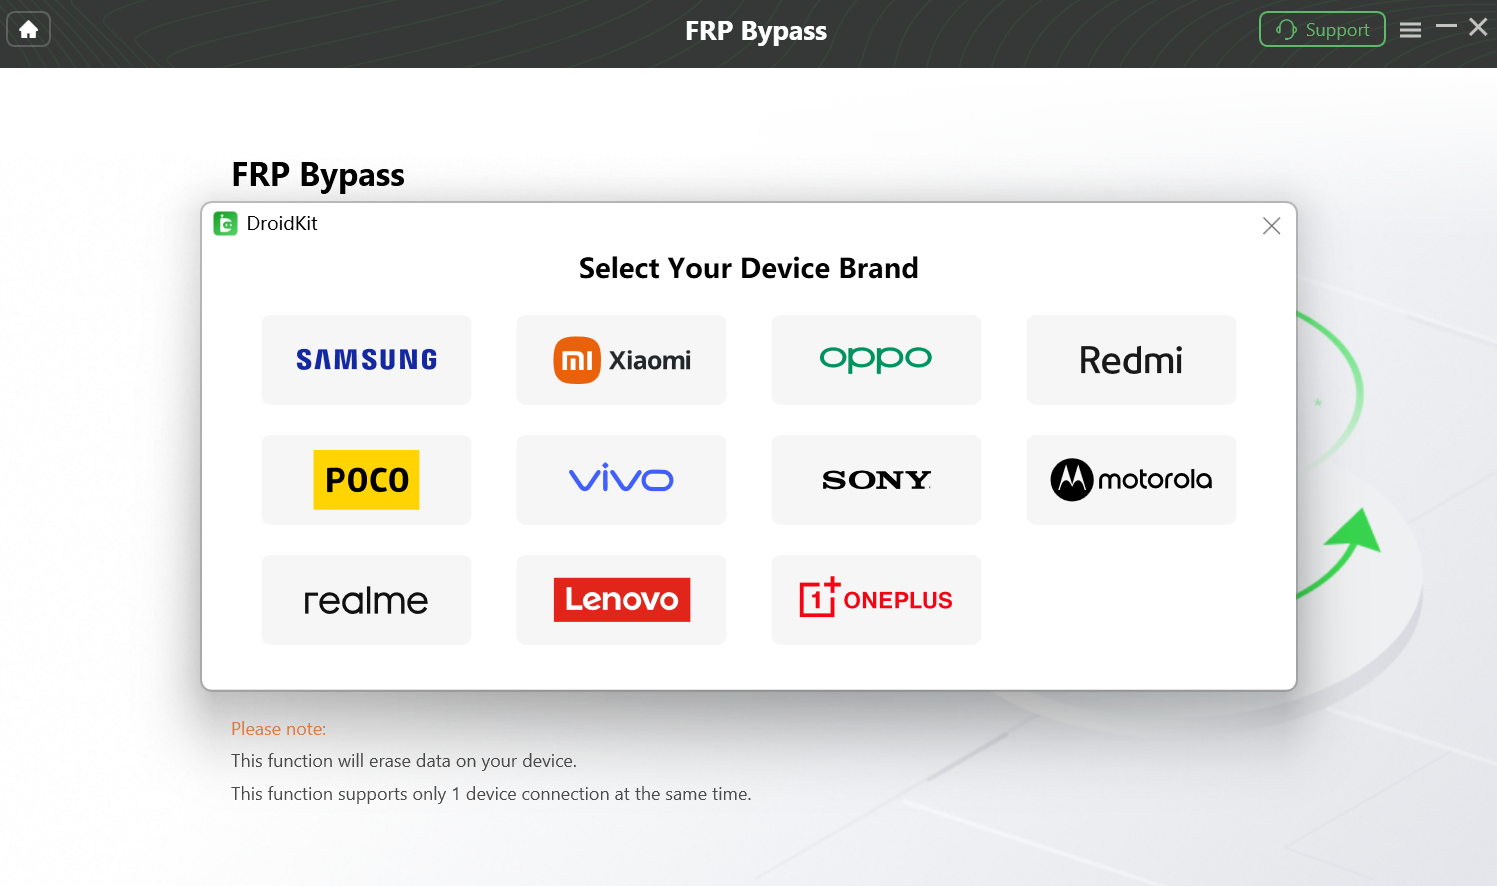
4. Follow On-Screen Steps: Click “Start to Bypass” and follow the guided, step-by-step prompts. DroidKit will provide specific instructions to put your phone in the correct mode based on your exact device model and Android version.
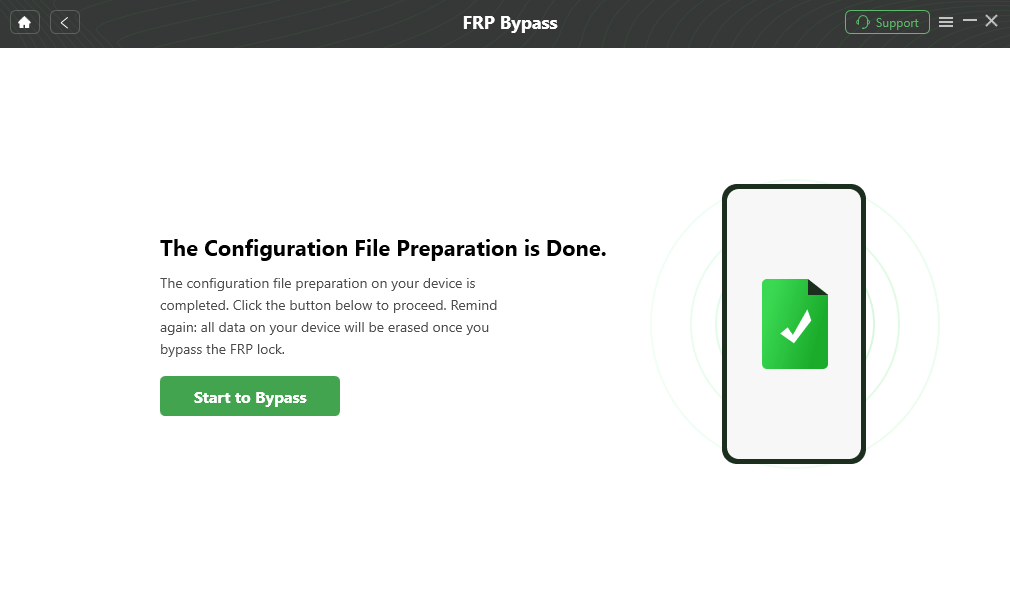
5. Complete the Bypass: Once the process finishes, the device will restart without the Google verification screen, allowing you to set it up as a completely new phone.
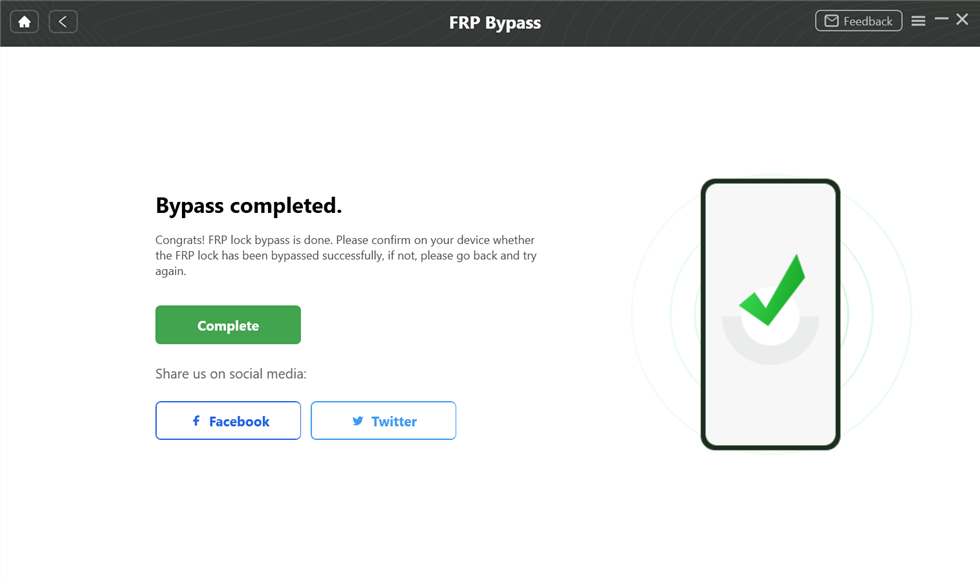
If you are stuck with a legally acquired, supported secondhand device, check DroidKit to see if it can help you regain access.
Frequently Asked Questions
Q1: What codes test Android phone hardware?
Secret dialer codes vary by brand, but for Samsung devices, dialing *#0*# is the most common way to open the hidden diagnostic menu to test the screen, sensors, and vibration. For Xiaomi, *#*#6484#*#* typically opens the hardware test menu.
Q2: What is the difference between an IMEI block and an FRP lock?
An IMEI block is a carrier-level restriction (meaning the phone is reported stolen or has unpaid bills) that prevents the phone from connecting to cellular networks. An FRP lock is an on-device Google software lock that triggers after a reset, preventing anyone from accessing the phone without the previous owner’s password.
Q3: How to check if a phone has a Google lock (FRP)?
Before buying, go to Settings > Accounts on the phone and verify that no Google accounts are synced. The safest check is to have the seller factory reset the device and boot it past the initial setup screen before you pay.
Final Thoughts: Buy Smart and Stay Secure
Buying a used Android phone doesn’t have to be a gamble. By sticking to a strict pre-purchase checklist, you can confidently navigate meetups and avoid common scams. Always remember the three vital steps: physically test the hardware using dialer codes, check the IMEI to avoid blacklisted devices, and verify that the Google account has been completely removed to prevent an FRP lock.
Preparation is your best defense. However, if you ever find yourself in a situation where you have legally purchased a device but accidentally get trapped by a leftover Google account verification screen, you aren’t entirely out of luck. For authorized owners, guided software workflows like DroidKit can act as a reliable post-purchase safety net to bypass the FRP lock and get your device up and running safely.
DroidKit – Unlock Android Screen in 1 click
- Bypass FRP lock on Samsung, Xiaomi, Redmi, OPPO, POCO, Motorola, Lenovo, VIVO devices without Password.
- Remove all types of lock screen on Android devices without password.
- Fix system issues for Samsung, Xiaomi, Redmi, devices safely.
- Transfer, back up, and manage all Android data in 1 handy place.
More Related Articles


 DroidKit