How to Fix “iPhone Camera Not Working”
iPad/iPhone camera not working? This guide will help you fix the iOS 11/12 camera not working issue quickly.
Apple provides users with a wonderful camera, with which iPhone users can take a lot of fantastic pictures. Especially with the release of iOS 11, this professional – quality filters take the camera on iPhone to another level. However, with time goes by, the problem that camera not working emerged, especially when the latest iOS 12 released and many users updated their iPhone to iOS 12, “iPhone camera not working” issue gets worse. At that time, you must feel anxious about this issue.
Image Credit: pcadvisor.co.uk
Actually, there’s no need to worry much about this issue. You are not the only one who meets the camera issue, others also write to us and say that the iPhone rear or back camera not working. Here in this guide, we collect several practical methods to help you fix the iPhone XS (Max)/XR/X/8/7/6 front or rear camera not working issue. Also applied to fix iPad camera not working problem. Let’s get it on.
1. Lock the Issue
Before the steps below to fix the iPhone XS (Max)/XR/X/8/7/6 camera not working issue, lock the issue first. You may re-enter the Camera app several times, but only find the camera shows a black screen. So is it a software or hardware problem? Check it by yourself.
Open FaceTime, Skype, or other apps to make a video call. Check both the rear and back cameras to see if they work well. If they work fine, then it’s a software problem, and you can fix it with the methods in this guide. Just keep reading.
2. How to Fix iPad/iPhone Camera Not Working Issue
1 > Force the Camera App to Close
Tap the Home button twice quickly and you will see all the apps that you have been using recently. Find the Camera app and swipe up to close. Then return to the Home screen and open the Camera app again to see if the iPhone camera work again. If it does not work, move to the next solution.
2 > Restart/Reboot Your Device
Restart your device: Press the power button > Drag slide to power off > Turn it on after about 30 seconds.
Reboot your device: Press and hold on to the Home button and power button together until the Apple logo appears. For iPhone 7 users, please press the Home button and the Volume down button.
3 > Reset All Settings
It will not erase any data on your iPhone/iPad, and just reset your iPhone to the default settings. Go to Settings > General > Reset > Reset All Settings to make it. Open your Camera app to check the iPhone camera not working issue has been fixed or not.
4 > Update to the Latest iOS
Go to General > General > Software Update to see if there is an iOS update. If a new update is available, you can update your device. It may fix the bug that cause the iPhone front/back camera not working problem.
5 > Restore Your Device
If nothing works, you can restore your iPhone to have a try. You can go to Settings > General > Reset > Erase All Content and Settings on iPhone to make it. If it still does not work, you can restore your iPhone with iTunes: Update the iTunes to the latest version > Plug in your device > Summary > Click Restore iPhone/iPad. Remember to backup your device firstly.
6 > Fix iPhone/iPad System Problems with AnyFix
If all the above methods didn’t work at all, there is a final way you can try. AnyFix is a powerful tool that is designed to fix iOS/iPadOS/tvOS problems in any scenario. So if the issue isn’t caused by hardware, AnyFix has the opportunity to help you. Here is the reason:
- It allows you to fix 110+ iOS/iPadOS related issues, including iOS/iPadOS stuck issues, devices won’t turn on/off, won’t charge/reset, and so on.
- Also, AnyFix can solve complicated iTunes errors with a simple click.
- Besides, if you need to enter/exit recovery mode, upgrade/downgrade iOS, etc, AnyFix is well qualified to help you.
Then you can download AnyFix on your computer and try to fix iPhone or iPad camera not working immediately.
Free Download * 100% Clean & Safe
Step 1: Launch AnyFix and tap on System Repair panel.
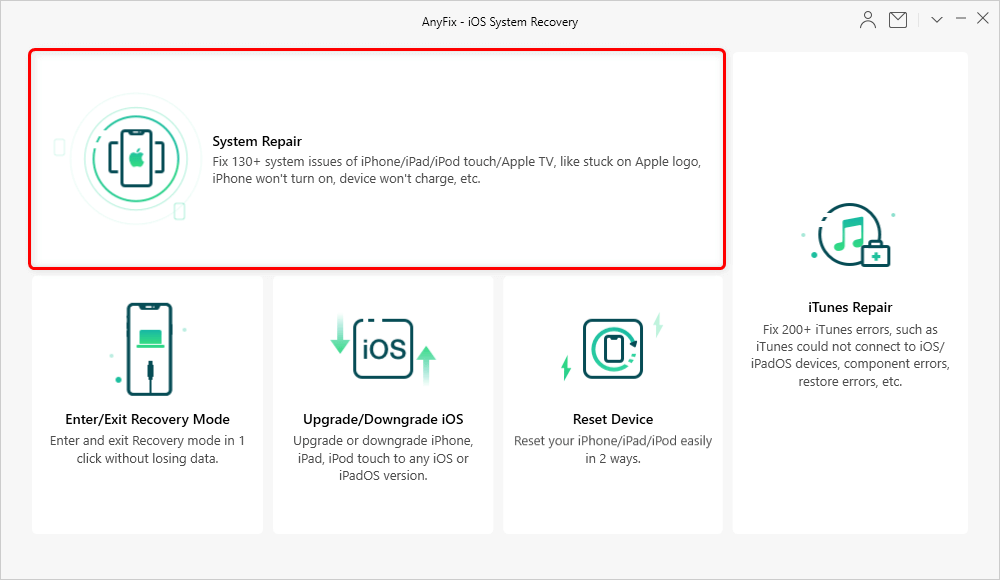
Tap on System Repair
Step 2: Then you need to connect your device with computer > Choose iPhone Problems or iPad Problems from the interface below (Here we take iPhone Problems as an example.) > Tap Start Now button and continue.
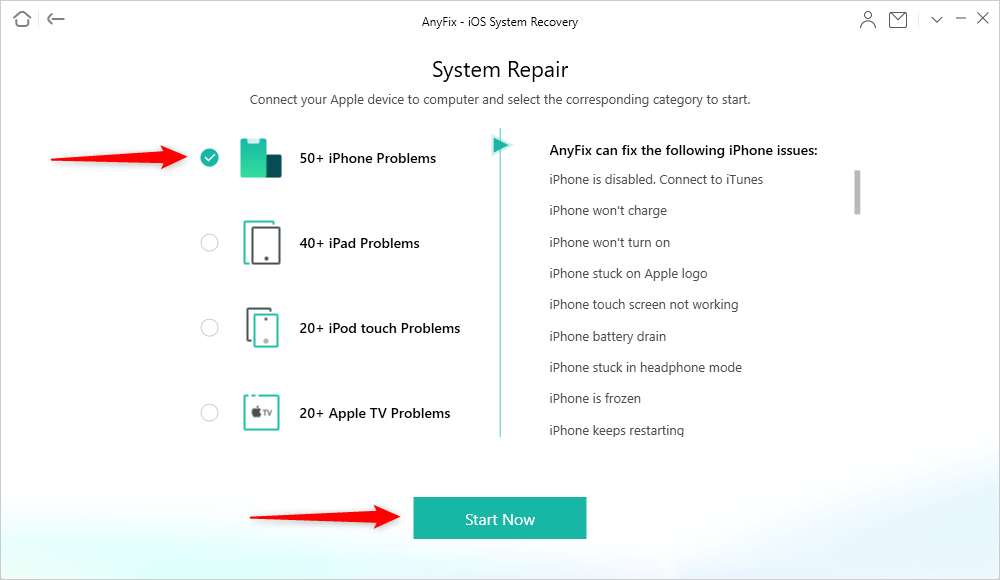
Choose iPhone Problems and Start Now
Step 3: Select a mode to repair your device. AnyFix provides you three modes based on different situations. If you need to fix problems but don’t want to lose data, Standard Repair mode is recommended. And Standard Repair supports the most common system issues, like won’t charge, battery drain, etc.
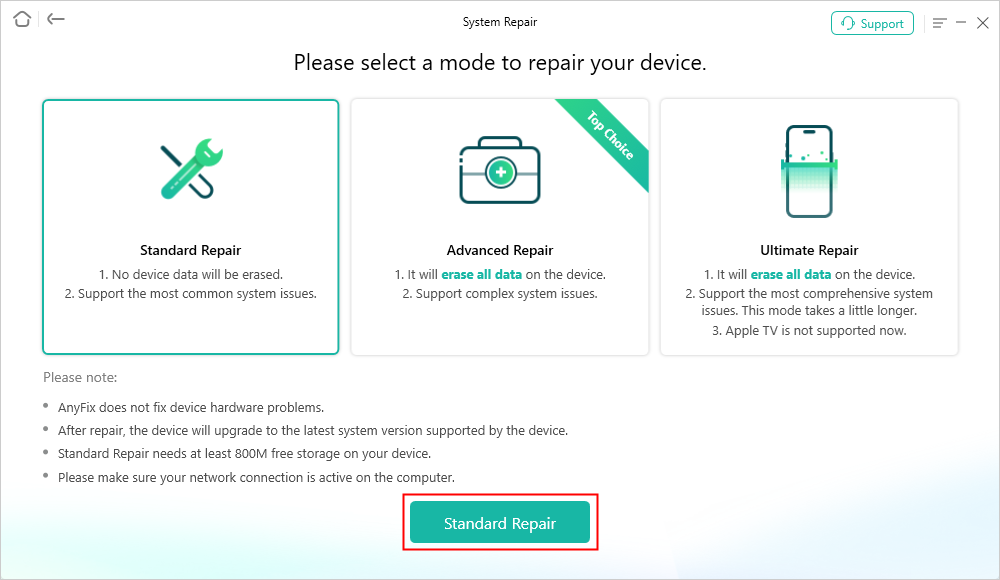
Choose One Repair Mode
Step 4: AnyFix will let download a matching firmware for your device and you need to put your device into recovery mode. Once the firmware downloaded, the interface below shows. Tap on Fix Now button.
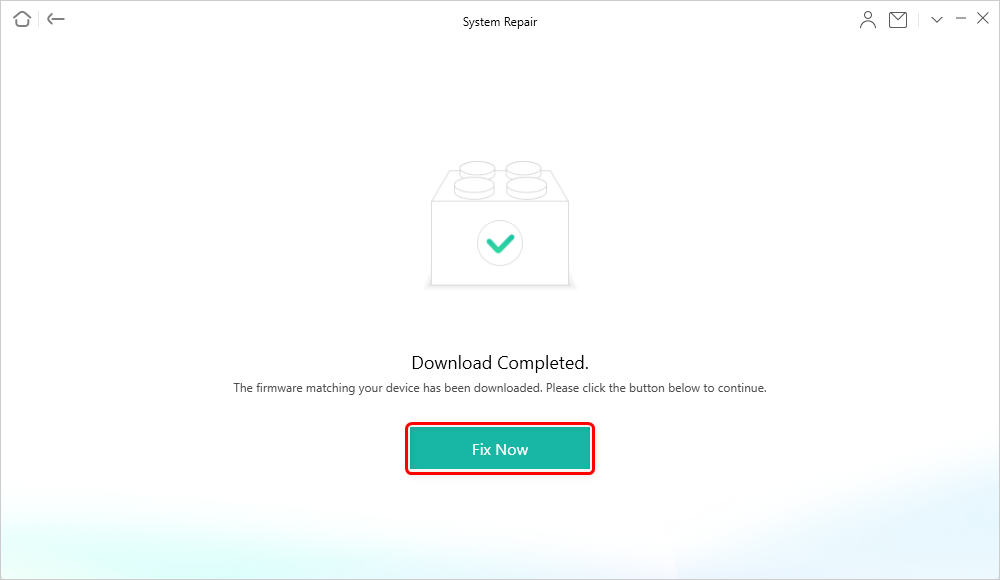
Tap on Fix Now when Firmware Downloaded
Step 5: Then AnyFix will start to repair automatically. Wait a minute and it will show you the Repair Completed page as below. Check your camera then!
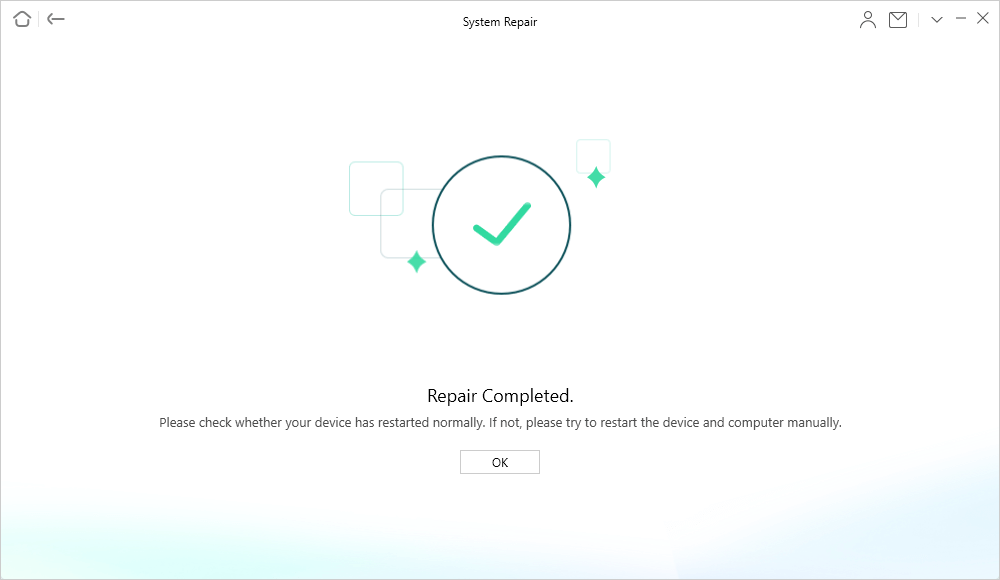
Repair Completed Page
The Bottom Line
That’s all for how to fix the iPhone/iPad camera not working issue in iOS 12/11. If you have any other iOS 12 problems, you can refer to this guide to get solutions. You can also share this guide with others if it is helpful.

Member of iMobie team as well as an Apple fan, love to help more users solve various types of iOS & Android related issues.
Product-related questions? Contact Our Support Team to Get Quick Solution >
