
AnyTrans Guide
Learn how to transfer music, photos, videos, WhatsApp messages, contacts, messages, files, and more data, safely back up your iPhone, iPad, or iPod touch, and give you full control over your iOS device.
Learn how to transfer music, photos, videos, WhatsApp messages, contacts, messages, files, and more data, safely back up your iPhone, iPad, or iPod touch, and give you full control over your iOS device.

Learn the computer system requirements, differences between the free and activated versions, activation instructions, menu bar settings, and so on.

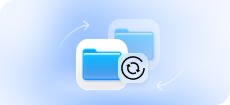
Effortlessly move files between iOS device and computer with just a few clicks, ensuring fast and seamless data sharing.
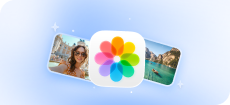
Manage and transfer your photos with ease, keeping your precious memories neatly sorted and accessible.

Handle all your songs and music videos efficiently, allowing you to transfer, backup, and organize them without hassle.

Streamline the transfer and management of the videos on your iOS device for a smooth transfer experience.

Manage your contacts, messages, notes, and other personal data with secure transfer and backup options.
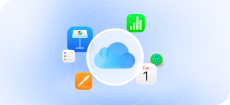
Take full control of your iCloud data, including syncing, backing up, and accessing files.

Easily handle the management of your iTunes music, movies, and other media files, and transfer them to your computer smoothly.
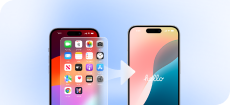
Move every piece of data from your old phone to a new device with ease, using only a few simple steps.
Create full or incremental backups of your data on iOS devices as needed. You can also set up automatic and wireless backups to safeguard your important files and settings.

Save and manage messages from WhatsApp/LINE/Viber, allowing you to back up or transfer chats effortlessly.
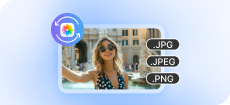
Convert HEIC or JXL photos to JPG, JPEG, or PNG formats quickly.

Create custom ringtones from your favorite songs, with easy editing and direct transfer to your device.
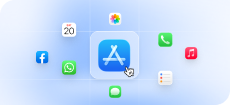
Download and install apps directly to your iOS device, simplifying the process of getting your favorite applications.

Mirror your device’s screen to a computer, perfect for presentations, gaming, or sharing content.