How to Sync Notes from iPhone to Mac with/without iCloud
Whether you want to safe-keep your notes from accidental deletion or simply store some important details for future use, syncing them to your computer is the best way. In this article, we have discussed 5 methods of how to sync notes from iPhone to Mac.
Syncing your iPhone notes with your Mac is a breeze, whether you use iCloud or opt for alternative methods. However, many users, new to iOS or not very tech-savvy, find it pretty troublesome to do so.
Therefore, we have put together 5 ways how to sync notes from iPhone to Mac, using iCloud, third-party apps, and other alternative methods. Give them a try and witness the magic as your notes effortlessly stay in sync between your iPhone and Mac!
Further Reading: Here are some other tips for you to sync iOS data.
- How to Transfer Files from iPhone to PC without iTunes >
- How to Transfer Photos from iPhone to Computer >
How to Sync Notes from iPhone to Mac in 1 Click
If you’re looking for the simplest and easiest way to transfer notes from your iPhone to your Mac, we suggest using a professional transfer tool like AnyTrans – iPhone Data Manager for the process. AnyTrans is an all-in-one data managing tool for iOS devices that enables you to sync all your data across iPhones, iPads, Macs, etc. This includes notes, messages, contacts, photos, videos, music, WhatsApp data, calendar entries, etc. Almost all the iOS data can be synced by this tool.
And you don’t need to worry about the difficulty of use, because AnyTrans allows you to complete data transfer just by clicking the button. Below are some highlights of AnyTrans in data syncing.
Free Download * 100% Clean & Safe
- Flexible data sync solution – You can directly sync all data in batches. Or you can also perform incremental sync and backup. Or just choose the data you need to sync.
- Super fast sync speed – You can sync thousands of data in just a few minutes. No long and tedious waits.
- 100% security guarantee – AnyTrans always adheres to the principles of privacy and data security. It guarantees that your data will never be leaked to anyone else.
- Works well on all iOS devices – AnyTrans supports all iPhone/iPad devices. And it is also compatible with all iOS versions.
In addition to Mac, you can sync notes or other data to your Windows computer, iPhone, or iPad via AnyTrans as well. So just get AnyTrans for free now. And here are the simple steps on how to sync notes from iPhone to Mac in 1 click.
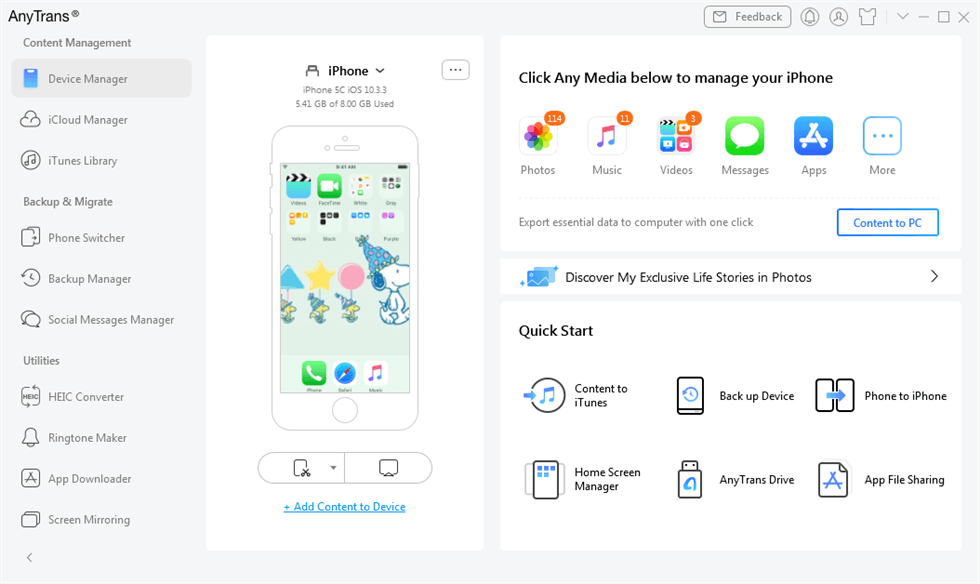
Step 1. Open AnyTrans on your Mac, and connect your iPhone to it using a lightning cable. Click on the More option on the right.
Click More Option
Step 2. Select the Notes option. Then you can preview and select the notes you want to sync.

Select Notes to Sync
Step 3. Tap on the To PC button. This will initiate the transfer process. It might take several minutes to sync notes from iPhone to Mac; therefore, keep your devices connected.
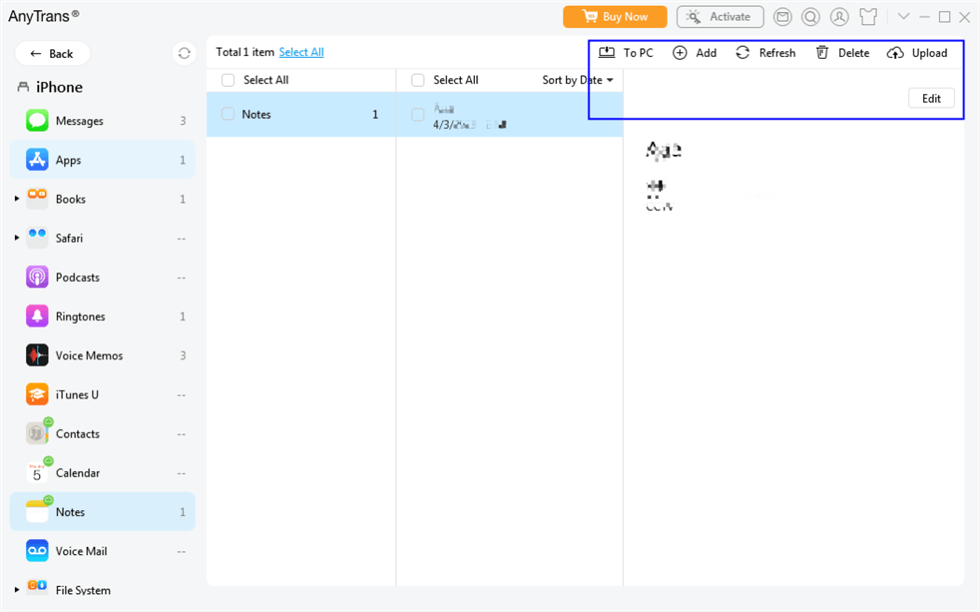
Tap on To PC Button
Step 4. You will see the following interface once your notes have been transferred from your iPhone to your Mac. You have the choice to view the files or transfer more files at this point.
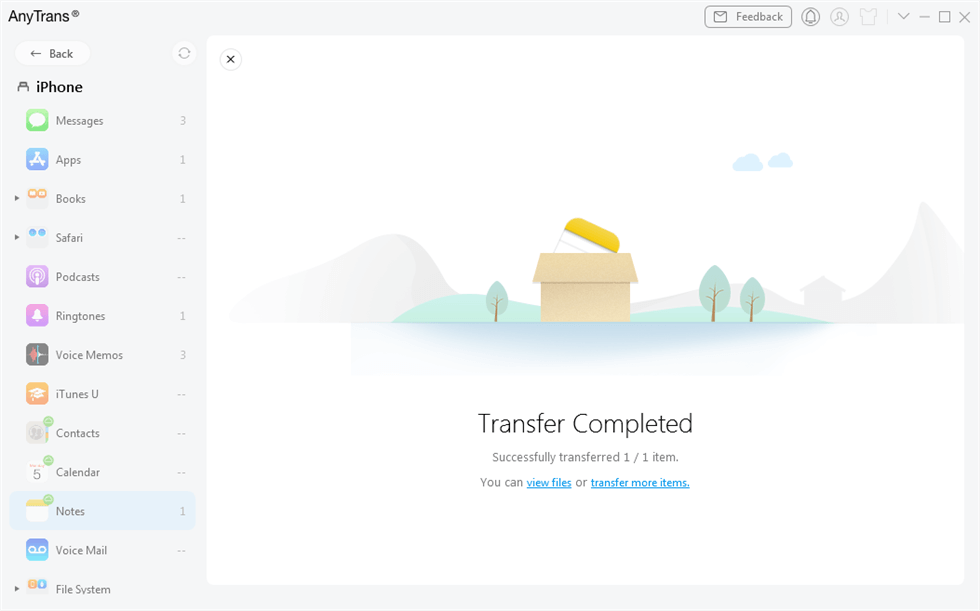
Sync Notes from iPhone to Mac Complete
However, if you’re not a third-party app person and would like to go with the traditional ways to sync notes from iPhone to Mac, you can follow the methods discussed below.
How to Sync Notes from iPhone to Mac with iCloud
Apple users have the advantage of accessing their data on iCloud from any device. They simply need their Apple ID credentials to log into iCloud, and they’re good to go. However, if you’re at a loss for how to sync notes from iPhone to Mac with iCloud, we are here to help. Here are the detailed steps on how to sync notes from iPhone to Mac via iCloud:
Step 1. On your iPhone, go to “Settings > Apple ID > iCloud.”
Step 2. Turn the option for syncing “Notes” on. This will sync your notes to iCloud.

Turn Notes Syncing On
Step 3. However, you also need to turn on iCloud syncing on your Mac. On your Mac, open “System Preferences > iCloud.”
Step 4. Put a checkmark in front of Notes to enable iCloud syncing.
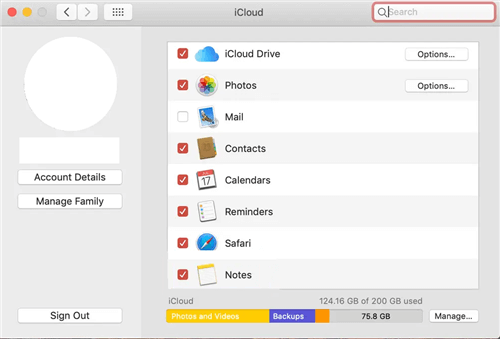
Tick Notes to Enable iCloud Syncing
Now your iPhone and Mac both have “Notes” synced to iCloud. Whatever note you add to your iPhone will also be available on your Mac.
How to Sync Notes from iPhone to Mac via Mail
Another straightforward way to sync notes from iPhone to Mac is via email. This method involves emailing your notes to your email ID from your iPhone and opening and downloading them on your Mac. This method is pretty simple, especially for people with little knowledge of using iCloud and third-party apps.
However, it is a bit time-consuming, as you need to email each note individually. But as long as you’re able to transfer them from your iPhone to Mac, it is good enough! Follow these simple steps to email your notes from iPhone to Mac:
Step 1. Launch the Notes app on your iPhone, and open the note you want to email.
Step 2. Now, tap the “Share” icon at the top-right corner, and select “Mail” from the options.
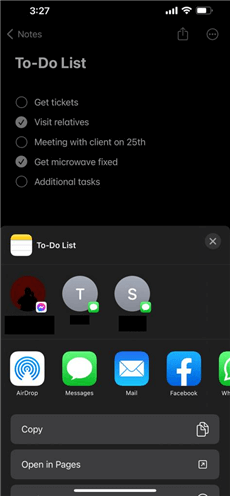
Send Notes via Email
Step 3. Enter your email address and tap “Send.”
Step 4. Open your email ID on your Mac, and download the notes to your desired folder.
How to Sync Notes from iPhone to Mac with Gmail
Just like iCloud, you can use your Gmail account to sync notes from iPhone to Mac. For this method, you simply need to enable notes syncing to Gmail on your iPhone and Mac. This will sync your iPhone notes to your Google account, and you can access them from any device by simply logging in. Here’s how to sync notes from iPhone to Mac via your Google account:
Step 1. On your iPhone, go to “Settings > Mail > Account” and select Gmail.
Step 2. Turn on the toggle for “Notes.” Your iPhone notes are now synced to your Gmail account.
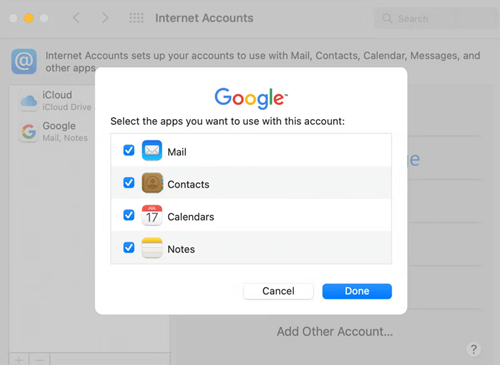
Step 3. Now you need to enable Gmail syncing on your Mac too. On your Mac, open “System Preferences > Internet Accounts.”
Step 4. If your Google account is added to your Mac, select it from the menu on the left. If you don’t have it added to your Mac, select “Google” from the available list.
Step 5. You will be redirected to the Google account page via a browser, where you can log in using your Gmail address.
Step 6. Once the account is added, you’ll find it in the menu on the left. Tap on it, and put a checkmark in front of Notes.
Select Notes to Sync with Gmail
Now your notes are synced to your Gmail account, and you can easily access them via your Mac.
How to Sync Notes from iPhone to Mac via AirDrop
If you don’t want to get into the hassle of downloading apps, turning toggles on and off, and emailing notes individually to your email address, you can try an easier way: AirDrop!
AirDrop is a built-in feature in all Apple devices that enables data sharing between them. This method is pretty simple; however, when it comes to transferring notes, you’ll have to do it individually. But it is still better than emailing notes! Here’s how to go about this method:
- On your iPhone, launch the Notes app, and open the note you wish to share.
- Tap on the “Share” icon at the top-right corner and select “AirDrop” from the available options.
- On your Mac, go to “Control Center > AirDrop” and turn the toggle on for AirDrop.
- You will see your Mac’s name on the list of available devices on your iPhone. Tap on it.
This will automatically send your note from your iPhone to your Mac and open in the Notes app on it.
The Bottom Line
If you’re an avid note-keeper, you need to have access to your notes at all times. And in case you don’t have your iPhone at hand to access the Notes app, you can always do so on your Mac if your notes are synced. In this article, we have put together 5 different ways how to sync notes from iPhone to Mac. However, the best and most time-effective method is via AnyTrans. It is fast, easy, and gets the job done before you can finish saying “Notes!” So just free download AnyTrans to have a try now. And have you ever tried syncing notes from iPhone to Mac? Which method did you use? Tell us about it in the comments.
Free Download * 100% Clean & Safe

Senior writer of the iMobie team as well as an Apple fan, love to help more users solve various types of iOS & Android-related issues.
Product-related questions? Contact Our Support Team to Get Quick Solution >
