How to Fix iPhone Flashlight Greyed Out in iOS 14/13/12/11
Why is my iPhone flashlight greyed out? Don’t worry, we will help you fix the iPhone flashlight greyed out issue quickly, applied to all iOS versions.
When you need to use the flashlight, you can easily open it by swiping up from the bottom of the Home screen to access the control center, and then tap the Flashlight option. However, you just find that the flashlight greyed out in the control center. Why is my iPhone flashlight greyed out?
Also Read: Apple ID Grayed Out? Here Are Some Fixes >
In fact, you are not the only one that meets the iPhone flashlight greyed out the issue. It mostly happens when you update your iPhone to the newest iOS version like iOS 13, iOS 12, iOS 11 or the new iOS 14. We collect several practical methods that can help fix the iPhone flashlight greyed out the problem. Just follow the steps below to fix it.
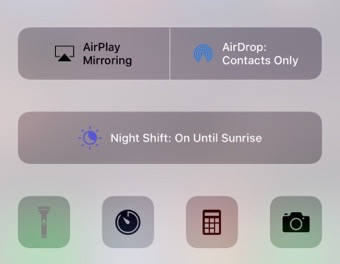
iPhone Flashlight Greyed Out
Part 1. Why is My Flashlight Disabled
There are some possible reasons that can cause iPhone flashlight greyed out or not working at all.
- Usually, the flashlight is greyed out when the camera is in use. Since some flashed will conflict with iPhone flashlight.
- If the apps on iPhone are continuously used for a long time, it could have gotten some glitches in it.
Part 2. How to Fix iPhone Flashlight Greyed Out
According to the above reasons, you can try the following fixes to enable your iPhone flashlight again:
Solution 1. Quit the Camera App
You can try this method first. Usually, the flashlight is greyed out when the camera is in use. This essentially creates a conflict between the camera’s flash and the flashlight. So just quit the Camara app, the flashlight will be enabled quickly. If this way didn’t work, you can move to the next one.
Solution 2. Close All Apps on iPhone and Restart Your iPhone
Close All Apps on iPhone
For iPhone 8 and earlier: Tap the Home button twice quickly and swipe up to close all the apps. Then press and hold the Home button and the power button until the Apple logo appears on the screen.
For iPhone X and later: Swipe up from the bottom of the screen and pause slightly in the middle of the screen. And swipe right or left to view the processing app. Then swipe the Messages app up to close it.
Restart Your iPhone
For iPhone X/XS/XR and iPhone 11: Press and hold the Side button (on the right side of your iPhone), simultaneously press either volume button until the slider appears. Drag the slider and switch from left to right to turn the iPhone off. To turn iPhone back on, press and hold the Side button again until you see the Apple logo.
For iPhone 8/7/6: Press and hold the Side button until the slider appears.
For iPhone SE/5 and earlier: Press and hold the top button until the slider appears.
Solution 3. Turn off LED Flash for Alters
It may help you fix the iPhone flashlight greyed out issue sometimes. Go to Settings > General > Accessibility > Scroll down and choose LED Flash for Alerts > Turn it off.
Solution 4. Restore iPhone with iTunes
If you want to try this method, you need to back up iPhone firstly.
Step 1. Connect the device to the computer in which there are iTunes backups > Launch iTunes > Click Summary on your left > Click Restore Backup.
Step 2. Choose a backup you want to restore from.
Step 3. You need to confirm the “Restore” process by clicking Restore.
Also Read: How to Backup iPhone/iPad to Computer with Ease >
Solution 5. AnyFix Can Help you with Software Glitches
If all the above methods didn’t work, then we highly recommend you to try AnyFix, which is designed to revive your Apple devices with simple clicks. Because it can fix 130+ iOS/iPadOS/tvOS problems, including iOS/iPadOS stuck issues, iPhone light won’t turn on, iPhone touch screen not working/battery draining, etc,. So flashlight greyed out, which might be caused by some software glitches, and AnyFix has the opportunity to help you. Now, you can follow the steps below to fix iPhone system issues:
Step 1: Download AnyFix and Enter System Repair
First, download AnyFix on your computer. > Launch it and tap on System Repair panel.
Free Download * 100% Clean & Safe
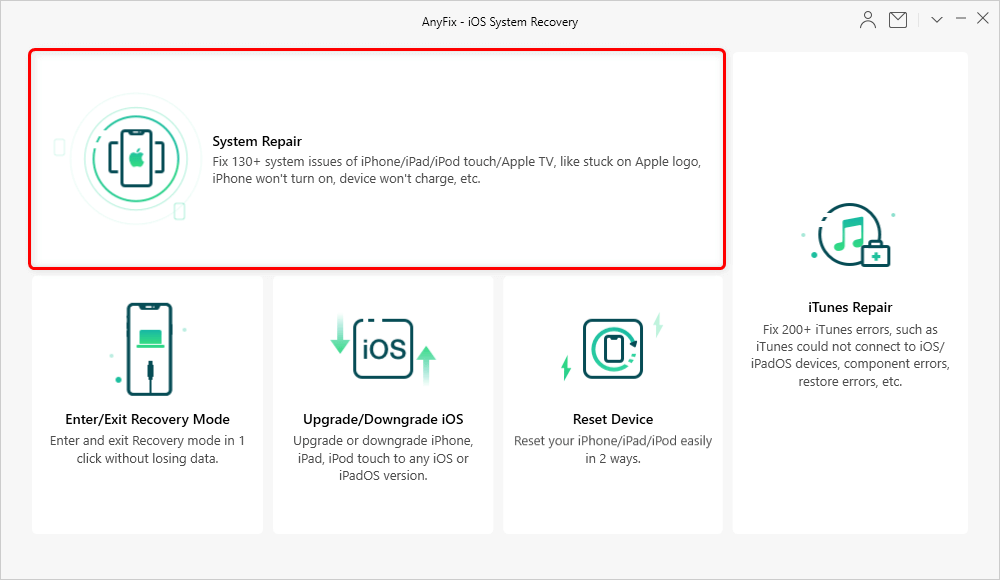
Tap on System Repair
Step 2: Connect iPhone and Select One Category
Then you need to connect your device with computer > Choose iPhone Problems or iPad Problems from the interface below (Here we take iPhone Problems as an example.) > Tap Start Now button and continue.
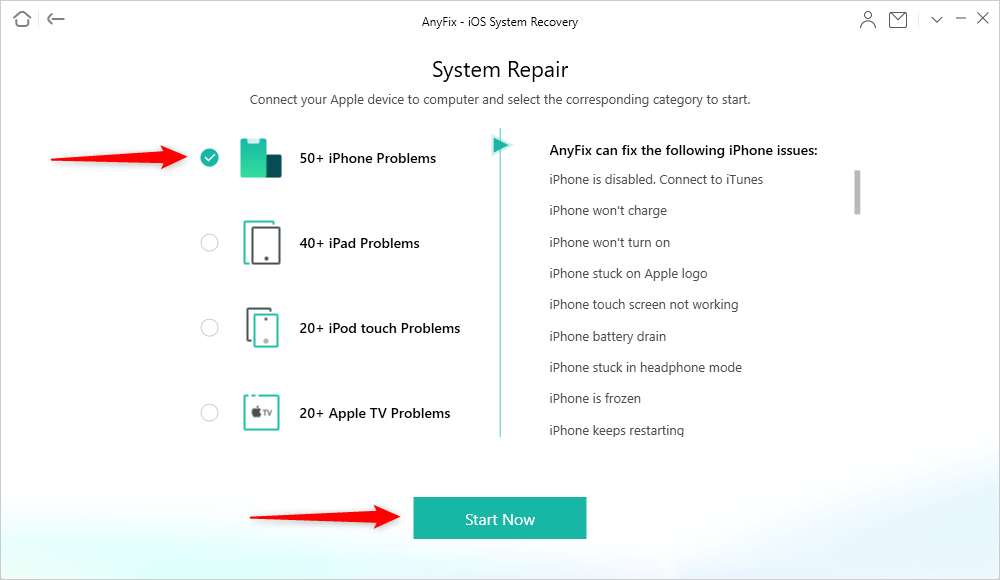
Choose iPhone Problems and Start Now
Step 3: Select one of the Repair Modes
AnyFix provides you three modes based on different situations. If you need to fix problems but don’t want to lose data, Standard Repair mode is recommended. And Standard Repair supports the most common system issues, like won’t charge, battery drain, etc.
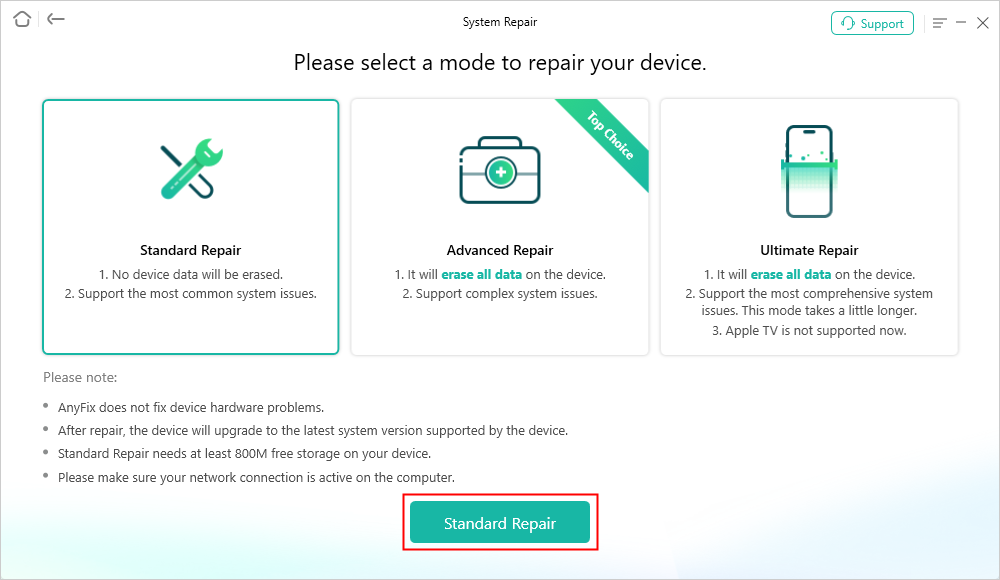
Choose One Repair Mode
Step 4: Download Firmware and Enter Recovery Mode
AnyFix will let download a matching firmware for your device and you need to put your device into recovery mode. Once the firmware is downloaded, the interface below shows. Tap on Fix Now button.
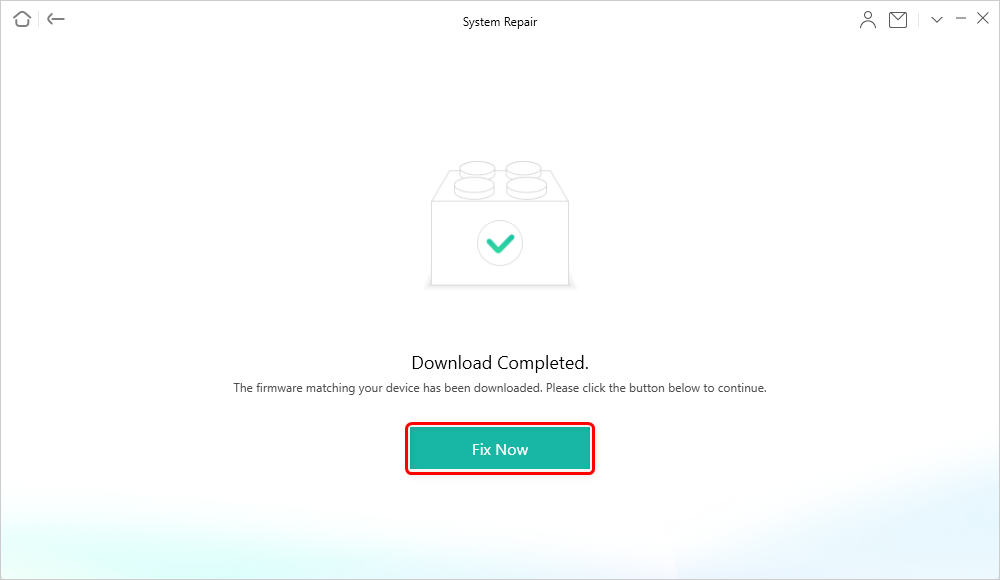
Tap on Fix Now when Firmware Downloaded
Step 5: Repairing Process Begin and Wait to Complete
Then AnyFix will start to repair automatically. Wait a minute and it will show you the Repair Completed page as below.
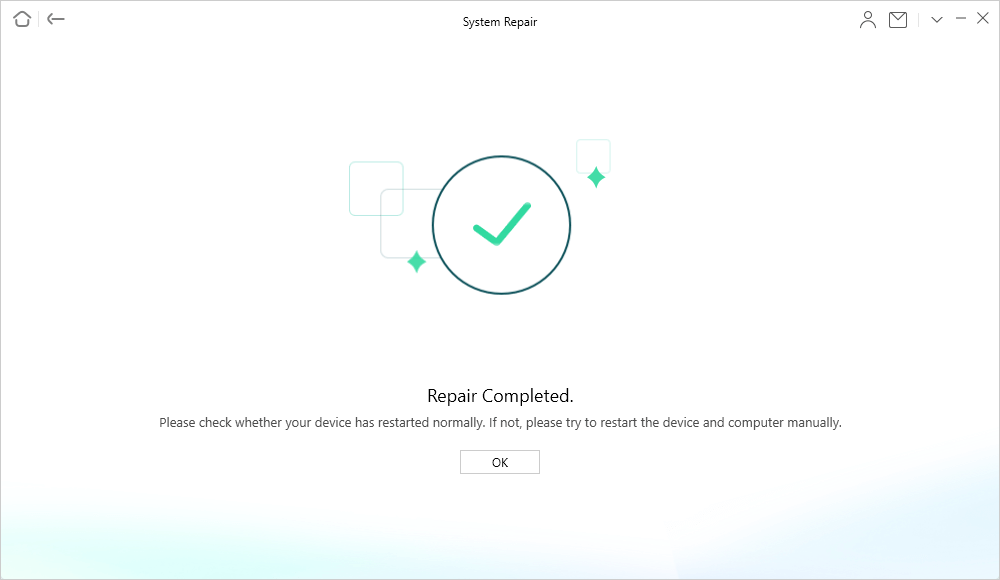
Repair Completed Page
The Bottom Line
That’s all for how to fix the iOS 14/13/12/11 flashlight greyed out the issue. Hope these methods can help you. By the way, if you have other tips for work, please feel free to share them with us in the comment below.
More Related Articles

Member of iMobie team as well as an Apple fan, love to help more users solve various types of iOS & Android related issues.
Product-related questions? Contact Our Support Team to Get Quick Solution >
