How to Add Filters to iPhone Photos
The iPhone camera filters let you apply various types of effects to both your new as well as existing photos. There are also third-party apps that let you add various filters to your photos. This guide explains how you can go about using both of them.
iPhone Photo Editing Tips
Edit Photos on iPhone
Edit Live Photos on iPhone
We live in a world where a normal and natural photo does not get as much traction as an edited one does. It is one of the reasons why most users prefer to add filters to their photos before their photos go live or published on social media. If you are anything like today’s user, you would want to use the iPhone filters for your selfies as well as for all other types of images.
Adding a filter to an iPhone photo is actually pretty easy. The iPhone itself has the option to let you apply various effects to your photos, and if that is not enough for you, you can always hit up the App Store to find apps that help you make your photos more appealing with a ton of filters.
With that said, the following should teach you how you can go about using the iPhone photo effects on your device.
Also Read:
How to Edit Pictures on iPhone >
Best Photo Editing Apps for iPhone >
Part 1. How to Add Filters with iPhone Built-in App
There are two scenarios to add filters to your photos. If you have not already captured the photo yet, you can enable the filter option in the Camera app and it will let you take the photo with the filter pre-applied to it.
If you already have your photo saved in the Photos app, you can use the Photos app to apply a filter to your existing photo. Both ultimately do the same thing and give the same result.
Method 1. Add Filters to the New Photos on Your iPhone
If you are looking to capture a photo with your chosen filter applied to it, this shows how to do it.
Step 1. Launch the Camera app from the springboard on your iPhone.
Step 2. If you are on the latest version of iOS, you need to swipe up from the bottom of the app. If you are on an old iOS version, you can directly tap on the filter icon that appears at the top-right corner of your device.
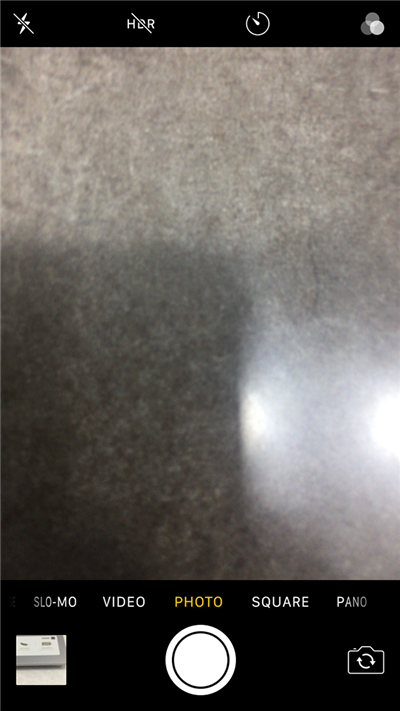
Filter Option in the Camera App
Step 3. As soon as you tap the filter icon, you will see all the filters that are available for you to use in the app. You will also see the live previews of each effect which helps in deciding which one you want to go for. Tap on any of them and it will quickly be applied to your new photo.
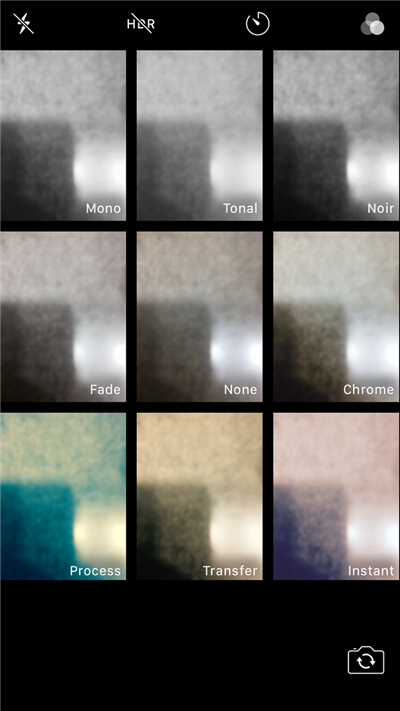
Available Filters for Photos
Step 4. You can now capture the photo as you normally do and it will be saved along with your chosen filter in the Photos app.
When you open the photo to view, you will find it has the effect of the filter you chose earlier.
Method 2. Add Filters to the Existing Photos on Your iPhone
If you wish to apply a filter to an old, existing photo on your iPhone, you can use the Photos app to do so. The procedure is similar to the above method in many ways.
Step 1. Launch the Photos app on your iPhone and open the photo you want to apply a filter to.
Step 2. When your photo opens in full-screen mode, you will see a filters icon appearing at the bottom of the screen. Tap on it to open the edit screen.
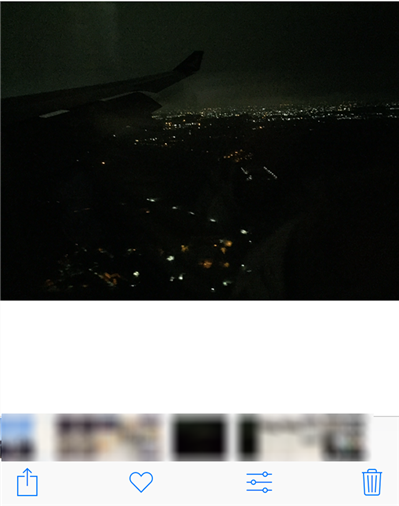
Edit a Photo in the Photos App
Step 3. On the following screen, you will find various options to edit your photo. Since you wish to apply a filter, tap on the filters icon at the bottom of the screen.
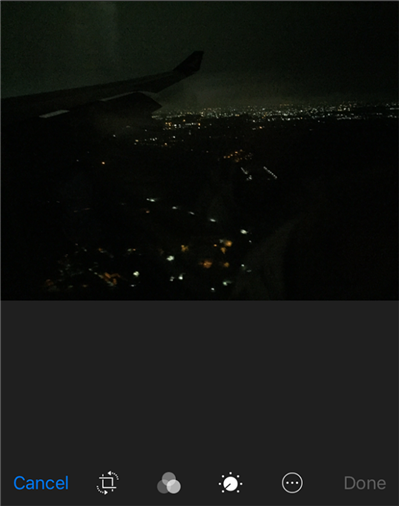
Access Filters in the Photos App
Step 4. You can now swipe through the filters available on your screen and you will instantly see the preview at the top. If you like the filter you have chosen for your photo, tap on Done at the bottom to save the photo with the filter.
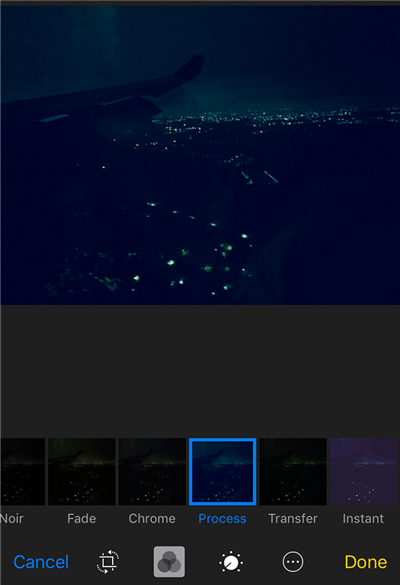
Apply a Filter and Save the Photo
As you can see, it is extremely easy to apply filters using the built-in apps on your iPhone.
Part 2. How to Add Filters with Third-Party Photo Apps
While the default filter options on the iPhone should be good enough for most users, advanced users might want even more options for their photos. Maybe you want an iPhone cartoon filter, an animal filter, and so on.
In that case, your best bet is to use a third-party app from the App Store to discover and apply new filters to your photos. These apps often have a lot of new filters and the list keeps on growing as the developers add new filters to them.
App 1. Use Litely to Add Filters to iPhone Photos
Litely is one of the free apps on the App Store that lets you apply filters to your photos. It has a simple and easy to use interface and comes with a number of effects to add to your photos. The following shows how to get and use it on your iPhone.
Step 1. Open the App Store on your iPhone, search for Litely, and install the app on your device.FFFF
Step 2. Launch the app when it is installed. You will immediately notice how clean and uncluttered it is. You will first need to add your photo to the app to apply filters. Tap on the + (plus) sign at the bottom to do so.
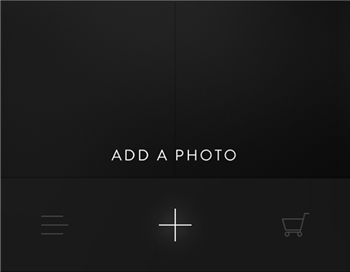
Add a Photo to the App
Step 3. Your photos gallery will open letting you select a photo to add effects to. Browse through your albums and tap on the photo you want to make more appealing.
Step 4. When the photo is added to the app, it will appear in a full-screen mode. You will see the filter options on your screen and you can scroll down to view more. Tap on any of them and it will be applied to your photo.
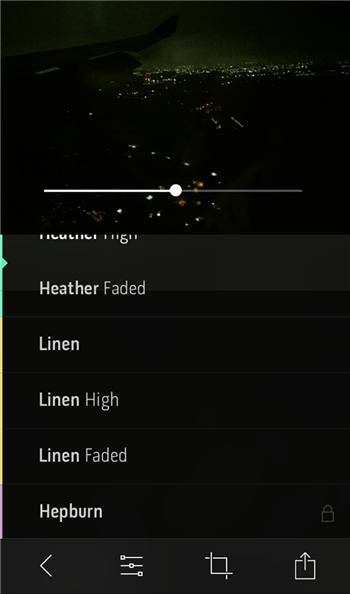
Select a Filter from the List
Step 5. When you are happy with your edited photo and you want to save it, tap on the share icon at the bottom-right corner of your screen and select the option that says Save Image.
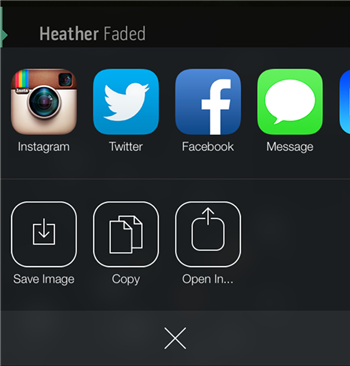
Save the Image File
The photo will be saved in the Photos app on your iPhone.
App 2. Use Pomelo to Add Filters to Your iPhone Photos
Another app you can use to add filters to your iPhone photos is Pomelo. It is a pretty nice app letting you easily add a number of effects to your photos in a few quick taps. Also, the app is available at no cost on the App Store.
Step 1. Launch the App Store, search for Pomelo Filters, and download the app to your phone.
Step 2. Open the newly installed app and tap on the gallery icon at the bottom to add your existing photo to the app.
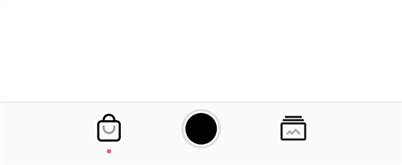
Add a Photo to the Pomelo App
Step 3. Once you have added your photo to the app, you will see several editing options at the bottom. You want to find and tap on the option that says Filters.
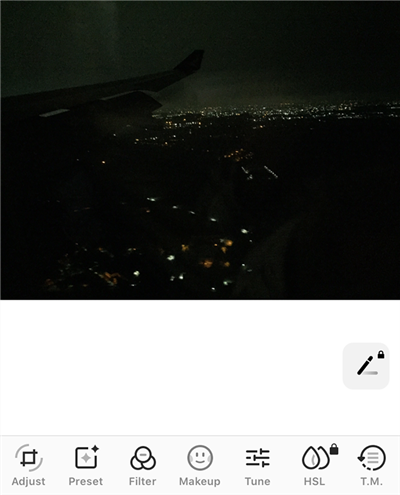
Access the Filter Menu in the App
Step 4. The following screen lets you apply various filters to your photo. Scrolling to the right will reveal more filters for you to use with your photo.
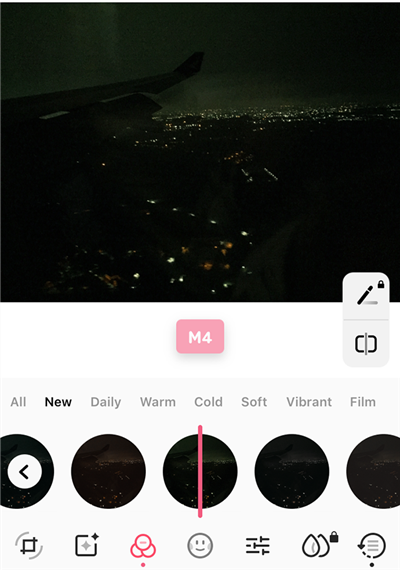
View Available Filters
Step 5. When you have chosen a good filter for your photo, tap on the share icon at the top-right corner and select Save to album.
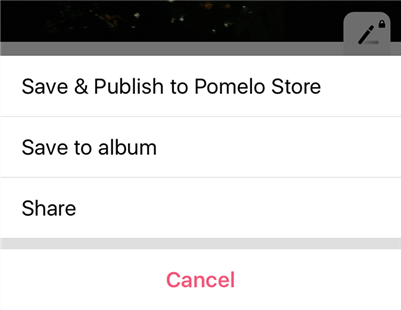
Save the Filtered Photo to the Phone
Your photo should be saved to your Photos app.
The Bottom Line
There are a number of iPhone camera filters available to apply to your photos. If you are looking for even more options, there are even third-party apps to find and add a plethora of new effects to your iPhone photos. We hope our guide helps you do it on your iOS device.
More Related Articles

Member of iMobie team as well as an Apple fan, love to help more users solve various types of iOS & Android related issues.
Product-related questions? Contact Our Support Team to Get Quick Solution >
