How to Turn a Live Photo into a GIF
If you want to share your iPhone’s Live Photos with non-iPhone users, you will need to first turn Live Photos into GIF images. This guide is all about how you can perform this conversion and make your photos viewable on all other devices out there.
iPhone Photo Editing Tips
Edit Photos on iPhone
Edit Live Photos on iPhone
If you use a modern day iPhone, you are likely familiar with the Live Photo feature available on your device. It allows you to capture your photos with motion and lets you save and view them on your iOS-based devices. However, the feature is only available on iPhone devices, and if you send one of your Live Photos to a non-Apple user, their phone will not be able to display the photo.
It is because non-Apple devices are not compatible with the Live Photo feature. That is not to say you do not have any way at all to share your amazing photos with your friends and family who are not big fans of Apple. You can actually make your Live Photos into GIFs and then send these GIF images to your contacts.
Since GIF is a widely accepted format, your photos will be viewable on almost any device out there. The following guide should teach you how you can go about converting your Live Photos to the GIF format.
Also Read:
How to Convert HEIC to JPG on PC/Mac >
How to Edit Pictures on iPhone >
Using the Built-in Photos App to Turn Live Photos Into GIFs
If you prefer using the Photos app on your iPhone, you don’t need to install any third-party apps on your device to convert Live Photos to GIF images. There is an option available in the Photos app that lets you save your Live Photos as GIFs on your device.
Since the feature is not exactly well-worded, you are not going to find it in the app unless you check out our steps below.
Step 1. The first thing you will need to do is launch the Photos app on the iPhone where you have your Live Photos saved.
Step 2. When the app opens, you need to find where your Live Photos are located. These are usually saved in the Live Photos album so tap on it and the album will open.
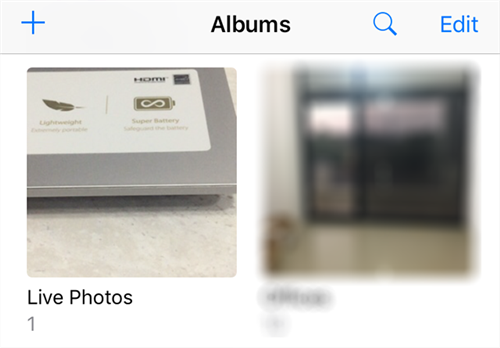
Select the Live Photos album in Photos
Step 3. Scroll through all the available photos and select the one that you would like to turn into a GIF. You can tap on a photo to select it.
Step 4. When your Live Photo opens in full-screen mode and you can see its motion, swipe up from the bottom of your device. It will open a new menu in the app.
Step 5. You will see various photo effects in the newly opened menu on your screen. What you need to do is tap on either Loop or Bounce from the effects list.
Step 6. As soon as you choose either of the effects mentioned above, your photo will be saved in a new album called Animated in the app. Open this album and you will see your image along with its animation in the GIF format.
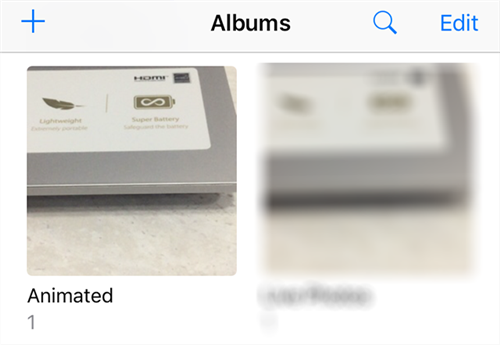
Find the end-result in Animated album
As you can see, it is pretty easy to turn a Live Photo into a GIF on an iPhone using the inbuilt Photos app.
Using a Third-Party App to Turn a Live Photo Into a GIF
While the Photos app method gets the job done for you, it is not the most convenient way to convert your Live Photos to GIF. It is because the option that you use to turn your photos to GIF is not actually built for the conversion purpose.
There is actually a free app on the Apple App Store that is built with the sole purpose of helping you convert your Live Photos to the GIF format. You can download and use this app on your device to turn all of your photos to GIF in a few taps.
Step 1. Launch the App Store from the springboard on your iPhone and tap on the Search option at the bottom. It will let you search for apps on the store.
Step 2. Search for an app named Lively and tap on it when you see it in the search results. It will open the app’s very own page.
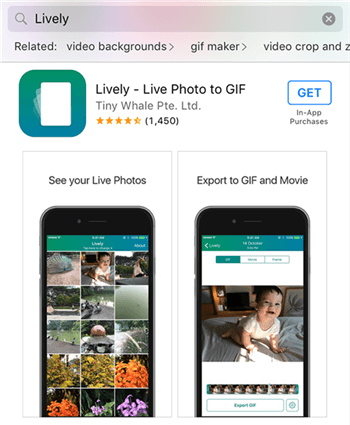
Look for the Lively app on the App Store
Step 3. On the following screen, you need to tap on the button that says Get to download the app to your iPhone. You may be asked to authenticate your download by using your Touch ID or passcode.

Download and install the Lively app on your iPhone
Step 4. When the app is installed, launch it from the springboard on your device. It will ask for your permission to access your photos. Grant it the required permissions so it can do what it needs to do.
Step 5. Select the Live Photo that you would like to convert to GIF and it will open on the main app interface. Make sure to tap on the GIF tab at the top to preview your photo before it is saved.
Step 6. When you are happy with the final result, tap on the Export GIF button at the bottom to export your image as a GIF file.
Step 7. On the following screen, find the option that says Save and tap on it. It will save the resulting GIF image to your iPhone.
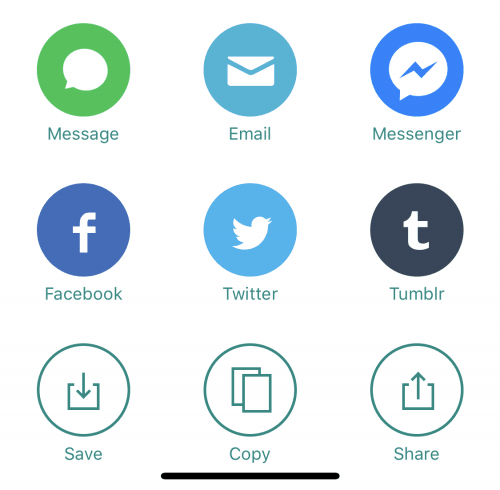
Save the Live Photo as a GIF
You are all set. Your Live Photo should now be available as an animated GIF on your device.
The Bottom Line
If your friends do not happen to be iPhone users, you will need to first turn your Live Photos into GIFs before you can share your photos with them. There are multiple ways to do the task as shown above and we hope it helps you out.
More Related Articles

Member of iMobie team as well as an Apple fan, love to help more users solve various types of iOS & Android related issues.
Product-related questions? Contact Our Support Team to Get Quick Solution >
