How to Edit Pictures on iPhone
The iPhone has a number of ways to let you edit your photos and the following guide would teach you how to edit photos on an iPhone using both built-in as well as third-party methods. You will have your perfect photo at the end of the guide.
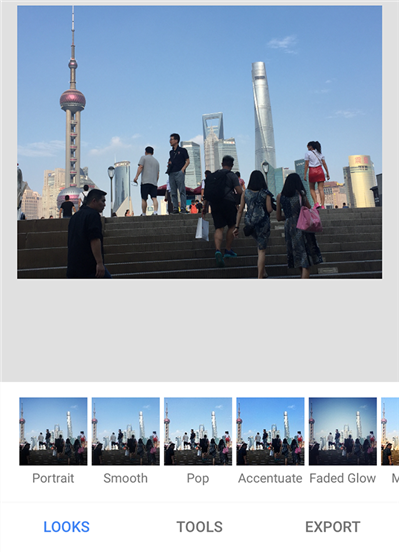
iPhone Photo Editing Tips
Edit Photos on iPhone
Edit Live Photos on iPhone
iPhones have always had some of the amazing quality cameras and the pictures you capture with them are just proof of the quality. With various modes like live photo, portrait and landscape, you have a number of ways to take photos on your iPhone. Once a photo is taken, it usually requires a little bit of editing before you can actually publish it online.
Most photos look just fine without any editing, however, it does not harm to give a bit of a retouch to your photo so it looks exactly the way you want it to. On an iPhone, you have various ways to edit your photos. You can use either the built-in options to retouch your photos or a third-party app to do the task.
In the following guide, we cover both the ways for photo editing on an iPhone.
Part 1. How to Edit iPhone Photos with Built-in Tool
If you only wish to retouch your photo, enhance it a bit, and add some basic items to it, you do not really need a dedicated app to do the task. It is because your iPhone already has an app that lets you perform these basic editing tasks on your photos.
You might wonder what app we are talking about as you have never seen any editing app by default on your iPhone. Well, we are talking about the Photos. In addition to being a great photo organizer, it has great photo editing tools available in it as well. You can use these tools to edit your photos in whatever ways you want. Here we show you how to do the task.
Step 1. Tap on the Photos app icon on your springboard to launch it on your iPhone.
Step 2. Then you will see the photo albums available on your device. Tap on the album where the photos you want to edit are located. Then tap on the photo that you want to edit.
Step 3. On the full-screen photo mode, you will find an edit option at the bottom menu bar. Tap on it to open the available editing options in the app. On iOS 13, the edit button is at the upper right.

Edit a Photo in the Photos app
Step 4. Your bottom bar will turn into an editing menu with all the tools available on it. If you want to crop certain parts of your photo, tap on the first option that is for cropping photos.

Editing Options in the Photos app
Step 5. Your photo will now have drag-able corners available around it. Drag these according to how you want to crop your photo and your photo will be cropped. Tap on Done at the bottom-right corner to save your photo.
Crop a Photo in Photos for iPhone
Step 6. If you want to change the color scheme of your photo, tap on the second icon and it will let you do it. This time around, you will see various thumbnails of your photo in multiple filter styles. Pick the one you would like for your photo and it will be applied.
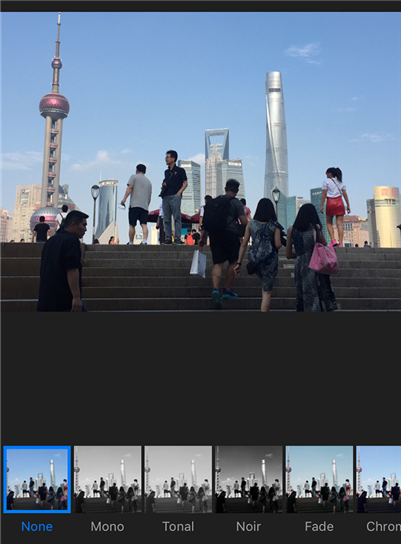
Apply Filters to Your Photo in Photos on iPhone
Step 7. Some photos require adjusting color and brightness levels. To do this, tap on the third icon and you will find the options to adjust light, color, and black and white levels for your photo.
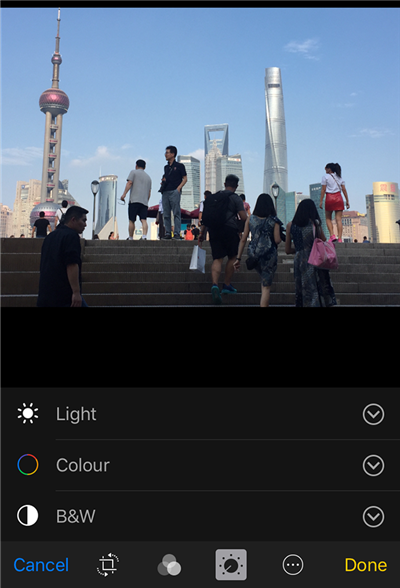
Adjust the Brightness for Your Photo
Step 8. One of the editing options, the last one, lets you markup your photo. Tap on it and you will see all the available options to add markups to your photo. Tap on the desired item and it will be added to your photo.
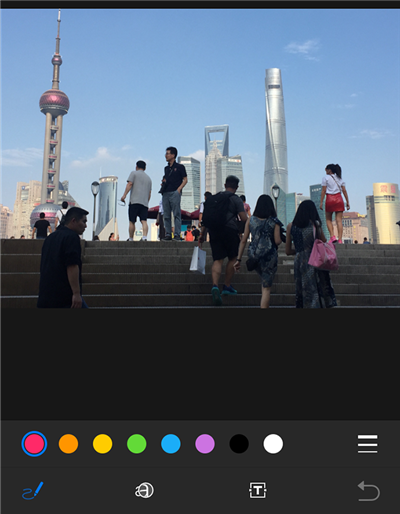
Markup Your Photo in Photos
Make sure to tap on Done at the bottom to save all the editing.
Part 2. How to Edit iPhone Photos with Third-Party Tools
If you are looking for more editing options than what the Photos app offers, you might want to turn to a third-party app to fulfill your needs. Although the Photos app has most of the editing tools you would ever need, it does not have all the tools for professional photo editing.
When it comes to third-party photo editing apps for iPhone, you have dozens of apps to choose from. Snapseed is a good one and is developed by Google. You can use it to retouch photos on your iPhone.
The following shows how to edit pictures on an iPhone using Snapseed:
Step 1. Launch the App Store on your iPhone, search for Snapseed, and tap on Get to download and install the app on your iPhone.
Step 2. Open the app when it is installed. On the first screen, you are going to get surprised as there is simply no option on there except for a large plus icon. This icon will let you add your photos to the app for editing so tap on it.

Add a Photo to the App
Step 3. Choose the photo you would like to edit from your photo library. It will be available in the app then.
Step 4. When Snapseed has import your photo, you can start editing. To begin, tap on the Tools menu at the bottom to view a list of all the available editing tools.
Access Tools in Snapseed for iPhone
Step 5. The following screen lists out all the tools you can use to edit your photo. Let us say you want to crop your photo, then tap on the option that says Crop.
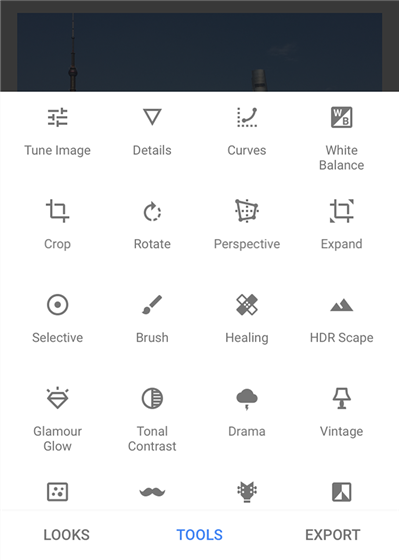
Tools Menu in Snapseed
Step 6. You will instantly see drag-able corners being added around your photo. Drag these to crop your photo.
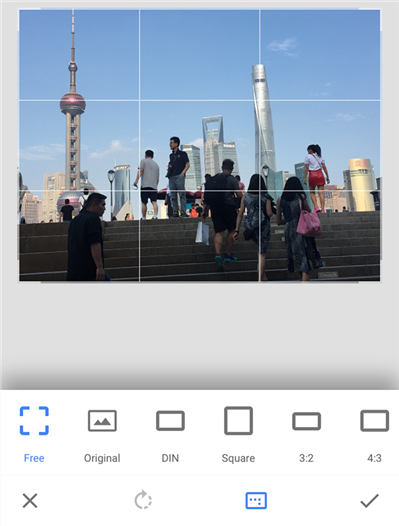
Crop a Photo in Snapseed
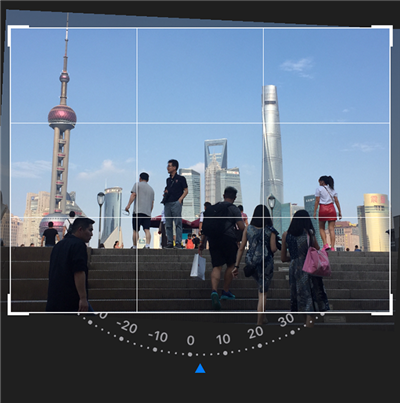
Step 7. If you want to rotate your photo, choose the Rotate option and you will be able to define the angles where you want to rotate it.
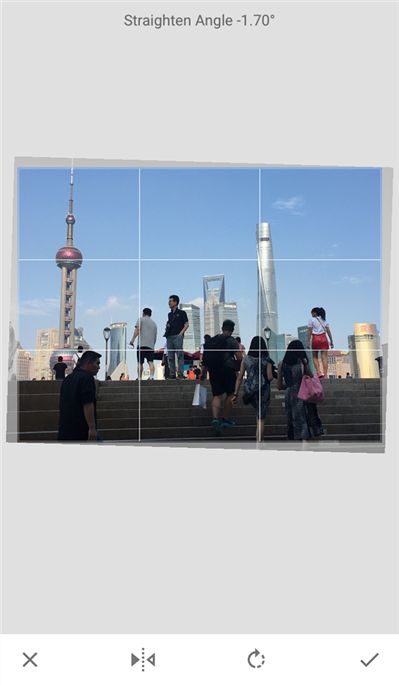
Rotate a Photo in Snapseed
Step 8. You can tap on the Text option to add text to your photo.
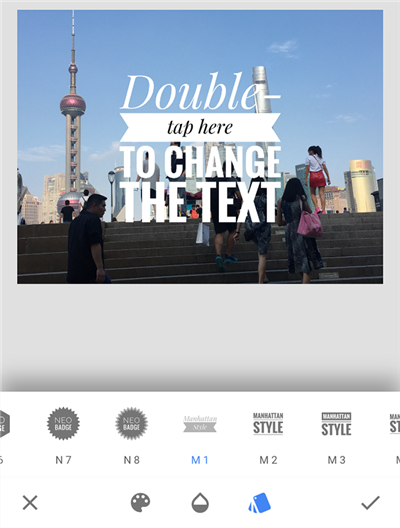
Add Text to Your Photo in Snapseed
Step 9. Make sure to tap on the checkmark icon at the bottom-right corner to save your editing.
Your edited photo will be saved and be available in the Photos app for you to check and view.
The Bottom Line
Photo editing on an iPhone is a pretty easy task, thanks to the availability of both stock and third-party apps to help you do the task. With our guide above, you should be able to get started on editing photos on your iOS based device.
More Related Articles

Member of iMobie team as well as an Apple fan, love to help more users solve various types of iOS & Android related issues.
Product-related questions? Contact Our Support Team to Get Quick Solution >
