How to View iPhone Backup Files on Windows 10
In recent years, many users moved towards parallel use of multiple digital devices, i.e. a smartphone or tablet and a computer. This works fine when using equipment from the same manufacturer, but sending data across platforms can present a problem sometimes. To help solve such issues, we present how to view iPhone backup files on Windows 10.
The corporate philosophy of Apple is based on the concept of a “walled garden”, where only users of iOS-based devices are allowed to freely share data within the ecosystem. The idea behind this concept is to promote synergy between various Apple-made devices and motivate users to stay within the ecosystem no matter which device they are using.
Consequently, an iPhone and a computer with Windows 10 OS don’t communicate very well. In order to see the data from the iPhone, you need to use a backup tool that is compatible with a Windows PC. In this article, we will try to teach users how to view iPhone backup files on a Windows 10 device and overcome those lingering compatibility issues without too much effort.
Is It Possible to Access iPhone Backup from A Windows Computer?
While it’s much easier to access iPhone backup from a Mac or iPad, it’s possible to do it from a Windows 10 device if certain conditions are met. There are several possibilities worth exploring, and each of them is explained below:
How to View iPhone Backup Created by iTunes
Users who have iTunes installed on their iPhones may choose to back up their data with this convenient tool. In this case, the backup file will also be saved on the computer associated with the same account, even if it’s a Windows 10 PC. However, there is a catch – those files are encrypted and can’t be opened or edited without special software tools. At any rate, it may be useful to know where they are so you can try to remove the encryption in some way. Here is how to find the iPhone backup file:
- Follow the path C:\Users\(username)\App Data\Roaming\Apple Computer\MobileSync\Backup.
- The only action you can take is to copy the entire Backup folder to another location, including to a portable USB drive.

Find Backup Files on Windows PC
Accessing iCloud Backup from a Windows 10 Machine
If you don’t require the entire content of the iPhone backup and simply want to retrieve some photos or contacts, the best solution is to access the iCloud account from a PC. You will have to install an application such as iCloud for Windows client that will allow a PC to access the primary cloud storage of your iPhone. Once you installed this application, you should execute several easy steps to gain access to the content in the cloud:
- Sign in to iCloud from the Windows 10 PC with your Apple ID.
- Browse the saved files and select those that you would like to download.
- Right-click on the icon representing iCloud in your taskbar, then click Download.
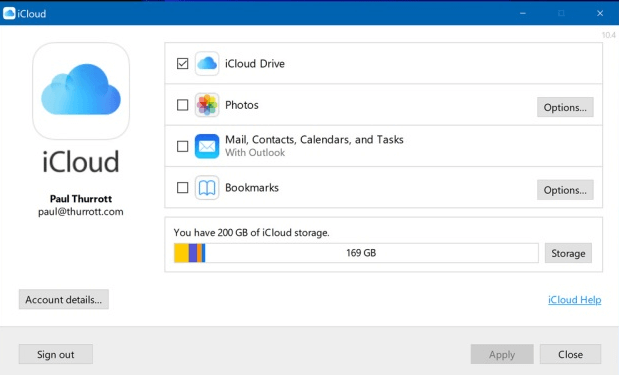
Sign in to iCloud from Windows 10 PC
Accessing Backup via Backup Extractor
As we mentioned, you can view no matter iTunes or iCloud backup in an official way. Or, you can seek help from iPhone backup extractors. Here we recommend PhoneRescue for iOS, which requires no restoring and enables you to view the backup file directly on Windows 10. Compare to the above two methods, PhoneRescue for iOS is more convenient, as you do not need to find your own backups or download iCloud, and it also allows you to preview the data you want and choose how to store it once downloaded
With PhoneRescue, except for viewing backups on computer, you also can:
- Scan and view iPhone backup files even with a broken iPhone.
- Extract data from iTunes backup, or iCloud backup.
- View iPhone backup files on Windows 10.
- View photos, messages, contacts, videos, etc. from iPhone backup.
Free Download * 100% Clean & Safe
Part 1. Viewing iTunes Backup via PhoneRescue
If you want to follow us to view files on iTunes backups, just follow the steps below.
Step 1. Install and run PhoneRescue for iOS on the computer, select Recover from Backup and click on the arrow button to get all iTunes backups.
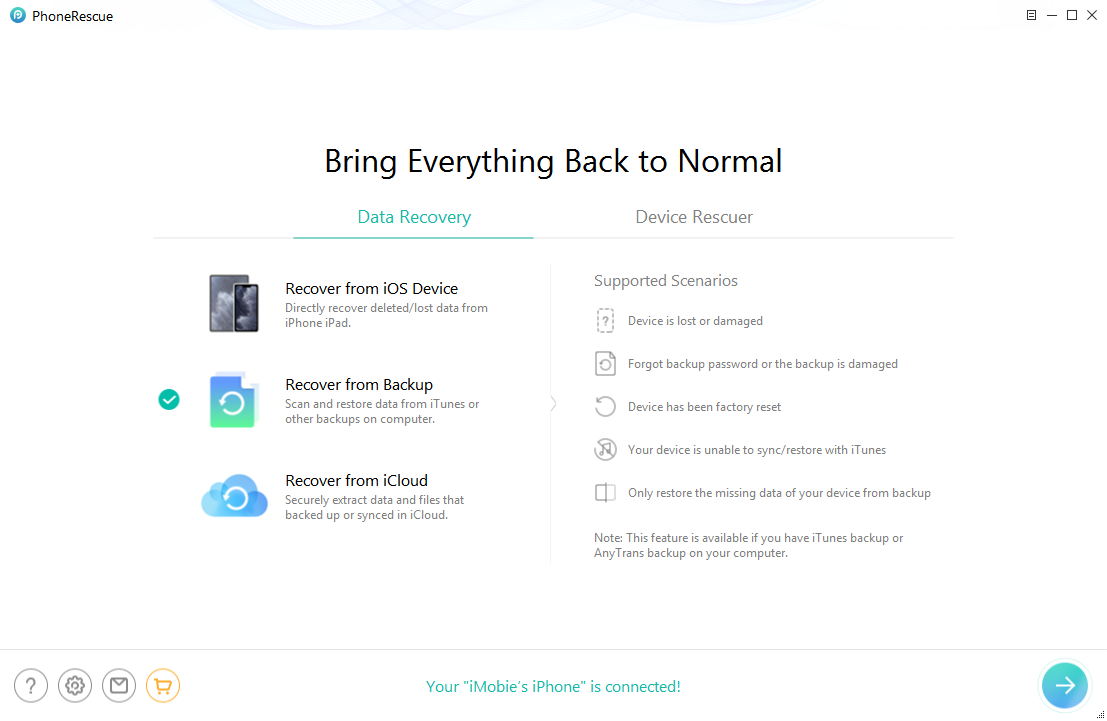
Choose Recover from Backup
Step 2. Select an iTunes Backup file and choose the type of data you want to view in the backup. If you want to check all kinds of data, just tick Select All and click on OK.
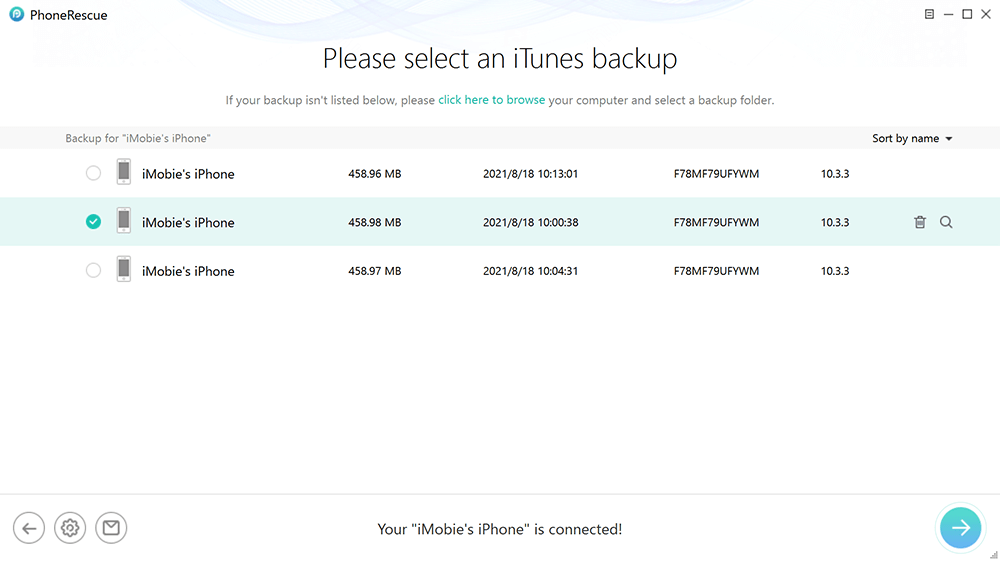
Select a Backup
Step 3. All data will be grouped into some categories. You can select any category to have a preview, and can even extract files from backup to computer or directly to your iOS device.
Part 2. Viewing iCloud Backup Files via PhoneRescue
PhoneRescue of iOS can also access iPhone backup files on the iCloud server and list all contents on the backup for previewing or extracting. To get the hidden files stored in iCloud using PhoneRescue, you can follow the below steps. And don’t forget to download PhoneRescue for iOS to your computer firstly.
Step 1. Select Recover from iCloud and click on the arrow button.
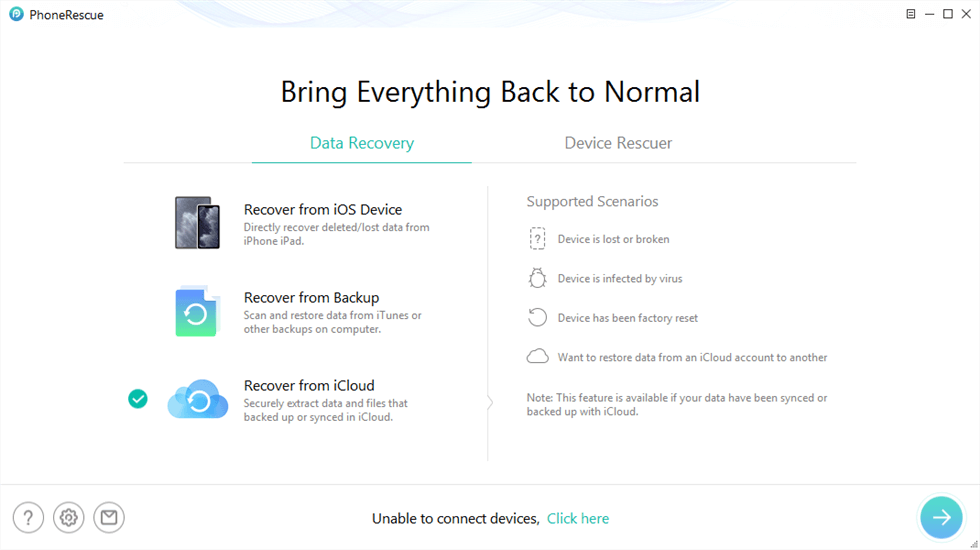
Recover iMessages from iCloud
Step 2. Sign in with your iCloud account to access all iPhone Backups.
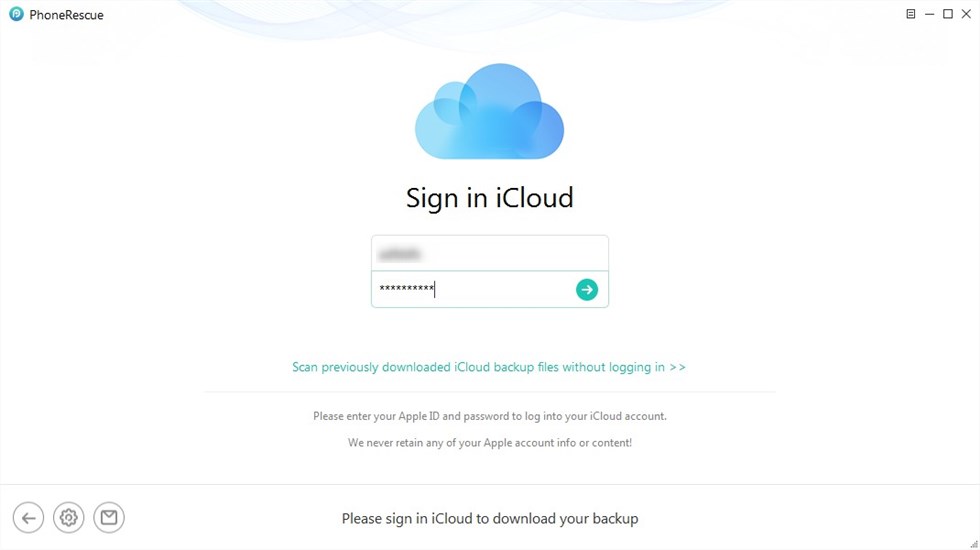
Sign in iCloud Account
Step 3. Select an iPhone backup file and click on Download to download the backup to computer, and then select the data you want to view and click Okay to access them.
How to Copy or Delete Backup
How to Copy Backups
Do not edit, move, rename or extract the contents of the backup file as these operations may corrupt the file. But you can however make a copy of the backup. If you need copies of your backups, you can find the Backup folder and copy the entire folder to another place, like an external drive or network-storage location.
How to Delete Backups
On a Windows 10 computer, you can use PhoneRescue for iOS to delete your backup. As shown in the image above, you can delete your backups by clicking on the trash button.
On a Mac with macOS Catalina or later:
- Open the Finder. Click your device.
- Under the General tab, click Manage Backups to see a list of your backups. From here, right-click on the backup that you want, then select Delete or Archive.
- Click Delete Backup, then confirm.
How Can I View iPhone Backup Files?
How to Locate iPhone Backup on Mac/Pc
For Mac users:
- To find a list of your backups, click the magnifier in the menu bar.
- Type or copy and paste this: ~/Library/Application Support/MobileSync/Backup/
- Select the Backup folder under Folders.
On a Mac with macOS Catalina or later:
- Find a specific backup, open the Finder. Click your device.
- Under the General tab, click Manage Backups to see a list of your backups. From here, right-click on the backup that you want, then choose Show in Finder, or select Delete or Archive.
- Click OK when you’re finished.
Search for the backup folder on Windows 8 or 10:
- Find the Search bar:
- In Windows 8, click the magnifying glass in the upper-right corner.
- In Windows 10, click the Search bar next to the Start button.
- In the Search bar, enter %appdata%. If you don’t see your backups, enter %USERPROFILE%.
- Double-click these folders: “Apple” or “Apple Computer” > MobileSync > Backup.
How to Manage Backup Files
In this section, we focus on how to manage iCloud backups on iPhone/iPad/iPod Touch/Mac/PC.
On your iPhone, iPad, or iPod touch:
- Go to Settings > Your iPhone name > iCloud.
- Tap Manage Account Storage > Backups.
- Tap a backup to see more details about it, choose which information to back up, or delete the backup. You can choose which content to back up only from the Settings menu of the device that stores that content.
On a Mac with macOS Catalina or later:
- Choose Apple menu > System Preferences.
- Click Apple ID > iCloud > Manage > select Backups.
On a Mac with macOS Mojave or earlier:
- Choose Apple menu > System Preferences.
- Click iCloud > Manage > select Backups.
On your PC:
- Open iCloud for Windows
- Click Storage > select Backup.
Tip: How to Transfer Backup File from iPhone to PC
If you want a more reliable way to transfer backed-up data to a PC, the best approach might be to find and download a data management app capable of cross-platform access. AnyTrans is one of the best applications of this kind, and it can be downloaded for free.
This app works perfectly with all Apple products including iPhones, and it creates its own backup files that can be easily viewed from any device, even if it runs on Windows 10. Using AnyTrans to create and manage your backups is a smart way to avoid dealing with limitations that normally accompany the attempts to use a PC alongside an iPhone, which is why many users are embracing this possibility.
Follow the steps below to view iPhone backup files on Windows 10.
Step 1. Download AnyTrans on your PC. Run it and connect your iPhone to the PC using the USB cable. Tap Device Manager from the homepage and choose one category, or scroll down to the category page and select the file category. Here we take Photos as an example.
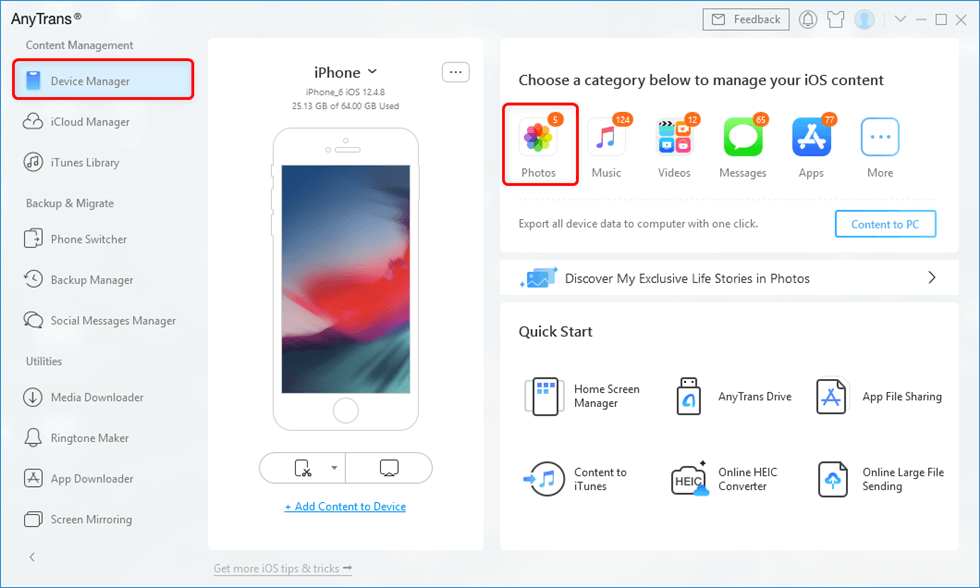
Go to Device Manager and Click Photos
Step 2. Now, you can view iPhone files on Windows 10 one by one. If you want to save them to your computer, just tap the Send to PC button to initiate the transfer process.
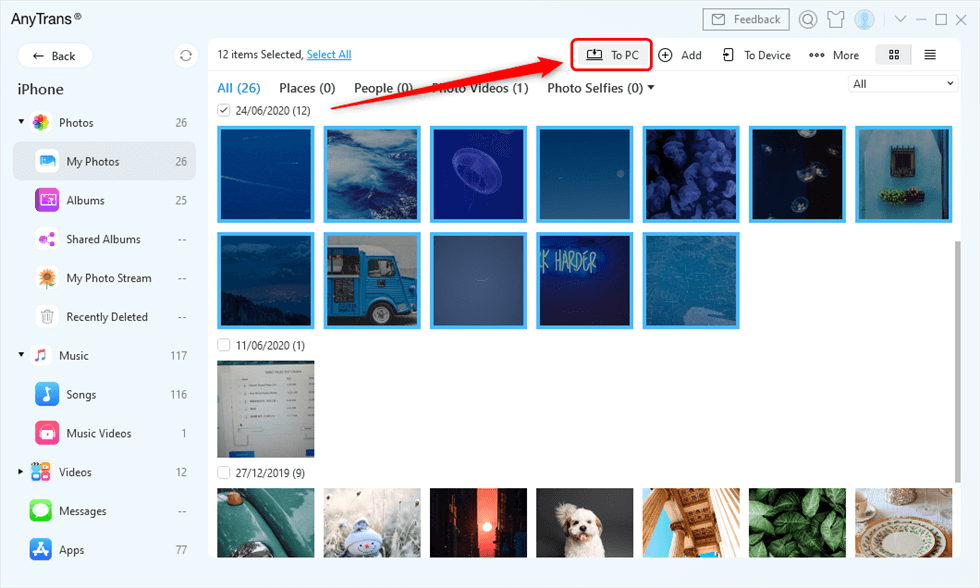
Select Photos and Send to PC
The Bottom Line
Anyone wondering how to view iPhone backup files on Windows 10 should try out the first two methods recommended in this article. If iTunes and iCloud turn out to be the wrong tools for this job, it might be necessary to go online and find a third-party app such as PhoneRescue that can enable you to access the backup files from a PC.
Free Download * 100% Clean & Safe

Senior writer of the iMobie team as well as an Apple fan, love to help more users solve various types of iOS & Android-related issues.
Product-related questions? Contact Our Support Team to Get Quick Solution >
