Android Utility Tool Latest Version Download and FRP Bypass [Updated]
Find all you need to know about Android Utility Tool, including its latest version, core features, usage guide for FRP bypassing, pros and cons, as well as safety concerns and top alternatives. With this comprehensive guide in 2025, you will get all the answers about FRP to use it safely and effectively.

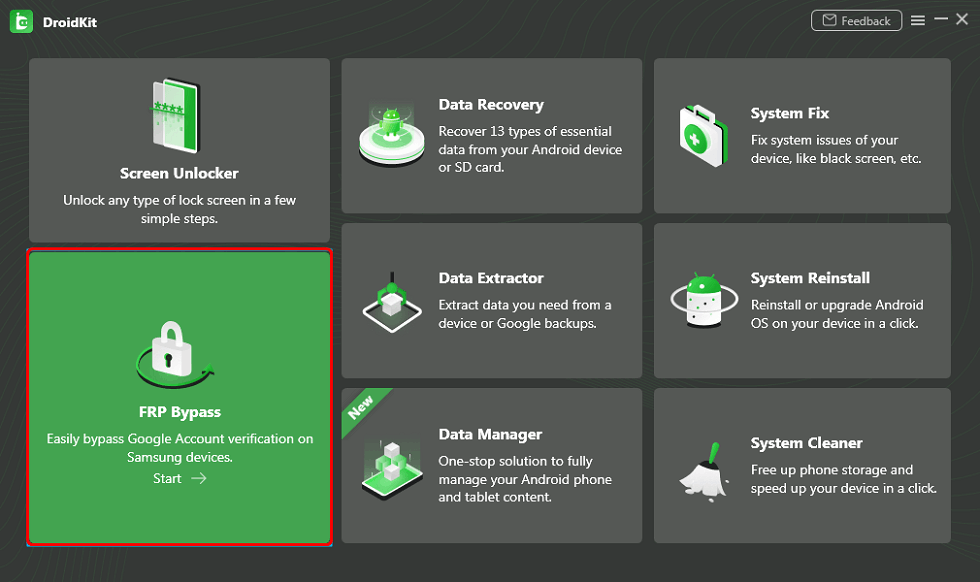
DroidKit
As a professional Android unlock tool, DroidKit can easily help you bypass Google verification without credentials. Fast FRP bypass process and high success rate. Support Android 6 – 15.
The Android Utility Tool has proved to be one of the most valuable solutions worldwide. It is specifically designed to address issues associated with this OS, such as FRP lock issues and bootloader unlocking. Both mobile technicians and untrained users need to understand how to use this tool safely and efficiently. Let’s examine its features, usage instructions, benefits/risks analysis, and most appropriate alternatives to help you bypass Google account verification without a password.
| Aspect |
Android Utility Tool |
DroidKit |
|
Type |
Windows desktop software (USB connection) |
Windows desktop software (USB connection) |
| Main feature |
FRP bypass, bootloader unlock, firmware flash, MTK tools |
FRP bypass, screen unlock, system repair |
|
Supported Devices |
Multi-brand (Samsung, Infinix, etc.), MTK/Qualcomm chips |
Samsung, Xiaomi, OPPO, Motorola, etc. |
|
Android Versions |
Not specified (may lack latest patches) |
6-15 |
|
Ease of Use |
Complex, requires technical knowledge |
User-friendly, simple steps |
|
Success Rate |
Medium |
High |
What Is Android Utility Tool?
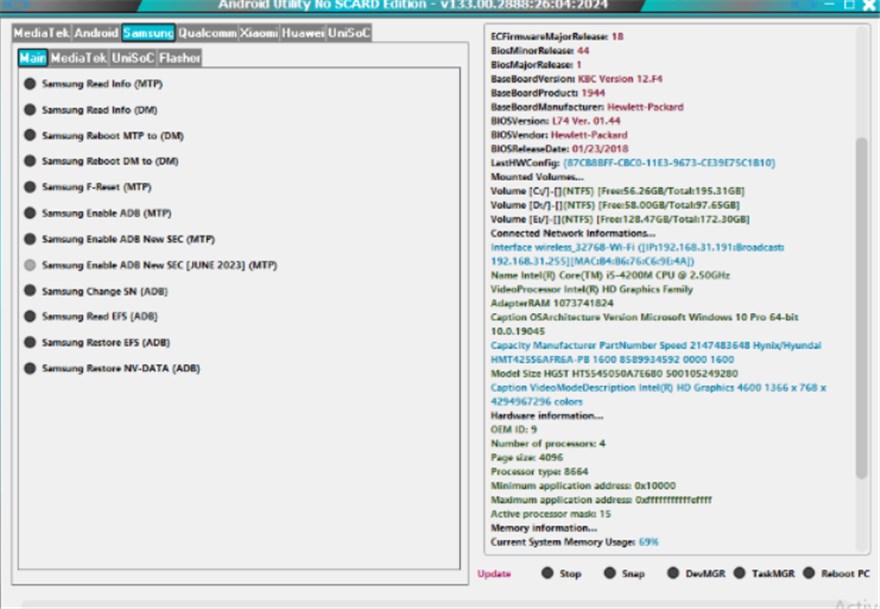
Android Utility Tool is a Windows-based software application created specifically to manage, repair, and customize Android devices. When connected via USB to their phone or tablet, users can take advantage of various advanced functions, including FRP (Factory Reset Protection) bypass, SIM Network Unlocking, and Bootloader Unlocking. This flashes stock or custom firmware installations, as well as dumping/restoring Preloaders during custom ROM installations.
Professional technicians and advanced users alike appreciate this third-party utility’s capability of supporting multiple Android brands. This tool is compatible with multiple chipsets from MediaTek and Qualcomm, and also enables system recovery. It is crucial to gain a thorough understanding of the Android Utility tool if you want to choose it as your supportive tool for recovering and fixing Android issues. Let us explore its main features, pros, and cons:
1. Main Features:
- Advanced MediaTek (MTK) Functions: Tools, such as Force BROM Mode, Preloader Dump, and Crash Preloader to BROM, can assist in low-level repair or diagnostics for MediaTek modules.
- META and ADB Integration: Enabling ADB through META mode on Infinix, Tecno, and iTel devices. This feature is very helpful for FRP bypass or unlocking even without full boot access.
- Repair & Customization Toolkit: This comprehensive device repair and customization kit features bootloader unlock, FRP bypass (ADB/MTP/BROM), firmware flashing, factory reset, and system diagnostic capabilities.
- Brand-Specific Tools: Some brand-specific tools are also integrated into Android Utility. For example, in Samsung, there are FRP bypass, dead boot repair (A03/A03s), and browser launch tricks.
2. Pros & Cons
| Pros | Cons |
| It is lightweight and easy to install. | Understanding and expert technical knowledge are required to work efficiently with this tool. |
| It helps to increase device compatibility by maintaining regular updates. | Some features might not work properly on newer Android versions or security patches. |
| It may void your device’s warranty. |
Is Android Utility Tool a Free Tool?
No, FRP Bypasser isn’t free. Unlocking its core features, such as FRP bypassing and bootloader unlocking, requires users to purchase premium services from an official or verified source. Be alert to websites offering crack-free versions. They may contain malware or compromise the original functionality.
Is Android Utility Tool Safe to Use?
The official Android Utility Tool can generally be trusted when downloaded from trustworthy sources. Moreover, no installation process requires files to be changed permanently on your PC. However, cracked versions may contain malicious code, such as keyloggers or spyware, which not only compromise your privacy but can also render the tool ineffective or damage your device.
Since Android Utility Tool’s powerful nature requires intimate interaction between Android systems and computers, it may lead to data loss or device malfunction if misused.
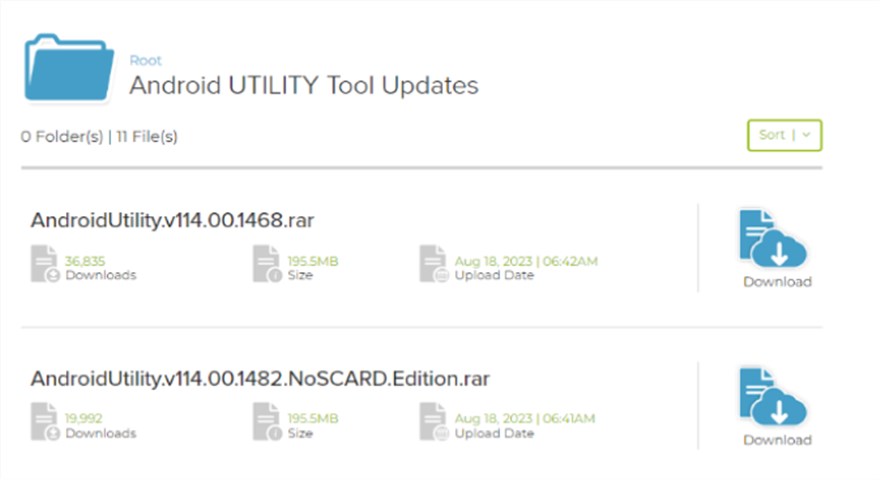
How to Get Android Utility Tool Latest Version Download
To unlock FRP locks or manage your Android device, you’ll need to download the latest Android Utility Tool on your computer. Numerous trusted websites and forums offer updated versions of these tools. A reliable option is IAASTEAM, which provides the latest Android Utility Tool V165.
Step 1: Download from a Trusted Source
Start by obtaining the latest version from a reputable site, such as the official IAASTEAM website or a well-known Android developer forum. This guarantees a clean, malware-free file that’s compatible with your Windows PC (versions 11, 10, 8, or 7).
Step 2: Extract the Files
Once downloaded, unzip the contents of the ZIP file. It’s advisable to extract directly to your C: drive to prevent permission errors. If prompted for a password during extraction, enter: mfdl.
Step 3: Temporarily Disable Antivirus Software
Prior to installation, temporarily turn off your antivirus program. These tools are often flagged as “false positives” by security software, which can block vital files and halt the process.
Step 4: Run the Installer
Locate the extracted folder and execute the primary installer file. Follow the on-screen instructions to finalize the setup. After completion, launch the Android Utility Tool and reactivate your antivirus protection.
How to Use the Android Utility Tool for FRP Bypass?
To use the Android Utility Tool successfully for FRP bypassing, you need a basic understanding of your device and to follow some simple steps. It includes clear prompts throughout the FRP bypass process, but the complex steps involved may still be challenging for users without technical experience. Here’s how it works:
Step 1. Connect your device to your PC using a USB cable and ensure USB debugging is enabled.
Step 2. Launch the tool and choose between FRP unlock, screen lock removal, flashing, or additional tasks.
Download Android Utility Tool
Step 3. Select your device model type. Then follow the on-screen prompts.
Step 4. Let the tool process and work. Don’t disconnect your device during this whole process.
Step 5. Once completed, your Android phone may reboot automatically, or you may be asked to disconnect.
Bypass FRP on Android Utility Tool
Best Android Utility Tool Alternative for FRP Bypass [Easier & Safer]
If you’re looking for an easier, user-friendly, and secure option for FRP bypassing, consider iMobie DroidKit. It features an intuitive user interface that is easy to understand for users with limited technical knowledge. As a professional Android unlock tool, iMobie DroidKit achieves high success rates in FRP bypass on Samsung, Xiaomi, Redmi, etc. This tool contains regular updates to meet the newest Android version updates. Moreover, it offers a customer support service for instant responses to users’ queries. Except for bypassing FRP on Android, it also allows users to unlock the screen, repair Android system issues, etc.
Main Features of DroidKit:
- Bypass Google verification without initial credentials in easy steps.
- Compatible with Android versions, ranging from 6 to 15.
- Supports bypassing FRP on Samsung, Xiaomi, OPPO, Motorola, etc.
- 100% free from malware and other malicious attacks.
Free Download * 100% Clean & Safe
How to bypass FRP on Android using DroidKit:
Step 1. Download iMobie DroidKit and select the FRP Bypass mode. Connect your supported Android device using a USB cable.
Choose FRP Bypass
Step 2. Choose your Android brand, and wait for DroidKit to prepare the configuration file. Once done, press the ‘Start to Bypass’ button.
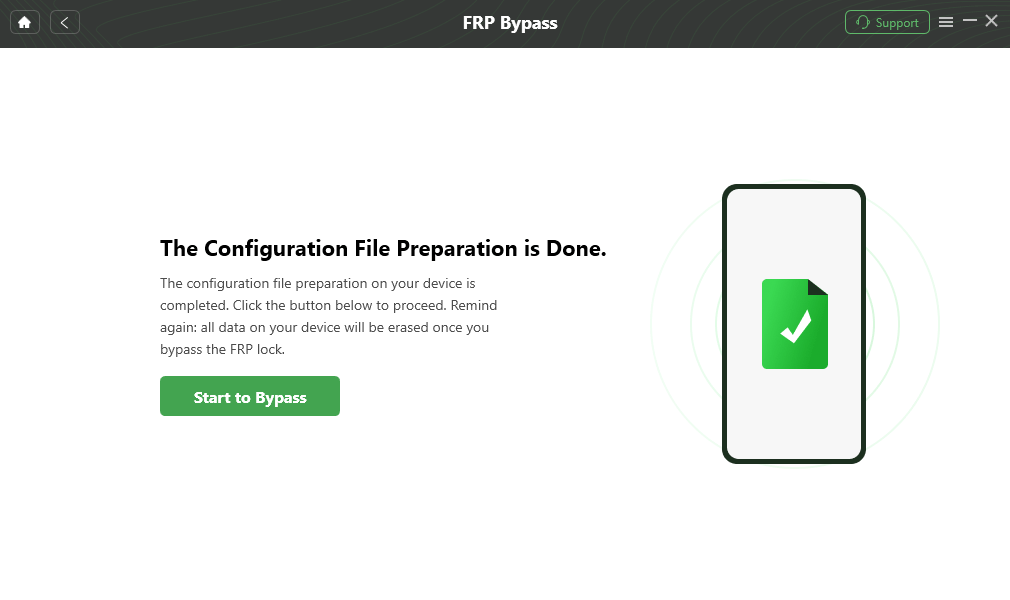
Click Start to Bypass
Step 3. Follow the steps to enter Recovery Mode. When done, tap “Reset” on the screen to complete the FRP bypass.
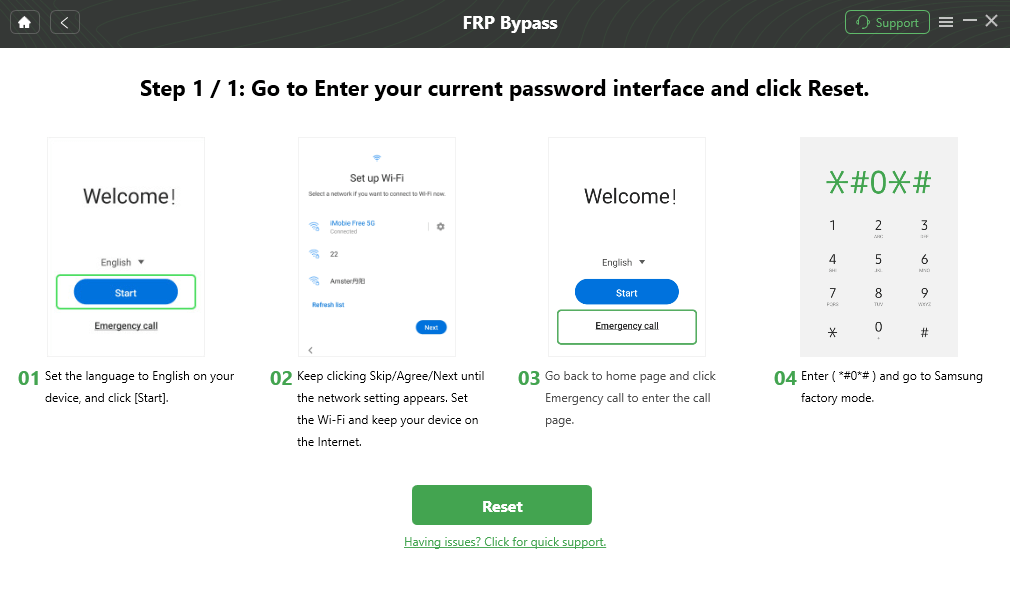
Go to Factory Mode
Step 4. As the process completes, the tool starts bypassing the FRP lock, and you will see a confirmation screen upon finishing it successfully.
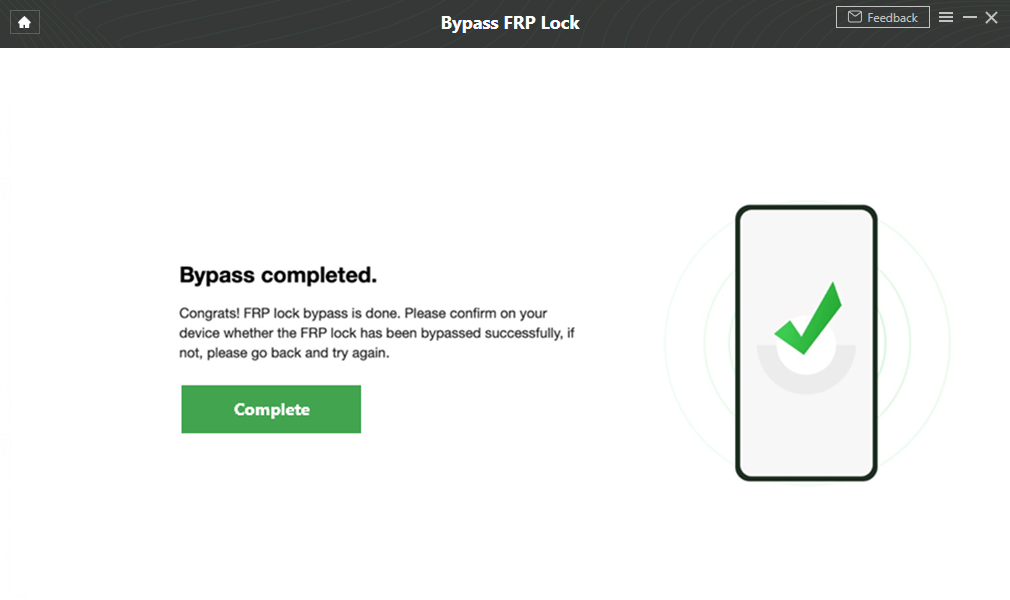
Google Account Verification Bypass Successfully
FAQs about Android Utility Tool
Q1: Does Android Utility Tool Work on All Android Devices?
Android Utility Tool doesn’t support all Android devices. Compatibility may depend on the model and Android version. Many devices equipped with new firmware or advanced security may not support it.
Q2: What’s the Latest Version of the Android Utility Tool?
Android Utility Tool V170.00.6677 is the latest version. It will provide technicians and end users alike with increased efficiency and reliability through the use of this software solution.
Q3: Where to Download the Android Utility Tool Latest Version?
Android Utility Tool Latest Version can be downloaded from high-authority websites or well-reviewed developer repositories, such as the GitHub Repository of Android Utility Tool.
Conclusion
This post covers a thorough review of the Android Utility tool. Considering its complex steps and security risk, DroidKit would be a more reliable choice to bypass FRP. It has broader compatibility with Android devices and versions, achieving higher success rates, and an intuitive interface suitable for all types of users. Additionally, there is another bonus tool that can remove FRP lock on Samsung completely. You can choose the one you need by reviewing the comparison table.
Free Download * 100% Clean & Safe
More Related Articles

Joy Taylor is a seasoned technical writer with over a decade of experience in mobile technology. At iMobie, she specializes in producing in-depth content on iOS data recovery, iPhone unlocking solutions, and iOS troubleshooting.
Product-related questions? Contact Our Support Team to Get Quick Solution >
