Over the past month, our team bought and tested 15 different second-hand Android smartphones running Android 16 across major brands, including Samsung, Xiaomi, Motorola, Oppo, and Vivo. We documented every success and failure to bring you exact, tested steps.
Facing a locked Android device when you need it most is a massive obstacle. Imagine buying a second-hand smartphone online and performing a standard factory reset to start fresh. When the phone reboots, you are suddenly permanently stuck on the Google account verification screen. For buyers like Maria, a recent reader who shared her story with us, this exact scenario turned an exciting purchase into an unusable paperweight.
Trying to bypass the Android 16 lock is notoriously difficult because many older methods simply do not work anymore. Finding a reliable method for your specific phone model requires precise, up-to-date instructions. You might harbor a valid fear of downloading unsafe software or breaking your phone entirely. This guide provides tested, straightforward procedures to bypass the lock and safely regain access to your smartphone, complete with the exact buttons to press and menus to navigate.
Table of ContentsHide
Choosing Your Google Account Bypass Strategy
Before jumping into the steps, it is important to evaluate the available options for your device. Users are frequently unsure which guide applies to their phone model. You generally have two choices: manual techniques or a professional software tool. Each approach carries different requirements regarding success rates, time costs, technical skills, and safety risks.
Manual techniques are free. However, they carry a high failure rate against modern Android 16 security patches. They require navigating deep system menus and occasionally downloading side-loaded files. The time cost is high because one wrong tap forces you to restart the entire process. Conversely, professional software offers a higher success rate and requires minimal technical skill, reducing the time spent by automating the background processes, although it typically involves a financial cost.
Strategy Comparison Breakdown:
| Criteria | Manual Methods | Professional Tool (iMobie DroidKit) |
|---|---|---|
| Success Rate | Low to Medium | High |
| Time Cost | 1 to 3 hours | 10 to 15 minutes |
| Technical Skill | Advanced | Beginner |
| Safety Risk | High (third-party APKs) | Low (encrypted local software) |
Always verify your specific device brand and current software version before starting any setup verification procedure to ensure you select the correct set of instructions.
How Android 16 Security Patches Affect Your Options
If you have tried unlocking your phone recently and failed, there is a specific technical reason for it. Modern Android 16 updates significantly strengthen Factory Reset Protection. The operating system now ties device verification tightly to Google Play Services and updated security patches.
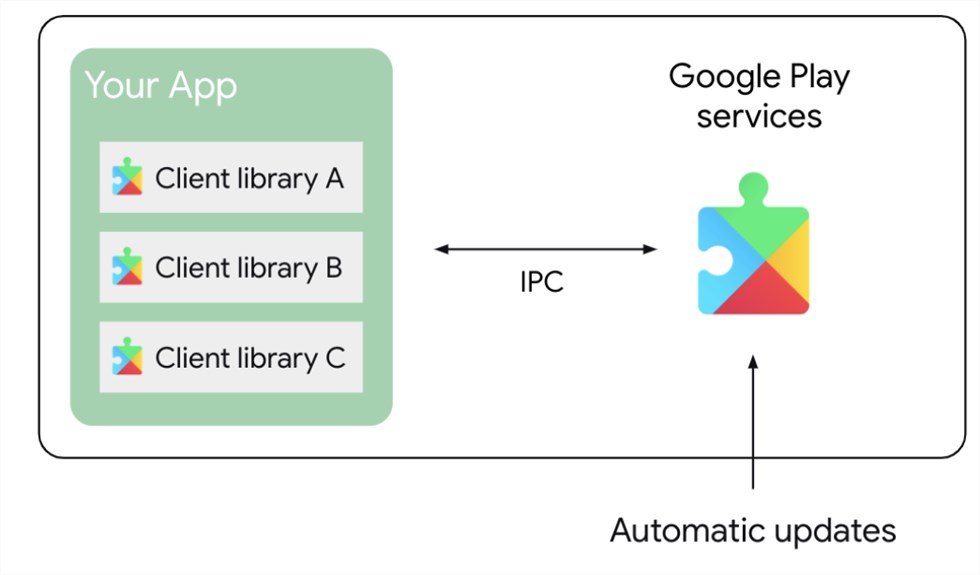
When you look for a bypass method, you must understand the underlying security framework. In previous versions, users could exploit small vulnerabilities in the keyboard or browser app to add a new account. Today, the system actively monitors the Google Play Services verification flow. If the operating system detects unauthorized access attempts, it immediately blocks the action.
This explains why a method that succeeded last month might fail today. Google constantly updates these security patches. Understanding this architecture illustrates exactly why matching your solution to your current security patch level is essential for success.
If You Have the Pre-February 2025 Security Patch
Devices running Android 16 that have not updated past the January 2025 security patch still retain a few accessibility loopholes. The manual methods detailed in the brand-specific sections below rely on these exact vulnerabilities.
If You Have the Latest Android 16 Patch (Post-February 2025)
If your device has installed the February 2025 update or newer, the accessibility menus and browser loopholes are completely blocked. You will notice that certain buttons mentioned in the manual guides are simply missing from your screen. In this scenario, manual methods will result in failure. You will need to skip to the official recovery methods or use a secure software alternative.
Step-by-Step Manual Bypass Methods Organized by Brand
If you chose the manual approach and possess an older security patch, you must apply a technique tailored precisely to your device manufacturer. A common obstacle users face involves navigating the brand-specific differences in Android setup menus. What works for a Samsung will not work for a Xiaomi.
These manual methods acknowledge a lower success rate and increased complexity. You must follow the steps exactly as they correspond to your specific user interface. If a menu option is missing, it strongly indicates your device has a newer security update, requiring an entirely different approach.
Samsung Android 16 Manual Bypass Steps
Step 1. Navigating the customized Samsung One UI requires accessing the hidden browser through the TalkBack feature.
Step 2. Power on your Samsung device and connect to a stable Wi-Fi network.
Step 3. Return to the initial welcome screen. Press and hold the Volume Up and Power buttons simultaneously for three seconds to activate TalkBack.
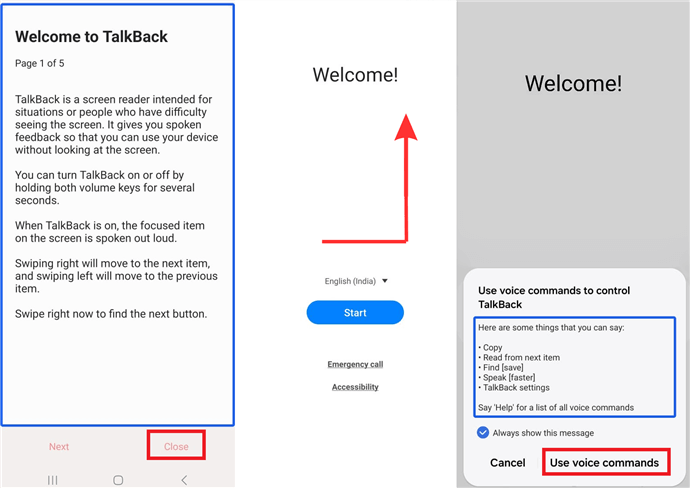
Activate Talkback
Step 4. On the screen, draw a backwards “L” shape (swipe down, then right) to open the voice command menu.
Step 5. Say loudly and clearly: “Open Google Assistant.”
Step 6. Once the Assistant opens, say “Open YouTube.”
Step 7. In the YouTube app, tap the Profile Icon in the top-right corner. Navigate to Settings, then About, and tap YouTube Terms of Service. This action opens the Chrome browser.
Step 8. In the Chrome URL bar, enter the Vnrom website.

VNROM FRP Bypass Tool
Step 9. Scroll down and tap Open Galaxy Store. You will need to log in with an active Samsung account (create one on a separate computer if needed).
Step 10. Download the app Alliance Shield X from the Galaxy Store.
Step 11. Open Alliance Shield X, register for a free account, and navigate to the App Manager.
Step 12. Search for Google Play Services. Tap on it, navigate to the Activities tab, and select the option ending in .SetupActivity. Tap Open to force the phone to the home screen.
Xiaomi (MIUI / HyperOS) Manual Bypass Steps
The Xiaomi interface requires a distinctly different procedure. Before connecting to the internet, you must disable Google Play Services entirely to prevent the setup process from restoring normal verification behavior too early. For users dealing with older ownership or account-access issues, this step is often discussed alongside topics like deleting the Mi Account permanently on Xiaomi, since both involve managing Xiaomi-specific account restrictions and device access settings.
Step 1. Turn on your Xiaomi phone. Do not connect to Wi-Fi yet. If you are already connected, tell the device to forget the network.
Step 2. Tap the Accessibility icon on the welcome screen (usually a small person icon at the bottom).
Step 3. Select Vision and turn on TalkBack.
Step 4. Swipe down and right to open the TalkBack menu. Select TalkBack Settings.
Step 5. Tap on the Braille keyboard, then select Set up Braille keyboard. This action forces a hidden Settings pop-up to appear.
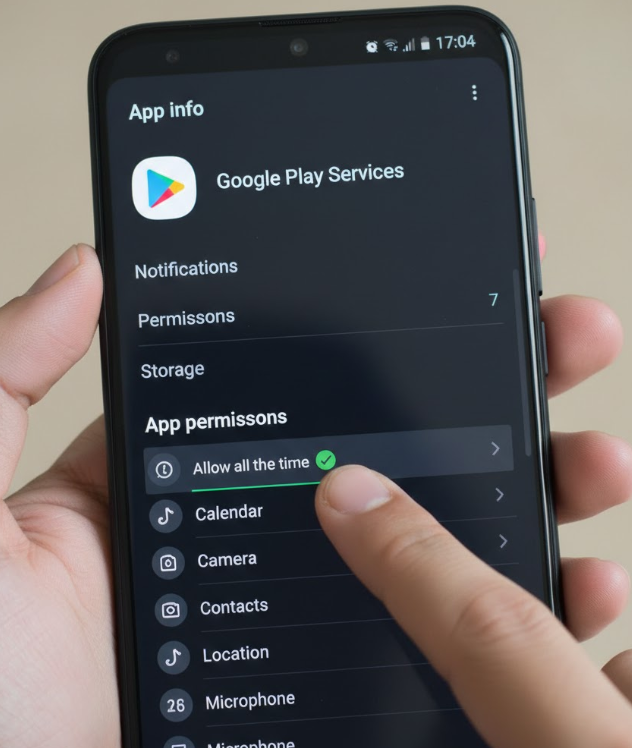
Step 6. Tap Settings, then navigate to Apps, and choose Manage Apps.
Step 7. Scroll down to find Google Play Services. Tap it, then select Disable, and finally tap Force Stop.
Step 8. Gotcha Moment: Ensure your Wi-Fi is still off. Return all the way to the initial setup screen and click next. Because Play Services is disabled and you are offline, the phone skips the account verification entirely and loads the home screen.
Motorola Manual Bypass Steps
Motorola Android 16 devices demand an alternate approach using the emergency dialer.
Step 1. Power on the device and connect to Wi-Fi.
Step 2. Go back to the first screen and tap Emergency Call.
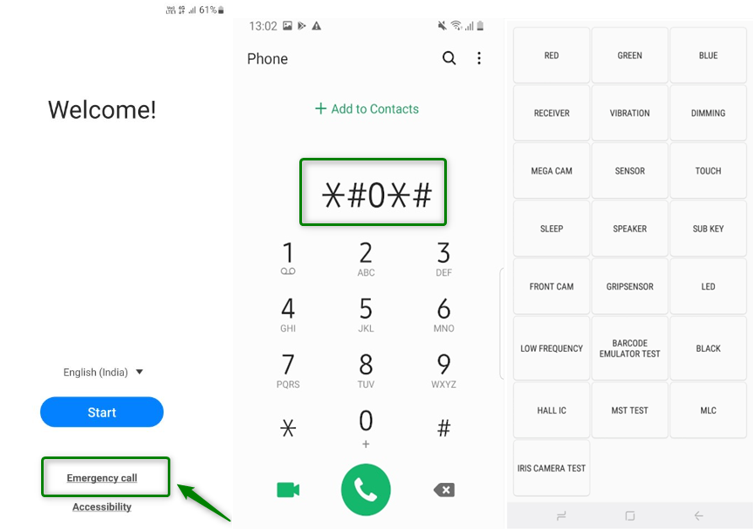
Bypass Samsung FRP Lock
Step 3. Tap Emergency Information twice to open it.
Step 4. Tap the Pencil Icon in the top right, then tap the Name field.
Step 5. Tap the blank profile picture icon and select Choose an image.
Step 6. Tap the three horizontal lines (hamburger menu) in the top left. Press and hold the Drive or Photos icon until the App Info screen appears.
Step 7. Tap Permissions, then tap the magnifying glass icon to search.
Step 8. Type Settings and scroll down to find the main device Settings App (look for the blue gear icon). Tap Open.
Step 9. Navigate to Accessibility, turn on the Accessibility Menu, and ensure the shortcut appears on your screen.
Step 10. Go back to the main Settings, tap Apps, find Google Play Services, and tap Disable.
Step 11. Return to the Wi-Fi setup screen. Tap the Accessibility shortcut you enabled, choose Assistant, and tap Settings when prompted to re-enable Google Play Services. Enable it, go back one screen, and you can now skip the Wi-Fi connection to finish the setup.
FRP Bypass on Android 16 Using iMobie DroidKit
Sometimes, manual attempts to bypass the lock screen do not succeed. If you have the post-February 2025 security patch, or if you attempted the manual methods for Samsung, Xiaomi, or Motorola and remained stuck on the Google verification screen, it is time to reconsider your approach. Continuing to force outdated techniques can occasionally result in severe software malfunctions.
For users who have tried manual methods and remain stuck, switching to a secure bypass tool offers a reliable alternative. Rather than navigating hidden menus, iMobie DroidKit operates entirely on your local computer. It is designed specifically for users who want to avoid the high failure rate of manual methods on updated devices. To address the common fear of downloading unsafe apps onto your phone, DroidKit performs all steps locally on your PC or Mac, protected by 256-bit SSL encryption, ensuring your personal privacy remains intact.
Key Advantages of iMobie DroidKit
- No Password Needed: Complete the verification removal without requiring the original account details.
- Automated Updates: The software is updated continuously to handle the latest Android 16 security patches, succeeding where manual loopholes fail.
- Clear Instructions: Regain access to your device by following direct, visual prompts on your computer monitor.
- Complete Removal: After finishing the procedure, the previous account is fully erased, allowing you to log in securely with a new profile.
Step-by-Step Android 16 FRP Bypass via iMobie DroidKit:
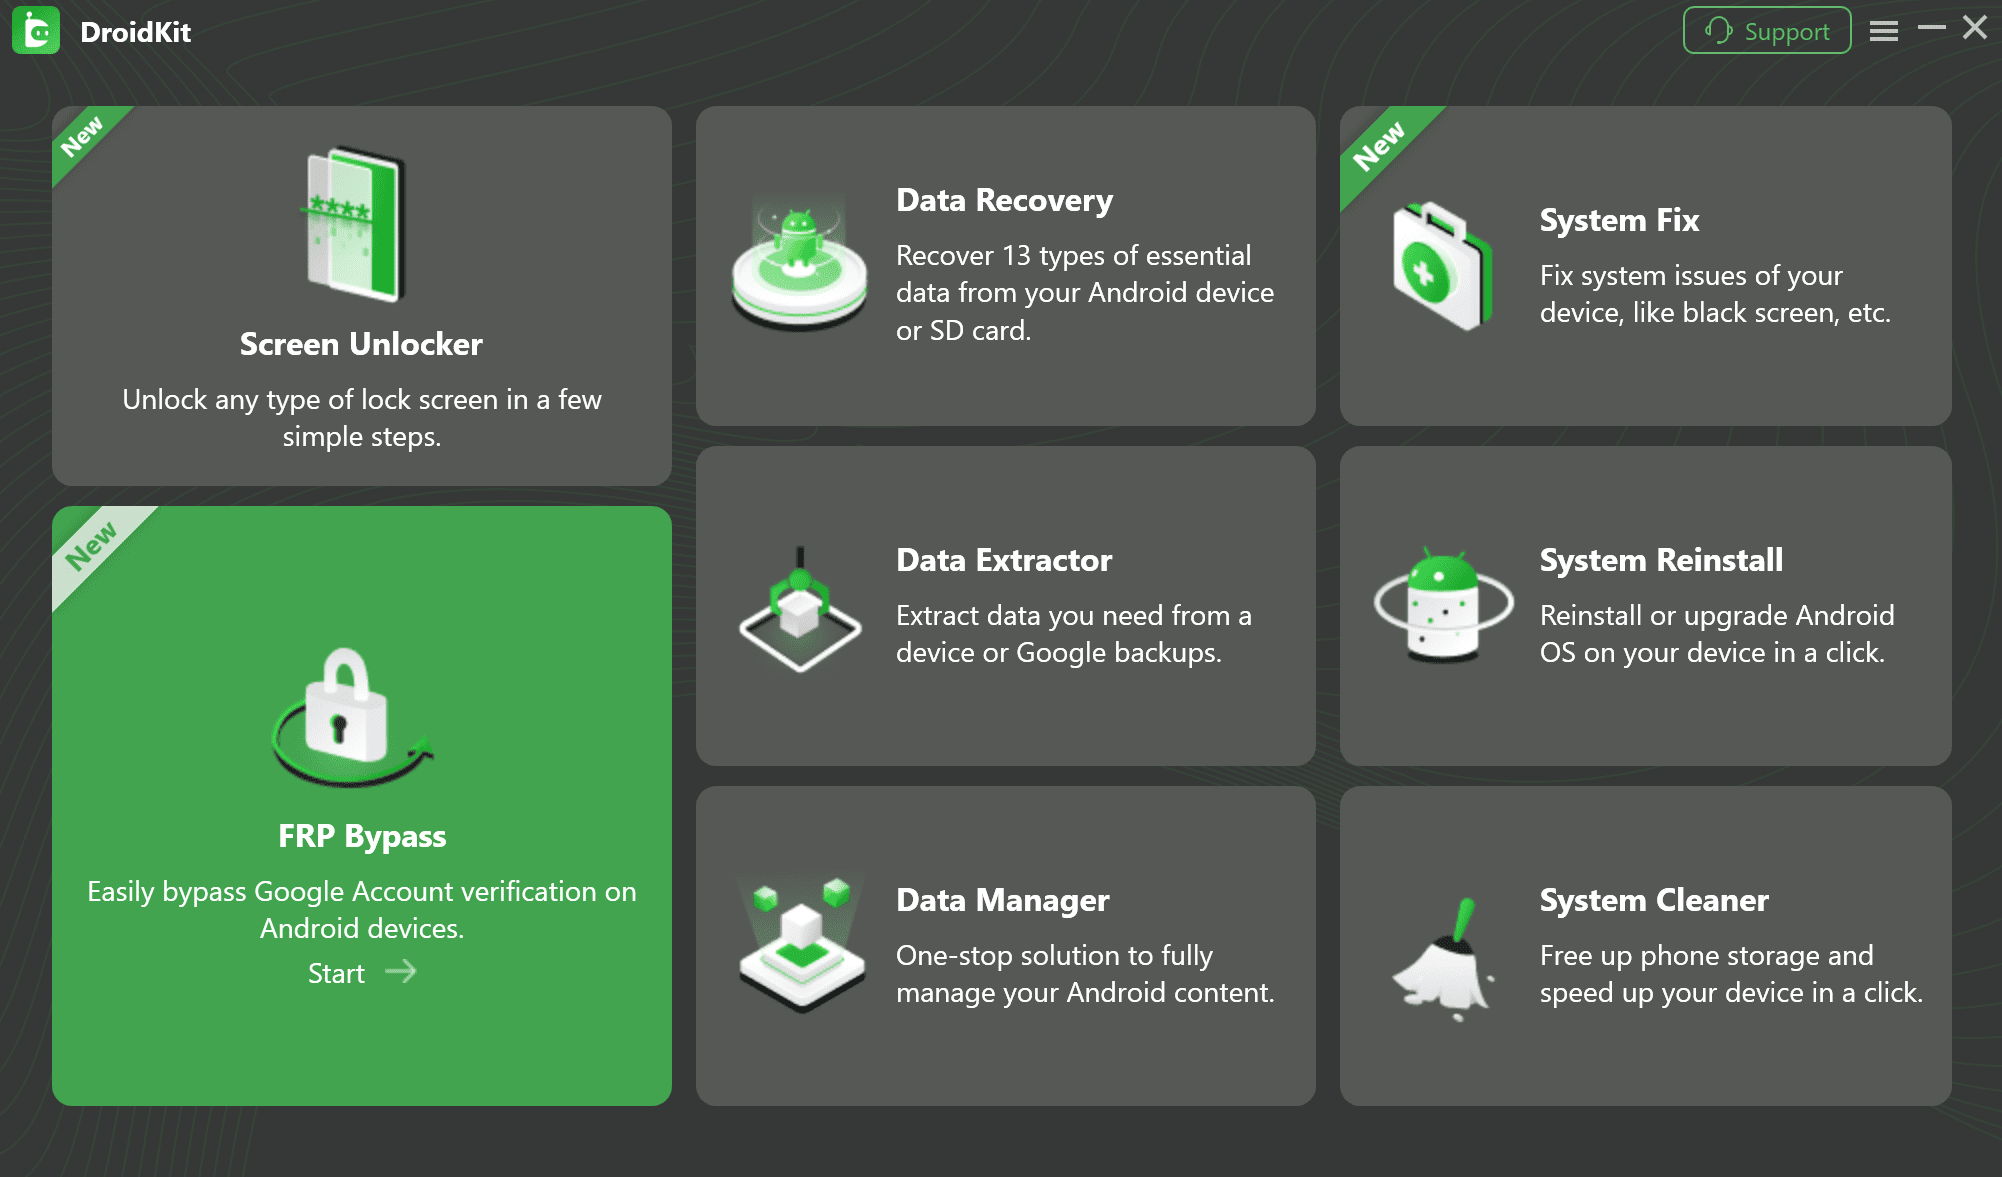
Step 1. Download and install DroidKit on your Windows or Mac PC. Open the application and select the FRP Bypass feature from the main menu.
Step 2. The software will detect your device model and start preparing the necessary files. Click Start to proceed.
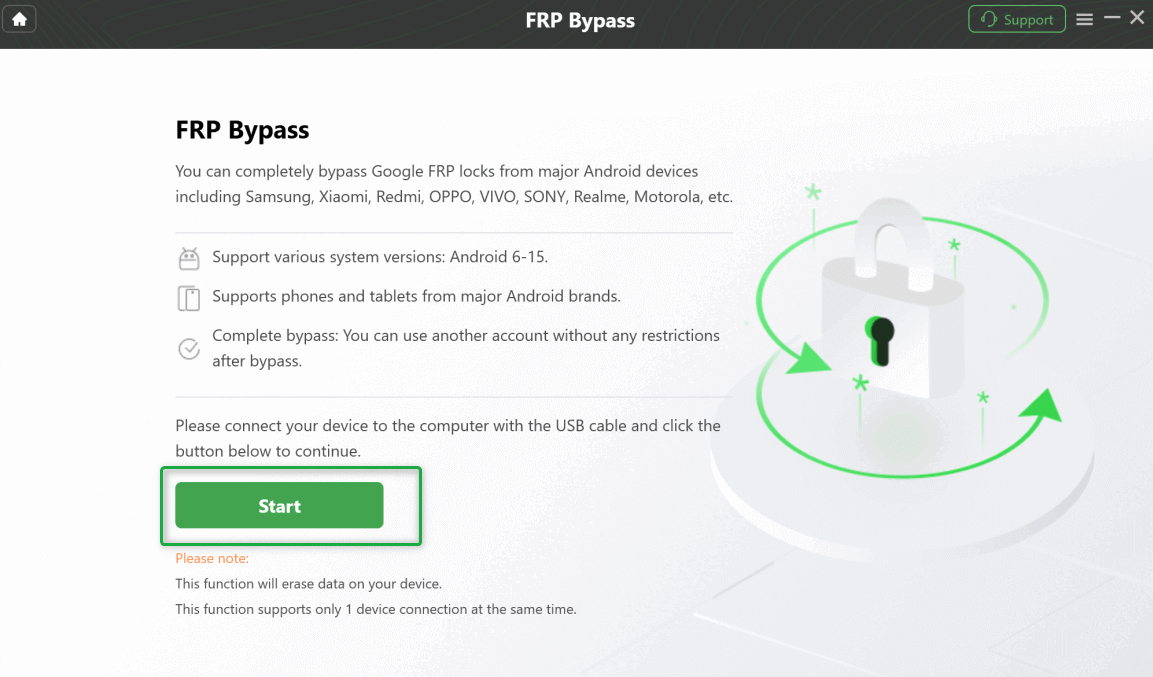
CIick Start Button to Continue Process
Step 3. Follow the clear on-screen instructions. The software will show you exactly how to put your device into the correct mode. For many Android models, this involves powering the device off and holding a button combination (like Volume Down + Power) to enter “Download Mode.”
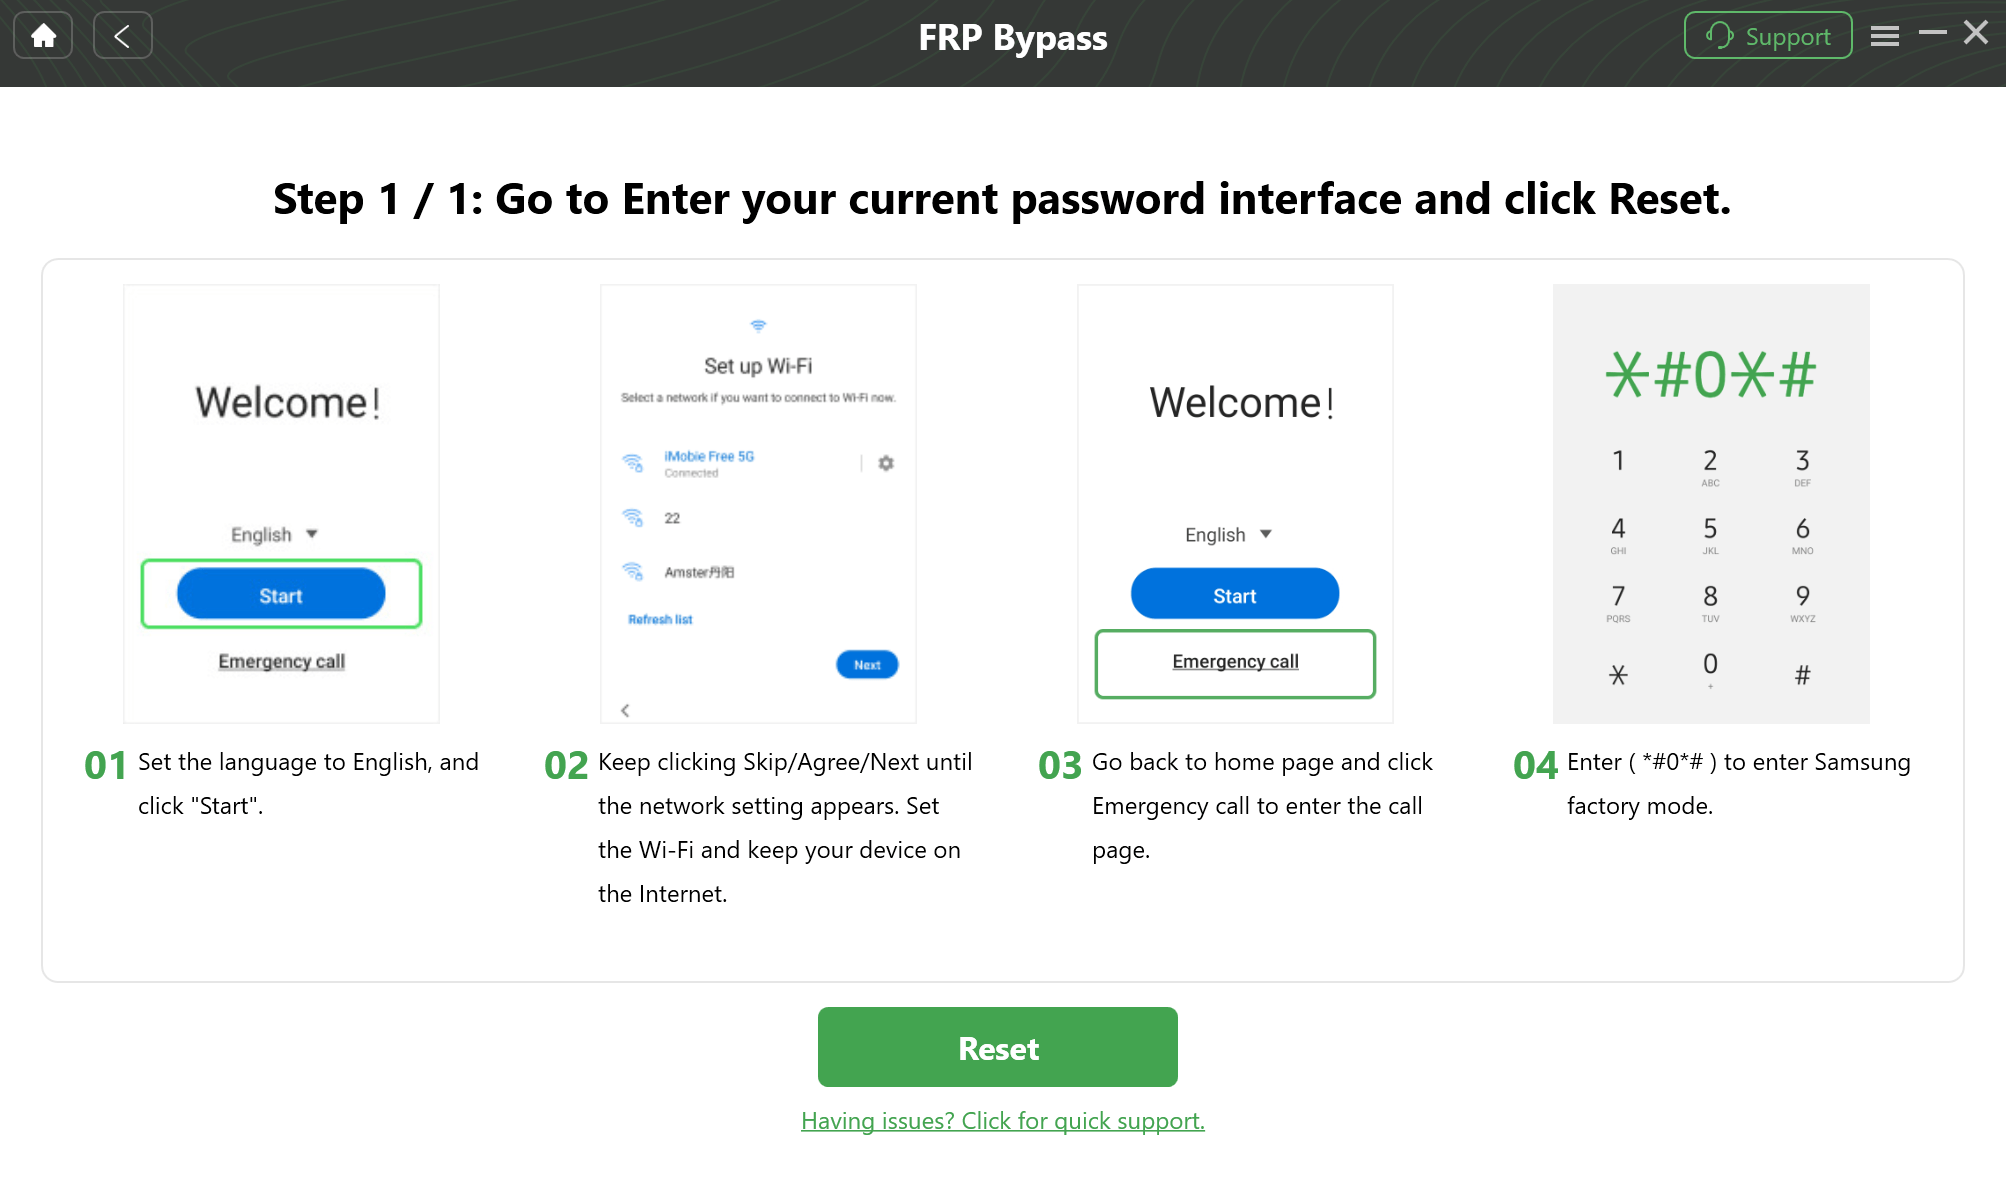
Follow the On-Screen Setup
Step 4. Once your phone is in the correct mode, the tool will handle the rest of the process. After it’s finished, the FRP lock will be gone, and your phone will restart with full access restored.
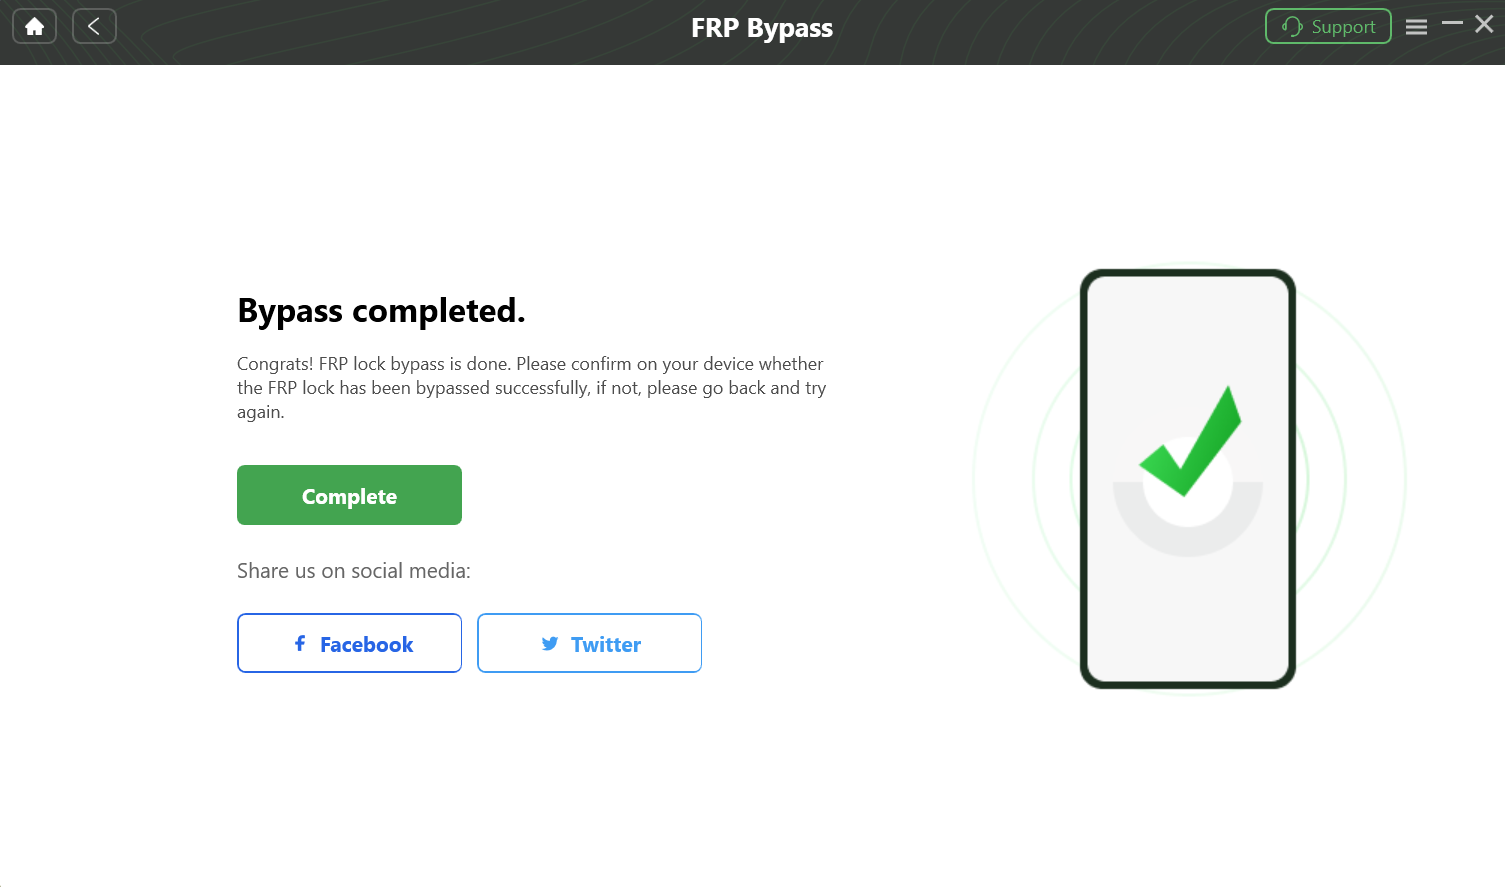
Bypass FRP Lock
Official Legitimate Account Recovery
It is crucial to separate the needs of a second-hand buyer from a legitimate owner who simply forgot their credentials. If you are the original owner, wondering how to unlock your phone, your primary step should always be official account recovery.
Navigate to the official Google account recovery page on a separate computer or tablet. By answering security questions or using a backup email, you can reset your password. Once updated, simply type the new password into your locked phone. This is the absolute safest approach for original owners and completely bypasses the need for manual hacking or third-party tools.
Frequently Asked Questions About Android 16 Setup Verification
- What is Factory Reset Protection on Android 16?
- It is a built-in security feature that prevents unauthorized users from accessing a device after an untrusted factory reset. It requires the previous owner’s credentials to unlock the phone.
- Why is my phone asking for the previous Google account?
- Your phone requests this information because it was reset without first removing the existing account from the device settings. The system triggers the lock automatically to protect the original owner’s personal data.
- Can the lock be removed without the original account?
- Yes. You can bypass it using brand-specific manual techniques if your phone has an older security patch, or by using professional bypassing tools tailored specifically for your device brand.
- Why do manual bypass methods stop working after updates?
- Manufacturers regularly release security patches that fix accessibility and browser vulnerabilities used by manual bypass methods. This constant updating renders older techniques completely ineffective.
- Does Android 16 have stronger protection than older versions?
- Yes. The newest operating system integrates verification directly with core system services, making it significantly harder to bypass than earlier iterations.
Conclusion
Being stuck on the verification screen can quickly turn an exciting new device into a source of real stress. As this guide shows, relying on outdated tutorials or forcing incompatible manual methods often leads to failure, especially as security patches continue to evolve and older FRP bypass tools become less reliable on newer Android versions. By identifying your exact Android version and device brand first, you can choose a more suitable and effective approach.
Whether you successfully navigate the deep system menus using our manual steps or opt for a secure, automated tool like iMobie DroidKit after hitting a roadblock, you now have the exact instructions needed to proceed. Stop struggling with unresponsive menus, follow the steps tailored to your situation, and regain total control of your smartphone today.


