5 Ways to Bypass Motorola FRP Lock in 2026
Stuck on the Google verification screen after resetting a Motorola phone? This guide compares 5 Motorola FRP bypass methods for Moto G, Moto E, and Edge models, including free no-PC tricks, Fastboot tools, APK options, and a guided DroidKit method when manual methods fail.
If your Motorola phone is stuck on the Google account verification screen after a factory reset, you are dealing with the Factory Reset Protection (FRP) lock.
This usually happens when:
- You forgot the Google account previously synced on the Motorola phone.
- You bought a second-hand Moto phone and the previous owner did not remove their Google account.
- You reset the device from recovery mode before removing the Google account from Settings.
The key question is: which Motorola FRP bypass method still works in 2026?
This guide compares 5 updated methods for Moto G, Moto E, Moto Edge, and other Motorola models, including free no-PC tricks, APK/OTG options, Fastboot-based tools, remote services, and a guided DroidKit method when manual routes fail.
⚠ Legal Notice: Use these methods only on a Motorola device you own or have clear permission to unlock. Bypassing FRP on a device you do not own may be illegal. Some methods may erase data on the device.
Quick Answer
The most reliable way to bypass Motorola FRP in 2026 depends on your Android version, security patch, and Moto model.
For updated Moto G, Moto E, and Moto Edge phones, a PC-based tool such as DroidKit is usually the more guided option because many free no-PC tricks are blocked by newer security patches.
Free methods such as the Emergency Call path or APK/OTG method may still work on some older Android 10/11 devices, but they often fail on updated Motorola phones or get stuck during setup.
Want to compare tool-based options first? See our full guide to best FRP bypass tools in 2026.
Reality Check Before You Start
Many Motorola FRP bypass guides online still rely on old system loopholes. Before spending 30–60 minutes repeating the same steps, keep these limits in mind:
- Emergency Call and TalkBack-style routes are often patched on Android 12, Android 13, Android 14, and newer security patches.
- Unknown FRP APK files may contain malware or fail to install.
- Fastboot-based tools require a PC, drivers, and some technical comfort.
- Some free methods stop at “Checking for updates” or cannot open Settings.
If you have already tried a free Motorola FRP bypass method and failed, go directly to Method 1: DroidKit.
Fast Track: Choose by Situation
- Need the most guided option: Use DroidKit if manual tricks are blocked or you want a step-by-step PC workflow.
- Want a free no-PC attempt: Try Emergency Call method only if your Motorola phone is on an older Android version or old security patch.
- Searching for Motorola FRP bypass Fastboot: Check MotoReaper / Fastboot method, but install drivers first and follow each step carefully.
- Using a specific Moto G model: See the model links below before following a generic method.
Motorola Model Guides You May Need
This page is the main Motorola FRP hub. If your query is model-specific, use these guides for a narrower solution:
- Moto G Play Android 10 FRP bypass guide
- Moto G 5G FRP bypass guide
- Moto G Fast FRP bypass guide
- Moto G Pure FRP bypass guide
Table of ContentsHide
Quick Comparison: Best Motorola FRP Bypass Method for Your Situation
Method 1: Bypass Motorola FRP with DroidKit When Manual Methods Fail
Method 2: Motorola FRP Bypass Without PC for Older Moto Phones
Method 3: Use FRP Bypass APK and OTG Cable
Method 4: Motorola FRP Bypass with MotoReaper or Fastboot Tool
Method 5: Use a Professional Remote Unlock Service
Troubleshooting Motorola FRP Bypass Problems
How to Avoid Motorola FRP Lock Before Resetting
Motorola FRP Bypass FAQs
Conclusion: Which Motorola FRP Method Should You Try?
Quick Comparison: Best Motorola FRP Bypass Method for Your Situation
Before you start, compare the five methods below and choose the one that matches your device, Android version, and comfort level.
| Method | PC Required? | Cost | Difficulty | Best For | Main Limitation |
| DroidKit FRP Bypass | Yes | Paid | Easy | Users who want guided steps when manual methods fail | Requires a Windows or Mac computer |
| Emergency Call Glitch | No | Free | Hard | Older Motorola phones with older Android 10/11 patches | Often blocked on updated devices |
| FRP Bypass APK + OTG | No | Free | Hard | Advanced users who understand APK and OTG risks | APK safety and installation failure risks |
| MotoReaper / Fastboot Tool | Yes | Free | Medium to Hard | Users searching for Motorola FRP bypass Fastboot methods | Needs drivers, Fastboot mode, and model compatibility |
| Remote Unlock Service | Usually Yes | Paid | Easy | Users who want someone else to handle the process | Requires trusting a third-party technician |
Best first choice for most updated Motorola phones: Try the guided DroidKit method if free methods are blocked, especially after repeated “Checking for updates” failures.
Method 1: Bypass Motorola FRP with DroidKit When Manual Methods Fail
DroidKit is a PC-based Android unlock tool that provides guided FRP bypass steps. It is a practical option when old Motorola FRP tricks do not open Settings, APK installation fails, or your device is blocked by a newer security patch.
Choose this method if:
- You want a guided process instead of trial-and-error manual tricks.
- Your Motorola phone gets stuck on Google account verification after reset.
- The Emergency Call or APK method does not work on your Moto device.
- You have access to a Windows PC or Mac and a stable USB cable.
For more Motorola-specific tool options, you can also review the Motorola FRP tool guide.
Step 1: Download and Install DroidKit
Step 1. Download DroidKit and install it on your Windows PC or Mac.
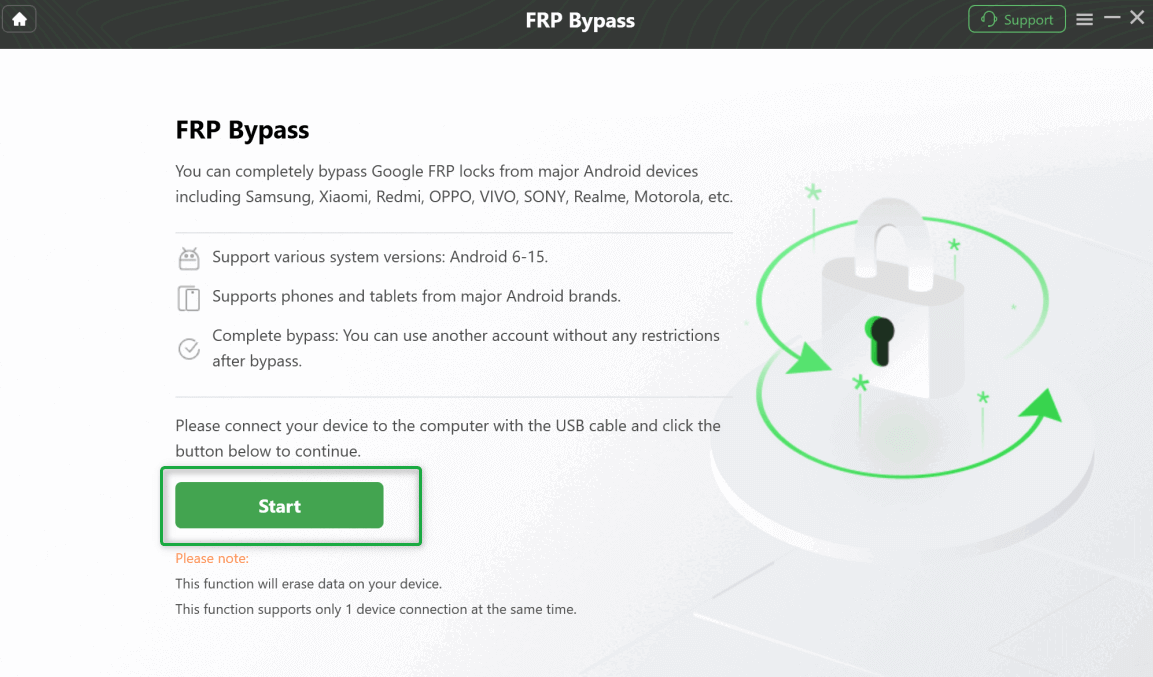
Step 2: Launch DroidKit and Select FRP Bypass
Step 2. Open the software and choose FRP Bypass from the main screen.

Select the FRP Bypass mode in the DroidKit software
Step 3: Connect Your Motorola Device
Step 3. Connect your locked Motorola phone to the computer with a reliable USB cable. If your phone is not detected, try another USB port and reinstall Motorola USB drivers.
Connect Motorola phone to a computer with DroidKit
Step 4: Start the Bypass Process
Step 4. Once your device is recognized, click Start. DroidKit will prepare the configuration needed for the connected device.
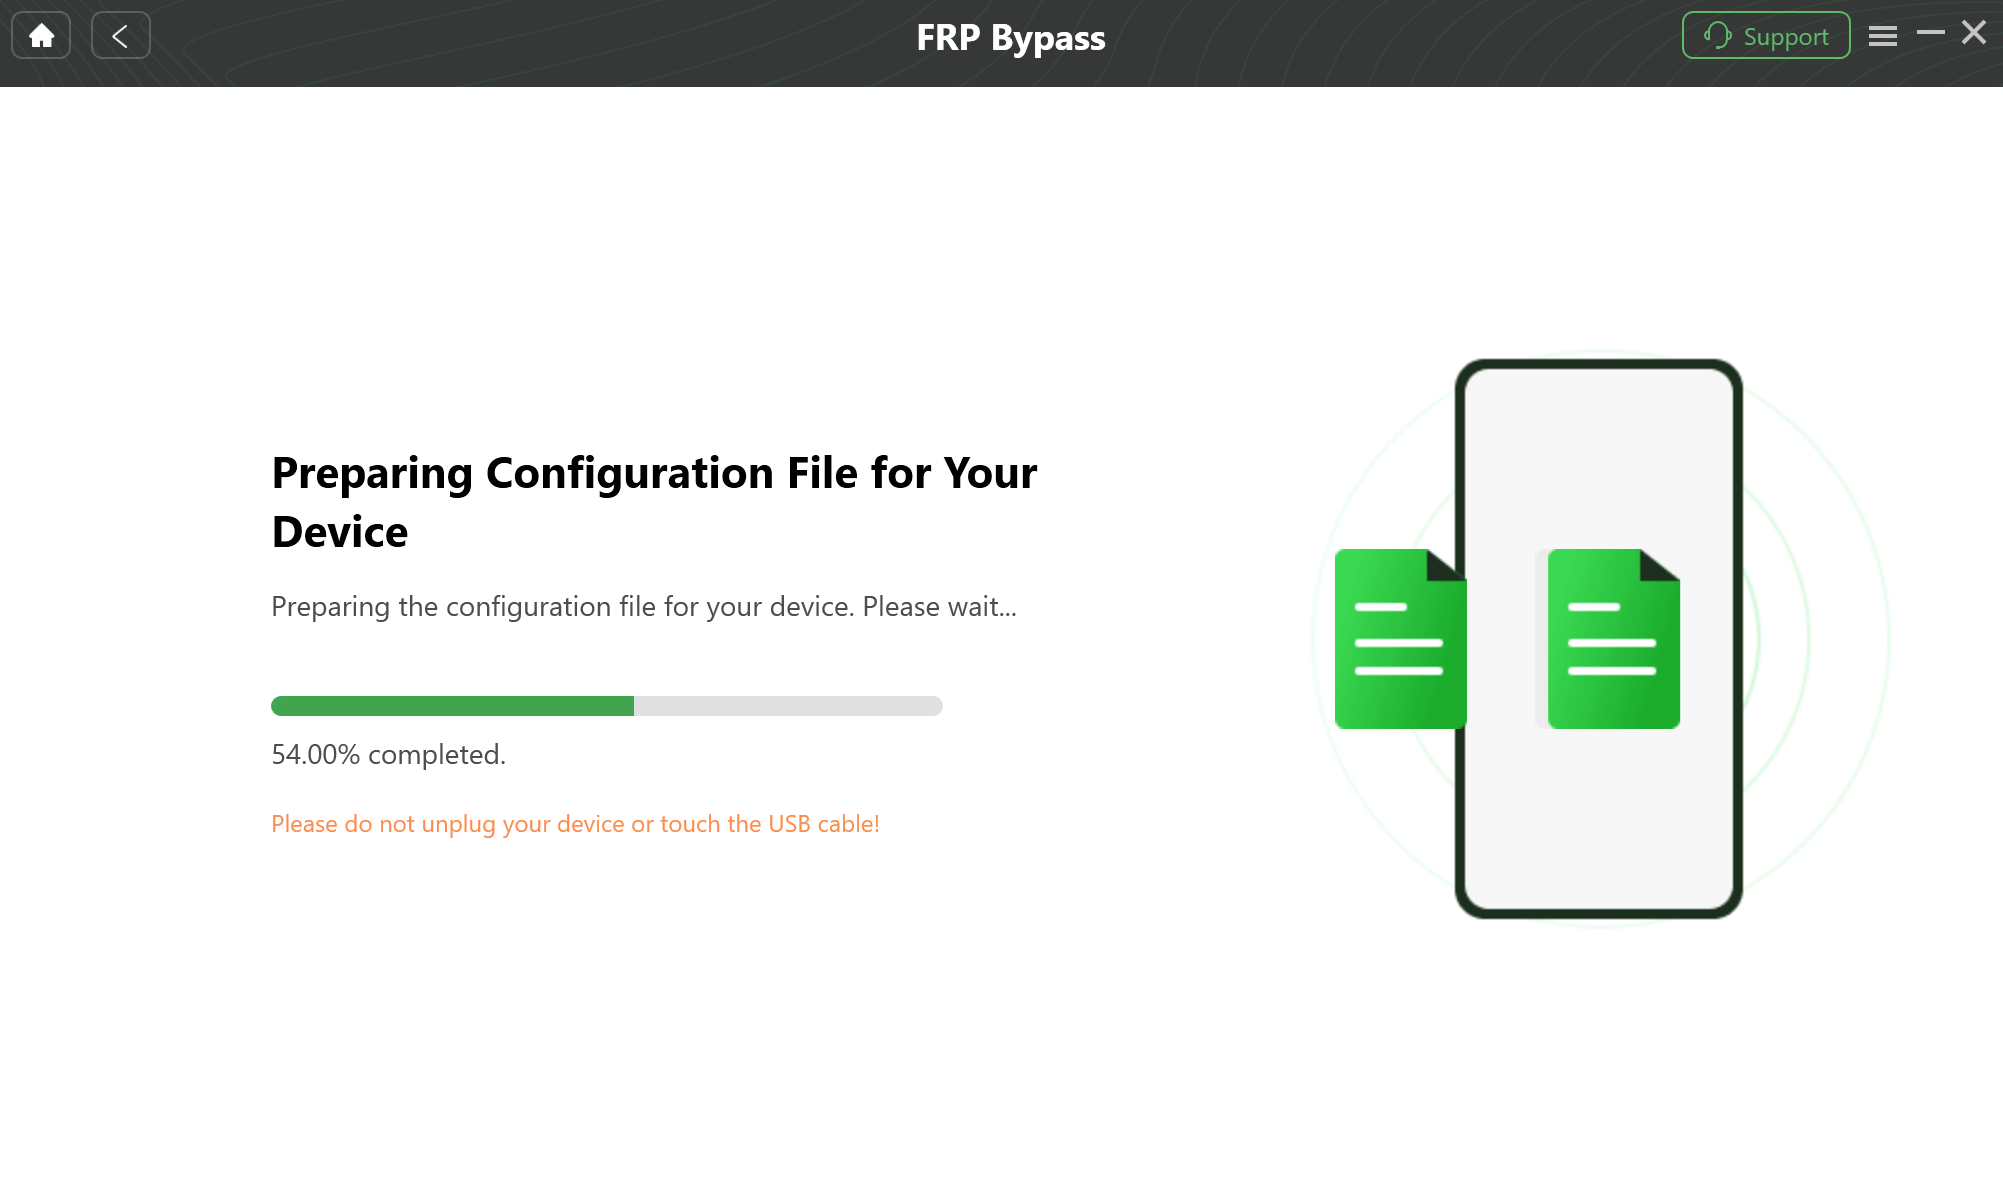
Prepare the configuration file for the Motorola FRP bypass
Step 5: Follow the On-Screen Instructions
Step 5. Follow the on-screen instructions carefully. The exact steps may vary by Motorola model, Android version, and security patch.
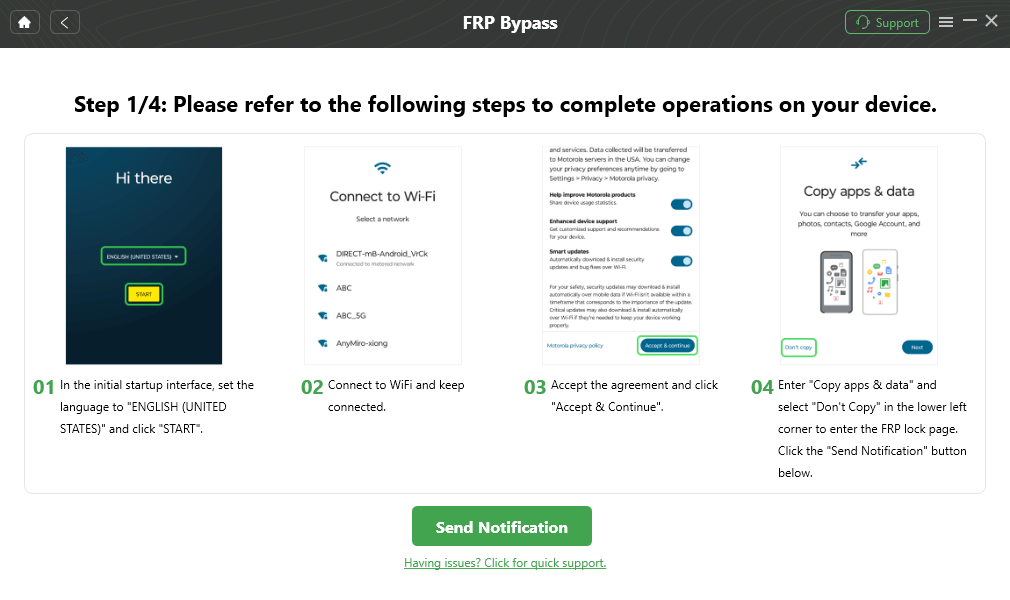
DroidKit on-screen guide with clear instructions
Step 6: Complete Motorola FRP Bypass
Step 6. After the process finishes, DroidKit will show a completion screen. Your Motorola phone may restart, and you can continue setting it up again.
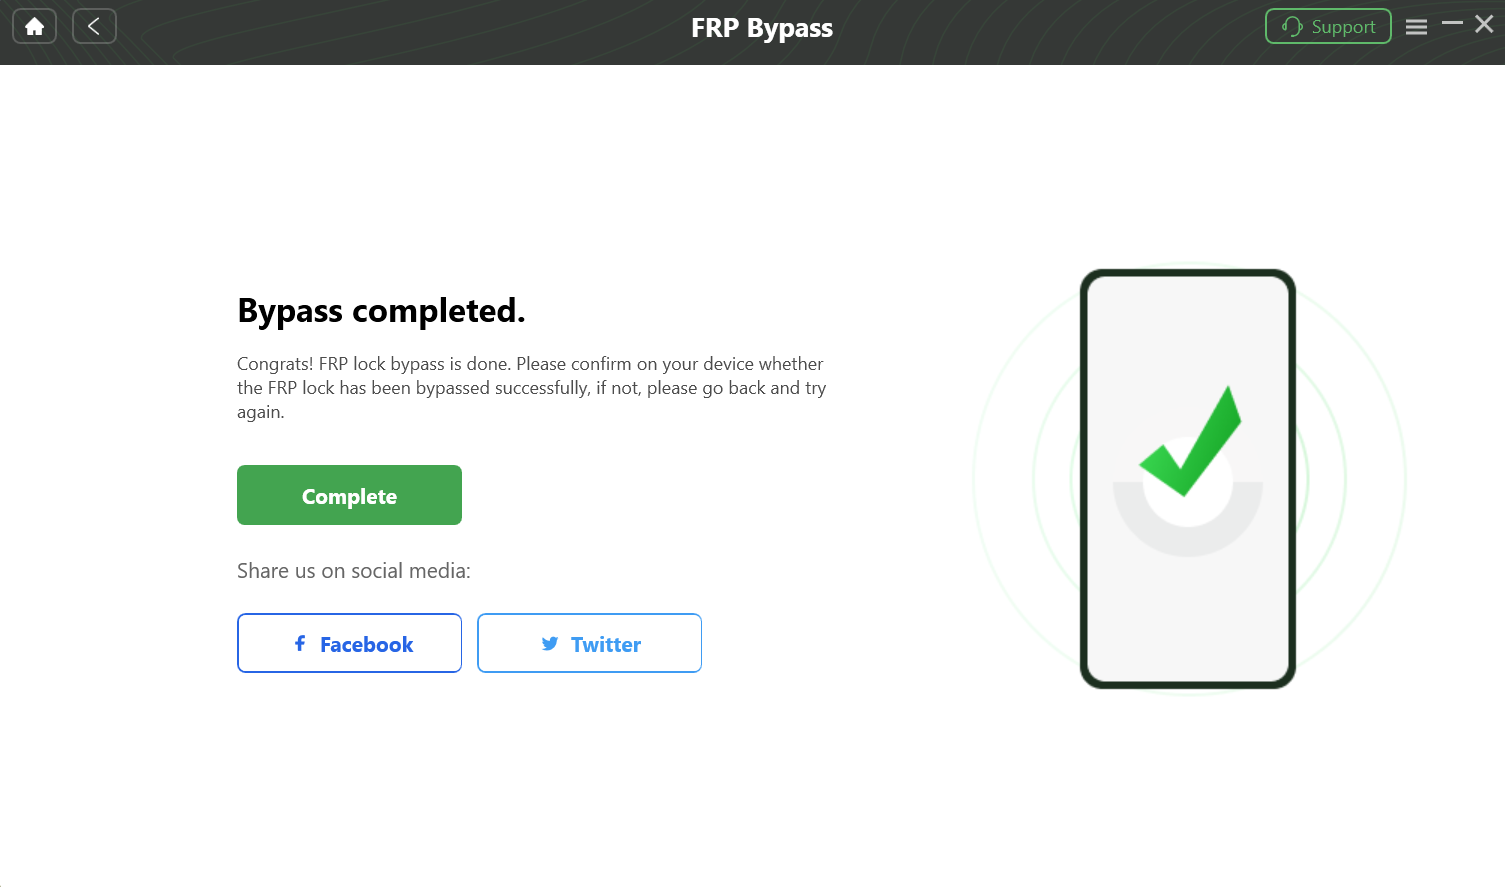
DroidKit success screen showing the Motorola FRP bypass is complete
Still Want to Try Free Motorola FRP Bypass Methods?
The methods below may help on older Motorola devices, but they are less reliable on updated phones. Try them only if you understand the risks and have enough time to troubleshoot.
Method 2: Motorola FRP Bypass Without PC for Older Moto Phones
The Emergency Call route is one of the most searched free Motorola FRP bypass methods without PC. It may work on some older Android 10/11 devices, but it is often patched on newer updates.
Important:
- It rarely works on updated Android 12/13/14 devices.
- It depends on system loopholes that may no longer exist.
- Many users fail at the “Checking for updates” step.
Best for: older Moto G or Moto E phones with old security patches.
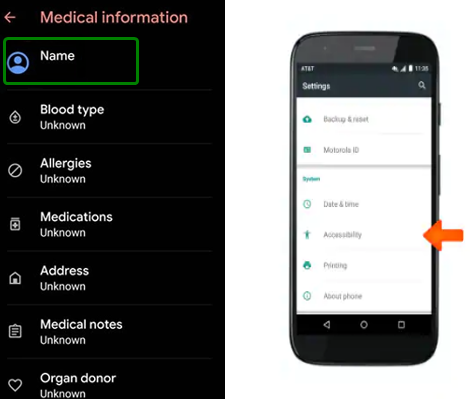
Step 1: Access the Contact Information Screen
- Step 1. On the first “Hello” screen, tap Emergency Call.
- Step 2. Tap Emergency Information at the top of the screen, then tap it again to confirm.
- Step 3. Tap the pencil icon in the top-right corner.
![]()
Tap on Emergency Information of a locked Motorola phone
Step 2: Navigate to App Permissions
- Step 1. Tap the Name field.
- Step 2. When a menu appears, tap the profile picture icon and choose Choose an image.
- Step 3. Tap the three-line menu icon in the top-left corner.
- Step 4. Press and hold Photos or Drive to open the App Info screen.
Navigate to the App Info screen through the file selection menu
Step 3: Open the Main Settings Menu
- Step 1. In the App Info screen, tap Permissions.
- Step 2. Tap the search icon at the top.
- Step 3. Search for Settings or related system settings.
- Step 4. If the full Settings app opens, continue to reset options.
If Settings does not open, your Motorola phone is likely patched. Move to a tool-based method instead of repeating the same failed path.
Step 4: Reset from Settings
- Step 1. Go to System.
- Step 2. Tap Reset options.
- Step 3. Choose Erase all data (factory reset).
- Step 4. Confirm the reset and wait for the phone to restart.
If this method fails, do not keep repeating it. Your device may need a Motorola-compatible tool or a model-specific guide.
Method 3: Use FRP Bypass APK and OTG Cable
The APK + OTG method can sometimes open Settings on older Android builds, but it is not recommended for most users because of APK safety risks and compatibility issues.
Use this method only if:
- You understand how to use an OTG cable and USB drive.
- Your Motorola phone allows APK installation during setup.
- You can verify that the APK source is trustworthy.
Pro Tip: Avoid random FRP APK download sites. If you research APK-based methods, use reputable communities such as XDA-Developers and scan every file before using it.
You can also read the complete FRP Bypass APK guide before trying this route.
Steps:
Step 1. On another device, download a reliable FRP Bypass APK file and save it to a USB flash drive.
Step 2. Connect the USB drive to the locked Motorola phone using an OTG cable.
Step 3. If the file manager opens, locate the APK file and tap it to install.
Step 4. Enable Install from unknown sources only when you understand the risk and trust the file.
Step 5. Open the installed app and try to launch Settings.
Step 6. From Settings, go to System > Reset options > Erase all data (factory reset).
If the APK does not install or the file manager does not open, this method is not suitable for your Motorola device.
Method 4: Motorola FRP Bypass with MotoReaper or Fastboot Tool
MotoReaper and similar Fastboot-based tools are free PC options created for Motorola devices. They can be useful for users searching for “Motorola FRP bypass Fastboot,” but they are more technical than DroidKit and may not support newer Moto models or security patches.
Before you start:
- Install Motorola USB drivers on your computer.
- Use a stable USB cable.
- Make sure you know how to enter Fastboot Mode on your model.
- Avoid using unknown scripts if you do not understand what they do.
Steps:
Step 1. Download MotoReaper or the Fastboot tool package from a source you trust.
Step 2. Install Motorola USB drivers on your PC.
Step 3. Power off your Motorola phone.
Step 4. Press and hold Volume Down + Power to enter Fastboot Mode on most Moto devices.
Step 5. Connect the phone to the computer.
Step 6. Run the tool and follow the on-screen instructions.
Pro Tip: If Volume Down + Power does not enter Fastboot Mode, connect the phone to the PC first, then try the button combination again. Some Moto Edge models may behave differently depending on firmware and carrier variant.
If the tool does not detect your phone, reinstall drivers, change the USB port, and restart both the PC and the phone before trying again.
Method 5: Use a Professional Remote Unlock Service
A professional remote unlock service may help if you do not want to handle technical steps yourself. A technician usually connects to your computer with your permission and performs the process remotely.
This option may be suitable if:
- You cannot get your Motorola phone detected by any FRP tool.
- You are not comfortable with Fastboot, APK, or driver installation.
- You are willing to pay for a service and verify the provider first.
Important: Only use a provider you trust. Do not share sensitive accounts, payment details, or personal files. If the service asks you to bypass FRP on a device you do not own, stop immediately.
Which Method Should You Choose?
| Your Situation | Recommended Method | Reason |
| Updated Moto G, Moto E, or Moto Edge | DroidKit or another guided PC tool | Manual loopholes are often patched |
| Older Android 10/11 Motorola phone | Emergency Call method | Free no-PC attempt may still work on old patches |
| You need Motorola FRP bypass Fastboot | MotoReaper / Fastboot tool | Useful for advanced users with drivers and PC access |
| APK method fails or looks unsafe | Stop and switch to a safer tool-based method | Unknown APKs can be risky |
Troubleshooting Motorola FRP Bypass Problems
If your Motorola FRP bypass attempt fails, use the table below to identify the likely reason and the next step.
| Problem | Likely Cause | What to Try Next |
| Stuck on “Checking for updates” | The manual no-PC route is blocked | Stop repeating the same path and try a guided PC method |
| Settings will not open | The Emergency Call loophole is patched | Use a model-specific guide or a Motorola FRP tool |
| PC does not detect the phone | Driver, cable, or USB port issue | Reinstall Motorola USB drivers, change cable, and try another USB port |
| APK will not install | Unknown source blocked or Android patch prevents install | Avoid unsafe APKs and use another method |
| Fastboot tool does not work | Unsupported model, wrong drivers, or wrong mode | Confirm model support and reinstall drivers before retrying |
If your issue is not Motorola-specific and you are stuck on the general Google verification screen, see this guide to bypass Google account verification after reset.
How to Avoid Motorola FRP Lock Before Resetting
The safest way to handle FRP is to prevent it before resetting, selling, giving away, or trading in your Motorola phone.
Steps:
Step 1. Open Settings on the Motorola phone.
Step 2. Go to Passwords & accounts, Users & accounts, or a similar account menu.
Step 3. Select the Google account linked to the device.
Step 4. Tap Remove account.
Step 5. After removing the account, perform the factory reset from the Settings app.
If you are buying a used Motorola phone, ask the seller to remove the Google account and complete setup in front of you before you pay.
Motorola FRP Bypass FAQs
Q1: Will a factory reset remove the FRP lock on Motorola?
No. A factory reset can trigger FRP if the Google account was not removed before the reset. After the reset, the phone may ask for the previously synced Google account.
Q2: Can I bypass Motorola FRP without a computer?
Sometimes, but mostly on older Motorola phones with older Android versions or security patches. On updated devices, no-PC methods are much less reliable.
Q3: Why do free Motorola FRP bypass methods stop working?
Free methods usually rely on system loopholes. Once Google, Android, or Motorola security updates patch those loopholes, the same method may no longer open Settings or complete setup.
Q4: Is Motorola FRP bypass legal?
It is legal to remove FRP from a Motorola phone you own or are authorized to unlock. It may be illegal to bypass FRP on a lost, stolen, or unauthorized device.
Q5: Does Motorola FRP bypass work on Android 14?
It depends on the model and security patch. Many manual methods are blocked on Android 14, so a guided PC-based method is usually more practical than APK or Emergency Call tricks.
Q6: What should I do if my Moto phone is stuck on “Checking for updates”?
This usually means the manual bypass route failed. Restarting the same steps repeatedly rarely helps. Try a different method, install drivers correctly if using a PC, or use a guided Motorola FRP tool.
Still exploring other FRP bypass options?
If your device is not Motorola or you are dealing with another Android version, see the complete Android FRP bypass guide.
Conclusion: Which Motorola FRP Method Should You Try?
Motorola FRP bypass in 2026 depends heavily on your Moto model, Android version, and security patch. Free methods may still work on older phones, but updated Moto G, Moto E, and Moto Edge devices often block Emergency Call, APK, and older Fastboot routes.
- For the most guided option: Use DroidKit when manual methods fail or when your phone is on a newer security patch.
- For a free no-PC attempt: Try the Emergency Call method only on older Motorola devices.
- For advanced users: Try MotoReaper or Fastboot tools only after installing the correct drivers and confirming model support.
More Related Articles

Jeremy Feron is a writer for iMobie with a deep passion for Android. He specializes in creating clear guides on Android tips and the latest updates, helping users navigate their devices and get the most out of new features.
Product-related questions? Contact Our Support Team to Get Quick Solution >
