Download PhoneRescue for Android to Retrieve Your Lost Important Data!
Free Download For Win & ac | 100% Clean & Secure
Root Android Device
Whether you encounter the similar situations below?
“I want to recover my lost data, how to access the permission as Super Administrator User in Android system?”
“I want to restore the text thread I mistakenly deleted on my Android device. Any suggestions?”
If you just encounter the similar issue above (lost Android device data), don't worry, you can try “Root Android Device” mode to access the permission as Super Administrator User in Android system and then use Deep Scan function to recover lost android data with a few clicks. The following instructions will help you complete that easily.
Tech Specs
| Windows OS | Windows 11,10, 8, 7, Vista, XP, both 32bit and 64bit |
| macOS | macOS 10.13 (High Sierra) and above |
| Android | Android 5.0 and above |
| Hard Disk Space | 100 MB and above free space |
| RAM | 512MB system memory |
| CPU | Pentium IV 2.4 GHz or above |
| Others | USB Drive and ADB Device Drive |
Supported Device Models
| All Android Devices with Android Version 5 and above. |
Differences between Free & Activated Version
| Benefits | Free Version | Activated Version |
| Scan & Preview Data | ||
| Recover Android Data |
Necessary Condition
| This Function Needs to Turn on USB Debugging. |
Step 1. Download PhoneRescue for Android on Your Computer.
Before you start Android device data recovery, get the tool downloaded onto your computer. Please make sure the network is stable while downloading and installing PhoneRescue for Android on your computer.
Step 2. Connect Your Android Device to the Computer with the USB Cable.
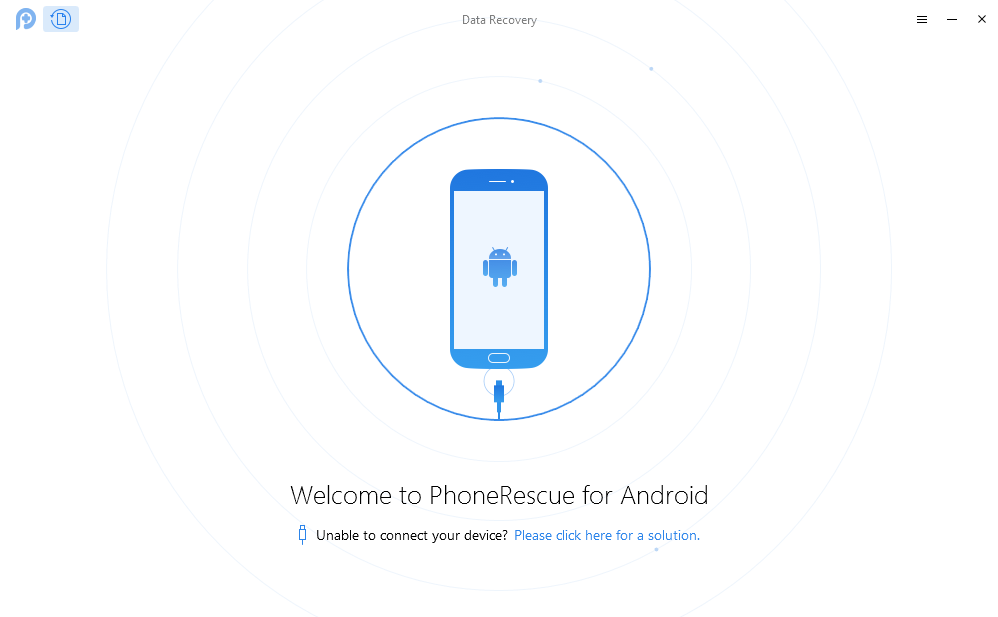
After downloading and installing PhoneRescue for Android on your computer successfully, then, launch PhoneRescue for Android on your computer and connect your device with USB cable.
Connect Your Android Device to Computer
1. When you connect an Android device to a Windows computer for the first time, your computer will install a USB Driver for your device automatically.
2. If PhoneRescue for Android fails to install an APK on your device, please refer to the detailed instructions in this post.
Once your device is detected, you will see the interface below. Data Recovery helps recover 10 types of data from Android device. By default, it has checked all the file types. You can just select the type of data that you'd like to recover. And then please click “Next”.
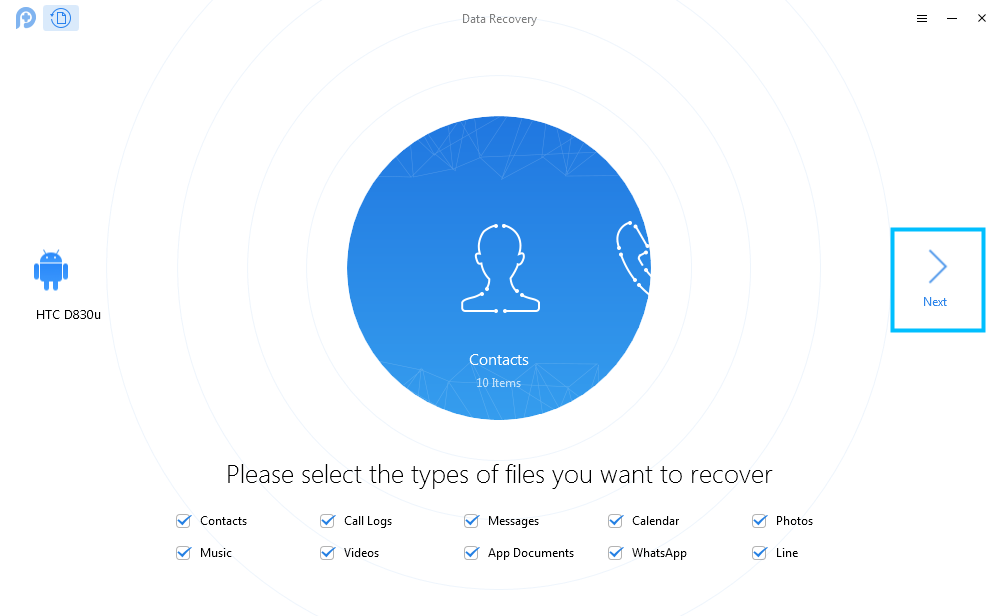
Your Device is Detected by PhoneRescue for Android
If PhoneRescue is unable to recognize your Android device, you can try to fix this issue by following troubleshooting steps:
① Please download the latest version of PhoneRescue for Android.
② Please check if you have enable USB debugging option in Settings.
③ Please check whether your USB cable is loose. If it is, please reconnect it. If USB cable is broken, please give the new one a try.
④ Please make sure your device can be detected by your computer.
⑤ Check whether you have the latest version of USB Driver and ADB Driver on your computer and device. If not, download and update from Android official website.
⑥ If problem persists, please contact our Support Team for further diagnosis.
Step 3. Root Your Android Device.
Rooting device can help PhoneRescue for Android to access your device data entirely. Once the rooting process finishes, “Deep Scan” function will be available. Meanwhile, please make sure the internet connection is stable during the process of rooting the device.
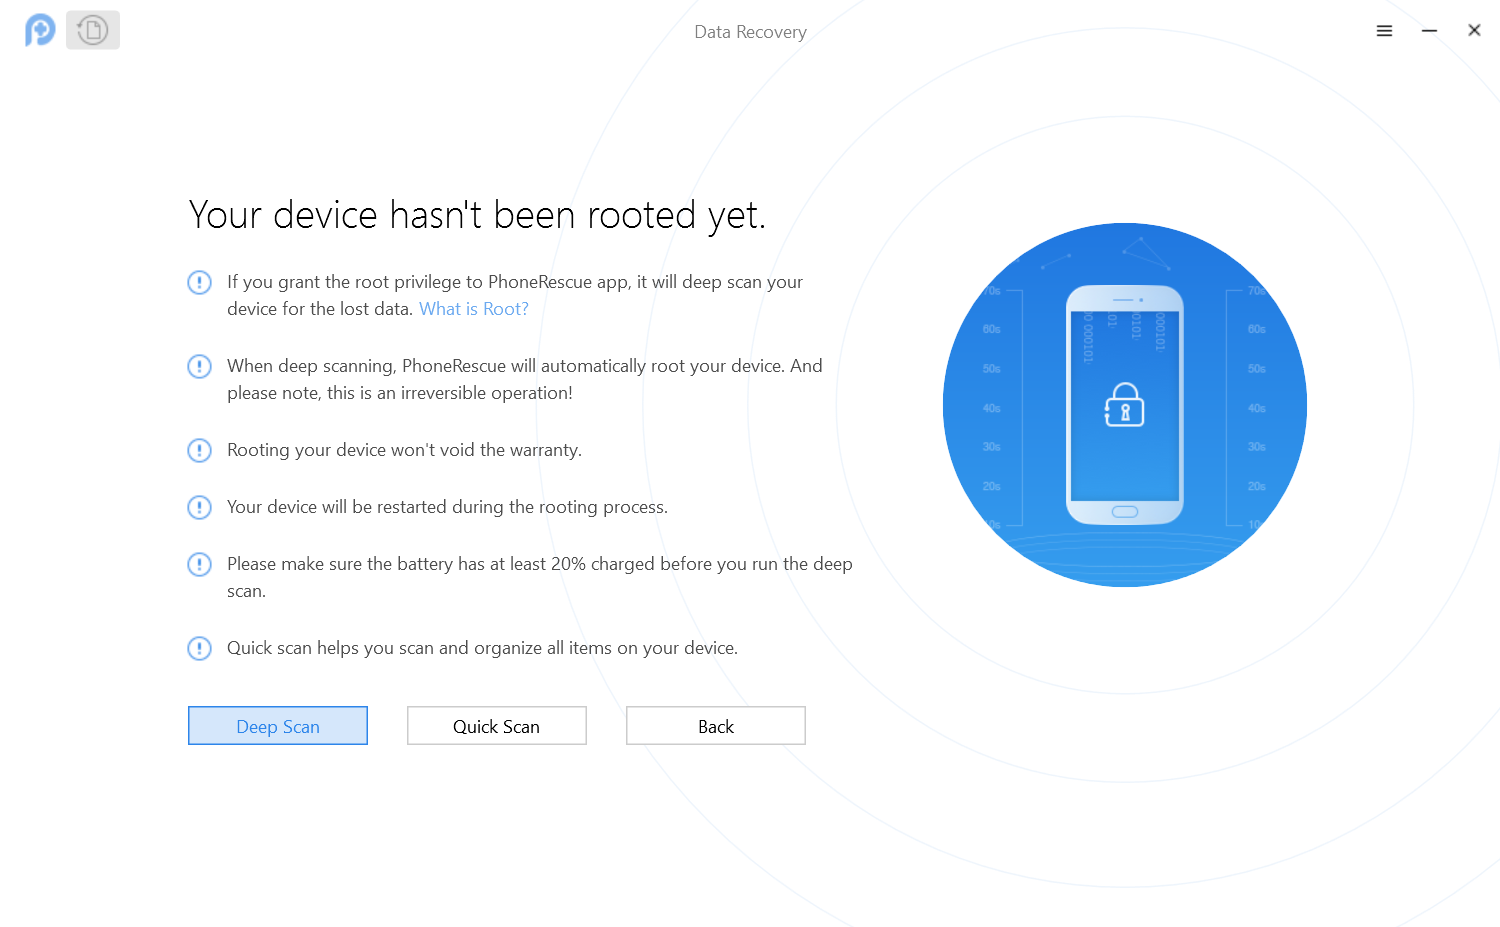
Select Deep Scan to Root Your Android Device
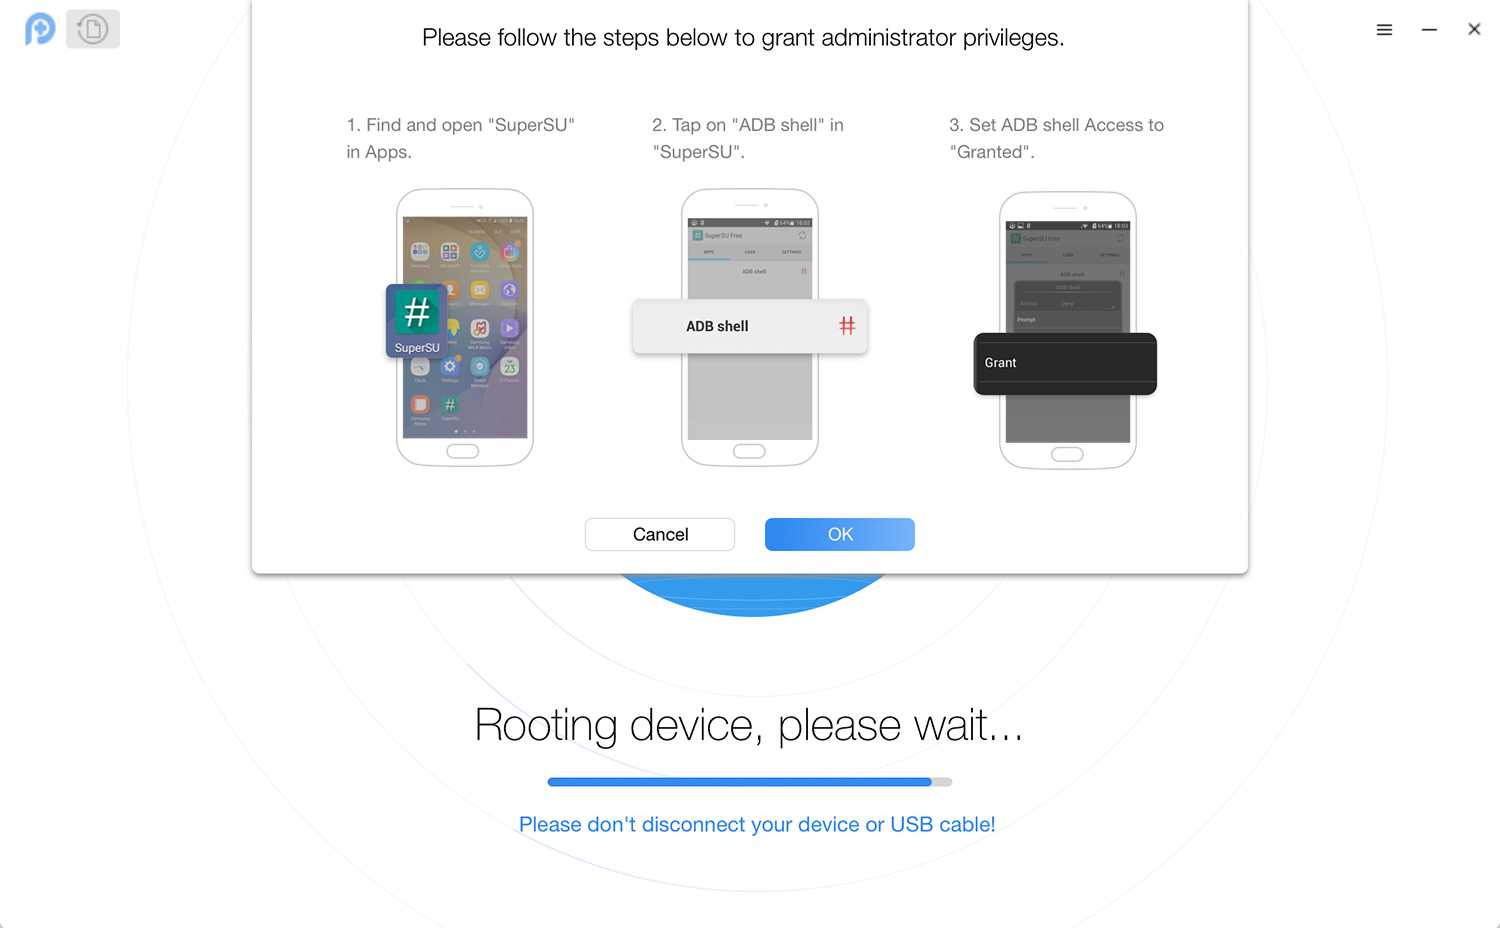
Once the rooting process starts, the interface below will be displayed. Meanwhile, rooting the device may take a few minutes, please keep patient.
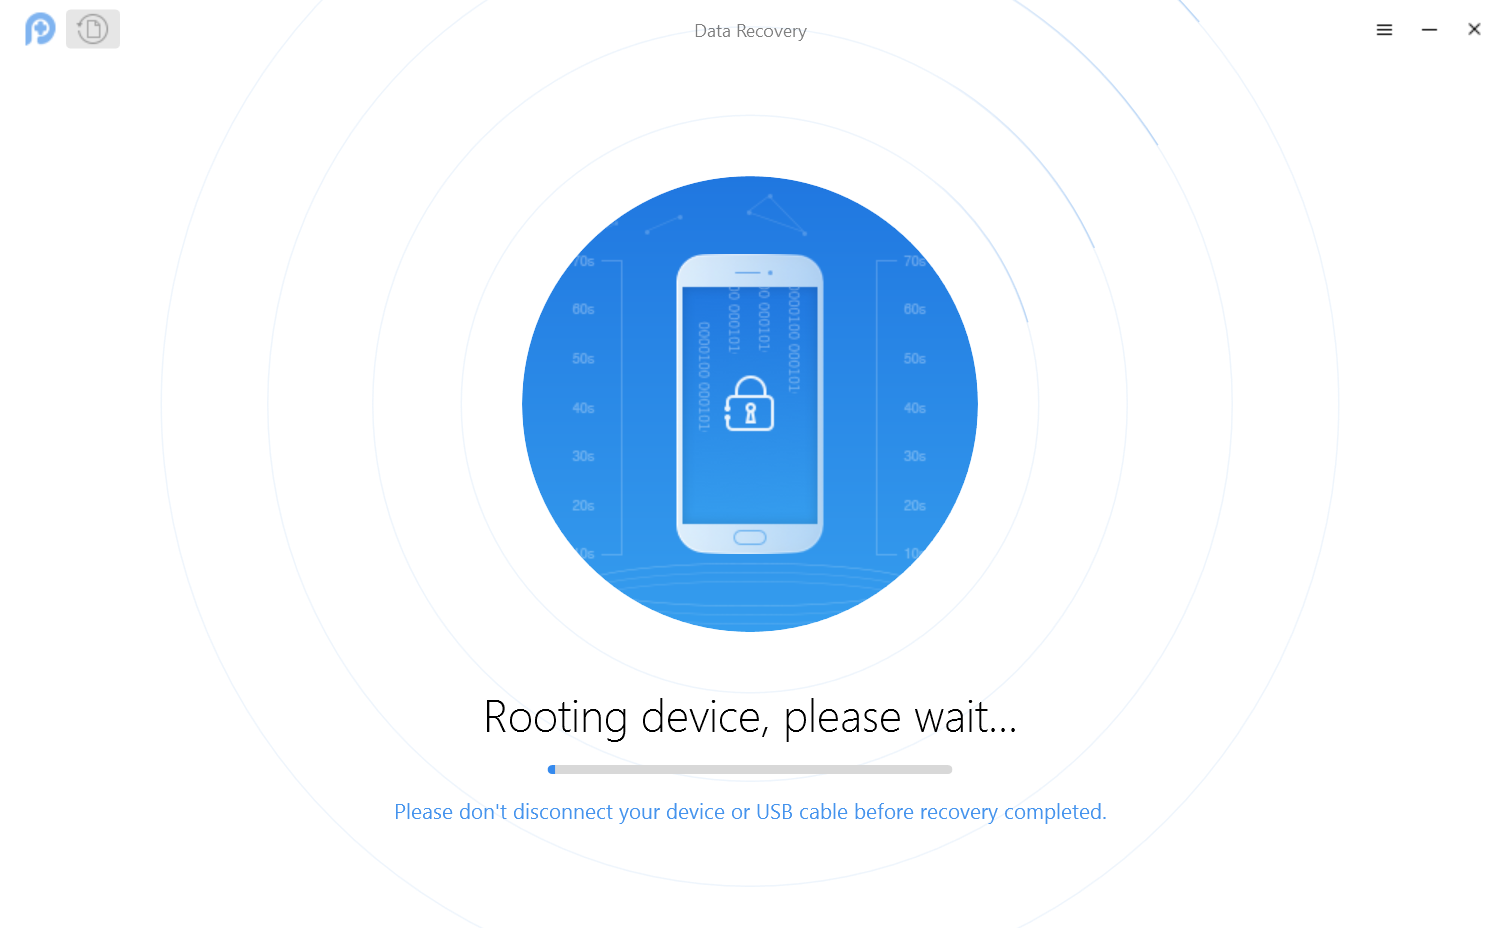
Wait for the Rooting Process
Once the rooting process completes, the message of the interface below will pop up. Then, please click "OK" to continue the further operation.
Your Device Has Been Rooted Successfully
If the rooting process fails, the interface below will display. You can use the software recommended (KingoRoot and iRoot) to root your Android device. Or to get more free rooting software, please click the Double Arrow button in the interface. If you want to extract android data to the computer, please click the “Quick Scan” option. To go back to the main interface, please click the “Back” button.
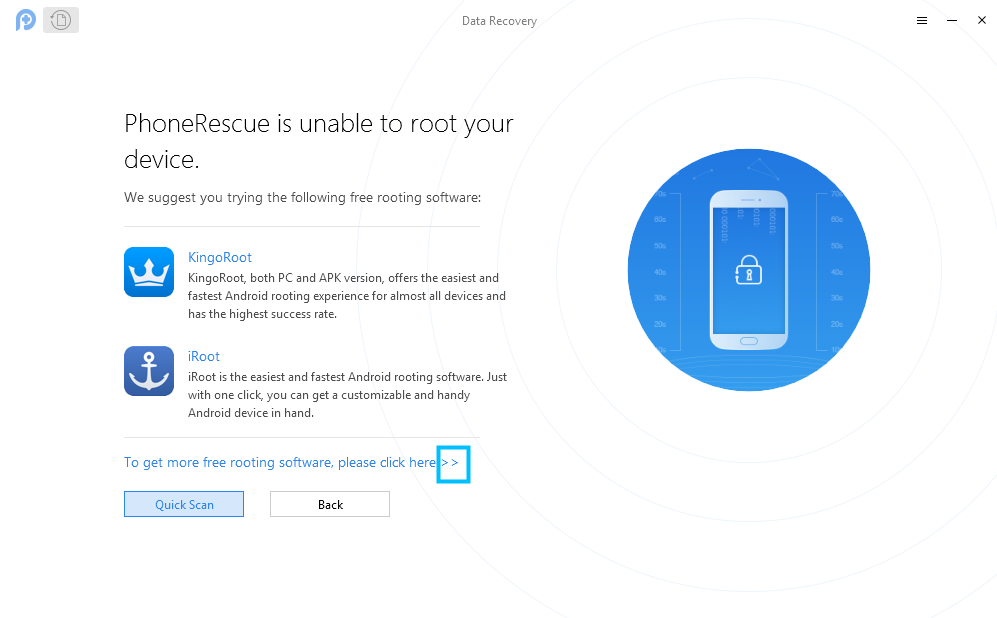
Failed to Root the Device
1. If you unfortunately fail to recover lost data with “Recover from Android Device” mode, you can also try another professional data recovery software- named “DroidKit” to recover lost data back.
2. If you are not willing to root an Android device, you can also try “Deep Recovery from Device” mode of DroidKit.
3. Droidkit can also help you Recover Lost WhatsApp Data, Recover Lost Data from SD Card, Extract Data from System Crashed Device, Extract Data from Google Account and Extract SIM Card Data.
4. Meanwhile, if you want to Unlock Android Screen, Fix Android System, Bypass FRP Lock, Reinstall Android Version or Clean Android System Junk, you can also give DroidKit a try.
5. Given the importance of data, it’s necessary to back up device data periodically. We would like to recommend you to give the Android Data Manager - named AnyDroid a try.

Try It Out & Share Your Feedback!

We'd love to hear how PhoneRescue for Android is working for you.
Give it a try and share your thoughts—your feedback helps us keep improving.
If you're enjoying PhoneRescue for Android, we'd be so grateful if you could leave us a review on Trustpilot. Your support helps others discover PhoneRescue for Android and motivates our team!
Thank you for being part of the iMobie community — we couldn’t do it without you!
Try It Out & Share Your Feedback!
We'd love to hear how PhoneRescue for Android is working for you.
Give it a try and share your thoughts—your feedback helps us keep improving.
If you're enjoying PhoneRescue for Android, we'd be so grateful if you could leave us a review on Trustpilot. Your support helps others discover PhoneRescue for Android and motivates our team!
Thank you for being part of the iMobie community — we couldn’t do it without you!