The Best Ways to Fix Cellular Update Failed on iPhone
If you are seeing the Cellular Update Failed message on your iPhone’s screen, you won’t be able to call anyone. In addition, you won’t be able to receive calls or use your device to browse the Internet.
Common iPhone Issues
iPhone Setting Up Issues
iPhone Internet & Connect Issues
More commonly the Cellular Update Fail message appears after the iOS 14 and iOS 15 updates, or as the result of hardware malfunction on some iPhone 7 models. Moreover, you will see a No Service message in the upper right corner of the screen instead of reception bars. As Apple will release iOS 16 this September, you may face the same problem after iOS 16 update.
There are a few things you can try that may make this problem go away, and in this article, we are going to take you through all solutions to this issue you have at your disposal.
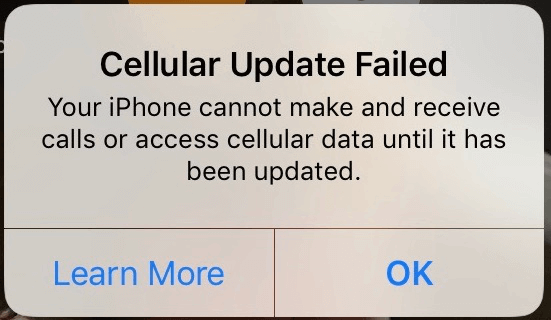
Cellular Update Failed
Further Reading: How to Fix iPhone Swipe Up Not Working >
Why Does iPhone Keeps Showing Cellular Update Failed Message?
The reasons you’re seeing the Cellular Update Failed message can be both software and hardware related. In most cases, the iOS update has failed to upgrade the cellular communication features which is the reason why you cannot make and receive calls or access cellular data. That is why checking if there is an available iOS update is the first thing you should do after you see this alert.
- You should update your iPhone iOS even if you already have the latest version of the operating system installed on your device, because in that manner the cellular communication features may get updated and the issue resolved.
- In order to check if there is an available iOS update for your device, you should head over to the Settings app on your iPhone and expand the General menu. Tap on the Software Update option to check if the device can be updated.
- Also, you should connect your iPhone to a computer and check if it can be updated with iTunes if you cannot find an update in the Software Update section.
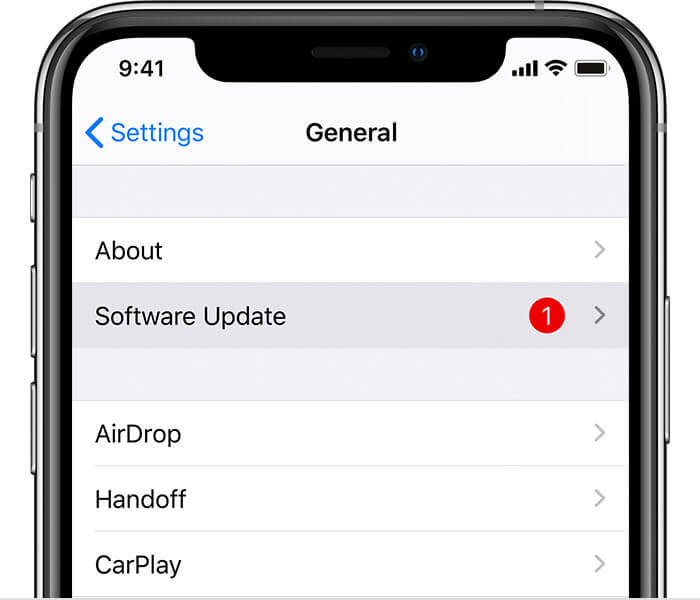
Check iPhone System Update
The Most Efficient Ways to Fix the Cellular Update Failed Issue
A system update may or may not resolve the Cellular Updated Failed problem, depending on what caused the issue in the first place. However, there a number of things you can try to restore your iPhone’s ability to make or receive calls. Let’s take a look at what you can do to make the Cellular Update Failed alert go away.
Take Out the SIM Card and Put it Back in
Besides the No Service message, your iPhone may also show the No SIM warning after displaying the Cellular Update Failed alert. That is why removing and reinserting a SIM card may fix the problem.
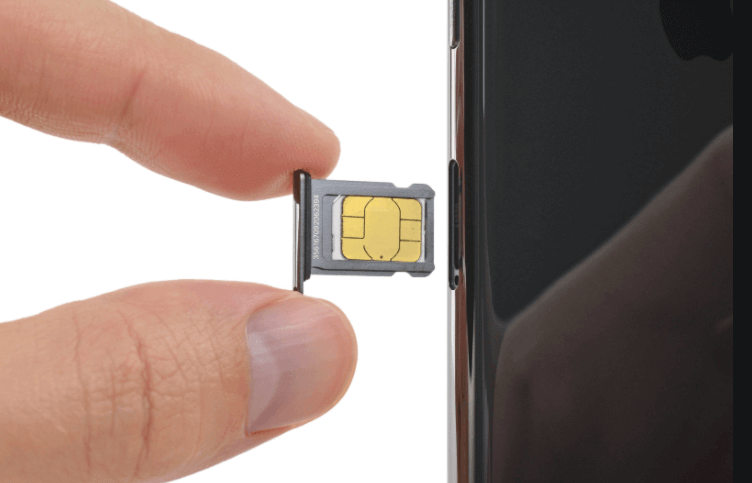
Take Out the SIM Card
Simply switch off your iPhone and use the SIM card eject tool to remove the card from the device. Then switch the iPhone on, and return the SIM card tray to its slot. If everything went right the Cellular Update Failed message should disappear from the screen.
Activate and Then Disable the Airplane Mode
Activating the Airplane mode will disconnect the device from all cellular networks it may be connected to.
To put your device into the Airplane mode, you just have to open the Settings app and then tap on the Airplane Mode feature to enable it or disable it.
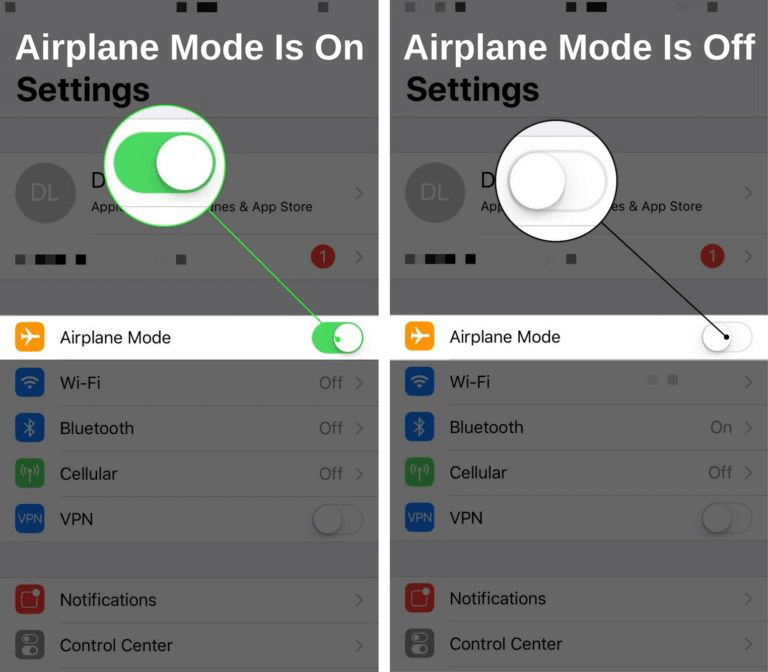
Disable Airplane Mode
Although performing this action can fix minor cellular connectivity issues, you may not be able to fix the Cellular Update Failed issue by simply turning on and off the Airplane mode.
Switch the Cellular Data On and Off
While still in the Settings app, you can try enabling and disabling the cellular data. You can do this by tapping on the Cellular option and tapping on the Cellular Data feature to deactivate it and to switch it back on.
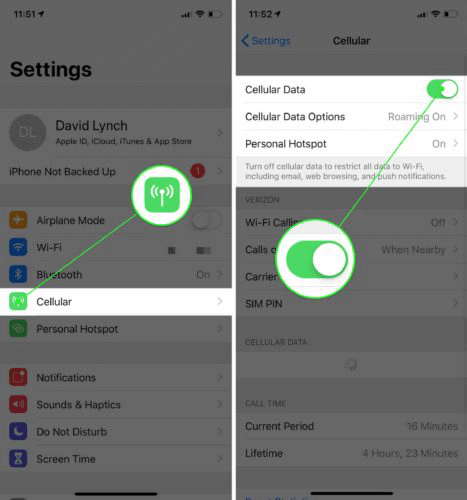
Switch Cellular Data Off
Disable the WiFi Calling and Voice LTE Options
Although this is far from an ideal solution in some cases turning the WiFi Calling and Voice LTE options can help you fix the Cellular Update Failed problem. You can disable these two features while you are still in the Cellular menu of the Settings app.
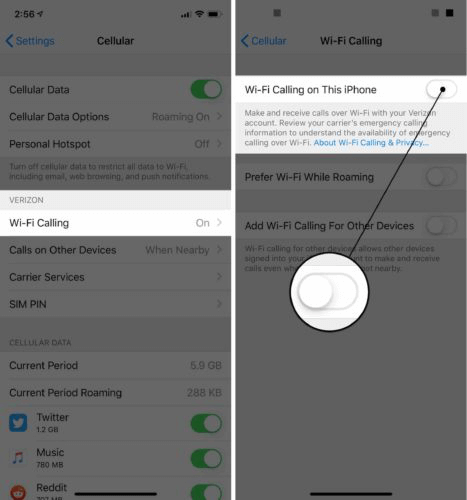
Disable the Wi-Fi Calling
Make sure that the switch next to the Wi-Fi Calling option is turned off, and tap on the Cellular Data Options submenu. Proceed to tap on the Enable LTE option and choose the Data Only feature in order to disable the Voice LTE.
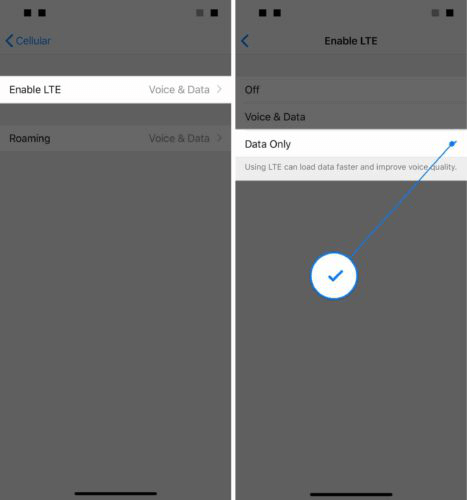
Enable the LTE Option
Keep in mind that this method of fixing the Cellular Update Failed problem can limit the range of options your iPhone offers.
Search for the Latest Carrier Settings Update
Outdated carrier settings can be the reason why you are seeing the Cellular Update Failed alert on your screen. To check if this is indeed the cause of the problem, you should head over to the General menu of the Settings app.
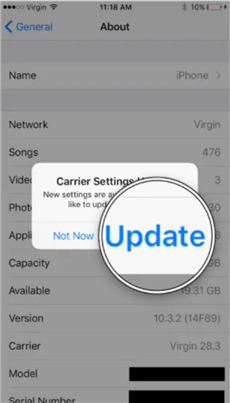
Search for Crrier Settings Update
Enter the About menu, locate the Carrier feature, and tap on it. An update will start automatically within a few moments if it is available. Even though this is not a bulletproof method of solving the Cellular Update Failed problem, it may work if you haven’t updated carrier settings in a while.
Bonus Tip. How to Fix iOS 16/15 Update Failed with AnyFix
AnyFix is a wonderful iOS system repair tool that provides you with a one-click solution for fix upgrade and downgrades iOS failed issues. It also provides you with a repair solution for iTunes errors and iOS system problems. Due to the operation steps being very easy, it becomes many non-tech-savvy PC users’ first choice. Free download it now and follow these steps to fix your device’s iOS16/15 update failed.
Free Download * 100% Clean & Safe
Step 1: Use the USB cable to connect your iPhone to a computer on which you installed AnyFix, and select the Upgrade/Downgrade option from the software’s welcome window.
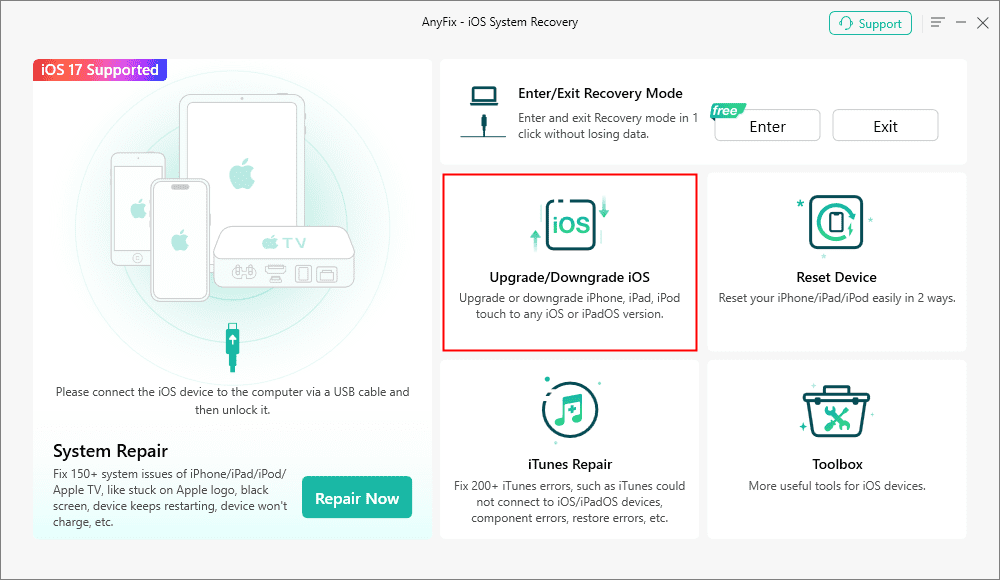
AnyFix Upgrade/Downgrade iOS Option
Step 2: After the Upgrade/Downgrade window appears on the screen you should click on the 1 click to upgrade iOS/iPadOS option and then click on the Start Now button.

AnyFix Upgrade iOS
Step 3: AnyFix will show you all available versions of iOS that can be installed on your device and you should click on the Download button next to the version of iOS you want to install on your iPhone > Click on the Upgrade button after the firmware is downloaded and wait for the software to update your device’s operating system.

Choose one iOS Version to Download and Upgrade
The Bottom Line
Not being able to use your iPhone to communicate with your friends and family can be frustrating. Even though the Cellular Update Failed error can be caused by faulty hardware, especially on iPhone 7, the issue may occur after an iOS update or if you haven’t upgraded the carrier settings recently.
Replacing the piece of hardware may be your only option if none of the methods of fixing the Cellular Update Failed error we described in this article worked on your iPhone, and you should visit Apple’s customer support website to check if your device qualifies for Repair Program for ‘No Service’ issues. Was this article helpful? Leave a comment and share your opinions with us.
More Related Articles

Senior writer of the iMobie team as well as an Apple fan, love to help more users solve various types of iOS & Android-related issues.
Product-related questions? Contact Our Support Team to Get Quick Solution >
