How to Access a Locked Android Phone via USB from PC or Mac
Can a computer access a locked Android phone through USB? Learn when USB file transfer works, why USB debugging does not bypass the lock screen, what Google Find Hub can do, and how to reset or unlock a phone from PC when access is blocked.
Connecting a locked Android phone to a PC or Mac does not automatically give the computer access to its internal files. On current Android versions, USB data access is normally protected by the screen lock: the phone usually has to be unlocked before you can approve File Transfer or establish a new trusted USB data connection.
That means there are two different problems to separate. If you still know the PIN, pattern, or password, you can unlock the phone and transfer files normally over USB. If you have forgotten the screen lock, a USB cable by itself does not bypass Android security, and many unlock or reset methods can erase the device.
Quick answer: For normal USB file transfer, unlock the Android phone, connect it to the computer, and choose File Transfer from the USB notification. USB debugging is not required for ordinary file copying. If the phone cannot be unlocked, first check existing cloud backups or previously authorized access; otherwise, Google’s official recovery path is a reset, while a compatible PC unlock tool can provide another reset/unlock workflow with data-loss limits.
Can You Access a Locked Android Phone via USB?
Not normally through a new USB connection while the phone remains locked. Android protects local user data with the device credential, and current USB file-transfer instructions require you to unlock the device before selecting File Transfer.
| Your Situation | Can the PC Access Files? | Best Next Step |
| You know the PIN, pattern, or password | Usually yes | Unlock the phone and select File Transfer |
| Phone is locked but a USB data connection was already active | Possibly, depending on device/security settings | Do not disconnect until important files are copied |
| USB debugging was enabled and this computer was previously authorized | ADB may communicate with the device in some situations | Check whether the device still appears as authorized |
| USB debugging was never enabled or the computer was never authorized | Usually no ADB access | Use backup, reset, or compatible unlock options |
| You forgot the screen password | Normal USB file transfer is usually blocked | Protect backups first, then evaluate reset/unlock options |
| The screen is physically broken but you know the password | Possibly | Try OTG input or external display if the model supports it |
USB Debugging Is Not Required for Normal File Transfer
This is an important distinction. USB debugging is an Android developer feature used for ADB and development commands. It is not required simply to drag photos, videos, documents, or other accessible files from an unlocked Android phone to a Windows PC.
For ordinary USB transfer, the important requirements are usually:
- the Android device is unlocked;
- the USB cable supports data transfer;
- the phone allows the connection;
- File Transfer is selected as the USB mode.
On newer security configurations, Android can also block new USB data connections while the phone is locked. Charging can continue while data communication remains unavailable.
Screen Lock and FRP Are Different
This page is about a normal screen lock: PIN, password, pattern, fingerprint, or face unlock.
Factory Reset Protection (FRP) is different. FRP can ask for a previously synchronized Google Account after the phone has been erased. Removing the screen lock does not automatically remove FRP, so make sure you know the Google Account associated with the phone before performing a factory reset.
Access Android Files via USB If You Can Unlock the Phone
If you still know the phone’s screen credential, use normal Android USB transfer rather than enabling developer settings unnecessarily.
Step 1. Unlock the Android phone.
Step 2. Connect the phone directly to the PC with a USB cable that supports data transfer.
Step 3. On the Android phone, tap the USB notification, commonly shown as Charging this device via USB.
Step 4. Under Use USB for, choose File Transfer.
Step 5. Open the phone in Windows File Explorer and copy the files you need.
If the computer only charges the phone, try another cable or USB port. Not every USB cable supports data transfer.
What If the Screen Is Broken but You Know the Password?
If the phone still powers on but you cannot use the touchscreen, you may be able to regain enough control to authorize USB access.
Depending on the phone model, options include:
- connecting a USB mouse or keyboard through an OTG adapter;
- using an external monitor when the phone supports wired video output;
- using a previously configured manufacturer backup or PC connection;
- temporarily repairing the display so the phone can be unlocked.
A broken display and a forgotten password are different recovery scenarios. If you know the credential, preserving access to the encrypted data should come before any factory reset.
Can ADB Access or Unlock a Locked Android Phone?
ADB can communicate with an Android phone only when the required debugging and authorization conditions were established beforehand.
ADB Usually Requires Previous Setup
For normal ADB access, all of the following generally need to be true:
- USB debugging was enabled before the phone became inaccessible;
- the computer’s RSA debugging key was previously approved on the phone;
- the device still accepts that authorized ADB connection;
- the installed Android build permits the command you are trying to use.
If USB debugging was never turned on, connecting a locked phone to a new PC does not let that PC enable debugging remotely.
Does Deleting gesture.key Unlock Android?
Do not rely on old tutorials that tell you to delete a file such as gesture.key through ADB and then reboot. Those instructions target much older Android lock implementations and are not a reliable unlock method for modern credential-protected and encrypted Android devices.
Even on an old device where ADB access already exists, changing lock-related system files can produce unpredictable results. If the data matters, avoid experimenting with obsolete commands before creating a backup.
ADB is most useful here as a previously configured troubleshooting connection. It should not be presented as a universal free password-removal method for a newly connected locked Android phone.
Unlock Android from PC with DroidKit
If you own the device, have forgotten the screen password, and normal USB access is blocked, DroidKit Screen Unlocker provides a computer-based screen-lock removal workflow.
Its current product information lists support for PINs, passwords, patterns, fingerprint locks, face recognition, and a wide range of Android phones and tablets.
The data impact is the most important point to understand before starting: DroidKit currently states that Screen Unlocker erases device data in most cases, except for some older Samsung models where data may be preserved.
DroidKit – Remove a Locked Android Screen from PC or Mac
- Removes supported PIN, password, pattern, fingerprint, and face screen locks.
- Runs from a Windows PC or Mac and does not require Android root before starting.
- Supports a broad range of Android phone and tablet models.
- Most screen-unlock workflows erase local device data.
- Only some older Samsung models are currently listed for possible no-data-loss unlocking.
How to Use DroidKit Screen Unlocker
Step 1. Launch DroidKit on the computer and choose Screen Unlocker.
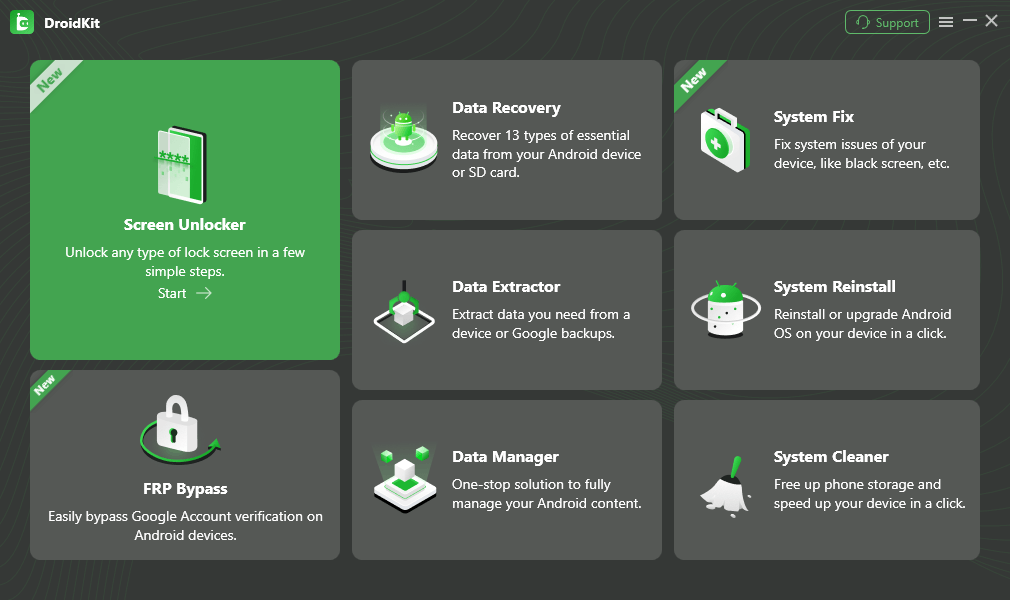
Open Screen Unlocker in DroidKit.
Step 2. Connect the locked Android phone to the computer with a USB cable and click Start.

Connect the Android phone and start the screen-unlock workflow.
Step 3. Let DroidKit prepare the information required for the detected device, then continue when Remove Now becomes available.
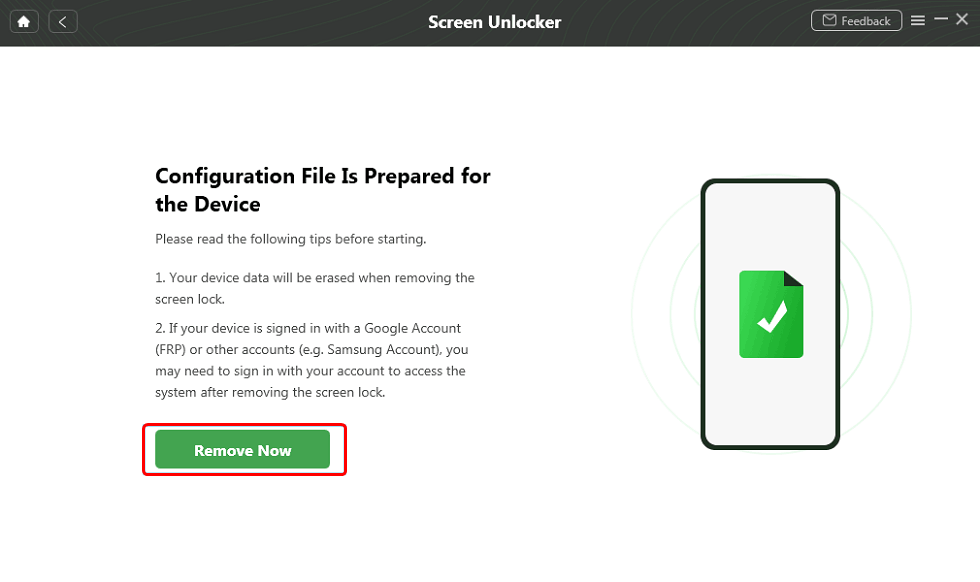
Continue with Remove Now after the device information is prepared.
Step 4. Confirm the device brand and follow the current model-specific instructions shown by DroidKit.
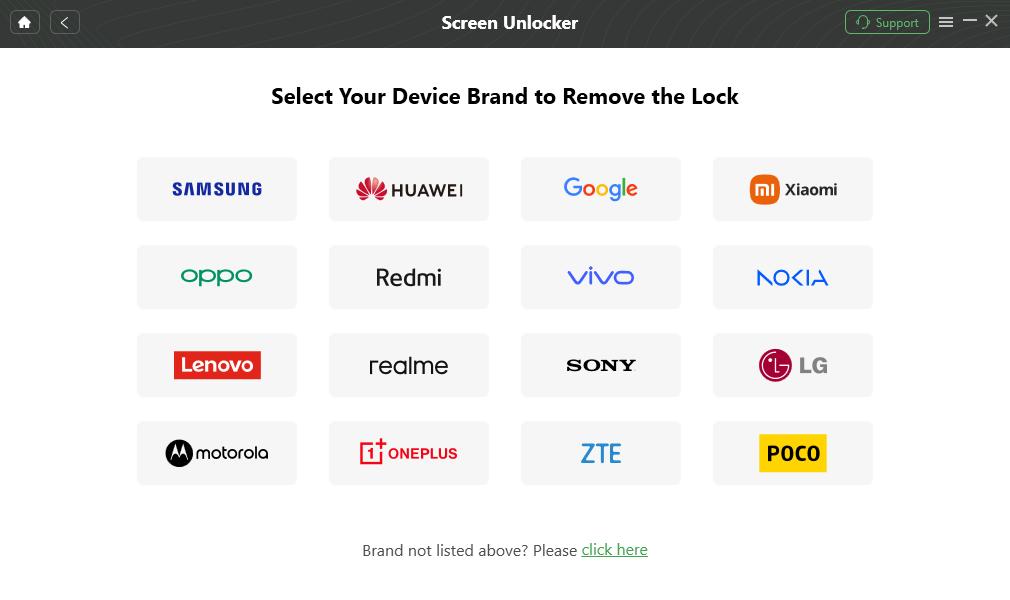
Confirm the detected brand before continuing.
Step 5. Review the data-loss notice before starting the actual screen-lock removal.
Step 6. Keep the Android phone connected until DroidKit reports that the screen-lock process is complete.
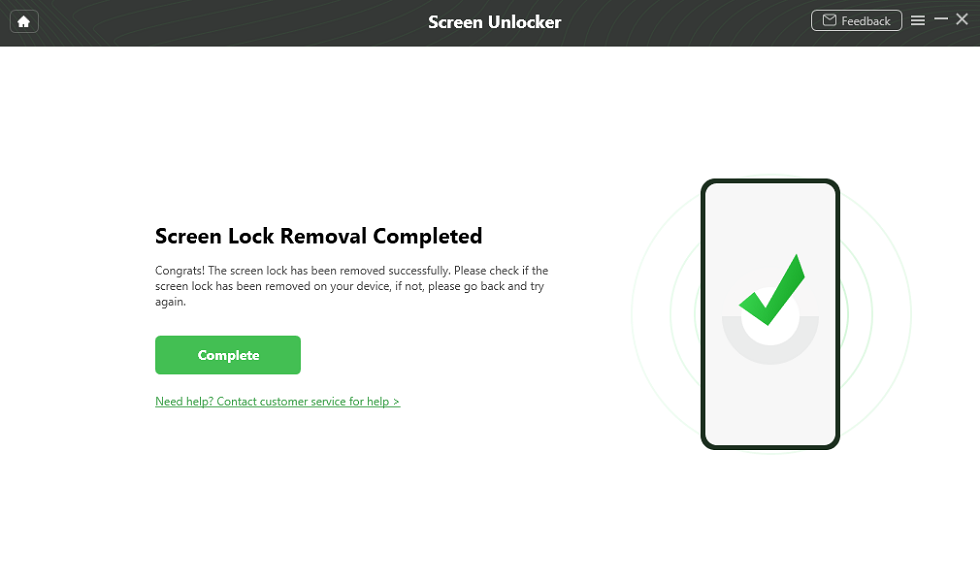
Complete device setup after the lock-removal workflow finishes.
If preserving unbacked-up files is your highest priority, do not start a screen-unlock process that will erase the device. Check Google Photos, Google Drive, Android backup, manufacturer cloud backups, removable SD storage, and any previously authorized computer access first.
Can DroidKit Access Files Without Unlocking the Current Phone?
DroidKit includes other data-extraction features, but they should not be confused with direct access to the encrypted internal storage of any locked Android phone.
For example, it can work with supported Google Account data, SIM-card data, SD cards, and specific crashed-device scenarios. Whether those sources contain the files you need depends on what was previously backed up or stored there.
That is different from plugging an arbitrary locked phone into USB and browsing all of its internal files without authentication.
Use Google Find Hub or Factory Reset
If you cannot unlock the Android device and preserving local unbacked-up data is no longer possible, Google’s current official recovery path is to erase the phone and set it up again.
Option 1. Erase the Phone Remotely with Google Find Hub
Google’s device-locating service is now called Find Hub. It can locate, secure, or erase eligible Android devices, but it does not provide a current “temporary password” option that replaces a forgotten Android screen password.
For remote erase, the phone generally needs to:
- have power;
- be connected to Wi-Fi or mobile data;
- be signed in to a Google Account;
- have Find Hub enabled;
- be visible on Google Play.
After the erase, the local screen credential is gone because the phone’s local data and settings have been removed.
Remote erase deletes local data. If device protection/FRP applies, you may need the Google Account previously used on the phone when setting it up again.
Option 2. Factory Reset with Recovery Mode
If remote erase is unavailable, Google also directs users to the device manufacturer’s factory-reset procedure.
Recovery Mode key combinations vary by brand and model, so avoid using a generic “Volume Up or Volume Down + Power + Home” sequence for every Android phone.
The general process is:
Step 1. Turn off the device when possible.
Step 2. Use the exact manufacturer-supported key combination for that model to enter its recovery interface.
Step 3. Choose the wipe/factory-reset option.
Step 4. Confirm the erase.
Step 5. Reboot and complete Android setup.
This removes the screen lock by erasing the phone, not by recovering the forgotten password.
What About Samsung Remote Unlock?
Older Samsung guides often recommend Find My Mobile / SmartThings Find > Unlock as a no-data-loss way to remove a forgotten PIN or password from a Galaxy phone.
That instruction should no longer be used as a current Samsung method. Samsung’s current support information states that SmartThings Find can no longer remotely unlock a Galaxy phone.
If your Samsung is locked:
- try the credential or biometric options the device still legitimately accepts;
- protect cloud or computer backups before resetting;
- check Samsung’s current model-specific support instructions;
- if access cannot be restored, a factory reset may be required.
Some old Samsung pages or screenshots may still show a Remote Unlock control. Samsung has stated that this historical remote-unlock function has been disabled, so a visible old menu should not be treated as proof that it still works.
FAQs About Accessing a Locked Android Phone from PC
1. Can I access a locked Android phone via USB from a PC?
Usually not through a new file-transfer connection until the phone is unlocked. Google’s normal USB transfer flow requires you to unlock Android and select File Transfer before browsing files on the computer.
2. Do I need USB debugging to transfer Android files to a PC?
No. USB debugging is not required for normal file transfer. Unlock the phone, connect a data-capable USB cable, and select File Transfer from the USB options.
3. Can USB debugging bypass the Android lock screen?
No by itself. ADB access normally requires USB debugging to have been enabled beforehand and the computer to have been authorized. Modern Android screen credentials are not reliably removed simply by connecting ADB.
4. Can I enable USB debugging from a PC while the Android phone is locked?
Normally no. USB debugging is a setting that must be enabled from Android’s Developer Options, and a new computer generally requires an authorization prompt on the device before ADB can connect.
5. Does the old ADB gesture.key trick still work?
It should not be treated as a current universal unlock method. Those commands target older Android lock implementations and do not reliably remove modern credential-based screen locks.
6. Can Google Find Hub unlock my Android phone without erasing it?
No current Google support path replaces an unknown screen password with a temporary password. Google’s official guidance for an Android phone that cannot be unlocked is to erase it and set it up again.
7. Can Samsung Find My Mobile remotely unlock my Galaxy?
Samsung currently states that it is no longer possible to remotely unlock a Galaxy phone through SmartThings Find. Older tutorials showing an Unlock button are outdated.
8. Does DroidKit unlock Android without deleting data?
In most cases, no. DroidKit’s current Screen Unlocker information says the process erases device data, with data preservation limited to some older Samsung models.
9. Can I get my files before factory resetting a locked Android?
Check existing Google Photos, Drive, Android backups, manufacturer cloud services, SD cards, and any computer that had already been authorized. If the phone’s internal encrypted storage cannot be authenticated, a new USB connection generally cannot simply browse those files.
10. Will factory resetting a locked Android remove the password?
Yes, because a factory reset erases the phone’s local data and settings, including the current screen credential. Factory Reset Protection may still require the previously associated Google Account during setup.
The Bottom Line
The key question is not simply whether you have a USB cable. A current Android phone normally requires successful screen authentication before a new computer can browse its files. USB debugging is not needed for ordinary file transfer, and it is not a universal screen-lock bypass.
If you cannot unlock the phone, check existing backups before doing anything destructive. Google’s current recovery route and most third-party screen-lock removal workflows involve erasing the device. If you choose a PC-based option such as DroidKit Screen Unlocker, review the model support and data-loss warning first rather than assuming the current files will remain accessible.


Roger Smith is a senior technical writer with years of experience in providing Android solutions. He loves to help users solve various problems such as Android unlock, Android data recovery, and Android system repair.
Product-related questions? Contact Our Support Team to Get Quick Solution >
