Download DroidKit to Get Various Android Solutions.
User Guide of DroidKit
View the most comprehensive guides to Remove Locked Screen, Bypass FRP Lock, Recover Lost Data, Fix System Issues, Extract Needed Data, Reinstall/Upgrade OS, Transfer Data and Clean System Junk. Download and try it now.
Free DownloadFor Win & Mac | 100% Clean & Secure
Transfer Audio
Whether you encounter the similar situations below?
“Can DroidKit help me add the music to my Android device?”
“I am trying to transfer Android audio to my computer. Can you help me?”
If you encounter the similar situations above, don’t worry. “Transfer Audio” mode can help you to transfer music from your Android device to computer, add music from computer to device, and even delete unwanted music. Please refer to the detailed guide to make good use of DroidKit.
Compatibility of Computer System
| Windows OS | Windows 11, 10, 8, 7, Vista (both 32bit and 64bit) |
| macOS | macOS 10.13 (High Sierra) and above |
Supported Android Versions
| All Android Devices with Android Version 5 and above. |
Supported Android Brands
| SAMSUNG, Google, HTC, SONY, LG, MOTOROLA, HUAWEI, ZTE, Xiaomi, OPPO, SHARP, ViVo, LENOVO, MEIZU, OnePlus, TCL, Gionee, Meitu, Nubia, Smartisan, etc. |
Differences between Free & Activated Version
| Benefits | Free Version | Pro Version |
| Transfer Audio | Transfer 50 items | Unlimited |
Step 1. Download DroidKit on Your Computer.
Before you start transferring the audio, get the tool downloaded onto your computer. Please make sure the network is stable while downloading and installing DroidKit on your computer.
Step 2. Choose Data Manager Mode.
Please launch DroidKit on your computer and choose Device Manager mode under Data Manager function.
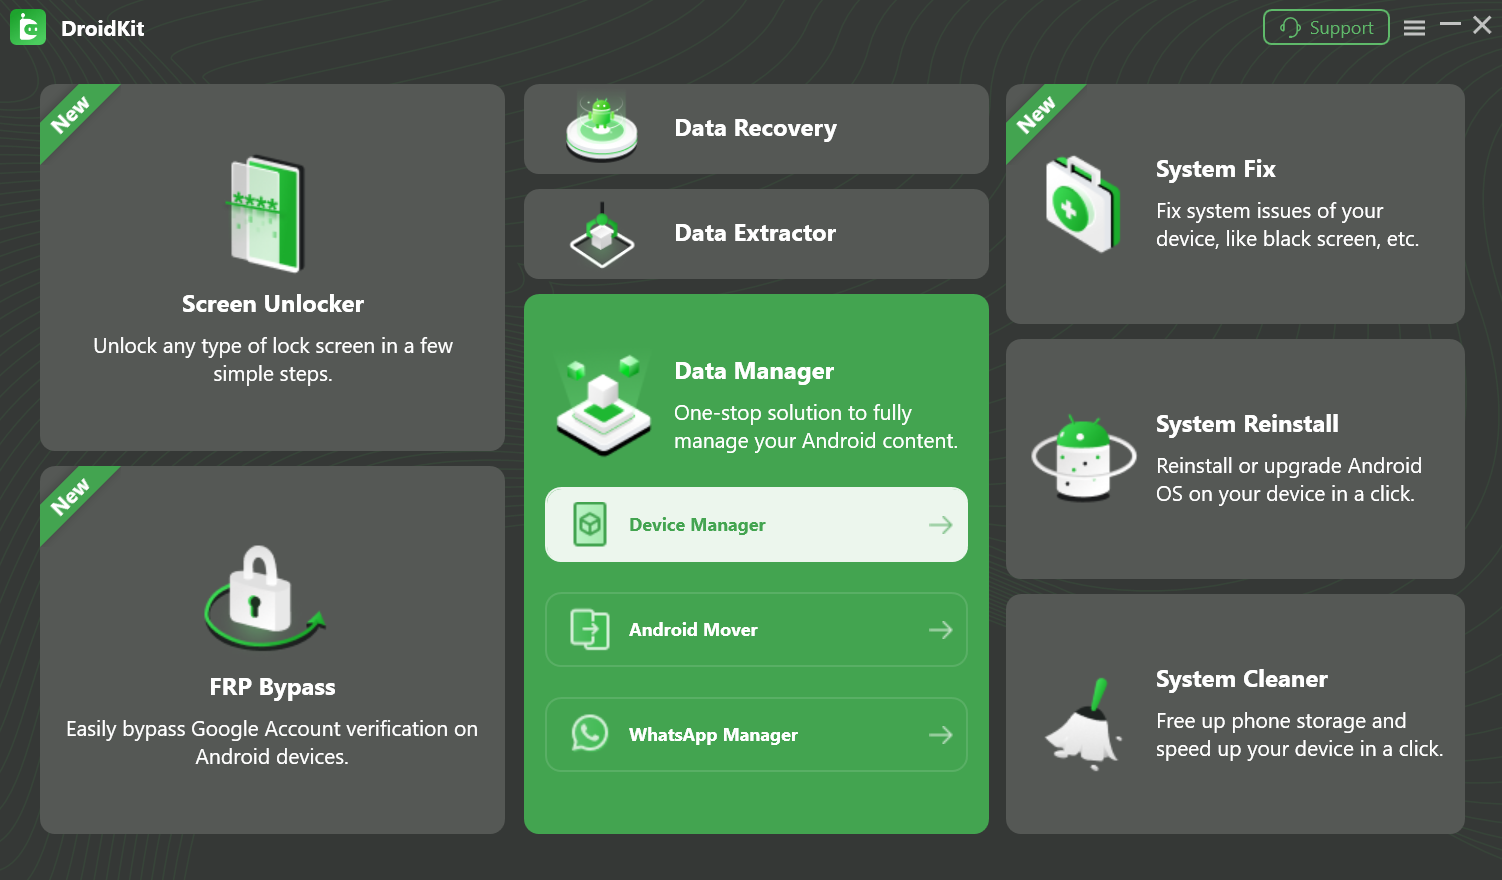
Choose Data Manager Mode
Step 3. Connect Your Android Device to the Computer via a USB Cable.
After you choose the function you want to use, you can connect Android device to computer with USB cable (This guide uses the Samsung device as an example.). Please make sure you have launched USB debugging option on your Android device. By default, DroidKit will detect your Android device automatically. If you don’t connect your Android device to computer or your Android device isn’t recognized, you will view the interface as below:
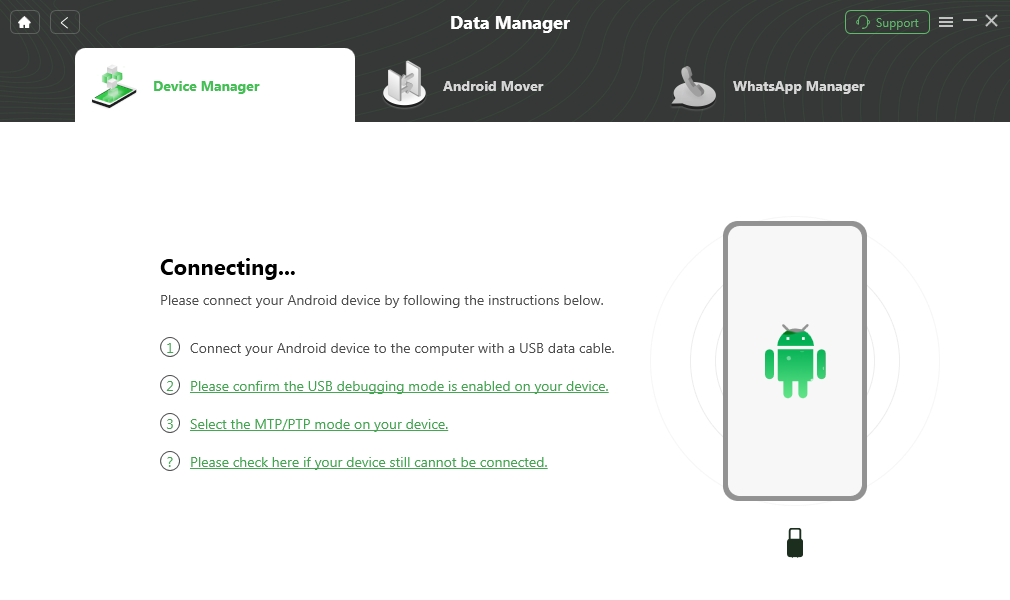
Please Connect Your Android Device
Once your device is detected, you will see the interface below.

Your Device is Detected
If DroidKit is unable to recognize your Android device with USB cable, you may try these troubleshooting steps to solve this problem.
Step 4. Select the Audio You Want to Transfer.
After the loading process completes, it will show you the total number of audio. If it shows empty in the Audio icon, it indicates that there is no any audio in device. Please select the audio you want to transfer. And you can click To PC button to download them to your computer. You also can:
Search: Search the audio you need.
Refresh: Refresh the interface to load audio.
Delete: Delete the unwanted audio.
Add: Transfer audio from computer to device.
To Device: Transfer audio to another Android device.

Select Audio
Step 5. Start to Transfer Audio.
Now, the transfer will start. The time to export the audio varies from data size. Please wait patiently.
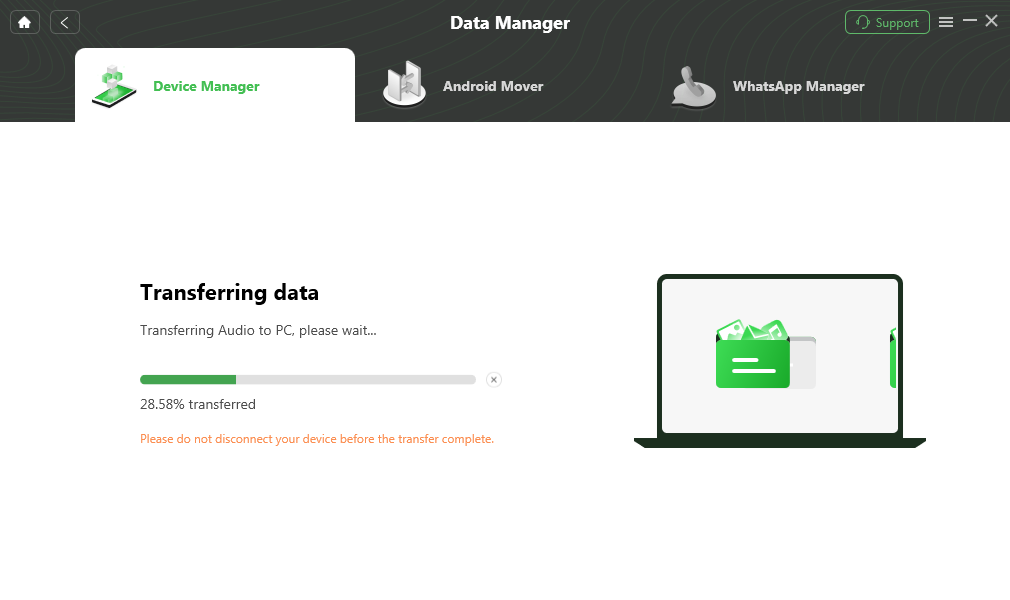
Transferring Process
Step 6. Succeed in Transferring Audio.
Once the transferring process is completed, you will see Transfer Completed interface. To locate the data exported on computer, please click View files option. If you want to continue to transfer the data, please click Transfer more button.

Transfer Completed
After clicking View files option, you can check the audio files, which are transferred from Android device to computer. Please see the interface below:
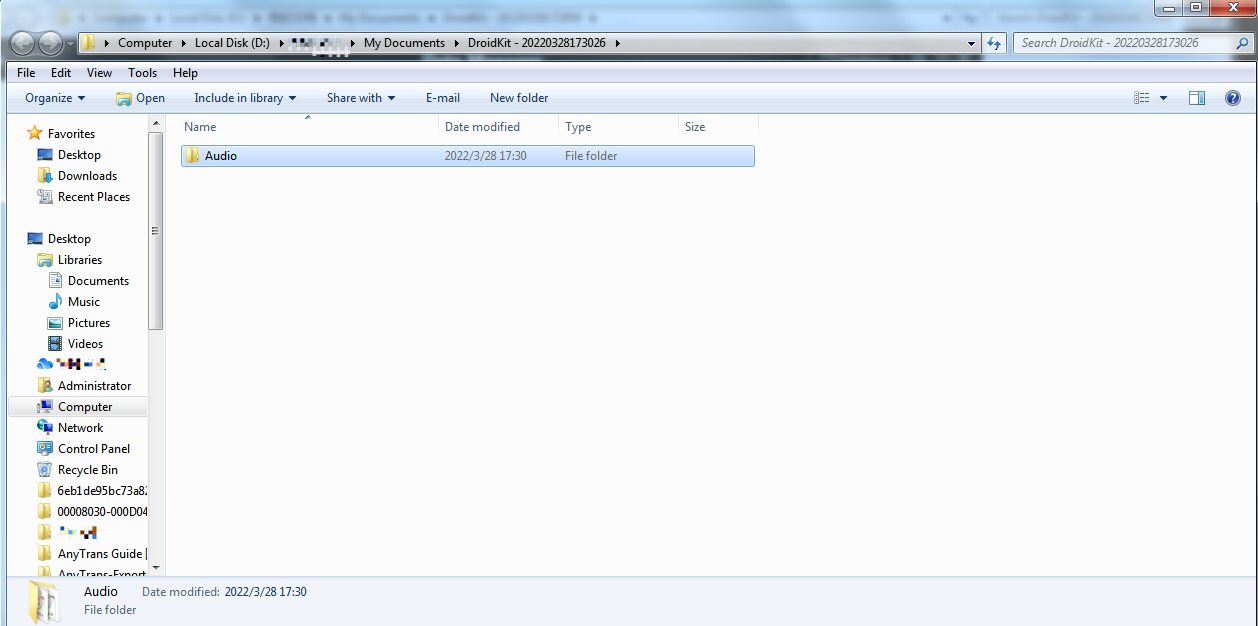
View the Transferred Audio

Try It Out & Share Your Feedback!

We'd love to hear how DroidKit is working for you.
Give it a try and share your thoughts—your feedback helps us keep improving.
If you're enjoying DroidKit, we'd be so grateful if you could leave us a review on Trustpilot. Your support helps others discover DroidKit and motivates our team!
Thank you for being part of the iMobie community — we couldn’t do it without you!
Try It Out & Share Your Feedback!
We'd love to hear how DroidKit is working for you.
Give it a try and share your thoughts—your feedback helps us keep improving.
If you're enjoying DroidKit, we'd be so grateful if you could leave us a review on Trustpilot. Your support helps others discover DroidKit and motivates our team!
Thank you for being part of the iMobie community — we couldn’t do it without you!