How to Enable A Disabled iPhone in iOS 16
Looking for an effective method on how to enable a disabled iPhone in iOS 16? In this post, we’re going to compile every possible solution you can try to fix your disabled iPhone.
Common iPhone Tips
Fix Disabled/Locked iPhone
PhoneRescure for iOS – Enable A Disabled iPhone
Free download PhoneRescue to 1-click enable your iPhone even it was disabled before.
iPhones get disabled if you try to unlock the device too many times with wrong attempts. Without a doubt, it is one of the most maddening situations as you are locked out of your device and can’t access the data within it. Many users encounter the issue after updating to the latest iOS 16. If the device is locked, the first thing to try is the default password. However, if your iPhone is disabled, you are left with no room to enter the password, and instead, you have to fix the disabled screen.
Fortunately, we have good news for you. Except for unlocking disabled iPhone without computer, there are several methods available out there that can help you to resolve the disabled iPhone issue. Here, we’ll demonstrate how could an iPhone get disabled and show you how to enable a disabled iPhone in numerous ways.
How to Enable A Disabled iPhone
Part 1: How Could An iPhone Be Disabled?
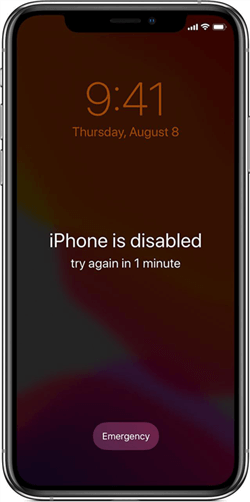
A locked iPhone requires a Face ID, Touch ID, or passcode to enter and access the device for security reasons. If you try to enter the wrong passcode five times in a row, the device will disable automatically for one minute, giving the error message on the lock screen saying “iPhone is disabled”. In this scenario, the obvious solution is to wait for some minutes and then, try to enter the correct passcode to unlock the device. But, if you again enter the wrong passcode, then the device will automatically be disabled for more minutes.
Let’s give a glance at how many wrong attempts are needed to disable the iPhone for a specific period of time.
- 5 incorrect passcode attempts – iPhone is disabled, and try again in 1 minute.
- 7 incorrect passcode attempts – iPhone is disabled, and try again in 5 minutes.
- 8 incorrect passcode attempts – iPhone is disabled, and try again in 15 minutes.
- 9 incorrect passcode attempts – iPhone is disabled, and try again in 60 minutes.
- 10 incorrect passcode attempts – iPhone is disabled, and Connect to iTunes. Else, the iPhone erases all data itself if the erase mode is enabled.
There are certain situations when you didn’t really try to unlock your iPhone. In other words, you didn’t actually enter an incorrect passcode, but you get the message saying iPhone is disabled. How it is possible? Well, there are two common reasons.
The Pocket Disable
The pocket disable is an unexpectedly common situation. This happens to those iPhone users who have a habit of keeping their device in a pocket that they use for their hands too, generally – the front pants pockets, hip jacket pockets, for instance. As the iPhone screen can be swiped from anywhere to unlock the device, it’s pretty common to activate the unlock screen by mistake. After then, you perhaps accidentally enter a wrong passcode a few times while the device is in a pocket with a hand that could make the device disabled.
The Person Disable
Two types of interaction can disable the iPhone – intentional passcode entry by someone who is in an attempt to guess your passcode. The second scenario is an unintentional passcode entry that is generally activated by a young child.
Part 2: To Enable a Disabled iPhone in Several Ways
We hope that you got an idea of the whole scenario of how could an iPhone be disabled. Now, the main concern is what to do if you can’t remember your passcode and want to get rid of the disabled iPhone issue? Well, as we said earlier, there are some ways to help you enable your disabled iPhone without a passcode. So, let’s begin.
Method 1: Fixed the Disabled iPhone through PhoneRescue for iOS
If you’re looking for the easiest way to enable your disabled iPhone, then look no further from PhoneRescue for iOS. Using this software, you can get your disabled iPhone back to life in a few clicks. The best part of the software is that it doesn’t require any technical knowledge to use it.
Above all, it can help you get rid of any type of lock screen passcode in no time. Also, it can help you restore deleted data, restore contents from iTunes backup, restore from iCloud backup, etc. Have a look at its main features and follow the below steps to learn how to enable a disabled iPhone in a secure and effective way.
PhoneRescue for iOS – Data Recovery Solutions
- Unlock your phone to get it undisabled with simple clicks.
- Remove all kinds of screen passwords including Screen Time.
- Recover all kinds of data from your iPhone/iTunes/iCloud backup.
- No erase of the previous data on your iPhone, 100% clean & safe.
Free Download100% Clean & Safe
Free Download100% Clean & Safe
Free Download * 100% Clean & Safe
Step 1. Once downloading PhoneRescue for iOS, run it on your computer and tap the Device Rescuer > Lock Screen Passcode option.
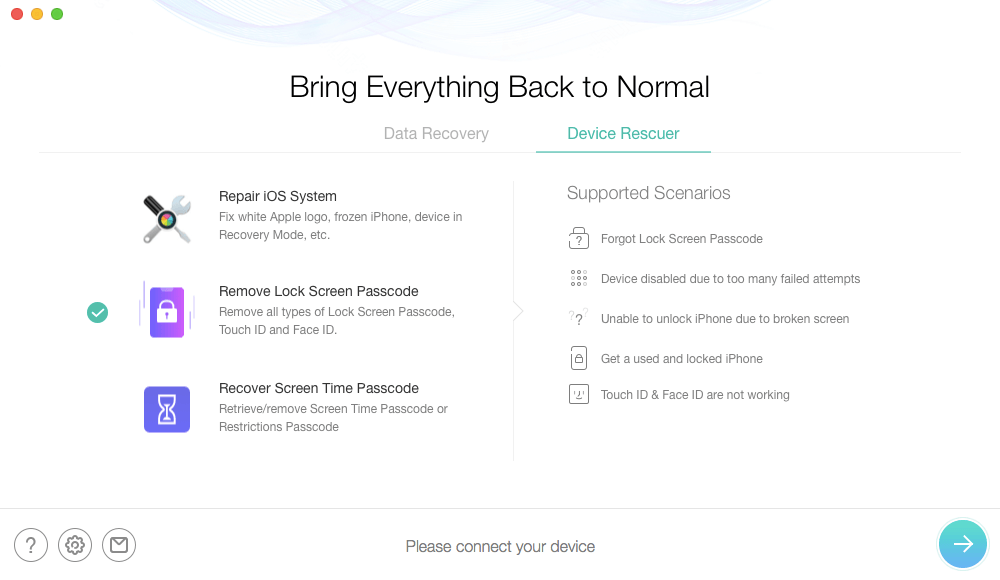
Remove Screen Lock Passcode
Step 2. After that, connect your iPhone to the computer with the help of the digital cable and enter your device in recovery mode by following the on-screen instructions.

Remove Screen Lock Passcode-Recovery
Step 3. Once specifying the device information, you’ll be asked to download the appropriate firmware package needed to fix the disabled iPhone problem.

Remove Screen Lock Passcode-Download Firmware
Step 4. After the firmware package is downloaded, the software will initiate the process to remove the lock screen passcode.
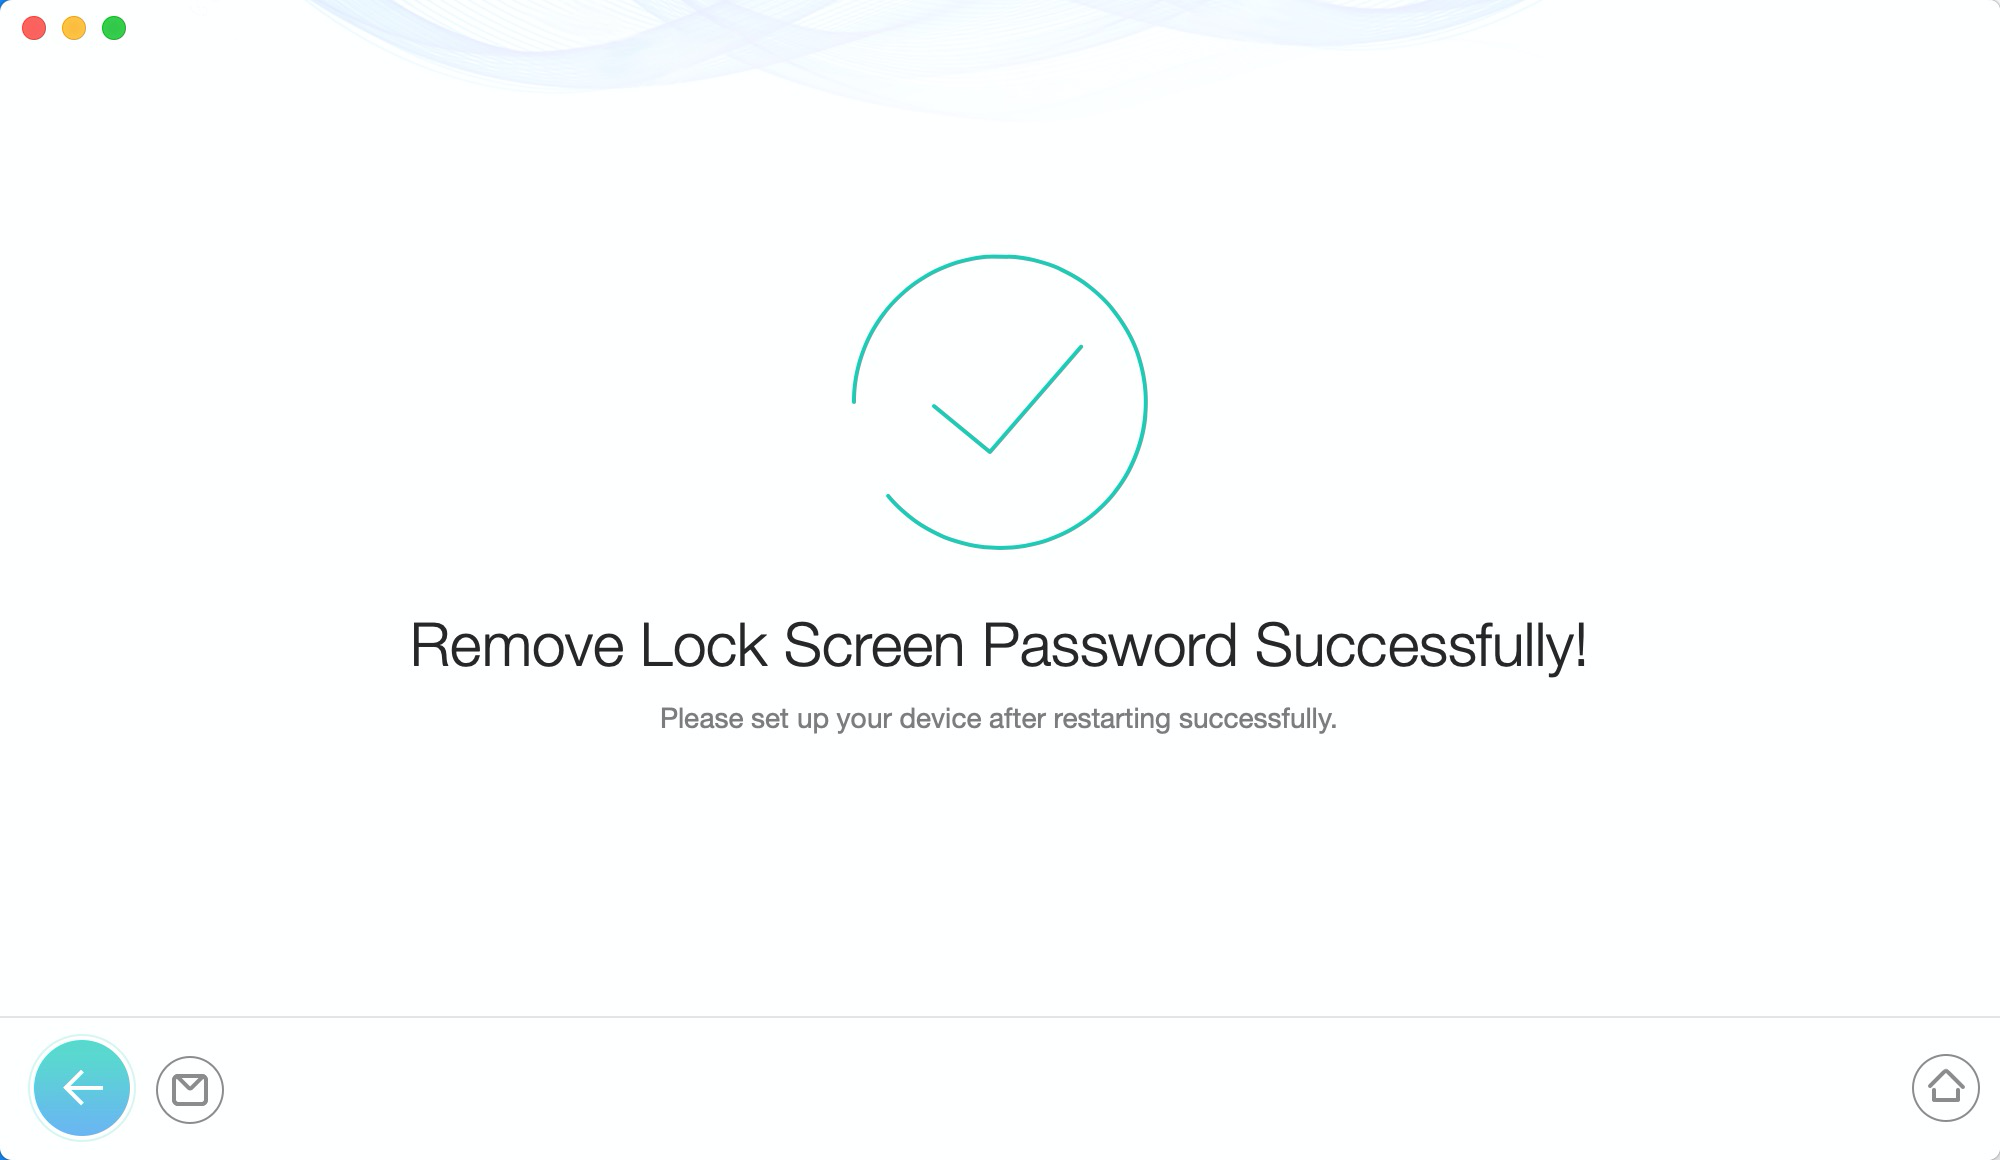
Remove Screen Lock Passcode-Removal-6
Method 2: Fixed the Disabled iPhone via iTunes
With the help of iTunes, you can again gain access to your iPhone. If you’ve synced your device with a trusted computer and created a backup before, iTunes can help you enable the disabled device.
So, let’s learn how to use iTunes to get the job done.
- Connect your disabled iPhone to the computer with the help of a digital cable and run the latest version of iTunes, if it doesn’t open automatically. If you’re asked to trust this computer, then go for the next solution.
- Next, click the device icon.
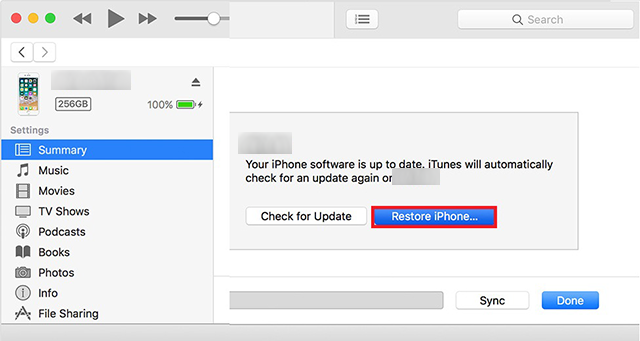
- Now, move to the Summary tab and click the Restore iPhone button.
- Finally, you need to follow the on-screen instructions to erase your device. When you’re requested to set up the device, select to restore from the most recent iTunes backup available.
Unlock Disabled iPhone via iTunes
Method 3: Fix the Disabled iPhone through Using Recovery Mode
If you’re one of those users who have never synced their iPhone with iTunes, you can enter your device into Recovery mode to erase all data and its passcode. As a result, the device will be enabled to use it again as usual.
Here’s a simple guide on how to use Recovery Mode to fix the disabled iPhone.
Step 1. Run iTunes on your system and connect your disabled iPhone to the computer using a digital cable.
Step 2. Now, it’s time to boot your device into recovery mode.
On iPhone 6s or earlier.
- Press and hold the Home button and Side/Top button at the same time.
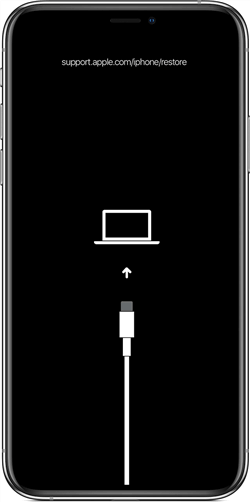
- Continue holding them until connect to iTunes screen appears.
On iPhone 7/7 Plus.
- Press and hold the Volume Down button and Side/Top button at the same time.
- Continue holding them until connect to iTunes screen appears.
On iPhone 8 or above.
- Press and quickly release the Volume Up button.
- Press and quickly release the Volume Down button.
- Press and hold down the Side button until connect to the iTunes screen appears.
Step 3. Once iTunes detects the device in the recovery mode, you will get the two options – Restore or Update. You need to select the Restore option.
Enable Disabled iPhone via Recovery Mode
When the device is restored successfully, your device will be erased to set it up as a new one. In the following part, this post will introduce some tips to avoid any data loss once your iPhone crashed or encountered another disabled issue.
Part 3: Some More Tips for iPhone Users to Avoid Data loss Once iPhone Crashed
There’s no doubt that having a disabled iPhone is frustrating and so, you’ll surely want to do something to prevent the situation from happening again. After all, getting the problem fixed results in data loss. So, the following tips can help you to avoid the iPhone disabled problem in the future.
Set a passcode that is easy to remember. You don’t need to guess the passcode if you remember it. In this way, you’ll be less probably to enter the incorrect passcode that causes disabled iPhone issues.
- Use Face ID or Touch ID, if the option is available. These options don’t make you enter the passcode and prevent you from the hassle of remembering the passcode.
- Create a backup of your iPhone on a regular basis, either via iCloud or iTunes. This will save you from losing your important data in case of data loss.
The Bottom Line
That’s how to enable a disabled iPhone. As you can see the disabled iPhone is no bigger problem thanks to the PhoneRescue for iOS that helps users to fix it with a few clicks of a button. If you’re locked out of your iPhone, simply use PhoneRescue for iOS to get access to the device without much trouble.
Free Download * 100% Clean & Safe

Senior writer of the iMobie team as well as an Apple fan, love to help more users solve various types of iOS & Android-related issues.
Product-related questions? Contact Our Support Team to Get Quick Solution >
