Hisense FRP Bypass: Remove Google Lock by Android Version & Chipset
Hisense FRP bypass depends on your Android version, security patch, chipset, and access to a PC. This guide helps you choose between guided FRP software, MTK or Unisoc tools, TalkBack, SIM PIN methods, and troubleshooting steps when older Hisense FRP methods fail.
Being locked out of your Hisense phone after a factory reset can be frustrating, especially when the Google account originally synced to the device is no longer available. This happens because of Factory Reset Protection, also known as FRP, an Android security feature designed to prevent unauthorized access after a reset.
This guide explains how Hisense FRP bypass works, how to choose the right method by Android version and chipset, when MTK or Unisoc tools may apply, how no-PC methods work, and what to try when manual tricks fail. Use FRP removal methods only on a device you own or are authorized to repair. If you are new to the topic, read this FRP lock explanation first.
Table of ContentsHide
Quick Answer: How to Bypass FRP on a Hisense Phone
Which Hisense FRP Method Works Best?
Why FRP Lock Happens on Hisense Phones
Best Hisense FRP Bypass Tool in 2026
How to Use DroidKit for Hisense FRP Bypass
Identify Your Hisense Phone’s Chipset Before Manual FRP Bypass
Manual FRP Bypass for Hisense MTK and Unisoc Chipsets
How to Perform Hisense FRP Bypass Without a PC
When Manual Hisense FRP Methods Don’t Work
Troubleshooting Common Errors During Hisense FRP Removal
FAQs About Hisense FRP Bypass
Summary: Which Hisense FRP Method Should You Choose?
Quick Answer: How to Bypass FRP on a Hisense Phone
The best Hisense FRP bypass method depends on your Android version, security patch, chipset, and whether you have a computer. Older TalkBack or SIM PIN tricks may still work on some devices, but newer Android versions often block these routes.
| Your Situation | Best Method to Try | What to Know First |
| You want the simplest guided route | Use a PC-based FRP tool for supported devices | Best for users who do not want manual chipset or APK steps |
| Your Hisense phone uses MediaTek | MTK driver and flashing-tool workflow | Advanced method; wrong files or format settings may cause problems |
| Your Hisense phone uses Unisoc / Spreadtrum | SPD / Unisoc tool workflow | Needs correct drivers and model-specific files |
| You do not have a computer | TalkBack or SIM PIN method | Lower success rate on newer Android security patches |
| Manual methods keep failing | Check Android version and troubleshooting causes | The method may already be blocked by the security patch |
If you need a broader overview of Android FRP routes, compare more options in this Android FRP bypass guide.
Which Hisense FRP Method Works Best?
Different Hisense models require different FRP bypass solutions. A method that works on a Hisense MTK phone may not work on a Unisoc model, and a method that works on Android 8 may fail on Android 12, Android 13, Android 14, or newer.
| Hisense Situation | Recommended Method | Difficulty | Main Limitation |
| Newer Android version or recent security patch | Guided FRP software for supported devices | Easy | Compatibility still depends on model and Android scenario |
| Hisense MTK phone | MTK driver + SP Flash Tool workflow | Advanced | Needs correct chipset, drivers, and model-specific FRP settings |
| Hisense Unisoc device | SPD / Unisoc tool workflow | Advanced | Needs correct drivers and firmware/tool package |
| No computer available | TalkBack method | Medium | Often blocked on newer Android versions |
| SIM card available | SIM PIN trick | Easy | Works only in limited older scenarios |
| Repeated failed attempts | Troubleshooting + updated FRP route | Medium | Older loopholes may already be patched |
If you have already tried multiple manual methods and still see the Google verification screen, your device may need a different route. This Google account verification after reset guide can help you understand the next step.
Why FRP Lock Happens on Hisense Phones
FRP is automatically enabled when a Google account is added to an Android phone. After a factory reset, the Hisense device asks for the same Google account credentials that were previously synced to the phone.
On Hisense phones, FRP bypass difficulty varies because:
- Hisense models may use different chipsets, including MediaTek and Unisoc.
- Security patches differ by model, region, carrier, and firmware version.
- Newer Android versions close older TalkBack, browser, SIM PIN, and APK loopholes.
- Some manual methods require PC drivers, firmware files, or special connection modes.
This is why a single “Hisense FRP bypass tool” cannot guarantee success on every model. You need to match the method to your actual device situation.
Best Hisense FRP Bypass Tool in 2026
For users who want a more guided process, a PC-based FRP tool can be easier than manual MTK, Unisoc, TalkBack, or SIM PIN methods. One option is DroidKit, which provides on-screen instructions for supported Android FRP scenarios.
DroidKit is most useful when you do not want to search for unknown APK files, chipset tools, or model-specific flashing commands. However, you should still check whether your device brand, Android version, and lock scenario are supported before starting.
Free Download * 100% Clean & Safe
Why Choose a Guided Tool for Hisense FRP Removal?
- It gives clearer instructions than manual chipset workflows.
- It avoids downloading random FRP APK files from unverified sites.
- It is easier for beginners than MTK or SPD flashing tools.
- It can be a practical fallback when TalkBack or SIM PIN methods fail.
How to Use DroidKit for Hisense FRP Bypass
Step 1. Download and install DroidKit on your Windows or Mac computer. Launch the program and choose the FRP Bypass feature.
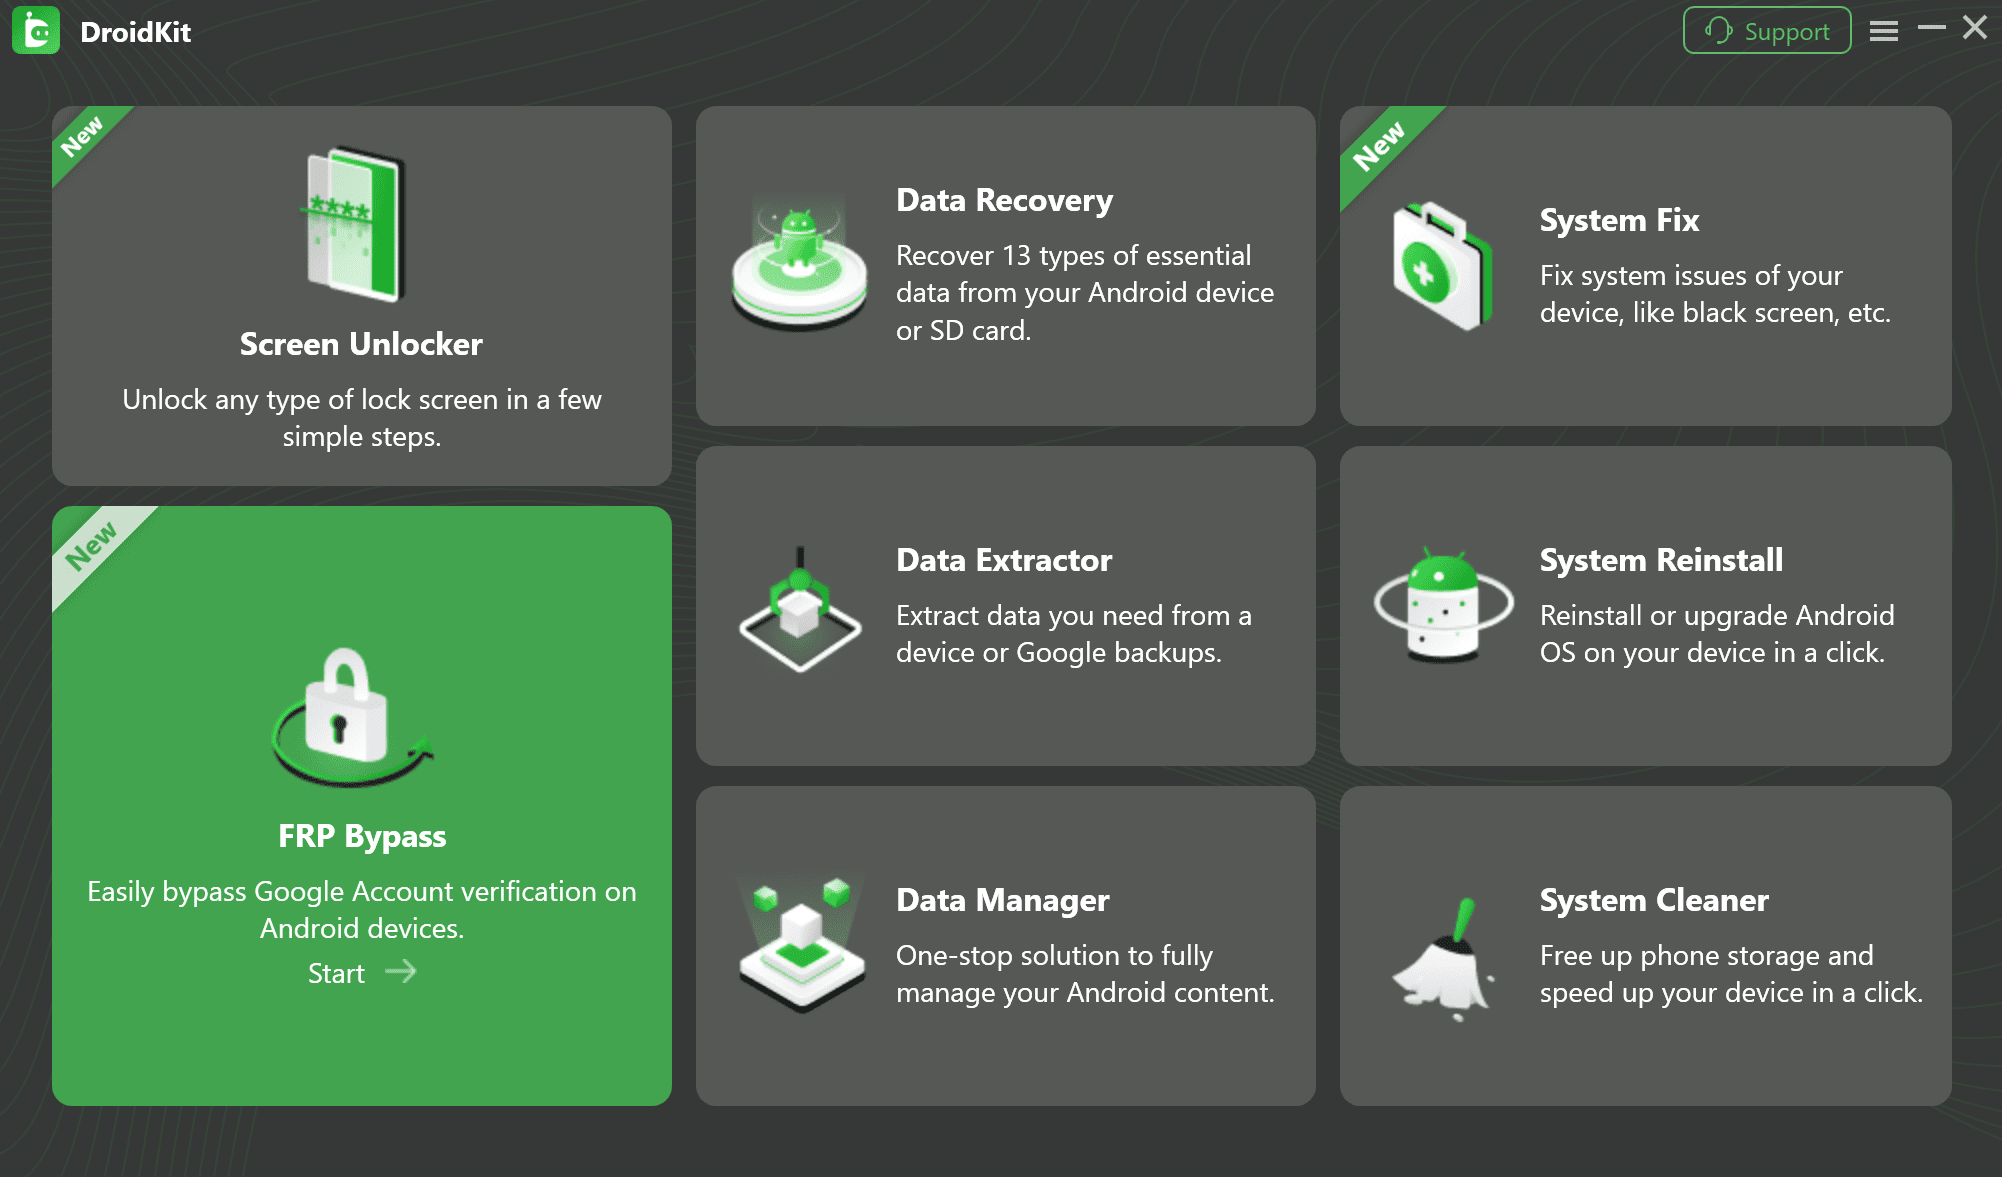
Select FRP Bypass from the home screen
Step 2. Connect your locked Hisense phone to the computer with a stable USB cable. Click Start to continue.
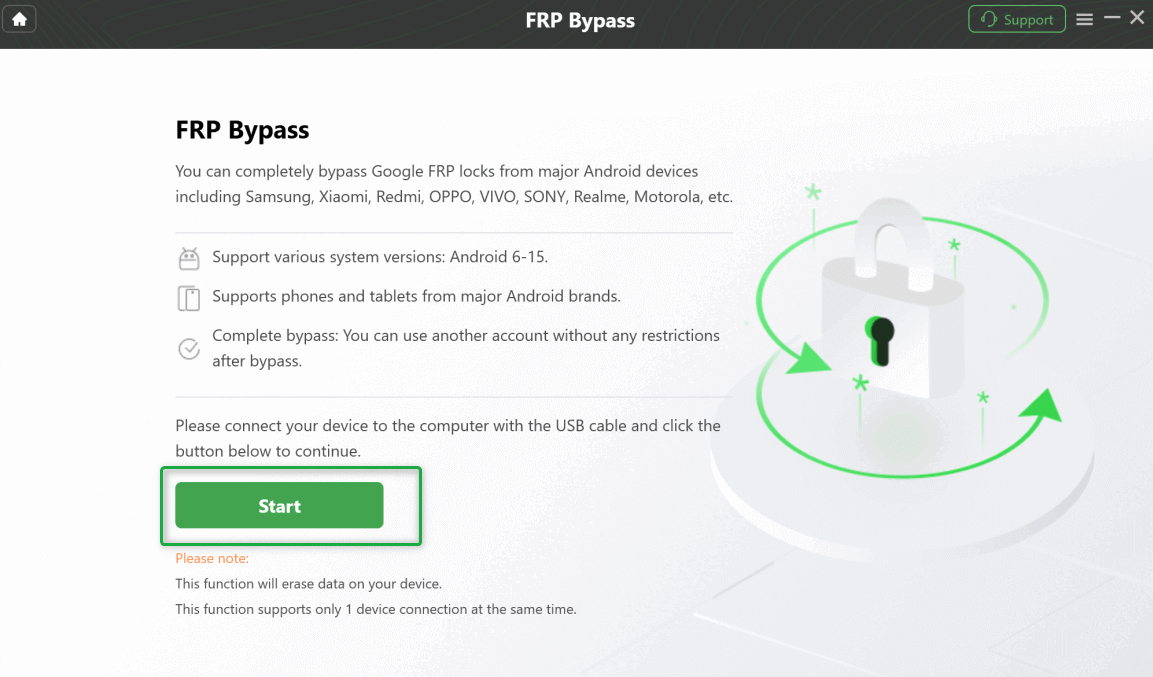
Click Start Button to Continue Process
Step 3. Follow the on-screen instructions to select the correct device information and prepare the required configuration file.
Step 4. Put your device into the required mode when prompted. The instructions may vary depending on the device brand, model, and Android version.
Step 5. Wait for the process to finish. Do not disconnect the phone while the software is working. After completion, restart the device and set it up again.
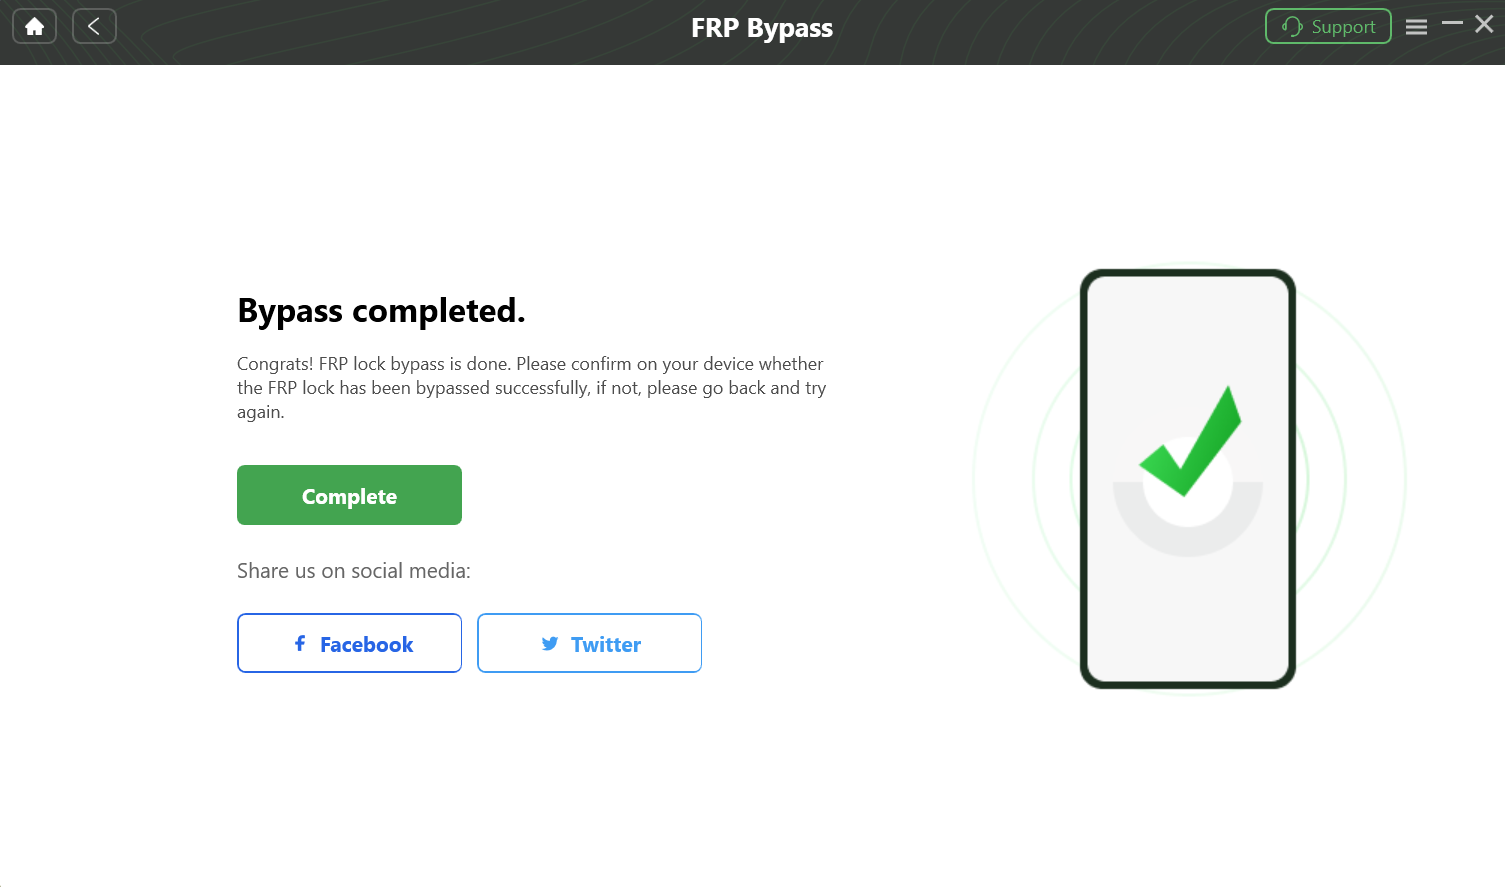
Bypass FRP Lock
Identify Your Hisense Phone’s Chipset Before Manual FRP Bypass
Manual Hisense FRP methods depend heavily on the phone’s chipset. Hisense models may use MediaTek, Unisoc, or Spreadtrum chipsets, and the required tools are different. Since the device is locked, you may need to check the exact model number printed on the back cover, SIM tray, retail box, or purchase record.
| Hisense Model | Likely Chipset | What It Means |
| Hisense H60 | Unisoc T610 | Usually needs Unisoc / SPD tools |
| Hisense H50 | Unisoc T610 | Usually needs Unisoc / SPD tools |
| Hisense H50s 5G | MediaTek Dimensity 700 | Usually needs MTK tools |
| Hisense H40 | Unisoc SC9863A | Usually needs Unisoc / SPD tools |
| Hisense U60 / U60s | MediaTek MT6761 | Usually needs MTK tools |
| Hisense E60 | Unisoc SC9863A | Usually needs Unisoc / SPD tools |
| Hisense E50 / E50 Lite | Unisoc SC9863A | Usually needs Unisoc / SPD tools |
| Hisense E30 / E30 Lite | Spreadtrum / Unisoc SC7731E | Usually needs Unisoc / SPD tools |
| Hisense Infinity H12 | MediaTek Helio P22 | Usually needs MTK tools |
If your model is not listed, search your exact model number with “specs” or “chipset” before choosing a method. Do not use MTK tools on a Unisoc device, and do not use SPD tools on a MediaTek device.
Manual FRP Bypass for Hisense MTK and Unisoc Chipsets
Manual chipset-based FRP methods are for advanced users. They may involve USB drivers, flashing tools, authentication bypass utilities, firmware files, or model-specific FRP addresses. Using the wrong file or command can cause errors, data loss, or device instability.
Before using manual methods, make sure:
- You own the Hisense device or have repair authorization.
- You know the exact model number and chipset.
- You have a stable Windows computer and USB cable.
- You download drivers and tools only from trusted sources.
- You understand that newer security patches may block older methods.
Hisense FRP Bypass MTK: What to Know
For MediaTek-based Hisense phones, users often look for MTK USB drivers, SP Flash Tool, and MTK authentication-related utilities. These tools are more technical than normal phone software and should be used carefully.
Step 1. Install MediaTek USB drivers from a trusted source. Reboot the computer if the driver installation requires it.
Step 2. Download a reliable flashing tool such as SP Flash Tool. Avoid repackaged files from suspicious download mirrors.
Step 3. If your device uses Secure Boot protection, review an MTK tool guide before attempting any operation. You can compare related options in this MTK FRP tool review.
Step 4. Power off the Hisense phone and connect it in the required MediaTek mode. If the PC does not detect the phone, stop and fix the driver problem first.
Step 5. Follow model-specific instructions only. Do not guess FRP format addresses or use files made for another Hisense model.
Hisense FRP Unisoc: Using SPD / Spreadtrum Tools
Hisense phones with Unisoc or Spreadtrum chipsets require different drivers and tools. MediaTek tools will not work on these devices.
Step 1. Install the correct SPD / Unisoc USB drivers for your computer.
Step 2. Prepare a trusted Unisoc servicing tool and, if required, the correct PAC firmware file for your exact model.
Step 3. Power off the phone. Connect it to the computer while holding the required button combination, such as Volume Down, if the tool requires it.
Step 4. Wait for the tool to detect the device. If detection fails, check drivers, USB cable, and connection mode before continuing.
Step 5. Use only the FRP-related function that matches your model and tool version. Do not perform firmware flashing or partition operations unless you understand the risk.
How to Perform Hisense FRP Bypass Without a PC
Hisense FRP bypass without a PC is possible in some older scenarios, but the success rate is usually lower. These methods depend on temporary Android loopholes, accessibility actions, notification access, or SIM behavior, and many have been blocked by newer security patches.
Note: No-PC methods are worth trying only if you cannot access a computer. If your phone runs a newer Android version or has a recent security patch, these methods may fail.
Method 1: TalkBack FRP Method
Step 1. On the welcome screen, connect the Hisense phone to a Wi-Fi network.
Step 2. Return to the start screen. Press and hold both Volume Up and Volume Down buttons for a few seconds to try enabling TalkBack.
Step 3. If TalkBack opens, try the gesture or voice command route shown on your device. Older guides may use Google Assistant or Chrome access.
Step 4. If a browser opens, use only trusted pages. Avoid downloading unknown FRP APK files from suspicious sites.
Step 5. If TalkBack does not open the needed menu, the method is likely blocked on your device.
Method 2: SIM Card PIN Method
Step 1. Insert a SIM card with a PIN lock enabled.
Step 2. When the phone asks for the SIM PIN, enter the correct PIN.
Step 3. After confirming the PIN, quickly press the power button to turn off the screen.
Step 4. Wake the phone again and check whether you can access the notification panel or settings shortcut.
Step 5. If the settings shortcut is not available, the method may be patched on your Android version.
When Manual Hisense FRP Methods Don’t Work
Manual methods usually fail when Android or the Hisense firmware has already patched the loophole. This is common on newer Android versions and updated security patches.
Common signs that you should stop repeating the same method:
- TalkBack gestures no longer open the old menu.
- The SIM PIN trick does not reveal notification access.
- The PC cannot detect the device even after driver reinstall.
- MTK or Unisoc tools show connection or authorization errors.
- FRP still appears after reboot.
- APK files are blocked, flagged, or crash immediately.
When this happens, check a broader FRP bypass not working guide instead of trying random tools repeatedly.
Troubleshooting Common Errors During Hisense FRP Removal
Hisense FRP removal may fail for many reasons. Use the table below to locate the likely cause before switching tools.
| Problem | Possible Cause | What to Try |
| PC does not detect the Hisense phone | Wrong USB driver, bad cable, or wrong connection mode | Install the correct MTK or Unisoc driver, try another USB cable, and use a direct USB port |
| ADB or Fastboot commands do not work | USB debugging was not enabled before reset | Do not rely on ADB-only methods if USB debugging was never enabled |
| MTK tool does not detect the device | Driver issue, Secure Boot protection, or unsupported chipset | Confirm the chipset and driver before trying another MTK utility |
| SPD / Unisoc tool fails | Wrong driver, wrong connection key, or missing firmware file | Confirm model number and use only model-specific instructions |
| No-PC method opens nothing | Security patch blocked TalkBack, SIM PIN, or browser route | Try another method that fits your Android version and device model |
| FRP still appears after reboot | The process was incomplete or not supported for your firmware | Review device compatibility and choose a safer next step |
FAQs About Hisense FRP Bypass
Q1. How can I bypass FRP on Hisense without the previous Google account?
You can try a guided FRP tool, chipset-based MTK or Unisoc methods, TalkBack, or SIM PIN methods. The right method depends on your Android version, security patch, chipset, and whether you have a PC. Only use these methods on your own device or an authorized repair device.
Q2. What is the easiest Hisense FRP bypass method?
For most non-technical users, a guided PC-based FRP tool is easier than manual MTK, Unisoc, TalkBack, or SIM PIN methods. Manual tools require more driver and chipset knowledge.
Q3. Can I bypass FRP on Hisense without a PC?
Yes, but the success rate is lower on newer Android versions. TalkBack and SIM PIN methods mainly work in limited older scenarios and may be blocked by recent security patches.
Q4. Is Hisense FRP bypass safe?
It depends on the method. Official or trusted software sources are safer than unknown APKs or repackaged tools. Avoid suspicious downloads and do not use FRP tools on devices you do not own.
Q5. How do I know whether my Hisense phone is MTK or Unisoc?
Check the exact model number on the device, SIM tray, box, or purchase record, then search the model with “specs” or “chipset.” Do not use MTK tools on a Unisoc phone or Unisoc tools on an MTK phone.
Q6. Why does Hisense FRP bypass fail after an Android update?
Android and security patch updates often close the loopholes used by older FRP methods. If a method suddenly stops working, your firmware may no longer support that route.
Q7. Can I use FRP APK files on Hisense?
Some older FRP tutorials use APK files, but they carry security risks and often fail on newer devices. Download APKs only from trusted sources and avoid files flagged by security tools.
Q8. What should I do if all Hisense FRP methods fail?
Stop repeating the same failed steps. Confirm the Android version, chipset, and security patch, then choose a method that matches your device. A guided tool may be a better option for supported devices.
Summary: Which Hisense FRP Method Should You Choose?
Hisense FRP bypass is not one-size-fits-all. The right method depends on your Android version, security patch, chipset, exact model, and access to a PC. Older TalkBack and SIM PIN tricks may still work in limited cases, while MTK and Unisoc workflows are better suited for advanced users who understand drivers and chipset tools.
For beginners, a guided FRP bypass solution like DroidKit is usually easier than manual methods. For advanced users, MTK and Unisoc tools may still provide options, but only when the model, chipset, and firmware are correctly identified.
Free Download * 100% Clean & Safe
More Related Articles

Roger Smith is a senior technical writer with years of experience in providing Android solutions. He loves to help users solve various problems such as Android unlock, Android data recovery, and Android system repair.
Product-related questions? Contact Our Support Team to Get Quick Solution >
