FRP Bypass Android 12: What Still Works by Brand & Patch
FRP bypass on Android 12 depends on your phone brand, security patch, and available connection mode. This guide explains which manual methods still work, why old no-PC tricks fail, how Samsung test mode differs from Pixel, Xiaomi, OPPO, and OnePlus, and when a guided PC-based FRP tool is a safer fallback.
Locked out of your Android 12 phone after a factory reset? You may be seeing the Google account verification screen because Factory Reset Protection, also called FRP, is active. FRP is designed to protect Android devices from unauthorized access, so any FRP removal method should only be used on a device you own or are authorized to repair.
This guide explains what still works for FRP bypass on Android 12, why older methods often fail, how Samsung test mode differs from Pixel, Xiaomi, OPPO, and OnePlus methods, and what to try when manual tricks are blocked by a security patch.
Quick Answer: Can You Bypass FRP on Android 12?
Yes, FRP bypass on Android 12 is still possible in some situations, but the method depends on your phone brand, Android 12 security patch, USB connection mode, and whether you can use a computer. Most old no-PC methods are no longer reliable on updated Android 12 devices.
| Your Situation | Best First Step | What to Know |
| Samsung with an early Android 12 patch | Try the *#0*# test mode route |
Works only on some Samsung devices and still requires a PC tool |
| Samsung with a recent security patch | Use a PC-based guided method | Test mode and old FRP commands are often blocked |
| Google Pixel on Android 12 | Start with official Google account recovery | Pixel devices are usually harder because they receive security updates quickly |
| Xiaomi, Redmi, POCO, OPPO, or OnePlus | Choose a method by chipset and brand mode | Fastboot, recovery, Qualcomm, or MediaTek routes may differ |
| No PC available | Try manual methods only if your patch is old | Success rate is low on updated Android 12 phones |
If your device is not running Android 12, check the relevant version guide instead: Android 11 FRP bypass, Android 13 FRP bypass, or Android 14 FRP bypass.
What Changed in Android 12 FRP Protection?
Factory Reset Protection activates when a Google account is added to an Android device. After a factory reset, Android asks for the last synced Google account before setup can continue.
Android 12 is harder than older versions because many older FRP routes were patched or restricted. Menus shown in old YouTube videos may no longer exist. Browser shortcuts, TalkBack routes, APK installs, and emergency-call tricks often fail after newer Android 12 security patches.
Important: Before attempting any bypass method, try Google account recovery on another device first. It is the safest and officially supported route. The methods below are only for authorized device owners or repair cases where account recovery has failed.
Android 12 FRP Method Compatibility Table
Use the table below to choose a safer Android 12 FRP route before trying random APK files or outdated tricks.
| Method | Best For | PC Needed | Main Limitation |
Samsung *#0*# test mode |
Some Samsung phones with early Android 12 patches | Yes | Often blocked on updated Samsung firmware |
| Guided PC-based FRP tool | Users who want on-screen instructions for supported devices | Yes | Compatibility depends on brand, model, and Android scenario |
| TalkBack or browser route | Older, less-patched Android 12 devices | No | Usually blocked on updated devices |
| FRP APK method | Legacy Android devices only | No | High safety risk and low success rate on Android 12 |
| Brand/chipset-specific tools | Advanced users handling Xiaomi, OPPO, OnePlus, or Qualcomm/MediaTek devices | Usually yes | Requires correct drivers, modes, and model support |
If you are unsure which method fits your phone, compare more routes in this Android FRP bypass guide.
Manual Method: Samsung *#0*# Test Mode
The *#0*# test mode method is for Samsung phones only. It may work on a small number of Samsung devices running older Android 12 security patches. It will not work on most updated phones.
Use this method only if: you own the Samsung device, it runs Android 12, and the emergency dialer allows test mode access. If the code does nothing, your device is likely patched.
Step 1. Turn on your Samsung phone and stay on the first Welcome or Let’s Go setup screen.
Step 2. Tap Emergency Call.
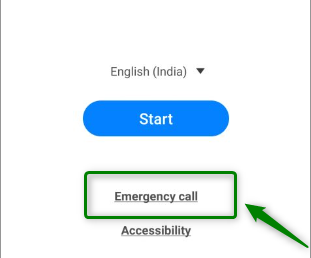
Tap Emergency Call
Step 3. In the dialer, enter *#0*#.
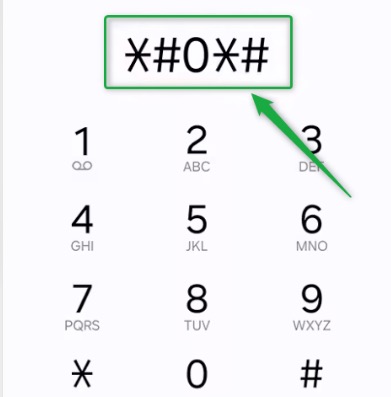
Enter Code to Access Test Mode
Step 4. If the diagnostic test mode screen appears, connect the phone to your computer with a stable USB cable.
Step 5. Use a compatible Samsung FRP tool to send the required command. If you are comparing Samsung-specific options, review this Samsung FRP tool guide.
Step 6. If the phone asks you to allow USB debugging, read the prompt carefully and tap Allow only if you understand the process.
Step 7. Wait for the phone to restart. If the Google verification screen still appears, the method did not work for your device or patch level.
If the *#0*# code does nothing, do not repeat it endlessly. That usually means the security patch has blocked this route.
When Manual Android 12 FRP Methods Fail
Manual Android 12 FRP methods fail for predictable reasons. Most failures happen because the phone has a newer patch, the brand removed the old entry point, or the required PC mode is not available.
- The emergency dialer does not open Samsung test mode.
- TalkBack no longer opens Assistant, Chrome, or Settings.
- The FRP APK is blocked, flagged, or crashes.
- The phone cannot connect through MTP, ADB, Fastboot, or Download Mode.
- The PC tool does not support the exact brand or model.
- The device still asks for the previous Google account after reboot.
If you are seeing repeated failures, use this FRP bypass not working guide before trying more random downloads.
Step-by-Step: Bypass FRP on Android 12 with DroidKit
For users who want a guided PC-based workflow, DroidKit can be a practical alternative for supported Android 12 devices. It is especially useful when no-PC tricks fail, APK methods are unsafe, or the phone needs brand-specific instructions.
Free Download * 100% Clean & Safe
Step 1. Download and install DroidKit on your Windows or Mac computer.
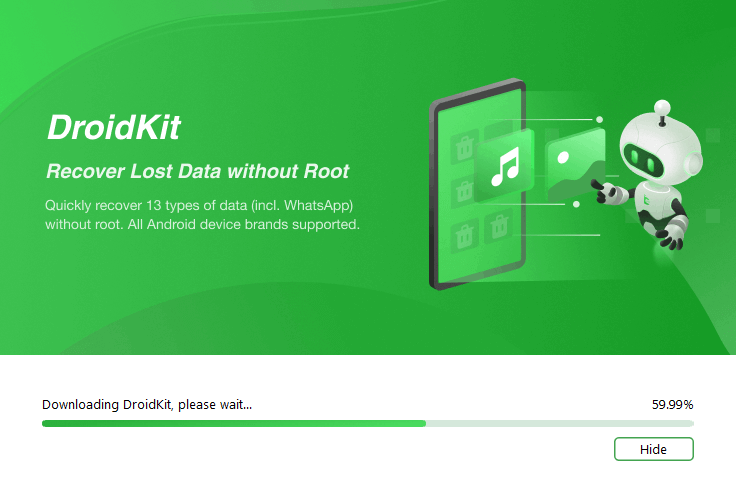
Install DroidKit on your Windows or Mac
Step 2. Open DroidKit and choose FRP Bypass. Connect your locked Android 12 phone to the computer with a reliable USB cable.
For a more stable connection, use the original USB cable and avoid loose USB hubs. Connection issues are a common reason FRP tools fail.
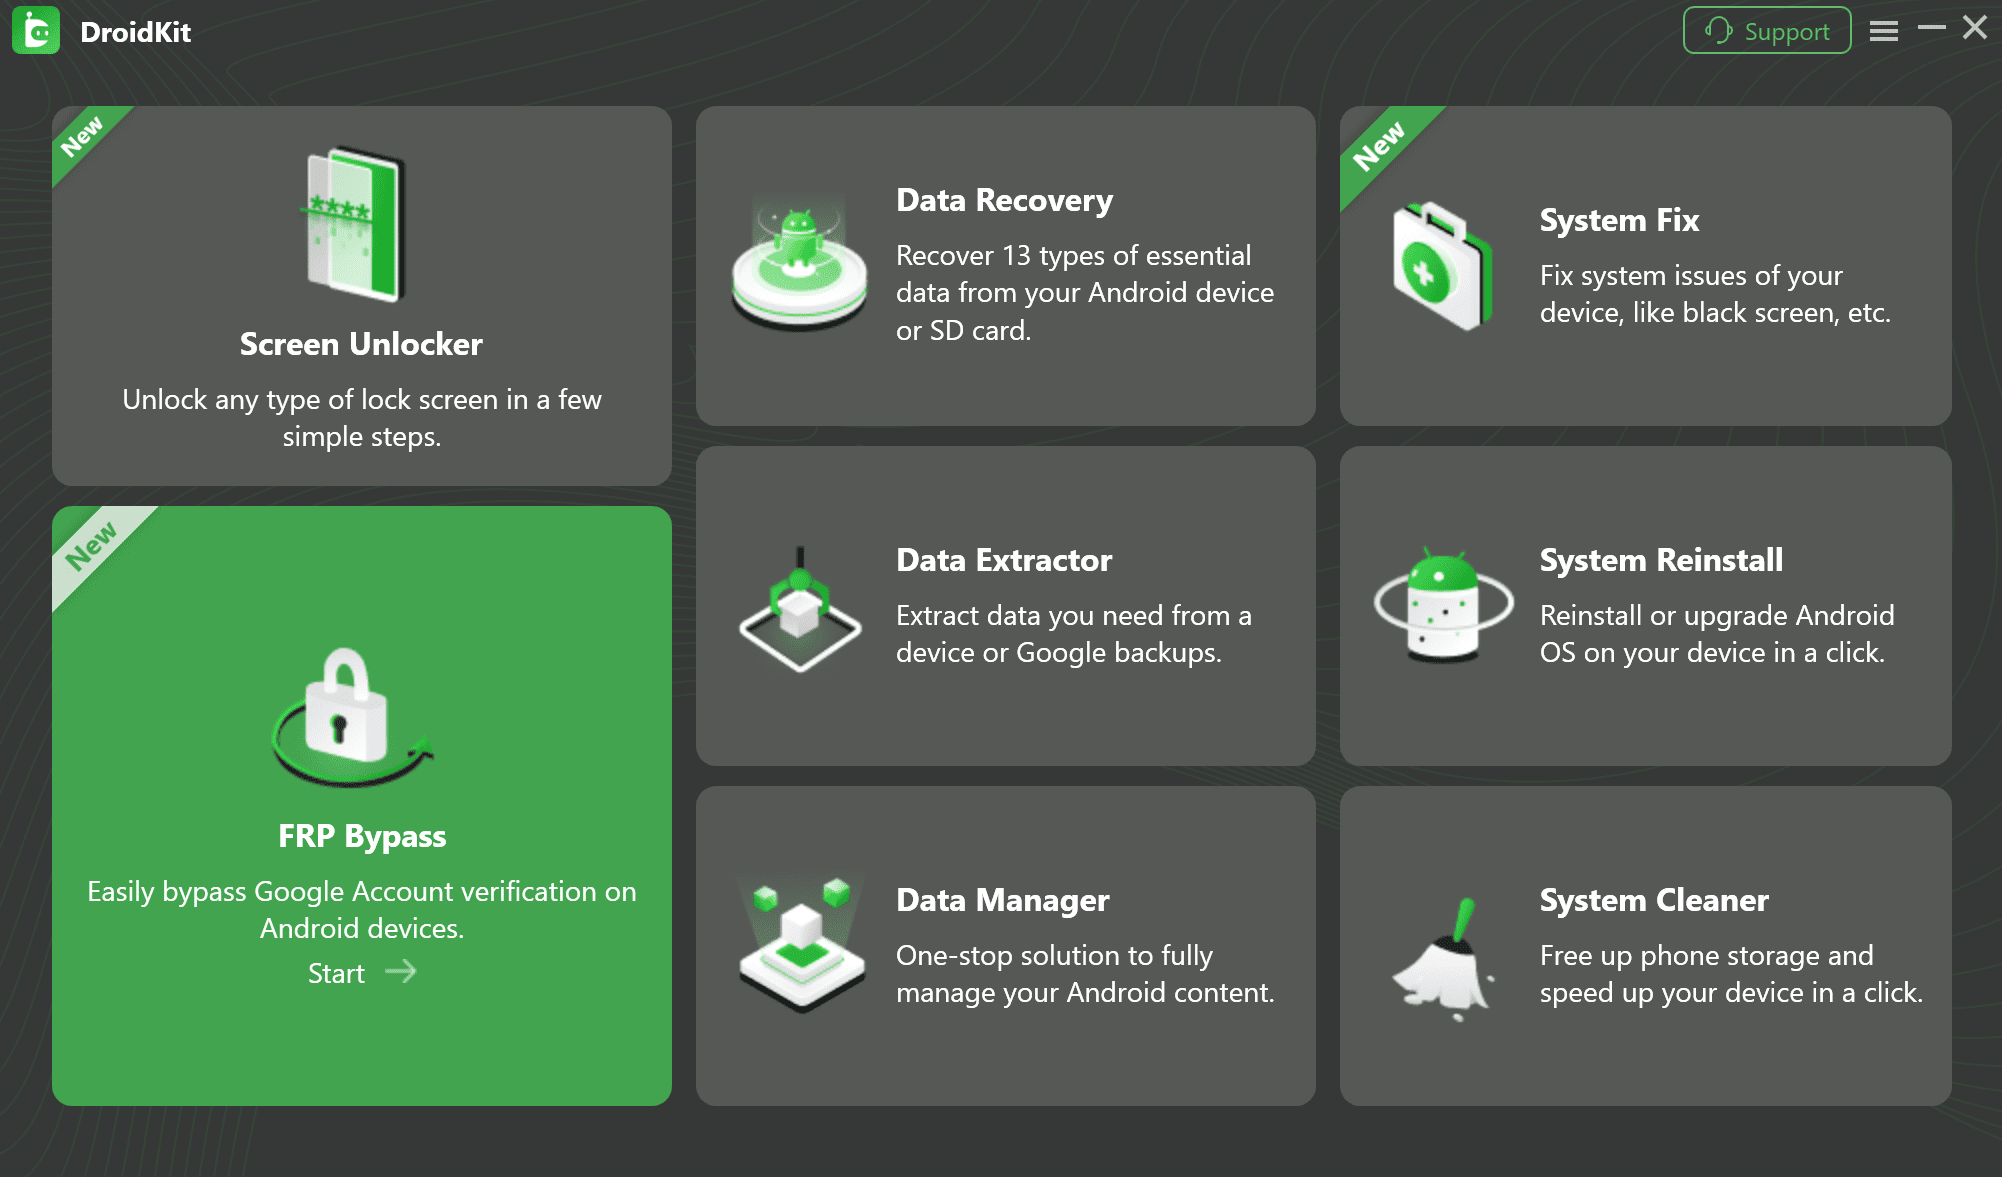
Select FRP Bypass from the home screen
Step 3. Let DroidKit prepare the device-specific configuration file. If your phone is not detected automatically, choose the correct brand and model manually if the option is available.
What if the device is not detected? Try another USB port, reinstall the manufacturer USB driver, restart the computer, and reconnect the phone. Do not continue with the wrong device profile.
Step 4. Follow the on-screen instructions to put the phone into the required mode. The steps may differ by brand. For example, Samsung devices may use Download Mode, while Motorola or Xiaomi devices may use Recovery or Fastboot mode.
Step 5. Wait while DroidKit completes the FRP process. Your phone may restart during the process. Do not disconnect the device until the software shows that the process is complete.
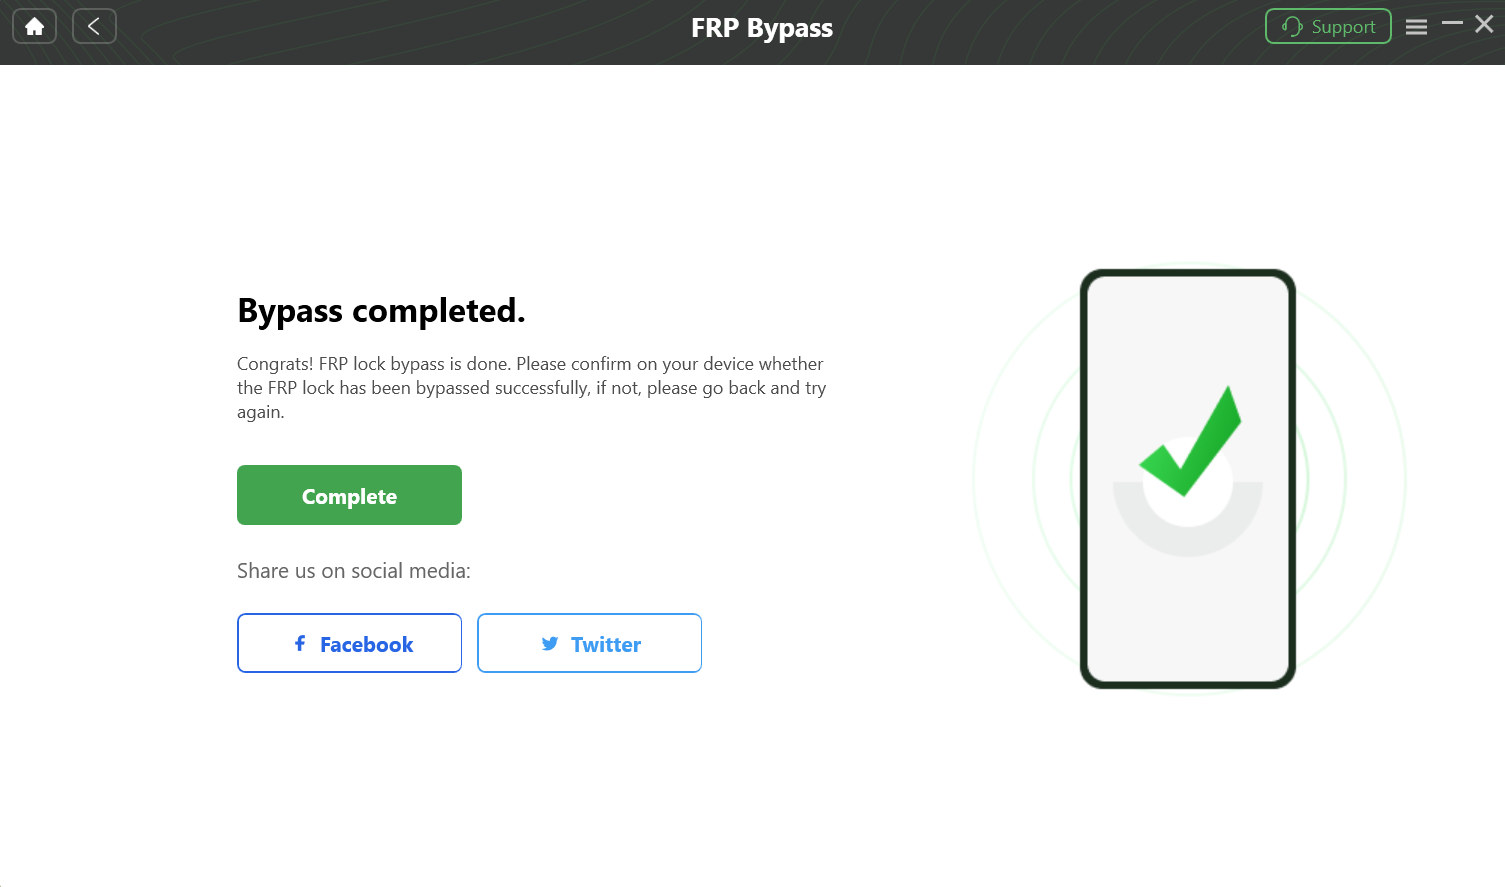
Complete the FRP Bypass Process
Troubleshooting Android 12 FRP Bypass Errors
No Android 12 FRP method works in every situation. Use the table below to understand the most common errors before switching tools.
| Problem | Possible Cause | What to Try |
*#0*# does nothing |
Your Samsung security patch may block test mode access | Use a PC-based method or Samsung-specific FRP guide |
| MTP not detected | Bad cable, wrong USB mode, or missing driver | Try another cable, another USB port, and install official USB drivers |
| ADB command fails | USB debugging was not enabled or cannot be authorized | Do not rely on ADB-only methods if debugging cannot be allowed |
| FRP APK will not install | Android 12 blocks unknown or outdated APK methods | Avoid unsafe APK mirrors and use another method |
| Phone boot loops after a failed attempt | The process was interrupted or incompatible | Enter recovery mode if possible and follow a model-specific recovery path |
| Google verification still appears | The method did not match your brand, patch, or device mode | Check brand-specific notes and choose a compatible route |
Brand-Specific FRP Bypass Notes for Android 12
Android 12 FRP behavior differs by brand. A method that works on Samsung may not work on Pixel, Xiaomi, OPPO, or OnePlus.
1. FRP Bypass Android 12 Samsung
Samsung devices may support Download Mode, test mode, or brand-specific PC tools depending on patch level. If you need a Samsung-focused route, start with this Samsung FRP lock bypass guide.
2. FRP Bypass Android 12 Pixel
Google Pixel devices often receive security updates quickly, so no-PC methods are usually unreliable. Start with Google account recovery first. If you are dealing with a specific Pixel model, compare model-specific options such as this Pixel 7a FRP bypass guide.
3. FRP Bypass MIUI 13 on Xiaomi, Redmi, and POCO
Xiaomi and Redmi devices may use Qualcomm or MediaTek chipsets, and the correct route can depend on Fastboot, recovery, or chipset mode. For Redmi users, see this Redmi Google FRP bypass guide.
4. FRP Bypass on OPPO and OnePlus
OPPO and OnePlus devices running ColorOS 12 or OxygenOS 12 usually block older no-PC tricks. The working route depends on chipset and device mode. For OPPO-specific steps, check this OPPO FRP bypass guide.
After the Bypass: Secure Your Device
After you regain access to your own Android 12 device, take a few minutes to secure it properly.
Step 1. Go to Settings > Accounts and remove any account that should no longer be on the phone.
Step 2. Add your own Google account and confirm that you can access Google services normally.
Step 3. Open Google Play Store and download a small app to confirm that Play services are working.
Step 4. Open Play Protect in the Play Store and make sure app scanning is enabled.
Step 5. Restart the phone once more. If it boots without asking for the previous Google account, setup is complete.
FAQs About FRP Bypass on Android 12
Q1. Does FRP bypass work on Android 12?
Yes, but the working method depends on brand, model, security patch, and available connection mode. Most updated Android 12 devices need a PC-based method rather than old no-PC tricks.
Q2. Why do most FRP bypass methods not work on Android 12?
Android 12 and later security patches block many older routes, including outdated TalkBack methods, browser shortcuts, APK installs, and emergency-call tricks.
Q3. Can I bypass FRP on Android 12 without a PC?
Only in limited cases. Some older Samsung or less-patched devices may still allow a no-PC route, but most updated Android 12 devices require a computer.
Q4. Does the Samsung *#0*# method still work on Android 12?
It may work on a small number of Samsung phones with older Android 12 patches. If the code does nothing, the method is likely blocked on your device.
Q5. Is FRP bypass APK safe for Android 12?
FRP APK files from unknown sources can be risky and often fail on Android 12. Avoid suspicious APK mirrors and scan any file before opening it.
Q6. What is the safest first step before bypassing FRP?
Try Google account recovery first. It is the official route and avoids tool, APK, and compatibility risks.
Q7. Why is my phone still asking for the previous Google account after bypass?
The method may not match your brand, patch level, or device mode. It can also mean the bypass process was incomplete or blocked by the firmware.
Q8. What should I do if all Android 12 FRP methods fail?
Stop repeating the same failed method. Confirm your brand, Android 12 patch level, and available PC connection mode, then choose a compatible guided or brand-specific route.
Conclusion
FRP bypass on Android 12 is still possible, but it is no longer simple. Old no-PC tricks and APK methods work only in limited cases, while updated Samsung, Pixel, Xiaomi, OPPO, and OnePlus devices often require brand-specific or PC-based steps.
Start with Google account recovery whenever possible. If recovery fails and you are the authorized owner, choose a method based on your brand, patch level, and available connection mode. If manual methods fail, a guided PC-based solution such as DroidKit may be a practical next step for supported devices.
Free Download * 100% Clean & Safe
More Related Articles

Roger Smith is a senior technical writer with years of experience in providing Android solutions. He loves to help users solve various problems such as Android unlock, Android data recovery, and Android system repair.
Product-related questions? Contact Our Support Team to Get Quick Solution >
