How to Bypass FRP Lock on Moto G Play (Android 10) [2026 Guide]
Stuck on the Google FRP lock screen on your Moto G Play? This guide provides a clear path forward. Always start with the safest option: official Google account recovery. If that fails, professional tools like DroidKit offer a reliable bypass for updated devices. We detail the steps, risks, and solutions, helping you choose the most effective way to safely unlock your phone.
It’s one of the most frustrating moments: you factory reset your Moto G Play, expecting a fresh start, only to hit the “Google Account Verification” wall. Whether you’ve forgotten your password or bought the phone secondhand, you’re locked out by Google’s Factory Reset Protection (FRP).
In this guide, we’ll show you how to bypass FRP lock on Moto G Play running Android 10 using several different methods. We’ll start with official solutions, then explore manual bypass tricks, and finally introduce professional FRP unlock tools that offer the highest success rate.
If you’re dealing with other Motorola devices, you may also want to check our complete Motorola FRP Bypass Guide.
For a broader overview of FRP unlocking across different Android devices, see the full Android FRP Bypass Guide.
Table of ContentsHide
Quick Answer: Moto G Play FRP Bypass
If your Moto G Play is stuck on the Google account verification screen, you can bypass the FRP lock using one of these methods:
• Recover the original Google account through Google Account Recovery
• Ask the previous owner to remove the device from their Google account
• Attempt manual bypass tricks like SIM PIN lock or accessibility loopholes
• Use a professional FRP bypass tool such as DroidKit
Manual tricks sometimes work on older firmware versions, but on updated Android systems they often fail. In those cases, a dedicated FRP unlocking tool becomes the most reliable solution.
If your device runs a different Android version, you may also want to read:
• FRP Bypass Android 11
• FRP Bypass Android 12
Part 1: Official Ways to Remove FRP Lock on Moto G Play
Before attempting any technical bypass, always start with the official and safest methods.
1. Recover Your Google Account
The FRP lock is tied to a specific Google account. Often, the easiest solution is to recover the account itself. On a computer or another device, go to the Google Account Recovery page. Follow the steps, providing your recovery phone number or email address. If you can reset your password, you can then use the new credentials to unlock your Moto G Play.
2. Contact the Previous Owner
If you bought the phone secondhand, the lock is tied to the previous owner’s account. Reach out to the seller and ask them to either provide the login details or, preferably, remove the device from their Google account remotely. They can do this by logging into their Google account, going to “Security,” finding the Moto G Play under “Your devices,” and selecting “Sign out.”
Part 2: The Risks of a Manual Bypass
Proceeding with a manual bypass involves overriding your phone’s built-in security. It’s crucial to understand the risks:
- Security Vulnerabilities: The methods described below exploit loopholes in the Android system. While this can grant you access, it may also leave your device vulnerable until you can properly secure it with a new account and run a software update.
- Data Loss: All bypass methods will result in the complete erasure of any data left on the phone.
- Potential for Bricking: Incorrectly performing steps, especially those involving Recovery Mode, carries a small risk of “bricking” your device, rendering it unusable.
- Warranty Void: Using third-party software to alter your phone’s OS may void your manufacturer’s warranty.
Disclaimer: This tutorial is for educational purposes to help you regain access to your device. Please ensure you are the legal owner.
Part 3: Manual Bypass Methods [Low Success Rate]
These methods exploit security loopholes that were present in older Android security patches. Google has since closed most of these, so their success is improbable on an updated phone. Consider them a free first attempt if you’re feeling adventurous.
Trick 1: The SIM PIN Lock Method
1. Prepare a SIM Card: Place your SIM card in a different, unlocked phone. Go to its security settings (usually Settings > Security > Set up SIM card lock) and enable the lock with a simple PIN like 1234.
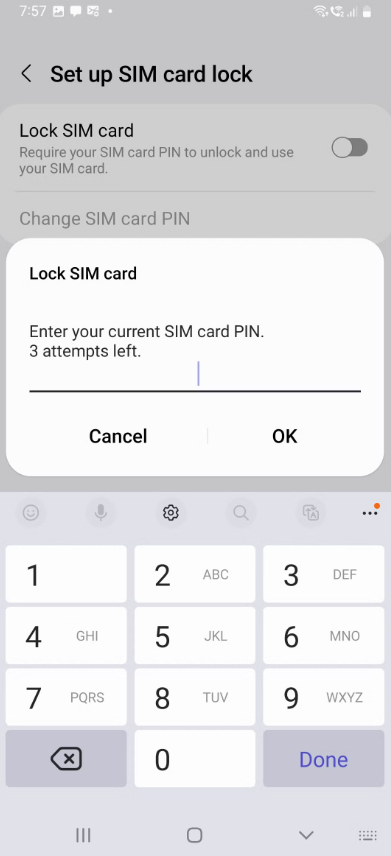
Set Up SIM Lock
2. Insert the SIM: Power on your FRP-locked Moto G Play and proceed to the Wi-Fi selection screen. Insert the PIN-locked SIM.
3. The Timing Trick: When the phone asks for the SIM PIN, enter it. The moment you tap the checkmark (✓), immediately press the Power button to turn the screen off. This timing is critical.
4. Access Notifications: Press the Power button again. If successful, you should be able to swipe down from the top to open the notification panel.
5. Enter Settings: Tap the Settings cog icon (⚙️).
6. Set a New Lock: In Settings, navigate to Security & location > Advanced > Screen pinning.
7. Enable and Create New PIN: Turn “Screen pinning” ON, then enable “Lock device when unpinning.” This will prompt you to set a new PIN or Pattern.
8. Restart and Bypass: Create the new PIN and restart your phone. At the Google verification screen, you should now have the option to use the PIN you just created to bypass the lock.
Trick 2: The Emergency Call & Accessibility Method
1. From the welcome screen, tap Emergency call.
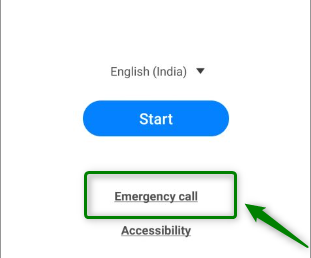
Tap Emergency call
2. At the top, tap Emergency information, then tap it again to open.
3. Tap the pencil (Edit) icon, then tap the “Name” field.
4. Tap the profile picture icon and select Choose an image.
5. This opens a file browser. Tap the three-line menu icon (hamburger menu).
6. Press and hold on the Photos or Drive app icon to open its “App Info” screen.
7. Tap Permissions, then the search icon. Search for “Settings” and tap it if it appears.
8. If you get into Settings, follow Steps 6-8 from the SIM PIN Lock method above.
Part 4: Reliable Professional FRP Unlock Tools
If manual tricks fail, a professional FRP unlocking tool is usually the fastest solution.
These tools are specifically designed to bypass Google verification safely.
If you want to compare more Motorola FRP unlock tools before choosing one, check our detailed Moto FRP Tool Guide.
Our Top Recommendation: DroidKit
DroidKit is a powerful Android toolkit designed to solve common Android system issues, including FRP bypass.
It provides a step-by-step process that simplifies unlocking even for beginners.
Pros
• High success rate
• Supports Android 6–13
• Beginner-friendly interface
• Includes features like Android Screen Unlock and system repair
Cons
• Requires a computer
• Paid software
Step-by-Step Guide to Using DroidKit:
1. Download and Install: Get DroidKit here and install it on your computer.
2. Select FRP Bypass: Launch the program and click on the FRP Bypass module.
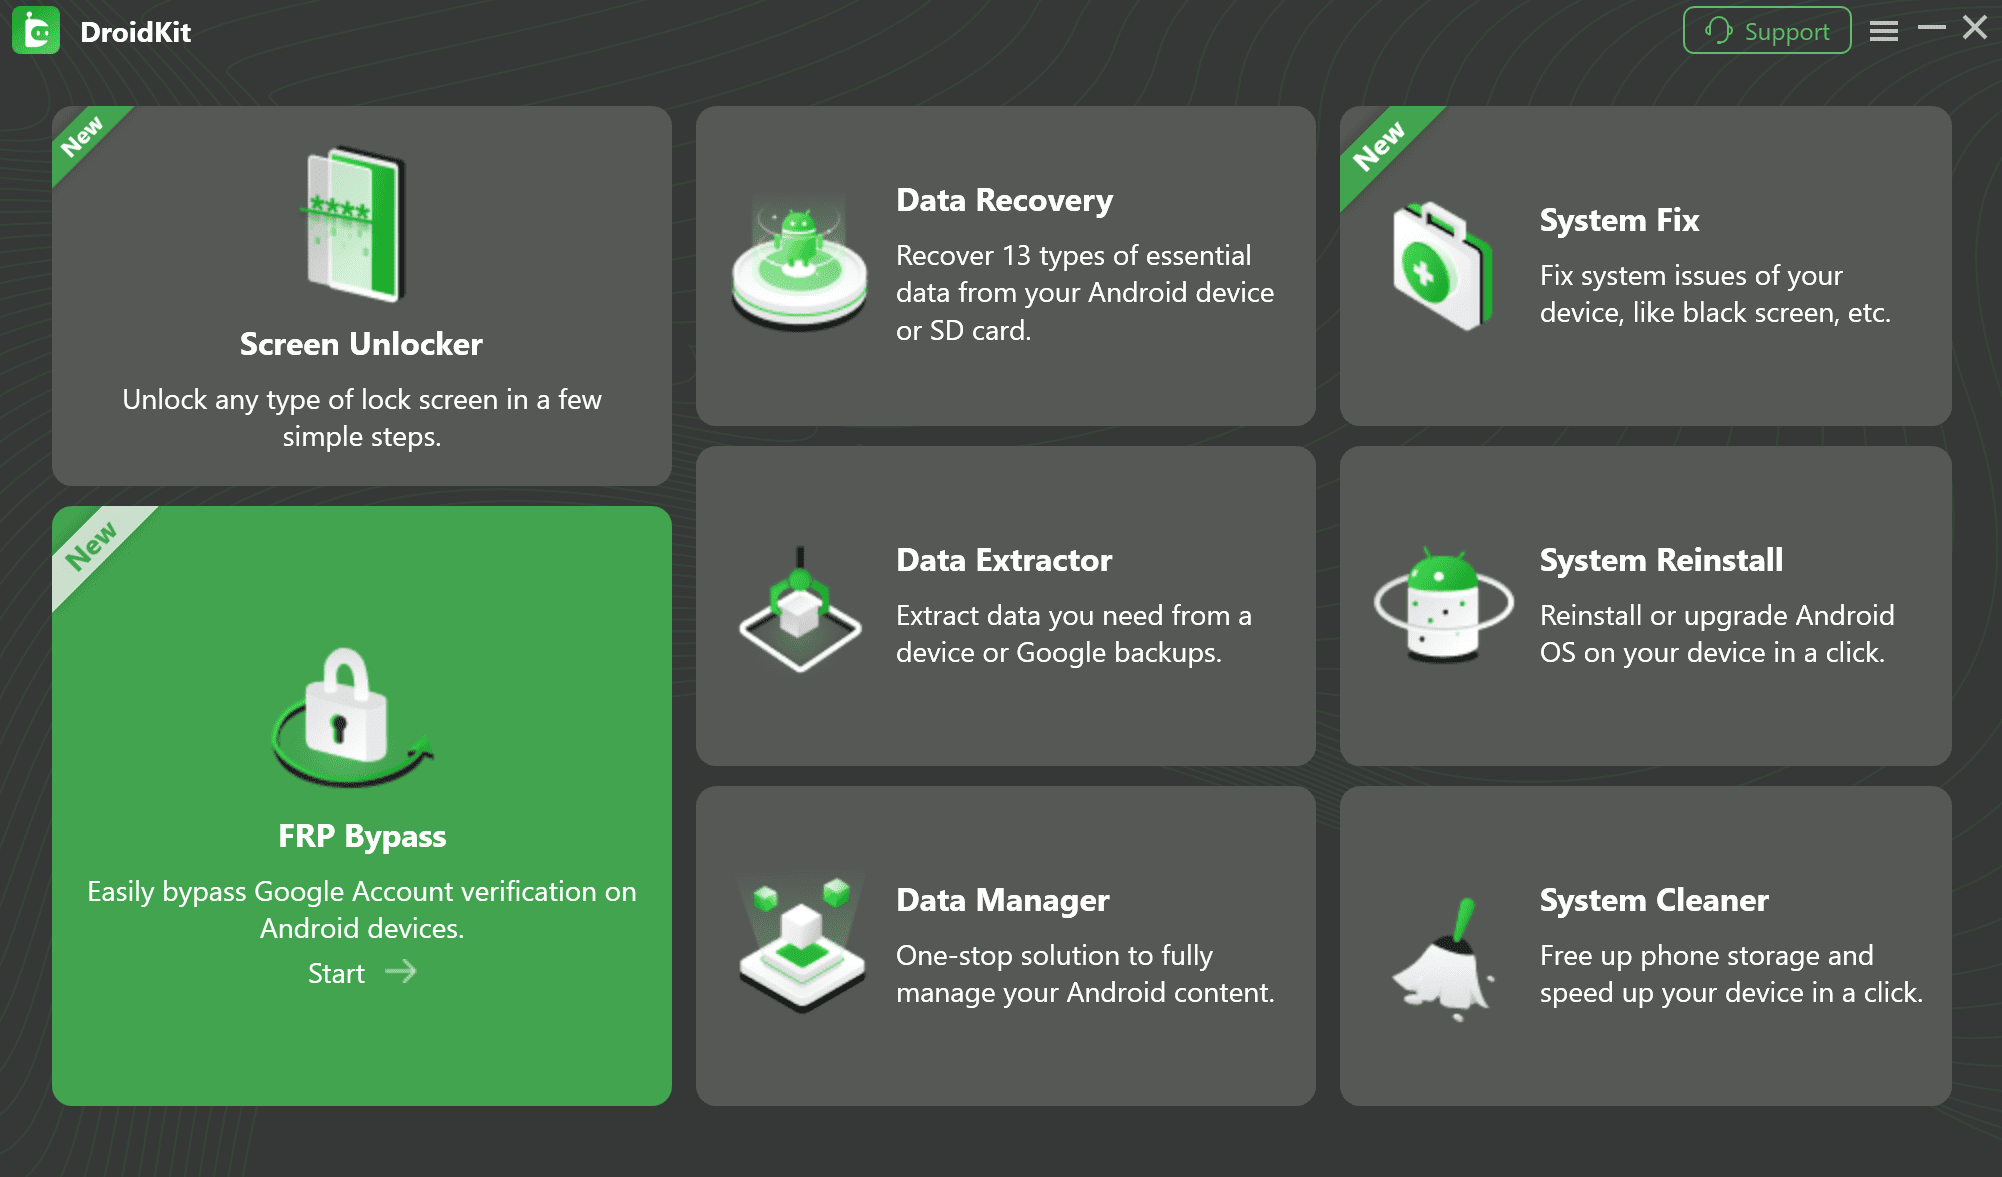
Select FRP Bypass
3. Connect Your Phone: Click Start and connect your Moto G Play to the computer with a quality USB cable.
4. Initiate Bypass: DroidKit will detect your device. Click Start to Bypass, and it will prepare the necessary configuration file.
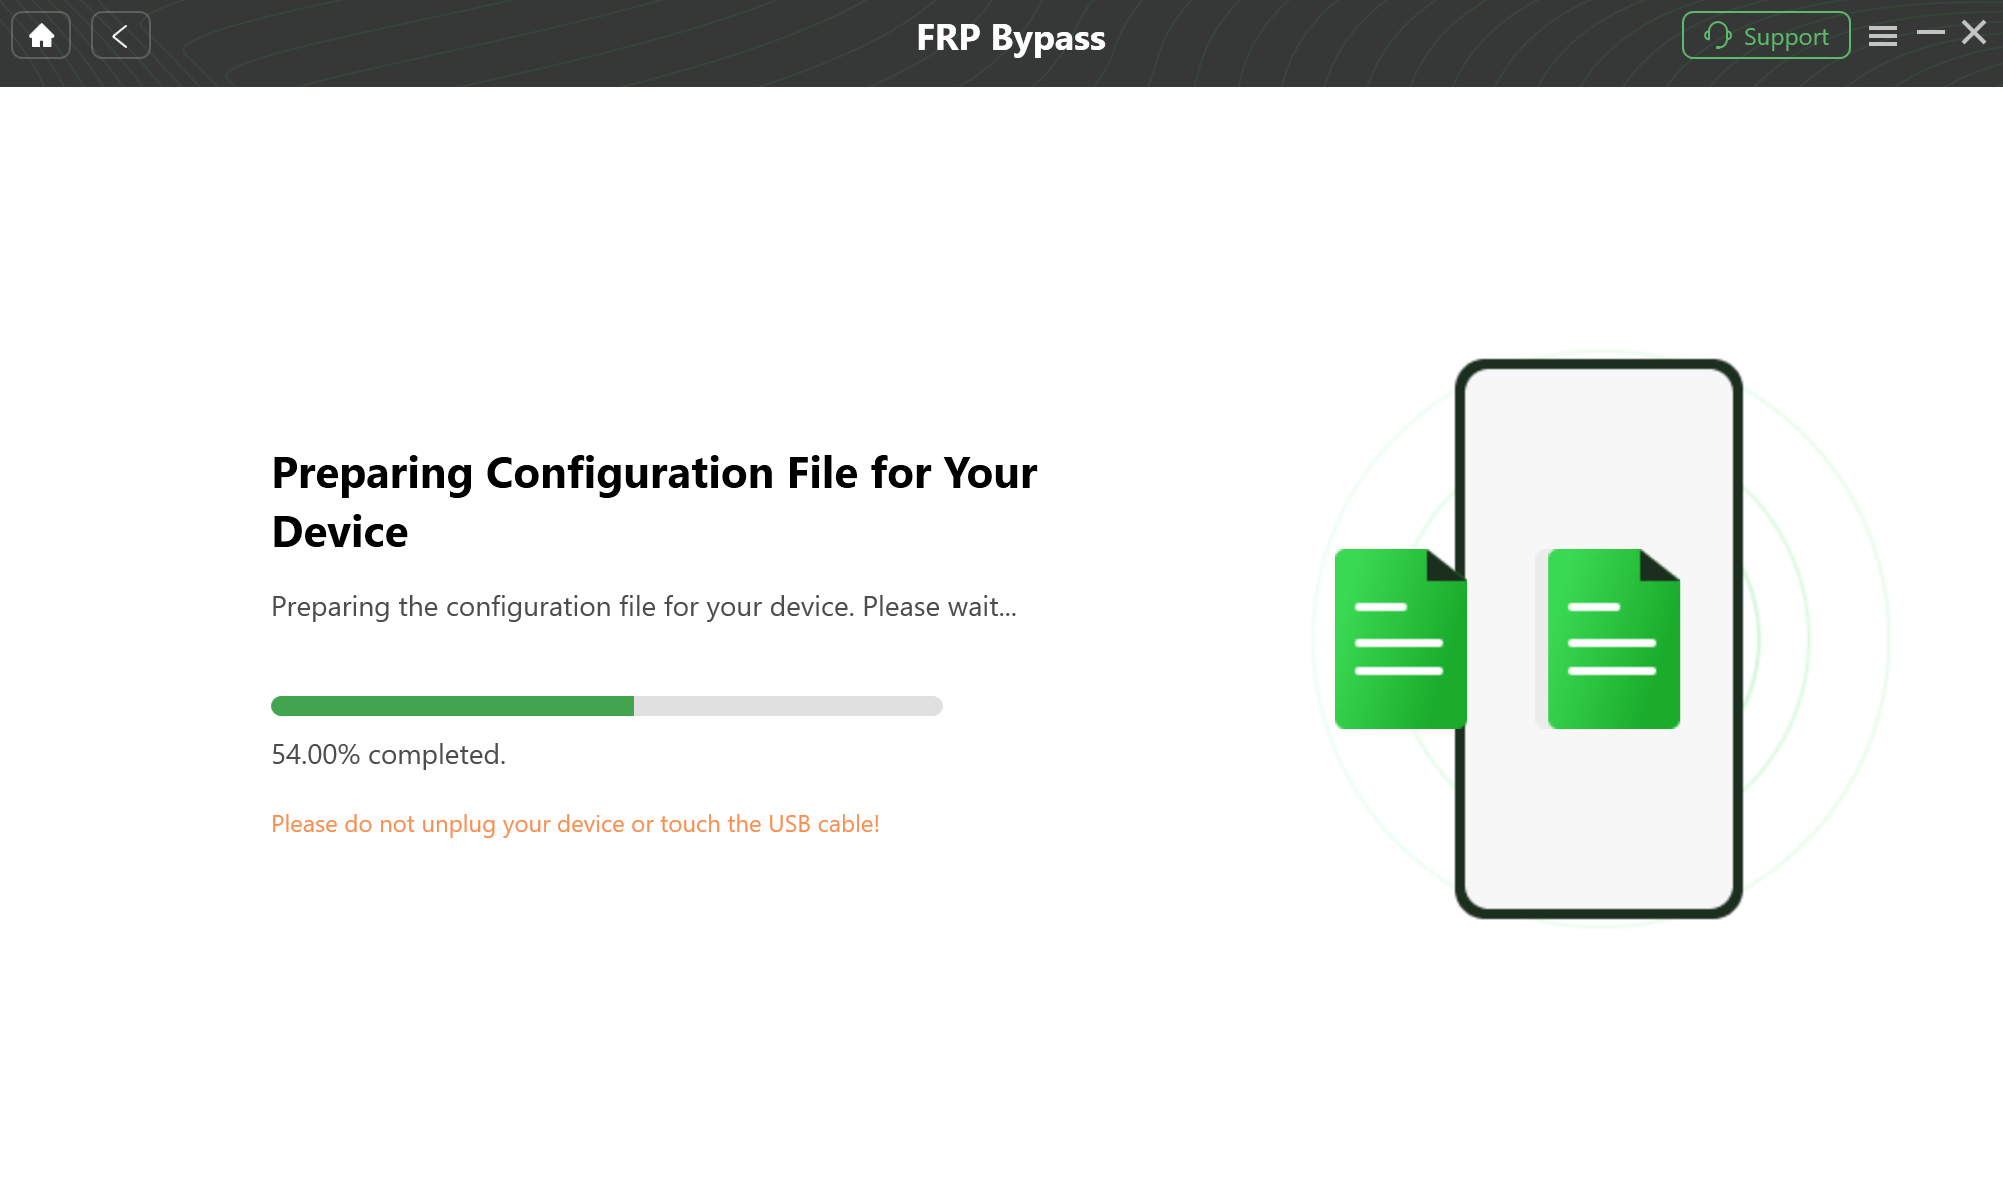
DroidKit Prepare the necessary Configuration File
5. Enter Recovery Mode: Follow the on-screen instructions precisely to put your Moto G Play into Recovery Mode. This typically involves:
- Powering off the phone.
- Holding Volume Down + Power button to enter the bootloader.
- Using Volume keys to select “Recovery mode” and Power to confirm.
6. Wipe Cache Partition: Once in the Android Recovery menu (you may need to press Power + Volume Up briefly at the Android robot screen), use the volume buttons to navigate to Wipe cache partition. Press Power to select it and confirm with “Yes.”
7. Complete the Process: After wiping the cache, select Reboot system now. As the phone restarts, DroidKit will complete the bypass on the computer. You will see a “Bypass Completed” message.
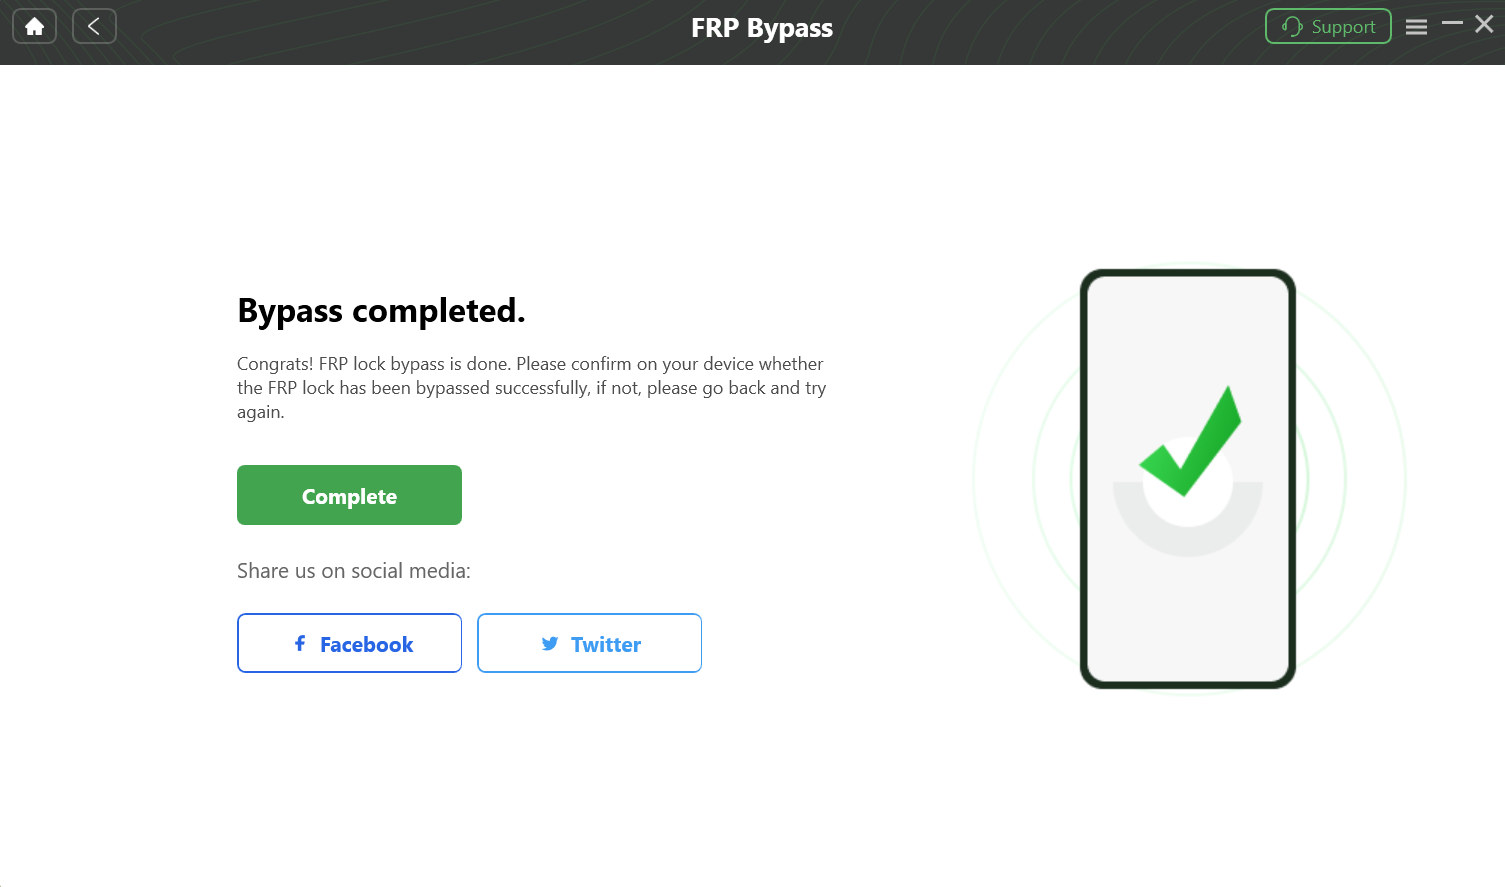
Complete the FRP Bypass Process
8. Set up Your Phone: Your Moto G Play will restart without the Google lock. You can now disconnect it and set it up as new.
An Alternative Option: Tenorshare 4uKey for Android
Tenorshare 4uKey is another Android unlock tool in the market that specializes in screen locks and FRP bypass.
- Pros: Also supports a wide range of devices, clear interface, well-known brand.
- Cons: The process can sometimes be more complex than DroidKit’s for specific models, also a premium tool.
Feature Comparison:
| Feature | Manual Methods | DroidKit | Tenorshare 4uKey |
| Success Rate | Very Low (Patch dependent) | High (For supported models) | High (For supported models) |
| Time Required | 30-60+ mins (with retries) | ~10-15 minutes | ~15-20 minutes |
| Difficulty | High (Requires timing/luck) | Easy (Guided) | Easy to Moderate |
| PC Required? | No | Yes | Yes |
| Best For | Old, un-updated devices | All users seeking reliability | Users wanting a strong alternative |
Part 5: How to Prevent FRP Lock in the Future
The best solution is prevention. To avoid this issue, always do the following before selling, giving away, or factory resetting your phone:
1. Go to Settings > Accounts.
2. Tap on your Google account.
3. Select Remove account and confirm.
4. Once all Google accounts are removed, you can safely perform a factory reset from the Settings menu without triggering the FRP lock.
Frequently Asked Questions (FAQ)
Can you bypass Moto G Play FRP without a PC?
Some manual tricks claim to bypass FRP without a computer, but they often rely on outdated vulnerabilities.
Professional tools usually provide a more reliable solution.
Which FRP tools support Motorola devices?
Popular tools include DroidKit and Tenorshare 4uKey. Both support many Motorola devices running Android 10 and newer.
Will another factory reset remove the FRP lock?
No. FRP protection remains active because it is linked to your Google account stored on Google servers.
Is FRP bypass legal?
Yes, bypassing FRP is legal if you are the rightful owner of the device.
Conclusion: Making an Informed Choice
Getting locked out of your Moto G Play can be frustrating, but several solutions are available.
Start with official Google account recovery whenever possible. If that fails, manual tricks may be worth trying, although their success rate is limited.
For the fastest, most reliable solution, professional tools like DroidKit streamline the process and help you regain access to your device quickly.
If you’re dealing with other Motorola devices, you may also find these guides helpful:
More Related Articles

Joy Taylor is a seasoned technical writer with over a decade of experience in mobile technology. At iMobie, she specializes in producing in-depth content on iOS data recovery, iPhone unlocking solutions, and iOS troubleshooting.
Product-related questions? Contact Our Support Team to Get Quick Solution >
