How to Recover Photos from Locked Android Phone?
Want to recover photos from a locked Android phone but don’t know how? Read on this guide to see how to get pictures off a locked Android phone with 2 proven ways.
Android Data Recovery Tips
Recover from Android Phone
- Top Android Data Recovery Software
- Recover Deleted Files on Android
- Recover Photos from Android Gallery
- Recover Blocked Messages on Android
- Recover Voicemails on Android
- Recover Phone Numbers on Android
- Recover Videos on Android
- Recover Audio Files from Android
- Recover Deleted Apps on Android
- Recover App Data on Android
- Restore Calendar on Android
- Contacts Disappeared from Android
iMobie DroidKit – Get Photos from Locked Android Phone
Free download iMobie DroidKit to unlock your phone to transfer photos and recover photos from a locked Android phone. You can also extract photos from Google backup and other data from Google account.
In order to prevent the data and privacy on the device from being snooped, everyone tends to set difficult passwords, PINs, and pattern locks. However, if you forget the password or your Android phone is damaged or unresponsive, you will be locked out of your device and unable to access the data on the phone. In this case, you may need to recover photos from a locked/destroyed Android phone.
So, how to unlock your phone to transfer photos, and how to transfer files from a locked Android phone to a computer? In the following sections, we will demonstrate in detail how to unlock your phone to transfer photos to a computer or recover photos from a locked Android phone. Keep reading and learn how to get photos from a locked Android phone.
You May Need: How to Unlock Locked Android Phone with or without Losing Data >
Method 1. Use Google Photos
If you have synced your Android photos with Google Photos, you can get pictures from a locked Android with the Google Photos app directly. Here’s how:
Step 1. Open the Google Photos app on another mobile device.
Step 2. Log in to your Google account.
Step 3. It will start syncing your photos. You can wait for the process to finish.
After that, you can access all photos from the locked Android phone. You can also use the Google Photos website on a desktop.
This method is available for those who will not use the locked phone any more. If you want to get photos off the device itself. You should unlock it before recovering.
Method 2. Unlock Android & Recover Photos from the Locked Phone
If your Android phone is locked due to a forgotten password, you can first unlock it with iMobie DroidKit. It’s a powerful Android screen unlocker that helps remove all kinds of locks, including password, PIN, and pattern. The sophisticated algorithms and powerful features make DroidKit an ideal choice for unlocking any Android device, providing users with a highly reliable and convenient unlocking experience.
- You can remove any password types, including PIN, password, pattern, fingerprint ID, face recognition, etc.
- You can unlock any phone’s screen lock, including Samsung, Huawei, Google, LG, Motorola, etc.
- You can fully access your locked device again in minutes.
- Explore more about DroidKit functions like extracting photos from Google account, etc.
Now, download iMobie DroidKit on your Mac/PC computer, and follow us to get photos off a locked Samsung phone.
Free Download * 100% Clean & Safe
1. Unlock Android Phone to Transfer Photos
Step 1. Install iMobie DroidKit on your computer > Run it > Click on Screen Unlocker.
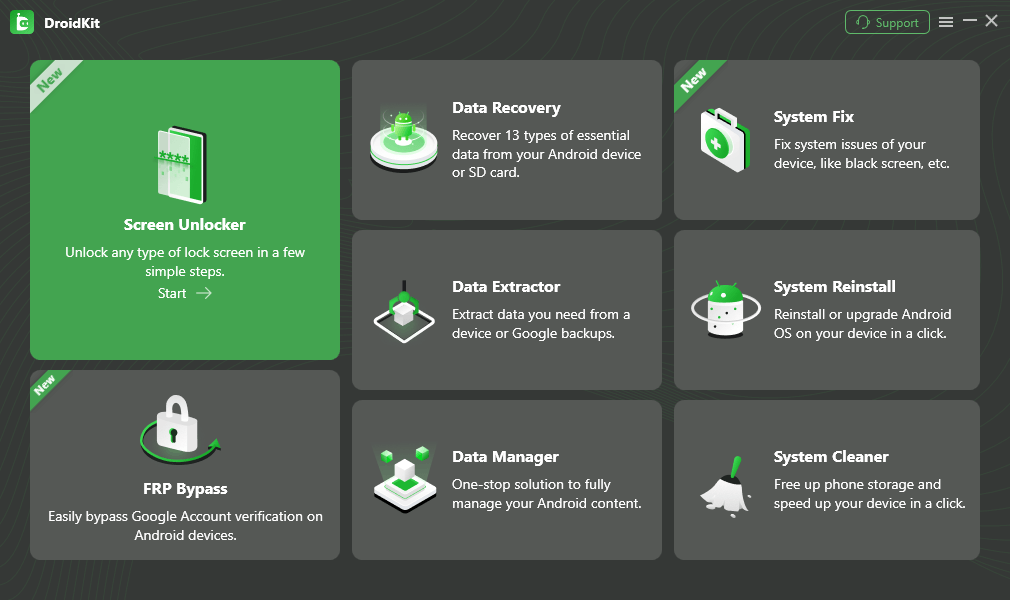
Select Screen Unlocker Mode
Step 2. Connect your Android phone to the computer with a USB cable. After it recognises your Android phone, click the Start button to unlock screen.
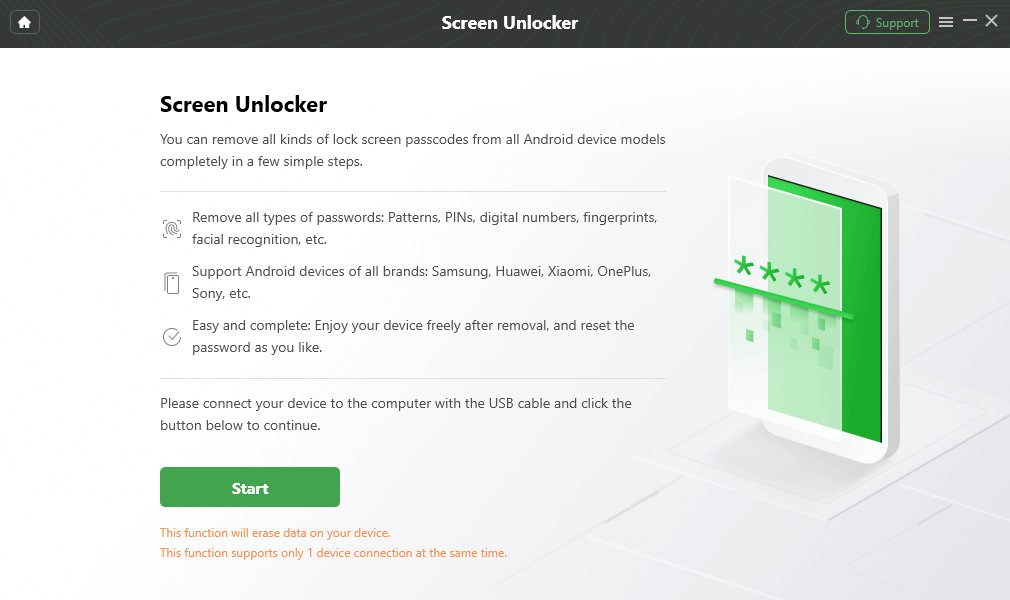
Connect your Locked Phone
Step 3. Wait for DroidKit to prepare the configuration file for your device > Tap on Remove Now.
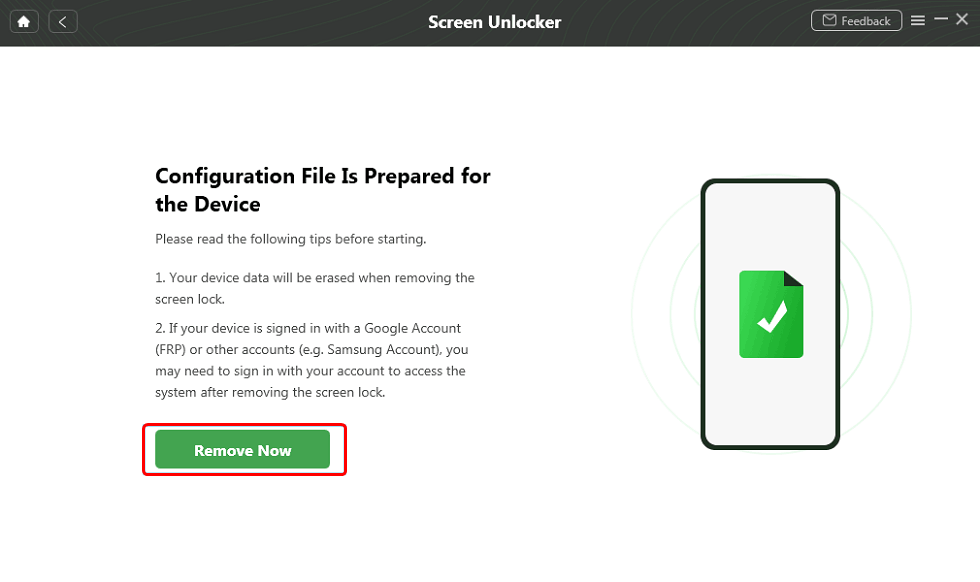
Click Remove Now Button
Step 4. Select your device brand and continue. Then, follow the steps on the screen to remove the screen password.
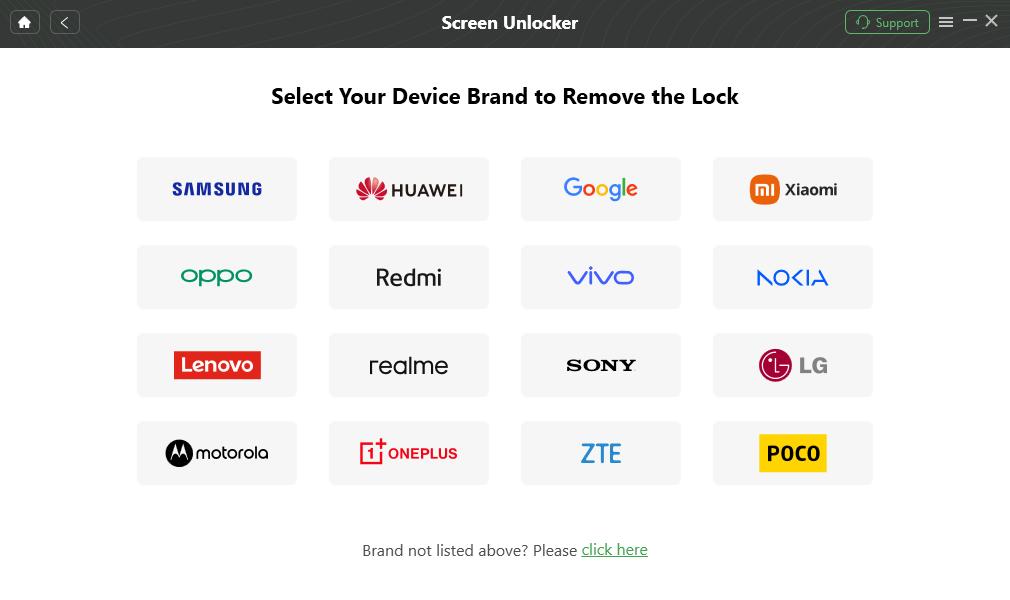
Confirm your Device Brand and Continue
Step 5. After the screen lock removal process finishes, you will get the Screen Lock Removal Completed page and you can access your Android device as a brand-new device.
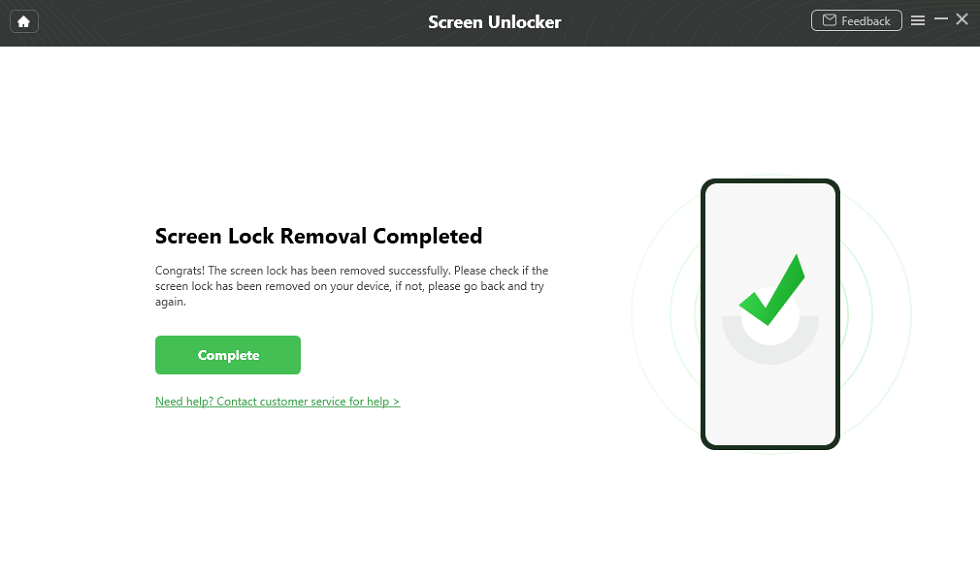
Lock Screen Removal Completed
2. Recover Photos from Google Photos
After unlocking your Android phone without password, you can use the steps in Method 1 to recover photos from the Google Photos app.
For those who want to recover deleted photos in Google Photos, you should make the recovery within 60 days, or the photos will be deleted permanently.
3. How to Unlock Locked Photos on Android
After you get into the locked device, you can also unlock locked photos if needed.
To unlock Gallery Lock pictures: Open Gallery Lock > Click Settings > Tap on Search and Recover lost files. Wait for the process to finish, and check if the locked or hidden photos get unlocked.
Method 3. Unlock Android with ADB Command & Recover Photos from It
ADB (Android Debug Bridge) command is a powerful tool that allows users to interact and control Android devices in many ways. It can directly access the device’s system files and settings through a USB connection without a lot of operations on the device.
1. Unlock your phone with ADB commands
Step 1: Install the ADB tool
1. Download and install the ADB tool: Download and install the ADB tool (Android SDK Platform Tools) from the Android Developer website.
2. Enable developer options and USB debugging: If you haven’t enabled it before, you can find “About Phone” in the phone settings and click “Version Number” seven times in a row to enable developer options. Then, enable “USB Debugging” in “Developer Options”.
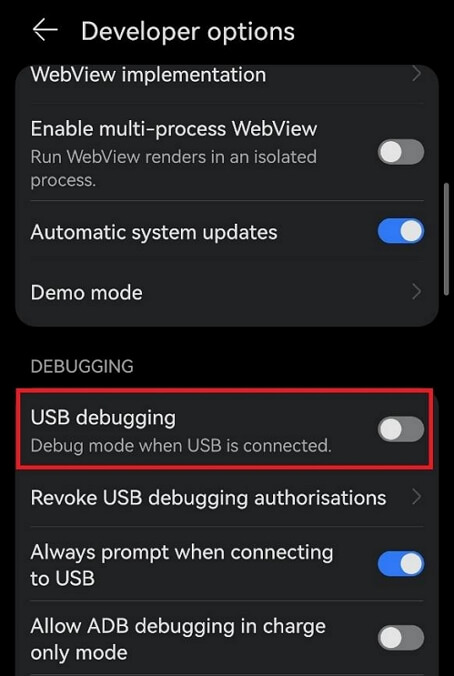
Enable USB Debugging on Android
Step 2: Connect your phone to your computer
1. Connect your phone via USB: Connect your phone to your computer using a USB data cable.
2. Open a command line window: On Windows, you can press Win + R, enter cmd and press Enter; on Mac or Linux, open the terminal.
Step 3: Unlock your phone with the ADB command
1. Check the device connection status: Enter the following command in the command line window to make sure the device is connected correctly:
adb devices
If the device is connected, you will see the device serial number.
2. Enter the ADB shell on your phone: Enter the following command:
adb shell
3. Unlock your phone:
Enter the following command to clear the lock screen password (Note: This may delete the lock screen password, but will not delete the data on the phone):
adb shell rm /data/system/gesture.key
or
adb shell rm /data/system/gesture.key
4. Restart your phone:
Enter the following command to restart your phone:
adb reboot
Now, the phone should be unlocked and ready for entry.
2. Steps to Recover Photos from Locked Android Phone
Step 1: Connect to PC
Connect your phone via USB again: Make sure your phone is unlocked and connected to PC.
Step 2: Export photos using ADB command
1. Create a directory to save the photos: Create a directory in the command line window to save the exported photos:
mkdir ~/RecoveredPhotos
2. Export photos to this directory: Use the following command to export photos from your phone to your computer:
adb pull /sdcard/DCIM/Camera ~/RecoveredPhotos
3. This will copy the photos in the phone’s photo album to the RecoveredPhotos directory on your computer.
With the above steps, you can use ADB commands to unlock a locked Android phone and export the photos to your computer for recovery after unlocking. This method is particularly useful when you cannot unlock your phone by conventional means, but please note that before using ADB commands, make sure that the phone’s USB debugging is enabled and back up important data to prevent loss.
Method 4. Extract Photos from Google Account on Locked Android
Besides the screen unlock feature, iMobie DroidKit also supports extracting photos from the Google account on a locked Android phone. If you have enabled the backup and restore feature on the device, you can follow the steps below to get photos off a locked Android.
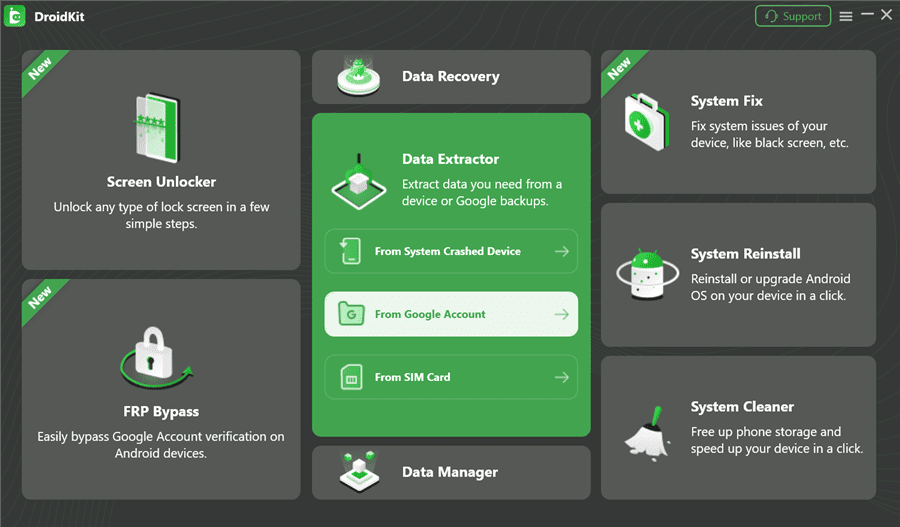
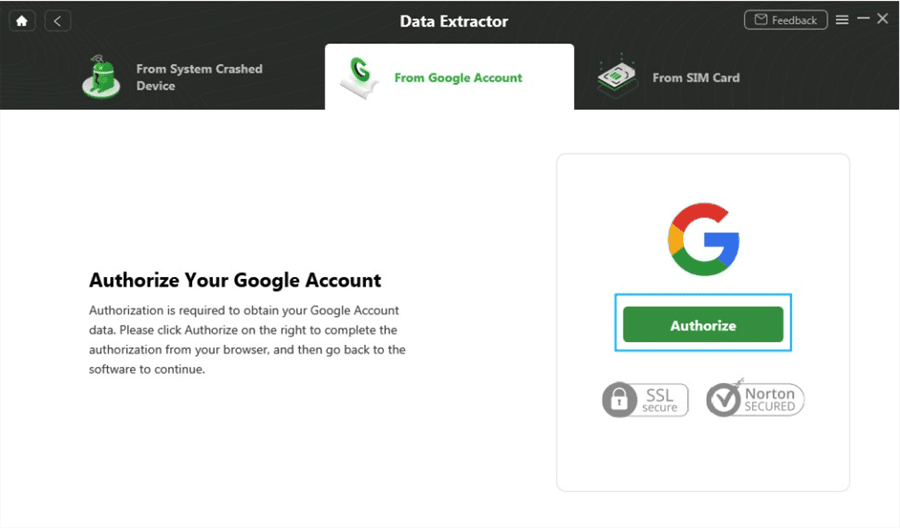
Step 1. Launch iMobie DroidKit and choose the From Google Account option under Data Extractor.
Step 2. Select Photos in Google Account.
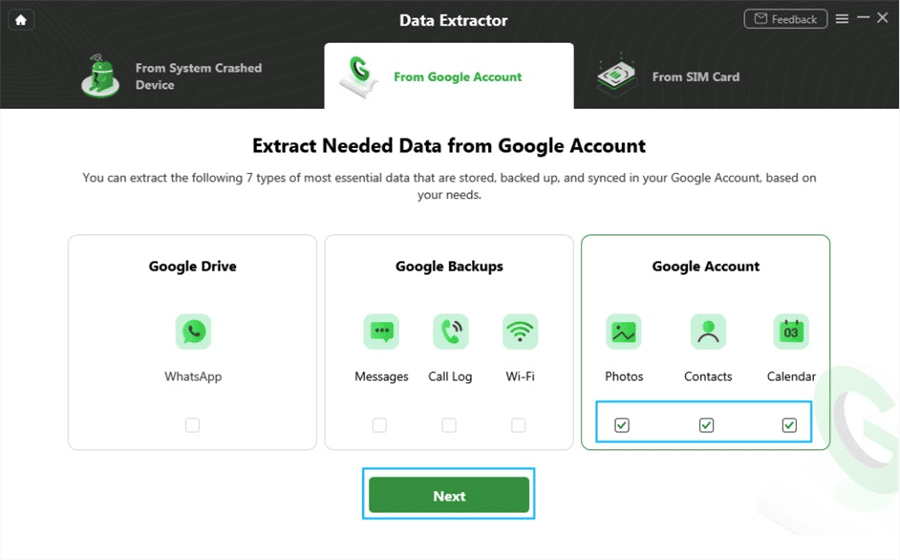
Step 3. Authorise your Google account and click next.
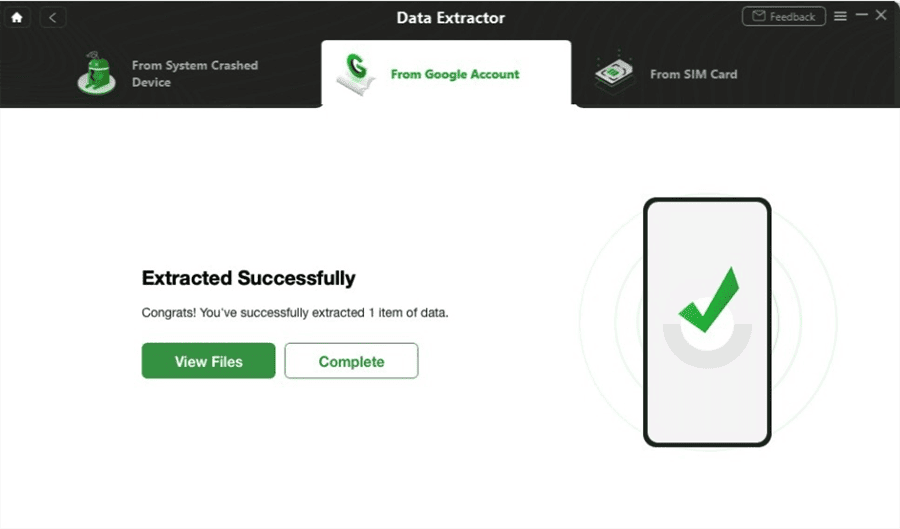
Step 4. Wait for DroidKit to scan your Google account. Then choose the photos you want to extract to your PC.
Bonus Tip: How to Recover Photos from Broken Android Phone
Many Android users often complain that their phones are broken without reason so that they have no way to extract important data on their Android phones. If you are encountering such a problem and don’t know how to get photos from locked Android phone. Don’t worry, iMobie DroidKit also provides a function for extracting broken Android data, which enables you to recover important data from a system-crashed Samsung device. For example, you can get photos, videos, messages, contacts, WhatsApp data, etc.
Here are the detailed steps to get pictures off a broken Android and transfer the photos to a computer:
Free Download * 100% Clean & Safe
Step 1. Download and install the latest version of iMobie DroidKit on your computer. Launch it and select the Extract Needed Data mode from the System Crashed Device option.
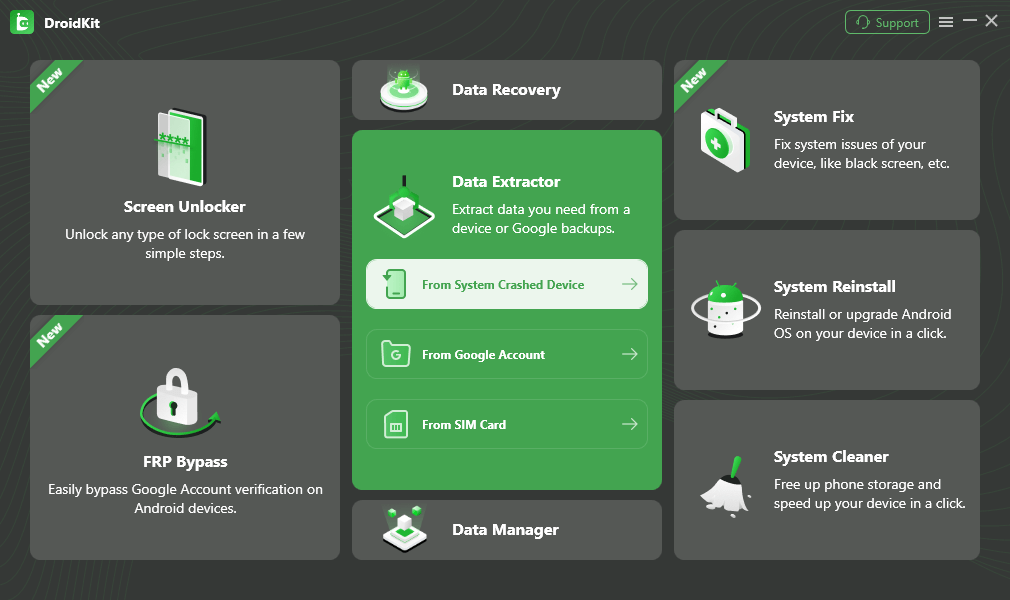
Select Extract from System Crashed Device
Step 2. Connect your Android phone to the computer with a USB cable > As you can see DroidKit can extract 13 types of data, check Photos and Start.
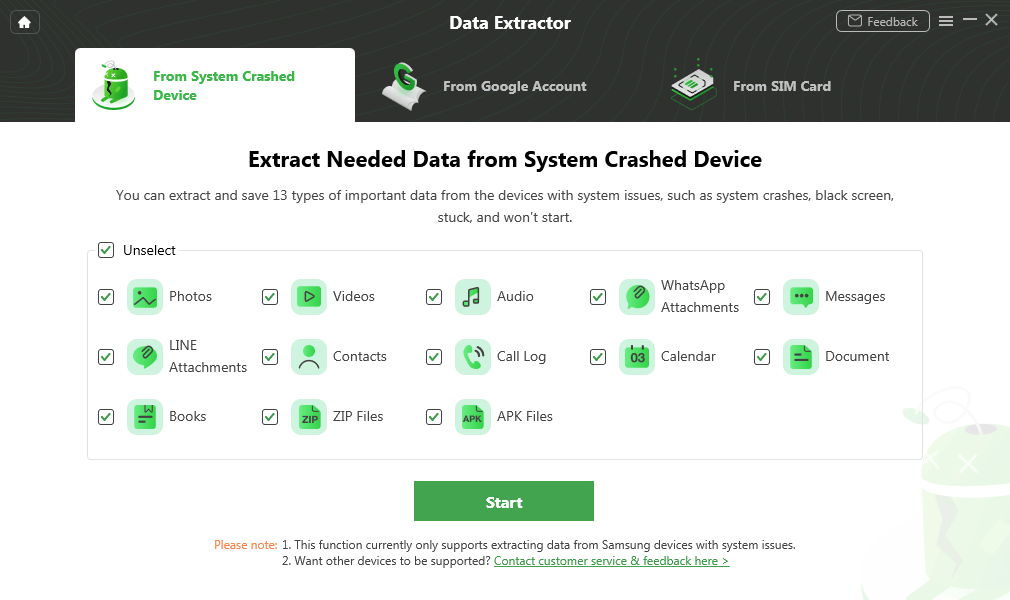
Select Photos and Start
Step 3. Then, please follow the instructions to put your Android phone into recovery mode > Click on the Next button. After that, DroidKit will ask you enter the PDA code of your Android Device. Just follow the on-screen instructions.
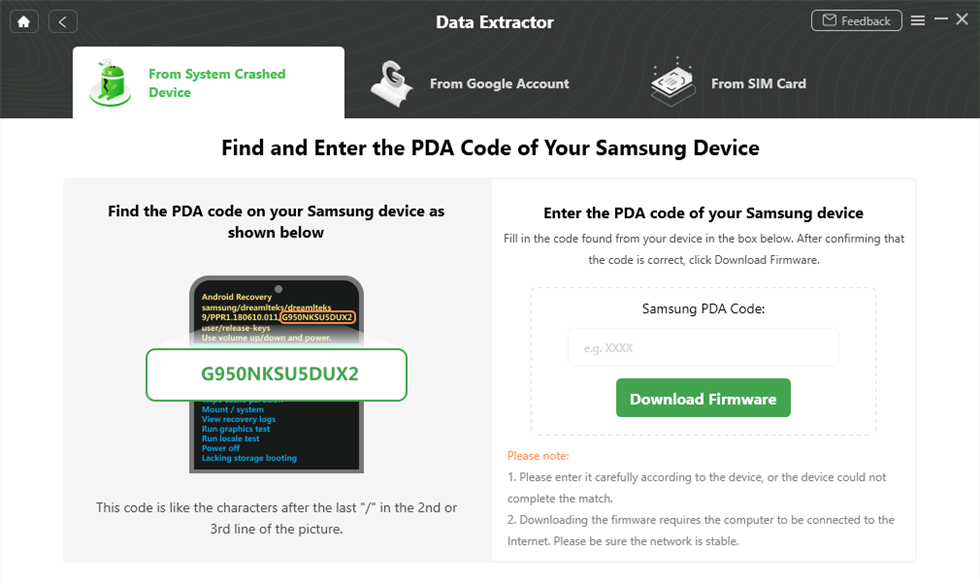
Find and Enter PDA Code
Step 4. Click the Download Firmware button. After downloading the firmware, you can start scanning the data on your phone by tapping on the Scan Now button > Then your phone will be detected by the software, and please click on the Next button.
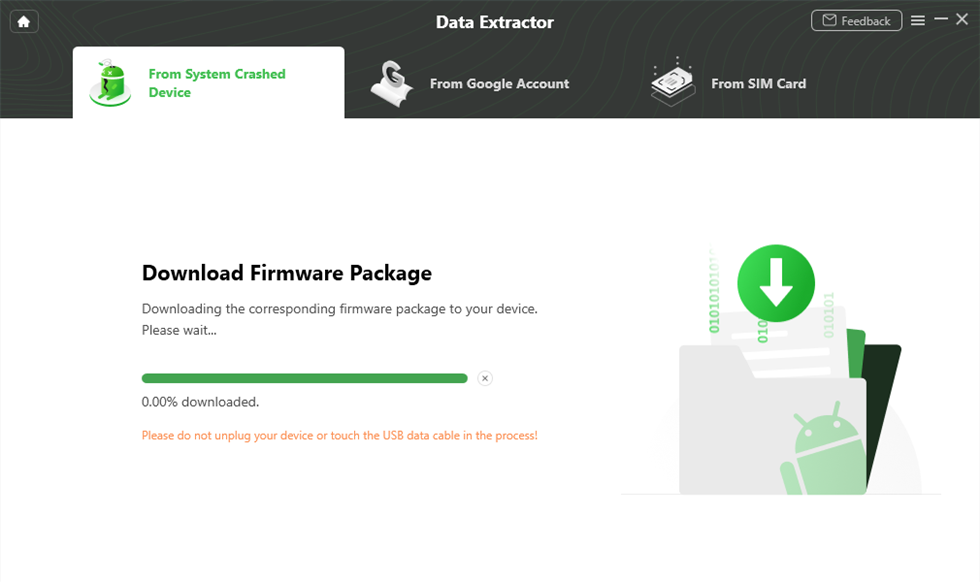
Download Firmware
Step 5. The software will scan the existing and deleted data from your Android device quickly > you can view them and choose the pictures that you want to extract by tapping on the To Device or To PC button. Then you can successfully get pictures off the phone with a black screen.
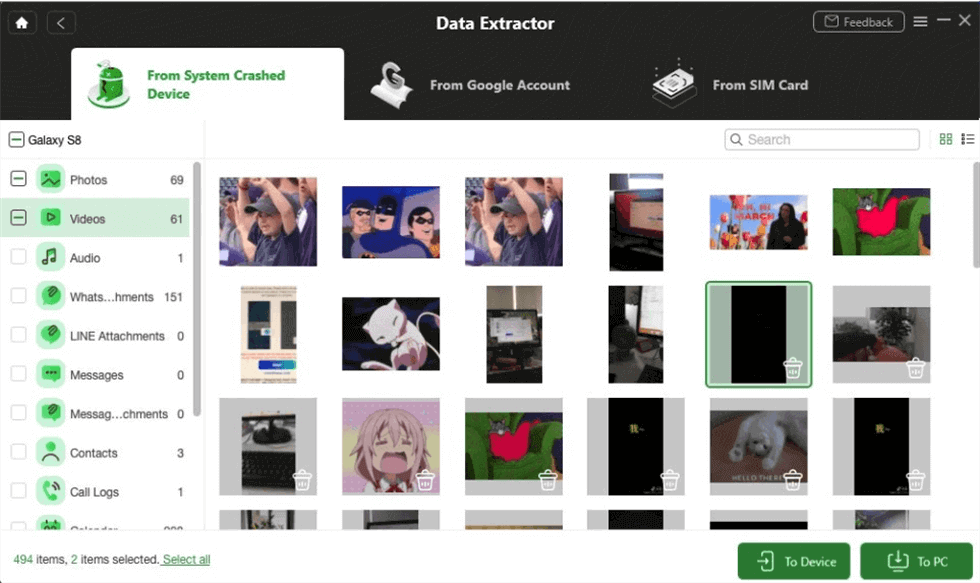
Select the Data to Recover from Crashed Phone
FAQs About Getting Photos Off a Locked Android
1. Can I recover data from a locked Android phone?
Yes, you can recover data from a locked Android phone with Google backup as long as you have enabled the backup feature before locking.
2. How to get pictures off a broken phone that won’t turn on Android?
If you have synced photos to Google Photos, you can log in to your Google account in the Google Photos app or use the website to get pictures from a broken Android. You can also use DroidKit to recover photos from system system-crashed device.
3. How to extract data from a dead phone?
To extract data from a dead phone, you can check the Google Drive, SD card, or use a third-party data recovery tool like iMobie DroidKit for this aim.
The Bottom Line
In this article, we have introduced 4 ways to get photos from locked Android phones. Each method comes with its benefits and shortcomings. Using Google Photos sync is straightforward and you can choose to get the pictures on any device. You can also use iMobie DroidKit to unlock your locked Android first, then recover photos from Google Photos or extract them from your Google account. Hope this article helps and get your photos off a locked Android without effort.
iMobie DroidKit — Recover Photos from Locked Android Phone
- Remove all types of lock screens on Android devices without password.
- Safely fix system issues on Samsung, Xiaomi, Redmi, POCO devices.
- Recover lost photos, WhatsApp chats, messages, and more without root.
Free Download100% Clean & Safe
Free Download100% Clean & Safe
Free Download * 100% Clean & Safe

Joy Taylor is a seasoned technical writer with over a decade of experience in mobile technology. At iMobie, she specializes in producing in-depth content on iOS data recovery, iPhone unlocking solutions, and iOS troubleshooting.
Product-related questions? Contact Our Support Team to Get Quick Solution >
