How to Recover Photos from Locked Android Phone?
Want to recover photos from a locked Android phone but don’t know how? Read on this guide to see how to get pictures off a locked Android phone with 2 proven ways.
Quick Answer: How to Unlock a Phone to Transfer Photos?
If your Android phone is locked, do not reset the device or remove the screen lock before checking whether doing so will erase your data. If the photos were backed up to Google Photos, you may be able to download them from another device without unlocking the phone at all.
If the photos exist only in the phone’s internal storage, the situation is more difficult. Modern Android devices protect user data with encryption, so simply connecting a locked phone to a computer normally does not give you access to its photos. Your options depend on the phone model, Android version, whether USB debugging was enabled and authorized before the phone was locked, and whether the photos are stored internally, on an SD card, or in a cloud backup.
Before You Try: Where Are Your Photos Stored?
The safest way to get pictures off a locked Android phone depends on where the photos are stored. Check the possibilities below before attempting to remove the screen lock.
| Photo Location / Situation | What to Try First | Unlock Required? | Main Limitation |
| Backed up to Google Photos | Sign in to Google Photos from another phone or computer | No | Only previously backed-up photos are available |
| Stored on a removable SD card | Remove the card and read it with a compatible card reader | Usually no | Does not help with photos stored in internal memory |
| Stored only in locked internal storage | Check whether the phone can be safely unlocked or accessed | Usually yes | Modern Android encryption restricts access while locked |
| USB debugging was enabled and this computer was already authorized | Check whether ADB can still see the device | Depends | ADB is not a universal lock-screen bypass |
| Samsung phone is broken or cannot boot normally | Check model-specific broken-device extraction options | Depends | Compatibility varies by model and device condition |
Important: If the photos are important, avoid factory resetting, flashing, or starting a screen-lock removal process until you understand whether it will erase the device. These actions can remove the local photos you are trying to save.
Recover Photos from Locked Android Phone via Lock Screen Removal
If your photos exist only in internal storage, you may think about removing the forgotten PIN, password, or pattern first and then transferring the photos to a computer. However, this approach has an important limitation: screen-lock removal can erase user data on many Android devices.
Therefore, if your main goal is to preserve the photos currently stored on the phone, check Google Photos, an SD card, and any existing backup before attempting lock removal.
Data-loss warning: DroidKit’s current screen-unlock workflow can erase device data on most Android devices. Do not use a data-erasing unlock process as the first step if the only copy of your photos is stored inside the locked phone.
1. Unlock Android Phone When You Accept the Data-Erasure Risk
If you need to regain access to the Android device itself and have already backed up the important photos—or you understand that the unlocking process may erase the device—you can check a screen-unlock tool such as DroidKit.
DroidKit provides a Screen Unlocker for supported Android phones and tablets. Compatibility and the exact workflow vary by manufacturer and device model, so confirm your device before starting.
Step 1. Install DroidKit on your computer, launch it, and select Screen Unlocker.
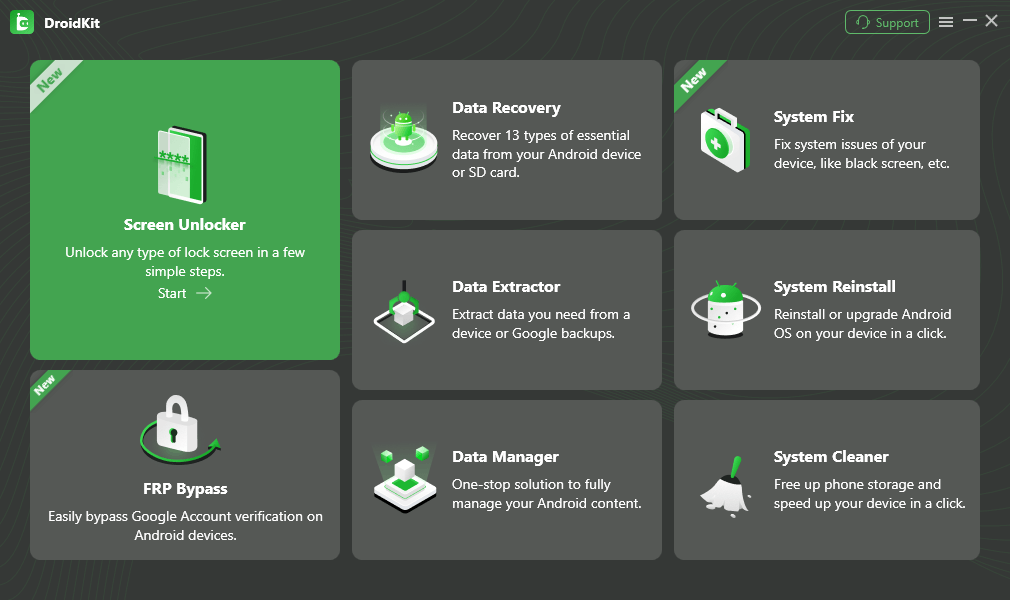
Select Screen Unlocker
Step 2. Connect the locked Android phone to the computer with a compatible USB cable. After DroidKit recognizes the device, follow the on-screen instructions.
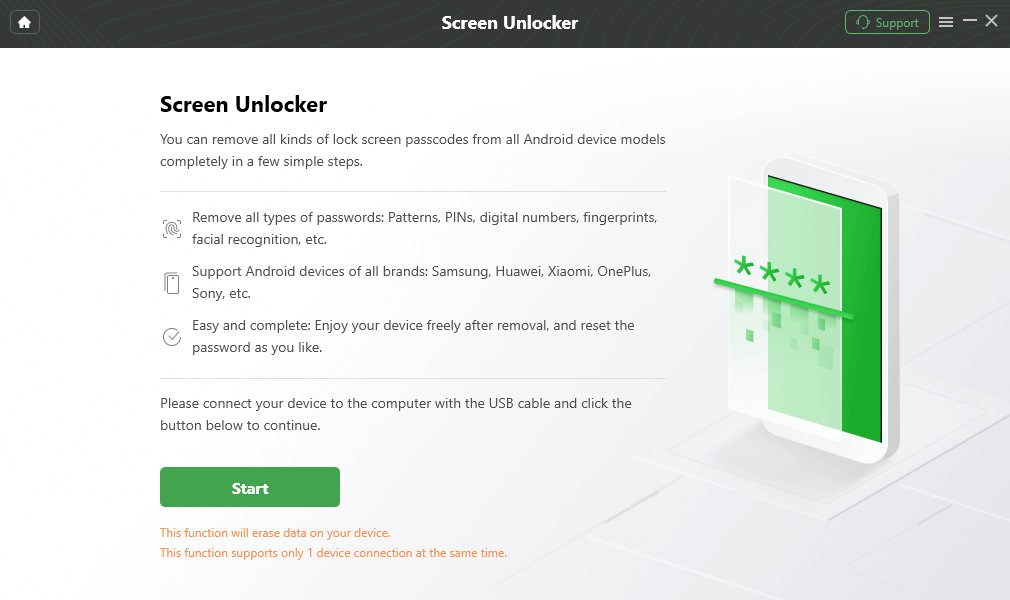
Connect the locked Android phone
Step 3. Wait for DroidKit to prepare the required configuration for the detected device. Review the instructions and select Remove Now only after understanding the data-erasure warning.
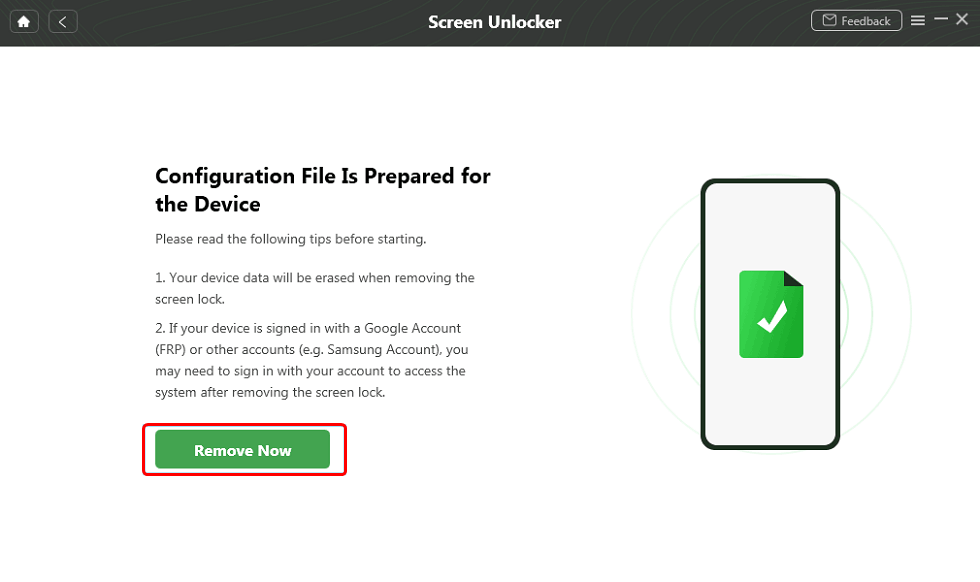
Start the supported screen-lock removal process
Step 4. Select the correct device brand and follow the device-specific instructions shown by the software.
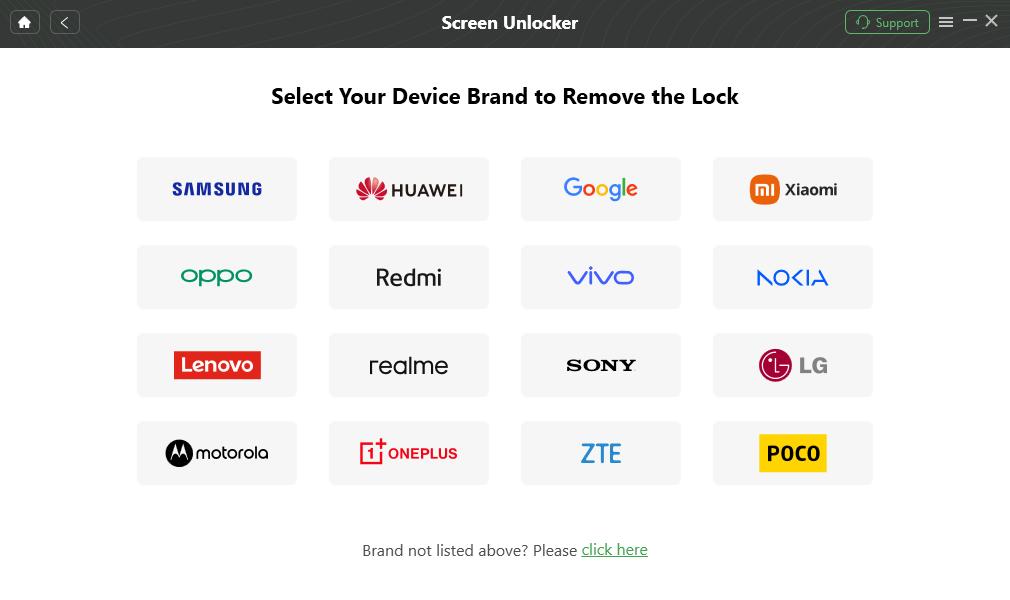
Confirm the device brand
Step 5. Wait for the process to complete. If the method used for your device erases the phone, locally stored photos that were not backed up will not remain available for transfer afterward.
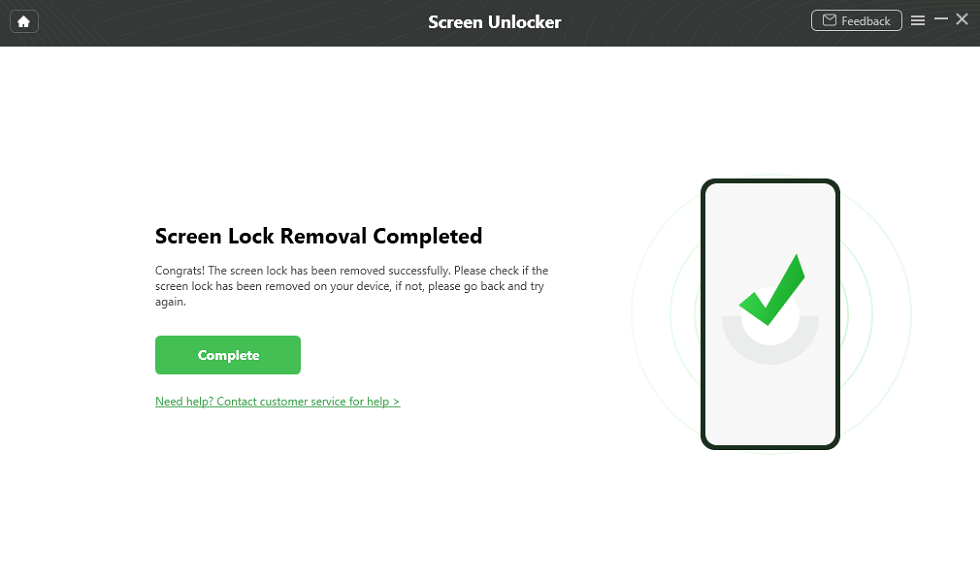
Screen-lock removal completed
2. Check Google Photos Before Unlocking the Phone
If Google Photos backup was enabled before the phone became locked, this is usually the safest place to check first because you do not need to unlock or modify the phone.
- On a computer or another phone, open Google Photos.
- Sign in with the same Google Account that was used on the locked Android phone.
- Check the main Photos library for the pictures you need.
- If you are looking for deleted photos, open Trash and check whether they are still recoverable.
- Select the available photos and download or restore them as needed.
Google Photos Trash: Backed-up photos and videos normally remain in Trash for 60 days. Photos and videos that were not backed up generally remain there for 30 days. Permanently deleted items cannot be restored from Google Photos.
3. Check a Removable SD Card
If your Android phone uses a removable microSD card and the camera was configured to save photos there, you may be able to access those pictures without unlocking the phone.
- Power off the phone if necessary.
- Remove the microSD card.
- Insert it into a compatible card reader.
- Connect the reader to your computer.
- Check folders such as DCIM or Pictures and copy the available photos to the computer.
This method only helps with files actually stored on removable storage. It cannot expose photos stored in the phone’s encrypted internal storage.
Can You Use ADB to Transfer Photos from a Locked Android Phone?
ADB can be useful in a limited situation, but it is not a universal way to bypass a modern Android lock screen. In practice, USB debugging generally needs to have been enabled before the phone became inaccessible, and the computer may also need to have been authorized previously.
If USB debugging was never enabled, you normally cannot solve that problem by installing ADB on the computer after the phone is already locked, because enabling debugging requires access to Android’s Developer options.
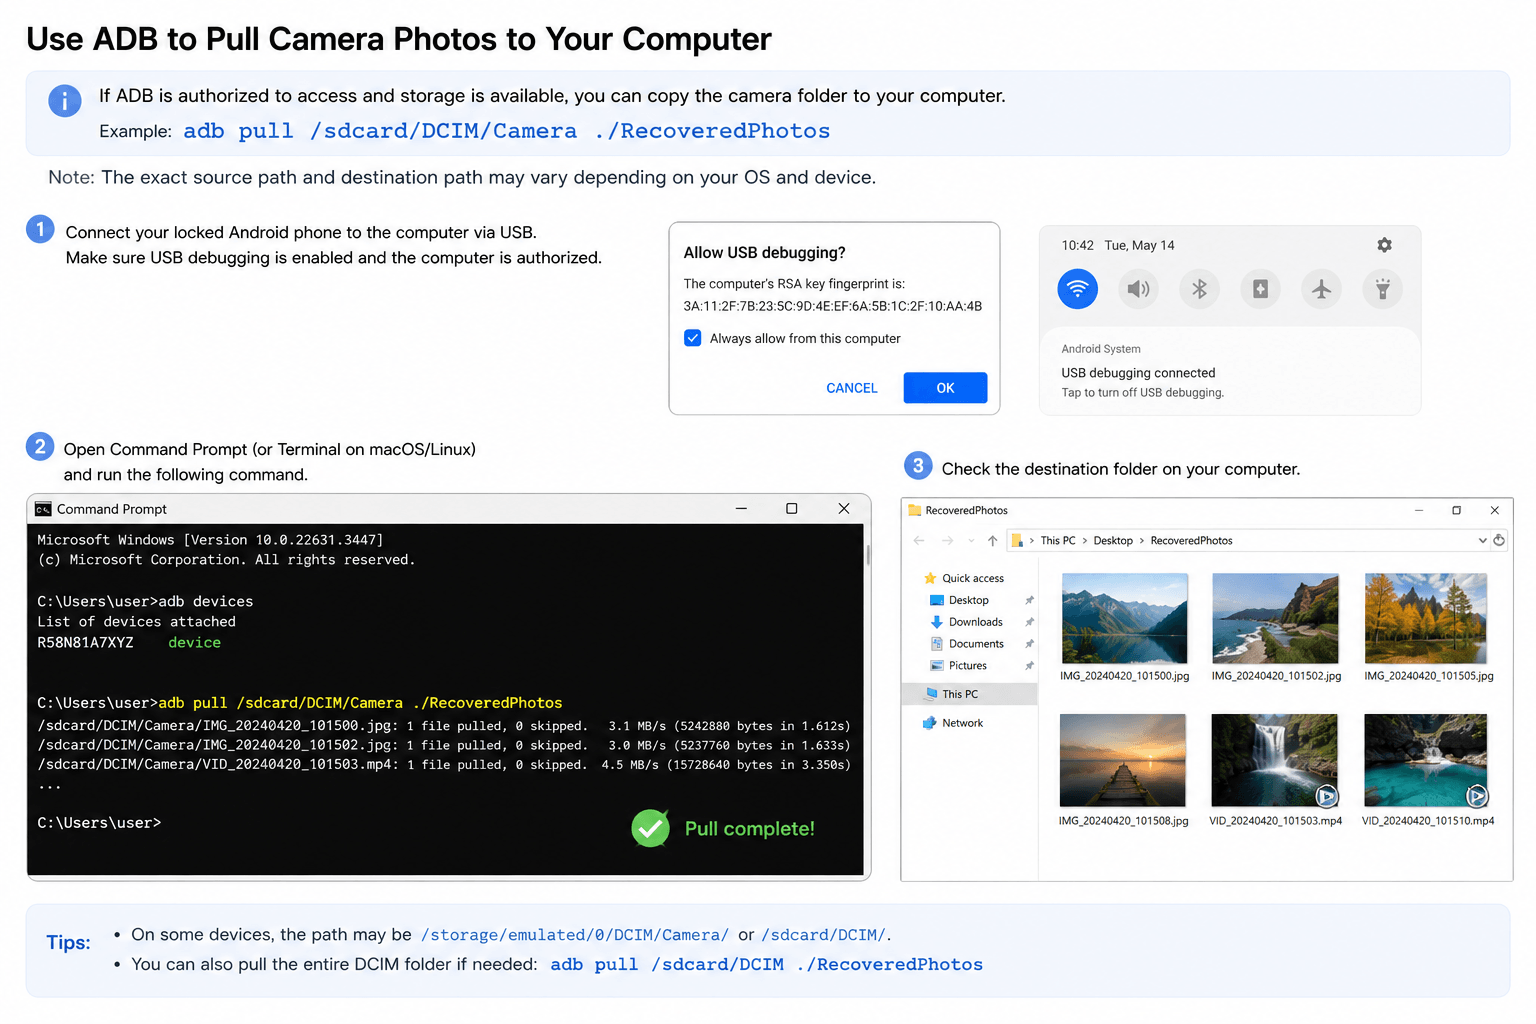
Step 1. Check Whether ADB Can See the Device
Install the official Android SDK Platform Tools on your computer, connect the phone, open Terminal or Command Prompt, and run:adb devices
Check the result. A recognized and authorized device may appear with the status device. If it appears as unauthorized, the phone normally requires authorization on the device itself before ADB can access it.
Step 2. Copy Photos Only If the Device Is Accessible Through ADB
If ADB already has authorized access and the relevant storage is available, you can copy the camera folder to the computer. For example:adb pull /sdcard/DCIM/Camera ./RecoveredPhotos
The exact source and destination paths can vary by operating system and device.
Do not rely on old gesture.key deletion commands as a general unlocking method. Modern Android security and encryption mean that deleting an old lock-related file is not a reliable universal way to unlock current Android devices or decrypt protected user data.
Recover Photos from Locked Android Phone via Data Recovery Mode
If the phone is accessible to a computer under the requirements of a supported recovery workflow, an Android data recovery tool may be able to scan available data and let you preview recoverable photos before exporting them.
PhoneRescue for Android provides photo scanning and recovery features for compatible Android devices. Whether it can access a particular locked phone depends on the device state, Android version, connection permissions, root status, and other technical conditions.
Do not assume that installing recovery software alone can bypass Android encryption or a screen lock. Check whether your device can be recognized and scanned before relying on this method.
Step 1. Connect the Android Phone and Select Photos
Install PhoneRescue for Android on the computer, connect the Android phone, and select Photos from the available data categories. Follow the program’s prompts for the detected device.
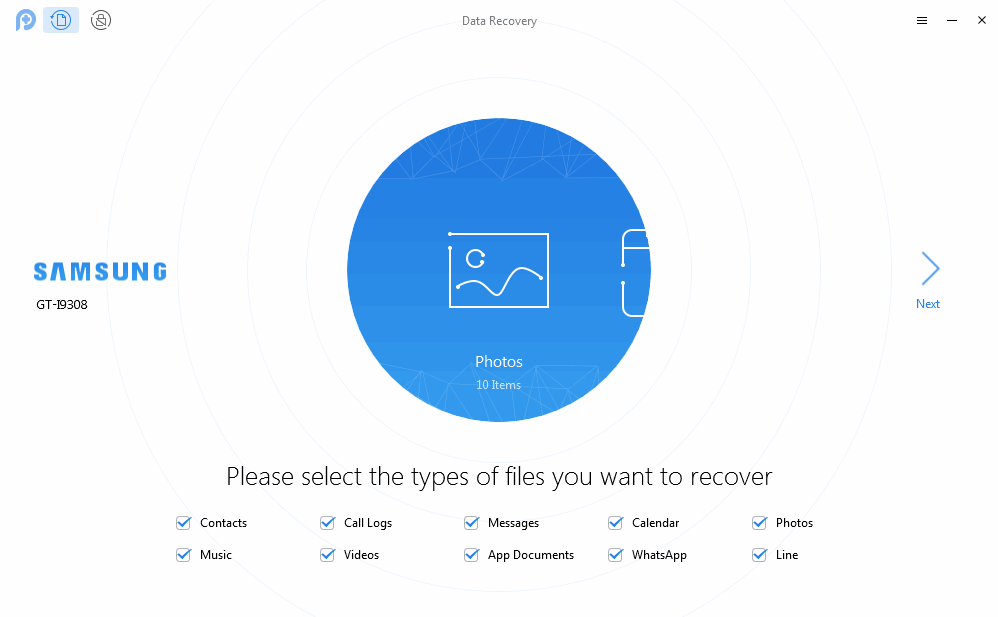
Select the photo category for scanning
Step 2. Preview Available Photos Before Exporting
After a successful scan, preview the available photos first. Select only the pictures you need and choose the available recovery-to-computer option.
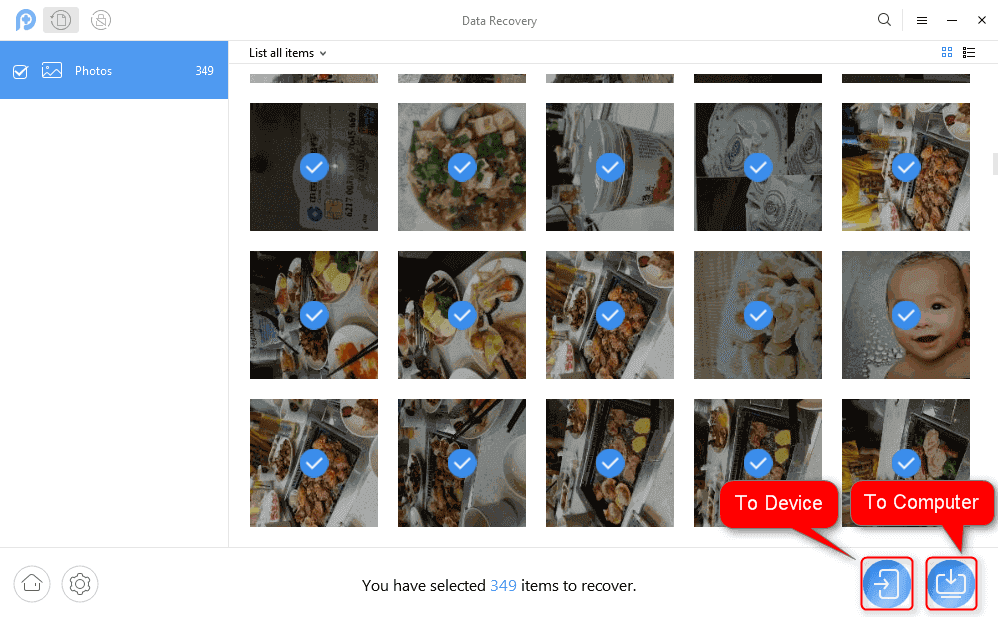
Preview available photos before exporting them
Recovery limitation: No recovery tool can guarantee that every photo will be recoverable. Results depend on the device condition, encryption, storage state, whether files were deleted or overwritten, and whether the software can access the required storage.
Bonus Tip: Recover Photos from Broken Android Phone?
A broken Android phone is a different situation from a phone that is simply locked. If the display is damaged, the device cannot boot normally, or the Android system has crashed, first determine whether the phone still powers on and whether the computer can recognize it.
For certain compatible Samsung devices, DroidKit’s broken-device data extraction workflow is designed to extract supported data from specific system-crashed devices. Compatibility is more limited than ordinary Android file transfer, so check the supported device/model requirements before proceeding.
Step 1. Open the Broken-Device Extraction Mode
Install and launch DroidKit, choose Extract Needed Data, and select From System Crashed Device if the option supports your device.
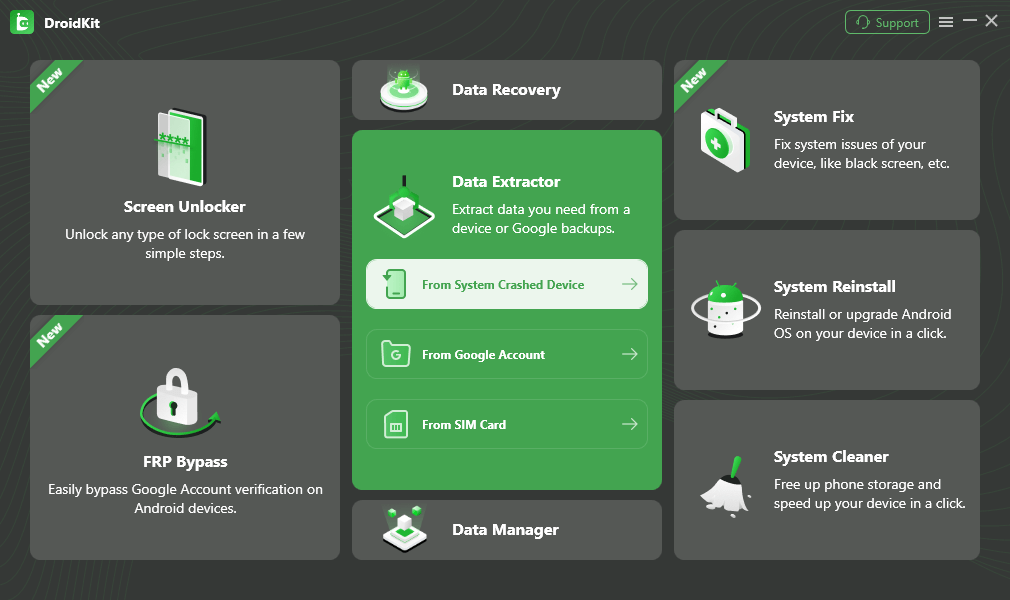
Select the system-crashed device extraction mode
Step 2. Select Photos
Connect the supported device and select Photos from the available data categories.
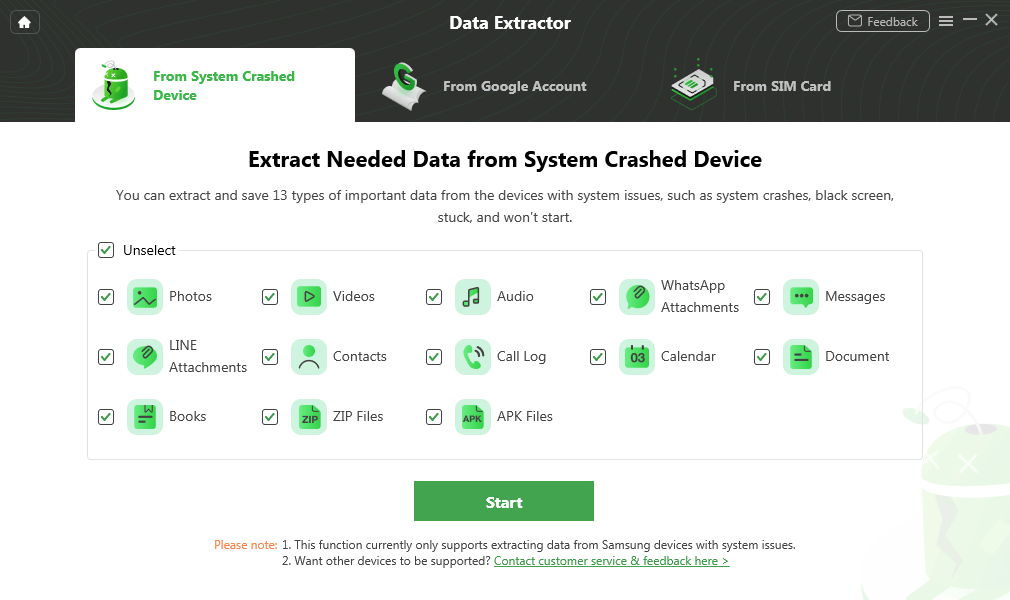
Select Photos for extraction
Step 3. Confirm the Device Information
Follow the on-screen instructions for the detected Samsung device and confirm the required model/device information carefully before continuing.
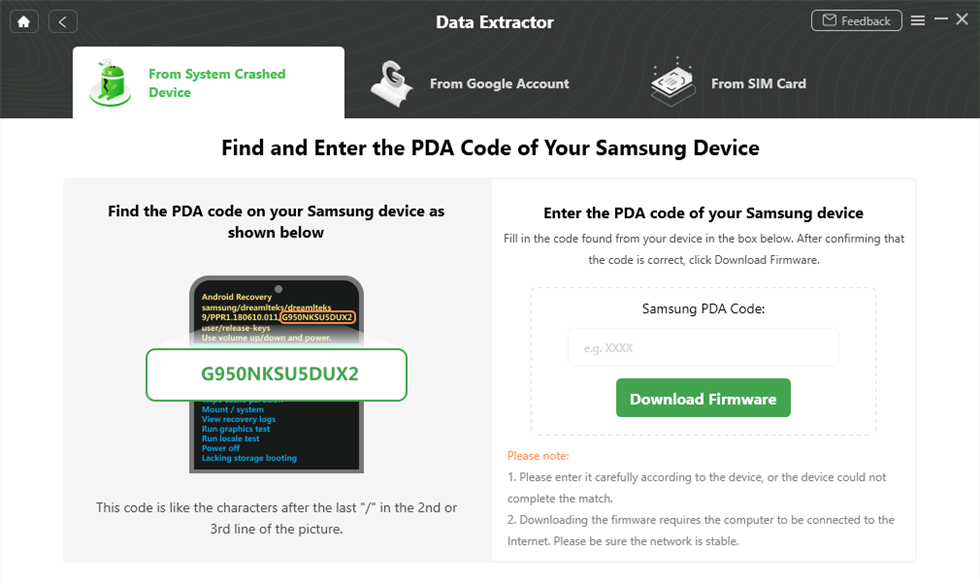
Confirm the required device information
Step 4. Follow the Firmware and Scanning Instructions
If the supported workflow requires a matching firmware package, follow the on-screen instructions and confirm the device information before downloading it. Continue to the scanning stage only after verifying that the workflow matches your device.
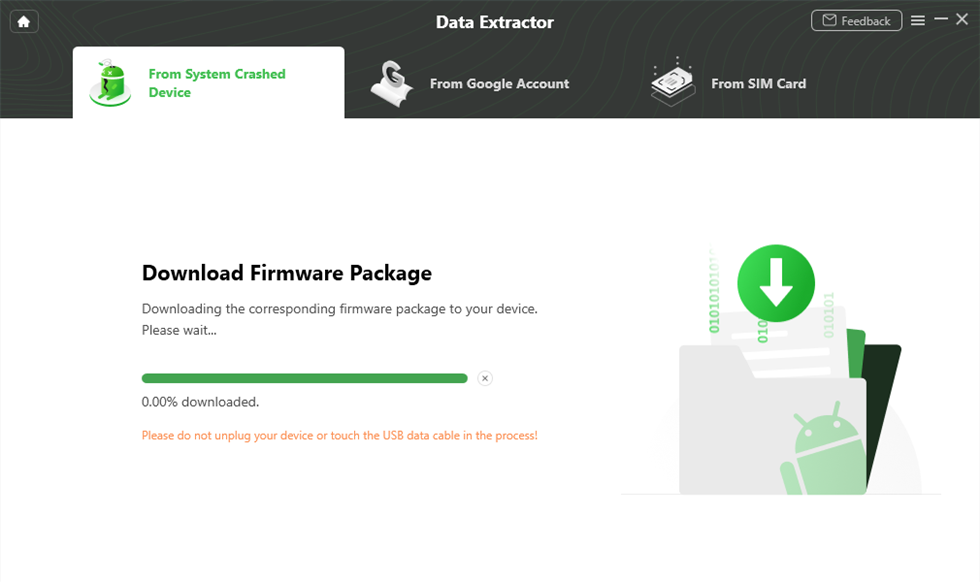
Follow the firmware instructions for the supported device
Step 5. Preview and Export Available Photos
After the scan completes, preview the photos that are available and select the pictures you want to export to the computer.
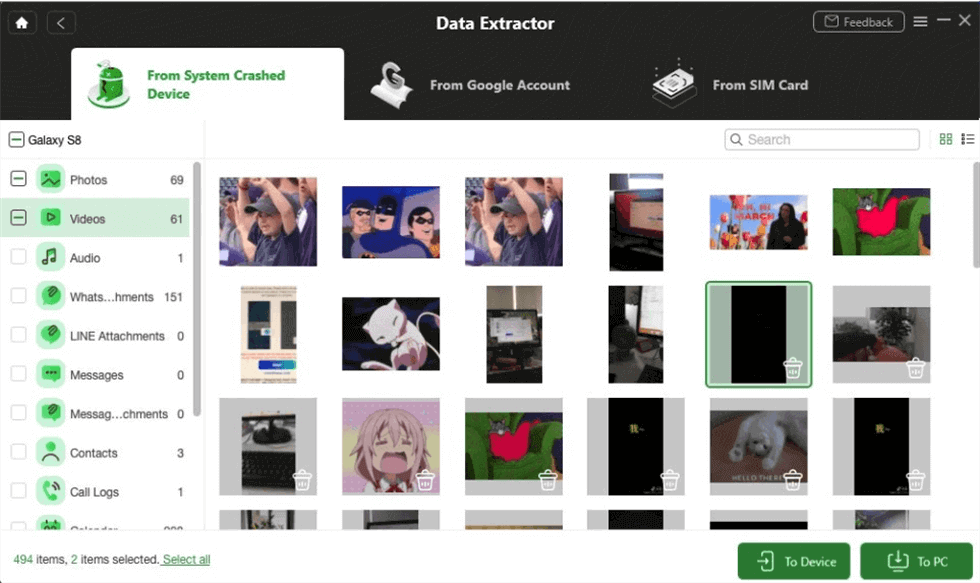
Preview available photos before exporting them
FAQs About Unlocking a Phone to Transfer Photos
Can I transfer photos from a locked Android phone to a computer?
Sometimes, but it depends on the device state. If the photos are backed up to Google Photos or stored on a removable SD card, you may not need to unlock the phone. If they exist only in encrypted internal storage, a locked modern Android phone normally restricts computer access until the required authentication or another supported access method is available.
Can I unlock my Android phone to transfer photos without losing data?
Do not assume that a screen-lock removal method will preserve your data. Many password-removal workflows erase the device. If preserving the photos is your priority, check cloud backups, removable storage, previously authorized computer access, and device-specific options before attempting a reset or lock removal.
Why can’t my computer see photos when my Android phone is locked?
Android protects user data while the device is locked. Depending on the phone and Android version, you may need to unlock the phone and approve the USB connection before the computer can browse internal photo folders such as DCIM.
Can ADB unlock a locked Android phone without losing photos?
ADB should not be treated as a universal screen-lock bypass. USB debugging generally needs to have been enabled beforehand, and the computer may need prior authorization. Modern Android security and encryption also make older lock-file deletion techniques unreliable for current devices.
Can I recover photos without unlocking the Android phone?
Yes, if another copy already exists somewhere accessible. Check Google Photos, another cloud backup, a removable SD card, or a previous computer backup first. If the only copy is in encrypted internal storage, recovering it without authentication is much more limited.
Can I recover photos from a locked Samsung phone?
The available options depend on the Samsung model, Android version, device condition, backup status, and whether the phone is merely locked or is physically/system damaged. Check Google Photos and other backups first. For a system-crashed device, model-specific broken-device extraction may be available for certain supported Samsung devices.
Will removing the screen lock delete my photos?
It can. Many Android screen-lock removal workflows reset or erase the device. Always check the exact method and device compatibility before proceeding if the photos have not been backed up.
The Bottom Line
If you need to unlock a phone to transfer photos, the safest first step is not to remove the screen lock. First determine where the photos are stored. If they were backed up to Google Photos or saved to a removable SD card, you may be able to retrieve them without modifying the locked phone at all.
If the only copy is stored in the phone’s internal memory, modern Android security makes the situation more difficult. Check whether the phone can still be unlocked normally, whether ADB was enabled and authorized before the lockout, and whether a device-specific recovery or extraction workflow is compatible with your phone.
If you decide to use DroidKit, check the exact function you need and its data-loss/compatibility requirements first. Screen Unlocker is intended to regain device access but may erase user data on many devices, while broken-device extraction is intended for specific supported device conditions. Avoid resetting, flashing, or erasing the phone until you have checked every non-destructive source for the photos.
DroidKit — Check Recovery Options for a Locked or Broken Android
- Check available screen-unlock workflows for supported Android devices.
- Use supported extraction workflows for specific broken-device scenarios.
- Review device compatibility and data-loss requirements before starting.



Joy Taylor is a seasoned technical writer with over a decade of experience in mobile technology. At iMobie, she specializes in producing in-depth content on iOS data recovery, iPhone unlocking solutions, and iOS troubleshooting.
Product-related questions? Contact Our Support Team to Get Quick Solution >
