Fix iTunes Could Not Connect to This iPhone (0xe800000a)
When iTunes has trouble connecting to your iPhone, it will throw an iTunes unknown error 0xe800000a. If everything looks good but you still have this error, read this guide to find out what is causing the issue and how you can go about fixing it on your machine.
iTunes & iCloud Issues
iTunes Errors
iTunes Issues & Tips
Even though you have connected your iPhone to your computer the way it should be done, iTunes will sometimes have issues recognizing your device. There are times when it will even display errors like iTunes error 0xe800000a, which basically says that iTunes was not able to connect to the iPhone.
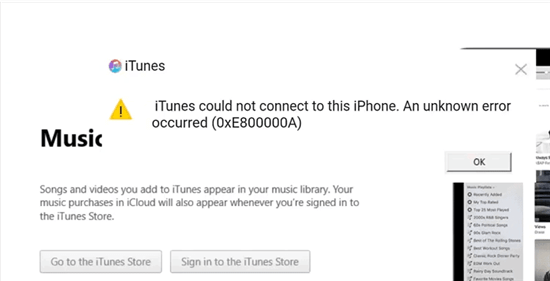
iTunes Could Not Connect to This iPhone (0xe800000a)
There are a variety of reasons why this error occurs in iTunes. If you are going through this issue and you have not been able to figure out a solution yet, we have some methods for you to try. Follow the methods given below and you should hopefully be able to get rid of the error.
Why iTunes Error Code 0xe80000a Appears
The iTunes error code 0xe800000a refers to the app’s inability to connect to your iPhone. This error usually occurs when you connect your iPhone to your computer, and iTunes cannot work with the phone for some reason.
Reason 1. Outdated iTunes Version
Older iTunes versions are known to have issues. Apple irons out issues with each iTunes update, and so older versions can display the error 0xe800000a even though everything is connected just fine.
Reason 2. Old OS Version
If your computer runs an old version of the operating system, that can also affect the connection between iPhone and iTunes. Older operating system files can cause interference with iTunes’ working and this can throw the aforementioned error on your screen.
Reason 3. Connection Issues
It may be that the USB cable that you are using to make the connection is faulty. If this is the case, iTunes will not be able to connect to your iPhone and you will see the above error on your screen.
6 Ways to Fix Error 0xe800000a
Now that you have some idea of why the iTunes error 0xe800000a occurs, you can try out some of the possible fixes and see if they help get rid of the problem. If one fix does not work, move to the next one and keep doing so until you find a method that actually works for you.
Fix 1. Repair iTunes from the Beginning
When you meet error code 0xe800000a or other iTunes errors, you can use a powerful iTunes repair tool. It is AnyFix – iOS system recovery, which helps you fix most iTunes errors, including connection issues. Check its main features below:
- Fix 200+ iTunes errors and get it back to life at the first moment.
- Help Apple users to solve system issues on iPhone/iPad/iPod touch and Apple TV.
- Downgrade iOS or upgrade as you wish.
To Fix iTunes could not connect to this iPhone (0xe800000a):
Step 1. Get AnyFix on your computer (you don’t need to connect iPhone with USB after launch) > Click iTunes Repair from the homepage.
Free Download * 100% Clean & Safe
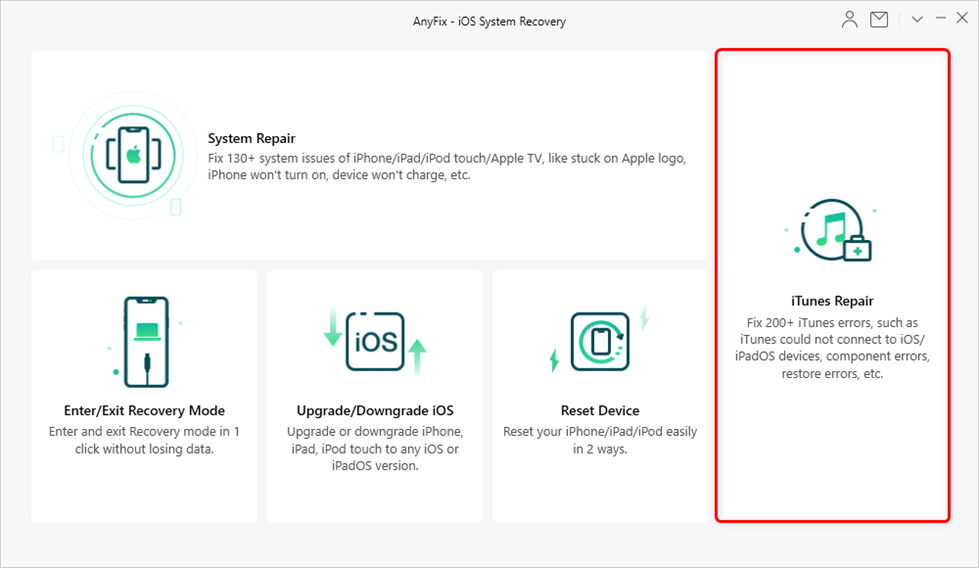
Click iTunes Repair
Step 2. Choose iTunes Connection/Backup/Restore Errors and click Scan Now.
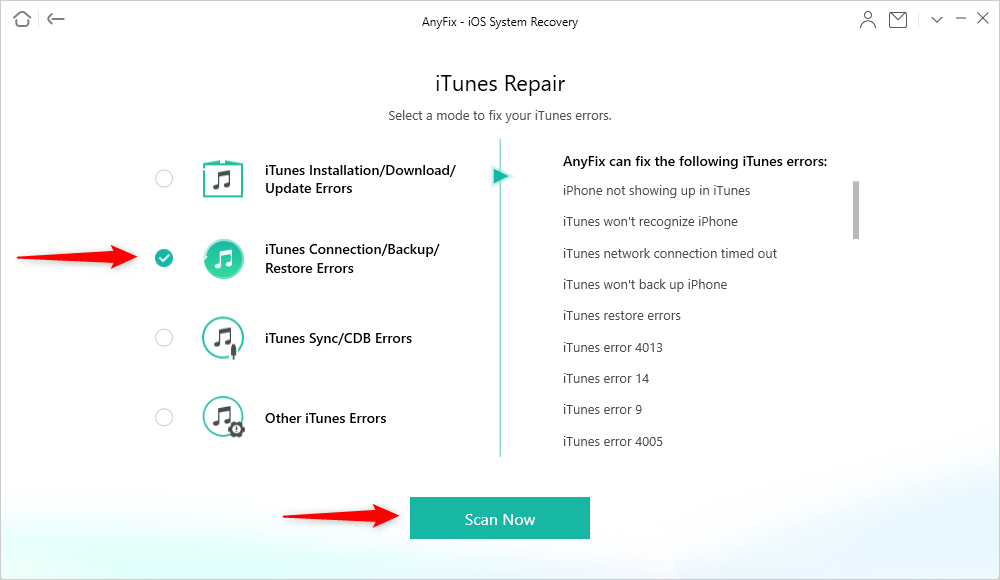
Choose iTunes Connection/Backup/Restore Errors
Step 3. Once AnyFix finished scanning, the page below shows up > Click Fix Now button to continue.
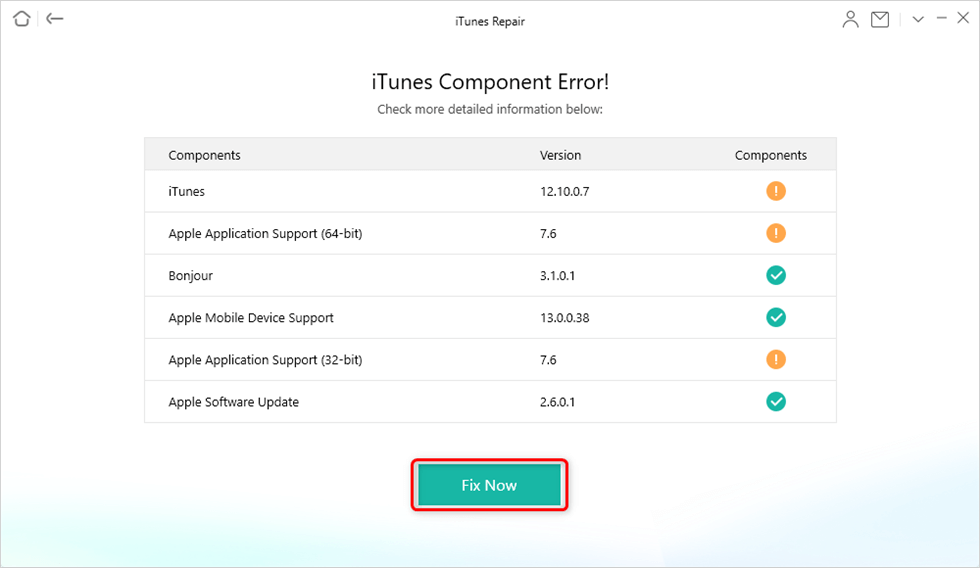
Resolve iTunes Errors
Step 4. Then you need to authorize AnyFix on your computer and the repairing process begins. Waiting for iTunes repair completed and check if the connection issue is fixed.
Fix 2. Update iTunes on Your Windows PC
If your computer has an old iTunes version installed on it, get it updated to the latest version to get all the existing issues patched. Updating iTunes on a Windows PC is as easy as clicking a few options. To update iTunes on Windows from the Microsoft Store:
- Open the Start Menu, search for Microsoft Store, and click on it.
- When the Store launches, click on the three-dots at the top-right corner and choose Downloads and updates.
- You should now see the available updates for your apps. Click on the Get updates button at the top to update all your apps including iTunes.

Update the iTunes App
Once iTunes is updated, try connecting your iPhone to your computer and see if iTunes recognizes it.
You should also update your computer’s operating system version if simply updating iTunes does not work.
Fix 3. Rename the Lockdown Folder
When you install iTunes, it creates various folders on your computer. One of these folders is Lockdown where it stores certain files that have to do with your device’s connection. You can try renaming this folder so that it resets, and see if that resolves your problem.
You will be renaming the folder and not deleting it. This ensures you can restore the folder’s contents in case things go south.
- Press the Windows + R keys at the same time, type %programdata%, and press Enter.
- Double-click on the folder that says Apple to open it.
- You will see a folder named Lockdown. Right-click on this folder, select Rename, and enter LK123 as the new name.
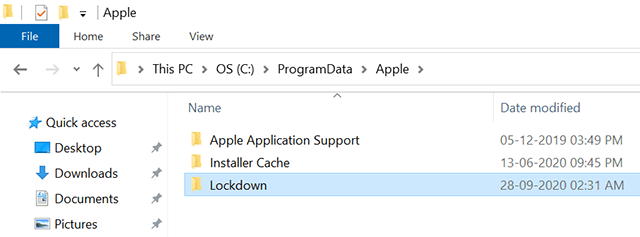
Reset the Lockdown Folder
Fix 4. Reinstall USB Host Controller Devices
Since your iPhone is connected to your computer via a USB connection, you need to ensure your USB host controllers are properly installed and configured. If you are not sure about this, you can reinstall the devices and Windows will install their drivers for you.
- Open the Start Menu, search for Device Manager, and launch it.
- Expand the section that says Universal Serial Bus controllers, right-click on your USB host device, and choose Uninstall device.
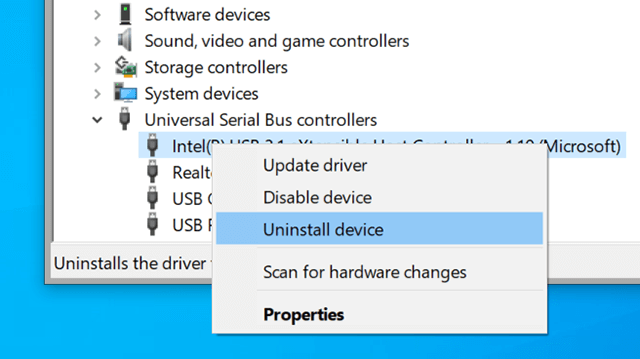
Uninstall the USB Host
- Restart your computer by clicking on the Start Menu, selecting the Power option, and choosing Restart.
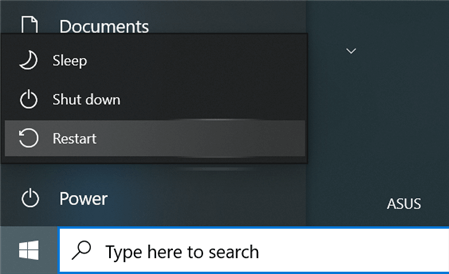
Reboot a Windows PC
When your computer boots back up, Windows will automatically find and install the drivers for your USB host devices.
Fix 5. Update iPhone Drivers
There are certain drivers installed on your computer that allow it to interact with your iPhone. Sometimes, these drivers get faulty or they need to be updated. If this is why you have the iTunes error 0xe80000a, then it is pretty easy to fix this issue. Simply use the Device Manager as follows to update your iPhone drivers.
- Open the Device Manager using the Start Menu on your PC.
- Look for the option that says Portable Devices and expand it. Then, right-click on your iPhone in the list and choose Update driver.

Update the iPhone Drivers
- On the following screen, click on Search automatically for updated driver software.
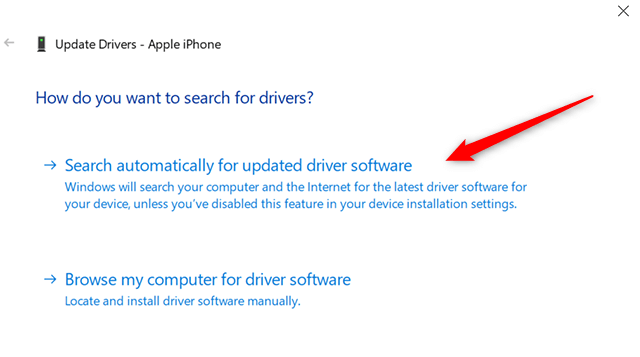
Find the iPhone Drivers Automatically
Your computer will find and install the correct and updated drivers for your iPhone. iTunes will then have no issues connecting to your phone.
Fix 6. Uninstall and Reinstall iTunes
If you have not had luck with any of the above methods, your last resort is to get rid of the entire iTunes app and then download and install a fresh version. This will fix all of the issues that you have with this app.
You will lose all of your iTunes data when you uninstall it. Make sure you have saved this data somewhere before you go ahead and reinstall the app.
- Access the Start Menu and search for iTunes.
- When the app appears, right-click on it and select Uninstall. This will help you remove this app from your computer.
- You will get a prompt that says the app along with all of its data will be gone. Click on Uninstall again and this will fully delete the app from your machine.
- Once iTunes is uninstalled, launch the Microsoft Store, search for iTunes, and install the app.
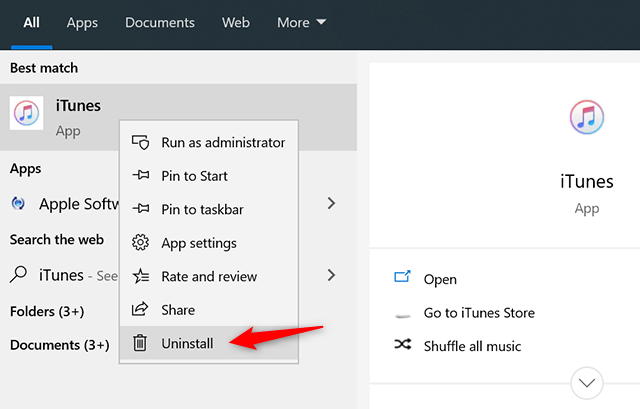
Uninstall iTunes
The Bottom Line
iTunes says it cannot connect to your iPhone for many reasons as explained above. Fortunately, you have several fixes to try and possibly remove the error from your computer. One of the methods will certainly resolve the issue and you will then be able to use your iPhone with your computer without any issues.
More Related Articles

Joy Taylor is a seasoned technical writer with over a decade of experience in mobile technology. At iMobie, she specializes in producing in-depth content on iOS data recovery, iPhone unlocking solutions, and iOS troubleshooting.
Product-related questions? Contact Our Support Team to Get Quick Solution >
