How to Fix: Can’t Send Text Messages on Android Phone
Many people have experienced the issue that they were unable to send messages from Android phones. If you are one of those people and getting an error saying can’t send text messages on Android phone, then in this article, we are providing you the solutions that would fix this problem.
Android Issues & Fixes
Android System Issues
Android Apps Issues
Why can’t I send text messages on my Android? I would send a text message and exit out of the messaging app. Then when I check later, I see that it hasn’t been sent and has a loading symbol beside the message. It’s happening a lot more randomly now than before. Why won’t my text messages be sent? Does anyone know what’s going on?
Text messages is one of the oldest forms of communication. As social media platforms took over the generations, the use of text messages has been reduced significantly. But that does not mean that the messages aren’t used anymore. It is still a secure and reliable method for verification and communication between peers.
Even though the messaging features can work very well even without the network connection, sometimes it happens that the messaging feature doesn’t work properly. So, to fix the issue that “text message failed to send on Android phone”, you can try the tips listed below in the article.
Here are some bonus tips about Android text messages. Click and check if you need:
- Transfer Text Messages from Android to Computer >
- Where Are Text Messages Stored on Android Phones >
- How to Archive Text Messages on Android >
Tip 1. Soft Reset Your Phone
Soft reset, which means simply restart your phone. Giving your phone a fresh start is sometimes all you need to fix your Android issue. You can turn off your phone for a while and then switch it on to try if it works. Of course, you can also simply click on Reboot. The maximum chances that your problem will be fixed by taking it this way.
Tip 2. Clear Cache on Your Phone
Clearing the cache memory is the most common fix to some Android problems. So, this method is often recommended by many technicians. You can follow the steps below to clear the cache on your Android phone:
- In the Settings menu, choose the Application and then open the Application Manager.
- Swipe the menu to get the list of the apps and search for the Message app.
- When you will open the App info, you will see the Clear Data and Clear Cache option.
- You can clear both the Data and Cache and then restart your device and see if the problem is fixed or not.
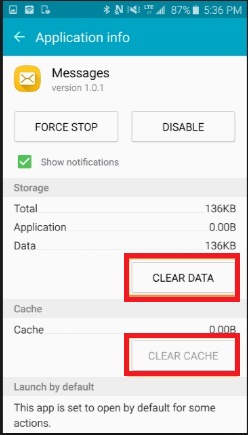
Clear Cache on Your Phone
Tip 3. Clear System Junk on Your Phone
If clearing cache on your Android phone cannot fix text messages not sending issue, you may need to further clear system junk on your Android device. Although system junk clear is necessary for almost all mobile users, mobile developers seldom consider developing a corresponding built-in feature. For this reason, many Android users turn to a third-party app to clear the system and free up phone storage.
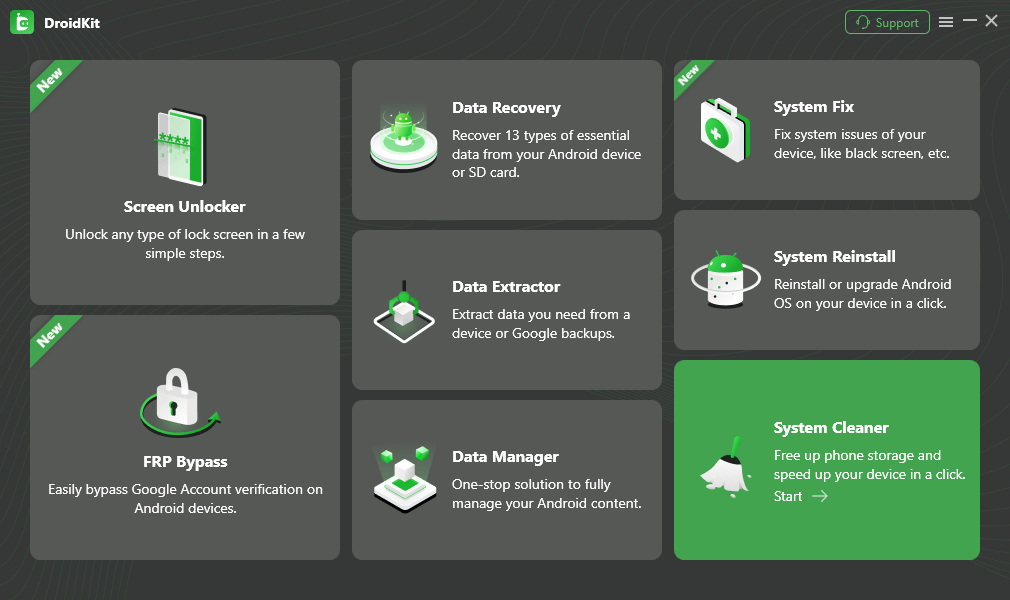
DroidKit is trusted and welcomed among Android users. With a simple 1 click, users can clean all common system junk or clear selected system junk you don’t need. Before free install DroidKit, let’s take a closer look at its impressive feature:
Free Download * 100% Clean & Safe
- Clear 4 Types of Junk: large files, cache files, APK files, and running apps.
- Support Almost All Android Devices: mainstream Android brands and system versions.
- Select What to Clean: Preview and select what to clean with simple hits.
Now, let’s check how to clear system junk on your Android phone.
Step 1. Open DroidKit on your computer > Click the System Cleaner mode.
Click the System Cleaner Mode
Step 2. On the System Cleaner page, hit Start to initiate the process.
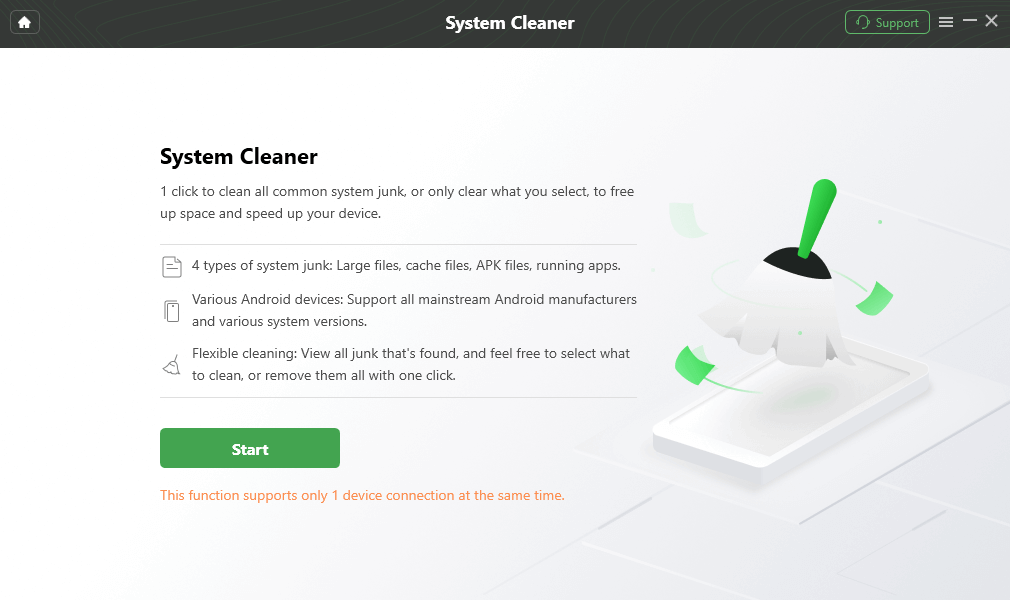
Hit Start to Initiate the Clean Process
Step 3. Connect your Android device via a USB cable > Click Start to let the program scan the junk data on your Android phone.
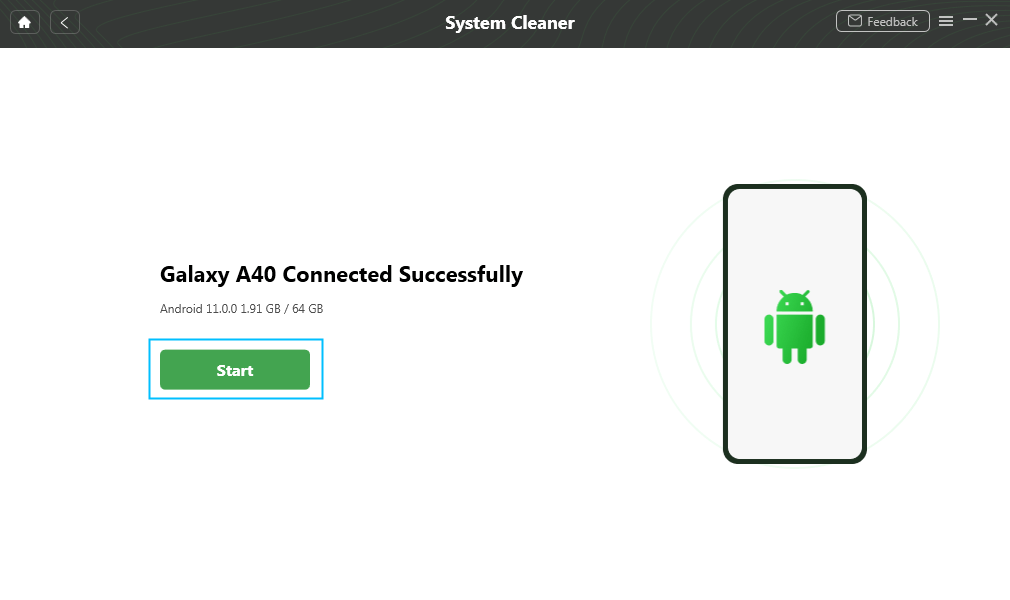
Connect Your Android Device via a USB Cable
Step 4. Preview and select junk data you’d like to clean > Tap on Clean Now to start the free up the storage.
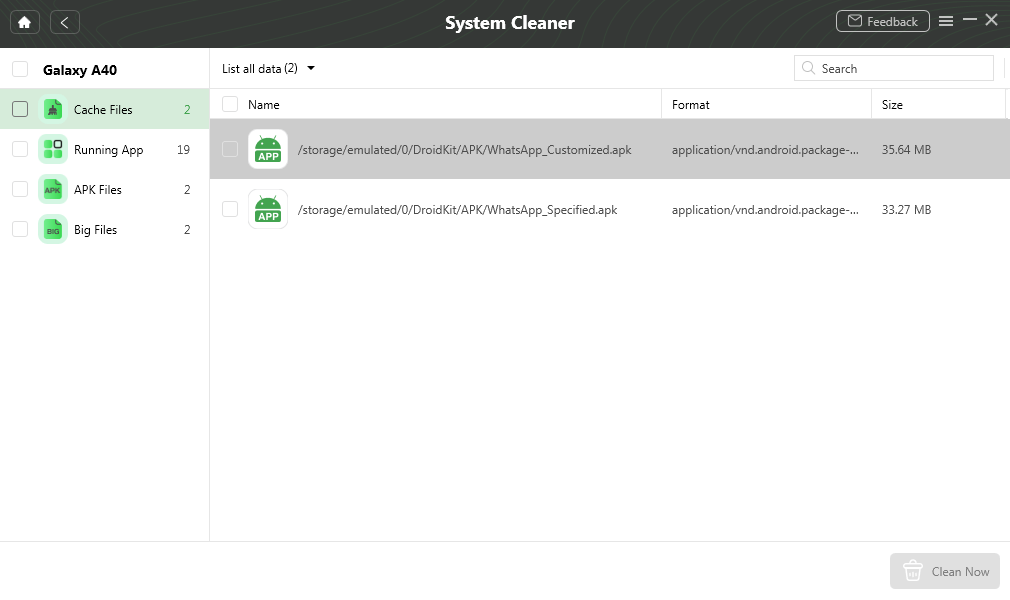
Preview and Select Cache Data to Clean
Tip 4. Force Stop the Message App
Sometimes you are not able to send text messages is mainly because of the Message app itself. You can try to force stop it and restart. To force stop the app, you can follow the steps as:
- Go to the Settings menu and open the Application.
- In the Application Manager, swipe down to see all the applications.
- Now, look for the Messaging app in the list and click on it when you find it.
- When you open the app info, you will see an option that says Force Stop.
- Tap on it and then restart your device.
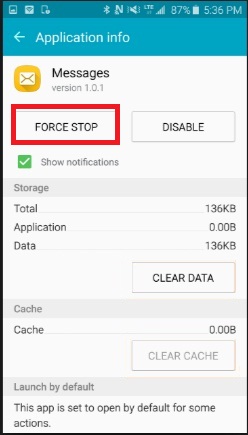
Force Stop the Message App
Tip 5. Factory Reset Your Android Device
If all the above methods fail, then the last option to fix the issue is to reset your Android phone to the default settings. The factory reset will restore your phone to an initial setup state. You can further perform the required steps. Remember to create an Android of all your Android data files before you proceed to the steps. Because once you have factory reset your device, all the existing files and data will be erased. To reset your Android device, you have to follow the steps:
- Open the Settings on your Phone.
- Look for the Backup and Reset option.
- In the Backup and reset setting, at the bottom, you will see an option that says “Factory Data Reset”.
- Tap on that icon and reset your phone.
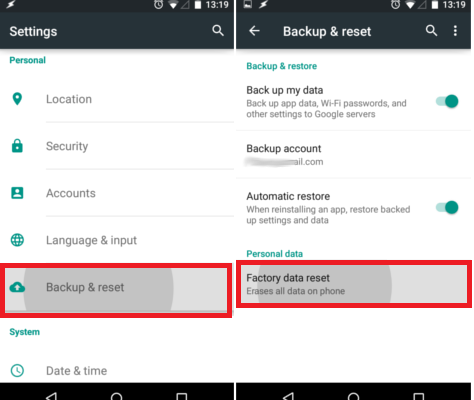
Factory Reset Your Android Device
Although every piece of data will be erased from your phone you will be able to send messages from your Android phone again.
Bonus Tip. How to Backup Text Messages on Android?
Just like above, sometimes the Message app may fail to work and cause important message loss. In this case, making a backup of your Android messages becomes quite necessary. Apart from using the USB cable or Google Drive to backup Android messages to your computer, there are some other third-party tools that can also help. Here we recommend AnyDroid. Below are the features of AnyDroid.
AnyDroid – Backup Android Messages
- With just 1 click and a few minutes, it completes back up all your texts.
- Backs up your messages to computer in readable formats like HTML, TXT, pdf so that you can view your messages anytime.
- Also support backing up your photos, videos, contacts, notes, calendars, documents, apps, etc.
Free Download100% Clean & Safe
Free Download100% Clean & Safe
Free Download * 100% Clean & Safe
Now, download AnyDroid on your computer, and then check the steps to backup text messages on your Android phone with AnyDroid:
Step 1. Launch AnyDroid on your computer > Connect your phone to the computer via a USB cable.
Step 2. When the computer has detected your device, the main interface will show as below. Choose Messages to manage the text messages on your Android device.
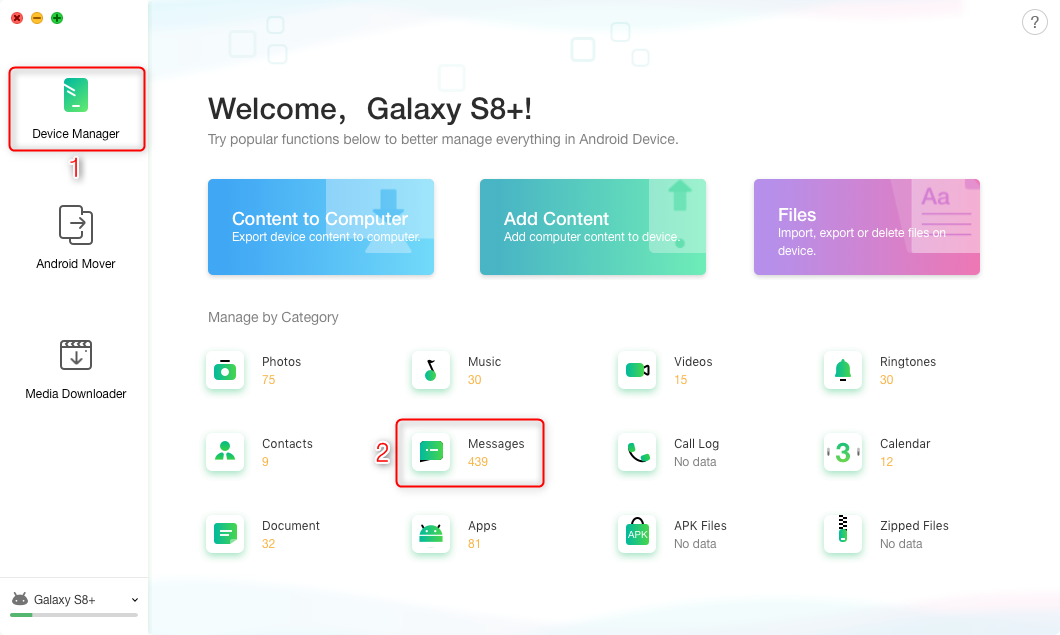
How to Backup Text Messages on Android – Step 2
Step 3. Select the messages you want to backup > Click To PC/Mac button at the top right corner to start the process.
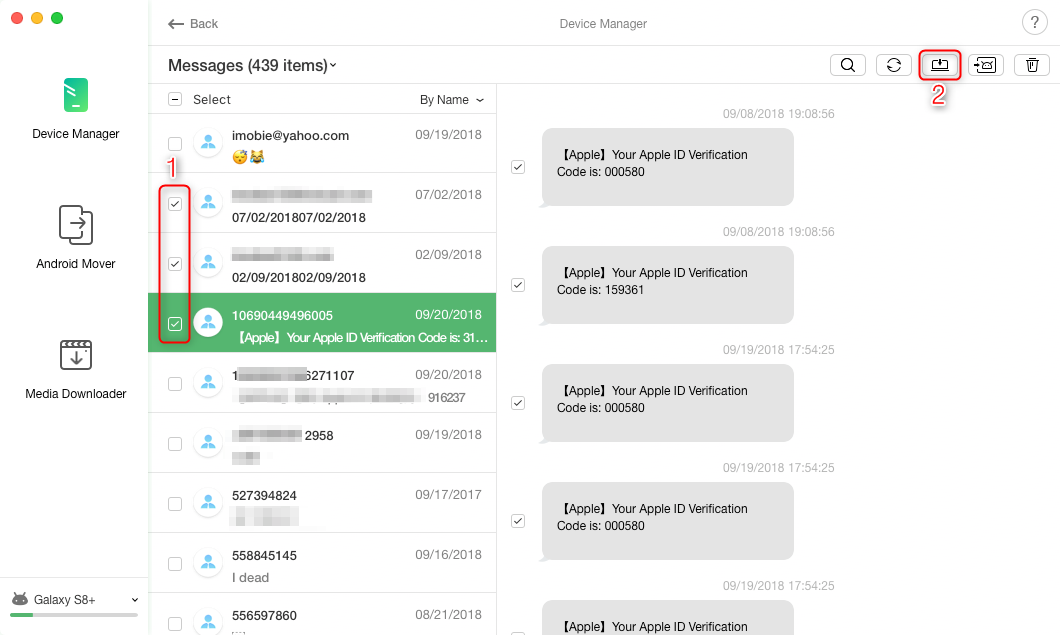
How to Backup Text Messages on Android – Step 3
The Bottom Line
Once you give these above methods a try, you won’t cry that my phone won’t send text messages. These are the most effective solutions to fix your issue. These methods can also be applied to the message+ keeps stopping, and not receiving text messages error on your Android phone. If you still facing some problems, then it is time that you contact your service provider and they will help you to fix the problem. Now, download DroidKit to fix your problem!
Free Download * 100% Clean & Safe
More Related Articles

Senior writer of the iMobie team as well as an Apple fan, love to help more users solve various types of iOS & Android-related issues.
Product-related questions? Contact Our Support Team to Get Quick Solution >
