What to Do if ADB Devices Not Showing or Not Detecting Device
How do I get ADB to recognize my device? There are many reasons ADB does not work and shows error messages like ADB not detecting device and ADB devices not showing. If you are experiencing these issues with your device, this guide provides you with some tips to try and get rid of the issue from your device.
Common Android Issues & Fixes
Network Issues & Fixes
Communications Issues & Fixes
Connection Issues & Fixes
Hardware Issues & Fixes
If you have ever attempted to tweak your Android device beyond what the normal options offer, you probably know what ADB is. For those of you who do not, ADB stands for Android Debug Bridge and it is a way for your computer to communicate with your Android device over a wireless or wired connection.
Occasionally, you would find ADB not recognizing device or not showing. When this happens, you cannot perform any actions from your computer on your device. Fixing this issue is sometimes difficult as you are not sure what is causing it.
Fortunately, the following guide covers multiple tips for you to get around ADB not detecting device and ADB devices not showing problem.
Why Is ADB Devices Not Showing
While there are several reasons why ADB devices not showing, the following are some of the common reasons that prevent ADB from functioning the way it should.
Reason 1. Environment Variable is Not Added
One of the possible reasons why your computer shows ADB is not recognized is that you have not defined an environment variable for this utility on your machine. Your computer is having trouble finding the ADB program and so it throws the aforementioned error.
Reason 2. ADB Folder Path Has Changed
It might be that you have added an environment variable for ADB to your system but the original path of the toolkit has changed. When this happens, your computer again experiences issues finding the ADB file.
Reason 3. USB Debugging is Disabled on Android
When you are using ADB with your Android device, the USB debugging option must be enabled on your device. If this option is turned off, your phone will not be able to communicate with your computer.
How to Fix ADB Not Detecting Device Error
Now that you know why ADB cannot detect device, take a look at some of the ways you can fix the ADB not detecting device issue and get ADB to work on your computer.
Fix 1. Update the ADB Toolkit on Your Computer
One of the many ways to fix ADB devices not showing when ADB is not recognized is to update the ADB toolkit that you have installed on your computer. It might be that you have downloaded your toolkit long ago and there have been newer versions patching issues that existed in the older versions. Updating ADB is as easy as clicking a few options.
If you are not sure how to go about updating ADB on your computer, the following steps will help you out.
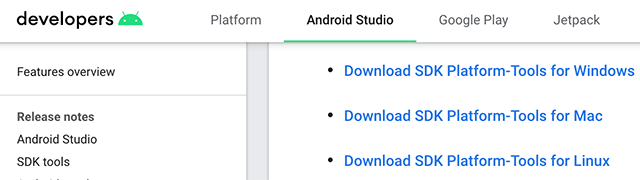
Step 1. Open a new tab in your browser and head over to the ADB toolkit website.
Step 2. Download the toolkit and extract its contents to a folder on your computer.
Download and Update ADB
Step 3. Copy all of the extracted files and paste them into the folder where you have the older ADB files. Make sure you let your system overwrite the files.
Your ADB version should now be updated.
Fix 2. Enable USB Debugging on Your Android Device
It might be that the ADB issue is not with your computer but is with your Android device. In most cases, device not detected in ADB is because the USB debugging option is turned off on the device. Turning this option on can fix the issue for you and this is pretty easy to do.
Enabling USB debugging does not do anything on your device. It only allows your computer to interact with your device over a connection. The following shows how to activate USB debugging on your phone to fix ADB not detecting device.
Step 1. Head into Settings > About phone and tap Build number about seven times. It will say you are a developer.
Step 2. Head back to Settings, go to System > Developer options, and turn on USB debugging.
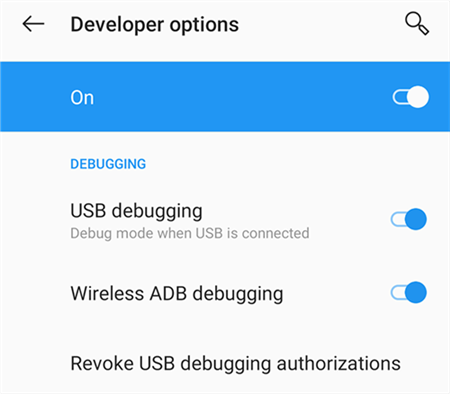
Turn on USB Debugging
Your device can now communicate with your computer.
Don’t Miss: How to Access A Locked Android Phone via USB from PC/Mac >
Fix 3. Manually Specify the ADB Path in Command Prompt
If you have specified an environment variable but ADB devices not found issue still exists, you can try running ADB from the folder that it is saved in. This way, you will be using the absolute path rather than the relative path to the toolkit. This should likely fix the issue if it is caused by a path error.
The following shows how you go about running ADB from a specific folder in the Command Prompt to fix ADB devices not showing Mac/Windows.
Step 1. Open the Command Prompt on your computer.
Step 2. Type cd, press Space, and then drag and drop the ADB folder onto the Command Prompt window. This will add ADB’s path to your command.
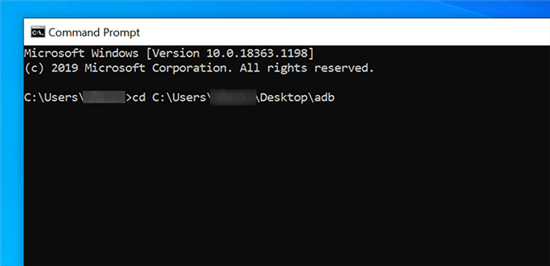
Enter the Full ADB Path
Step 3. You can now type adb devices to use ADB.
Fix 4. Add an Environment Variable for ADB
If you want to access ADB using just the adb command no matter where you are in the Command Prompt, you need to add an environment variable for this toolkit to your system. You only need to do this once and you can then let ADB connect to device and use ADB without specifying its full path.
The following shows how to do it on a Windows system.
Step 1. Search for Environment variables in the Start Menu, click the first option, and then click the Environment Variables button.
Step 2. Select Path and then click the Edit button to edit the entry.
Step 3. Hit New on the right and type the full path to the ADB folder on your computer.

Add the ADB Path to the System
Step 4. Click OK at the bottom and your ADB path should now be added.
You can now use ADB by just typing adb in a Command Prompt window.
While doing this, make sure you do not touch other variables. This can cause unexpected issues in your system.
Fix 5. Download and Install ADB Drivers
When you see “error: no devices/emulators found”, it might be that you didn’t install the driver. If you have not already installed the drivers for your device, you need to do that before your computer can detect your ADB-compatible phones. Some phones automatically install the drivers when you connect them to your computer, but others do not.
If you are not sure whether the appropriate ADB drivers are installed or not, you can retry installing the ADB drivers and that should fix most issues. You can grab these drivers for free and then use them with any of your compatible systems.
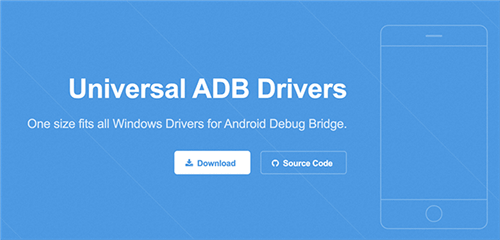
Install Universal ADB Drivers
To install ADB drivers, all you need to do is head over to the ADB drivers site and click the Download button. Then, double-click on the downloaded file and it will begin to install the drivers. Once the drivers are installed, reboot your computer to bring changes into effect. After that, you will find ADB not detecting device has been fixed.
You May Also Like: How to Fix Android App Not Installed Error >
Tip. Fix Android System via DroidKit
If the above methods do not solve your problem, then you can check if your Android device has some system problem that causes ADB devices not showing. If so, you can use a professional Android system repair tool to check and repair your Android device first. DroidKit comes here to help you. Check the main features of DroidKit:
DroidKit – Android System Repair
- Various Android OS issues and problems can be fixed easily.
- It intelligently chooses the best solution for your device.
- No need to root Android device and no technical skills are required.
- You can revive your dead Android device in a few simple steps.
Free Download100% Clean & Safe
Free Download100% Clean & Safe
Free Download * 100% Clean & Safe
Just follow the detailed steps below to fix the Android ADB not detecting device problem:
Step 1. Get the latest version of DroidKit on your computer. Launch DroidKit > Connect your Android device and tap on the Fix System Issues panel.
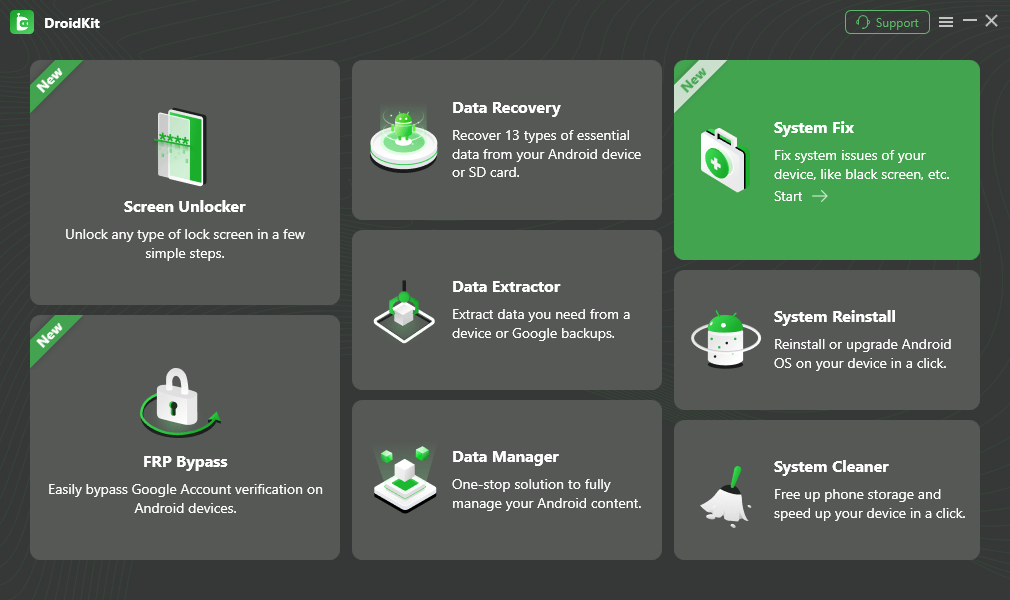
Click System Fix Function
Step 2. Once DroidKit detects your device, click the Start button to continue.
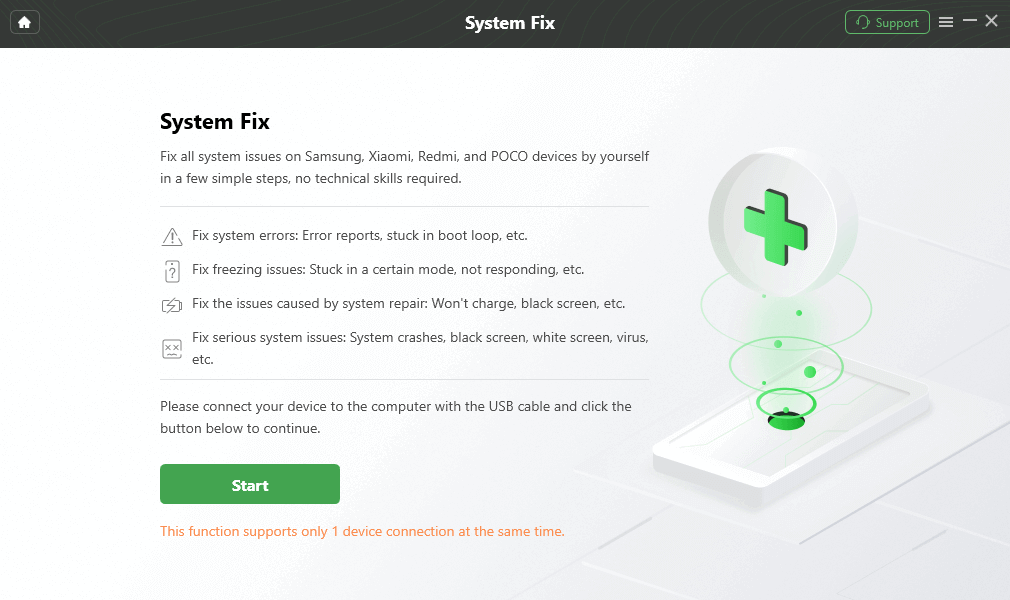
Start to Repair Samsung Phone
Step 3. DroidKit will match the PDA code of your Samsung Device Automatically > Then click Download Firmware to download the firmware.
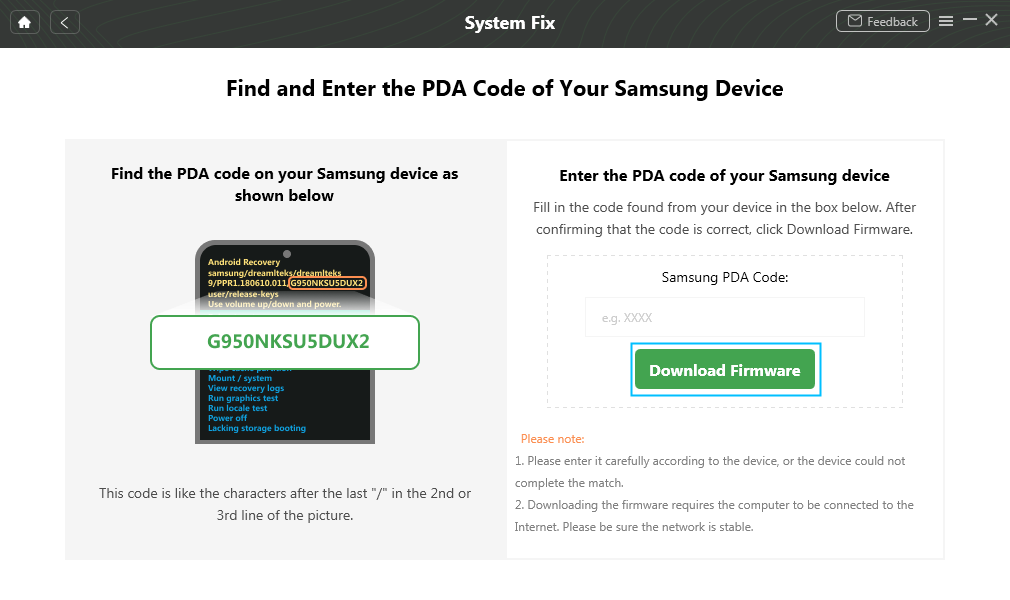
Fix Android with USB Debugging Disabled
Note: If there is no matching PAD code, you need to put your device into recovery mode and get PDA code.
Step 4. After the firmware is downloaded, click Fix Now button.
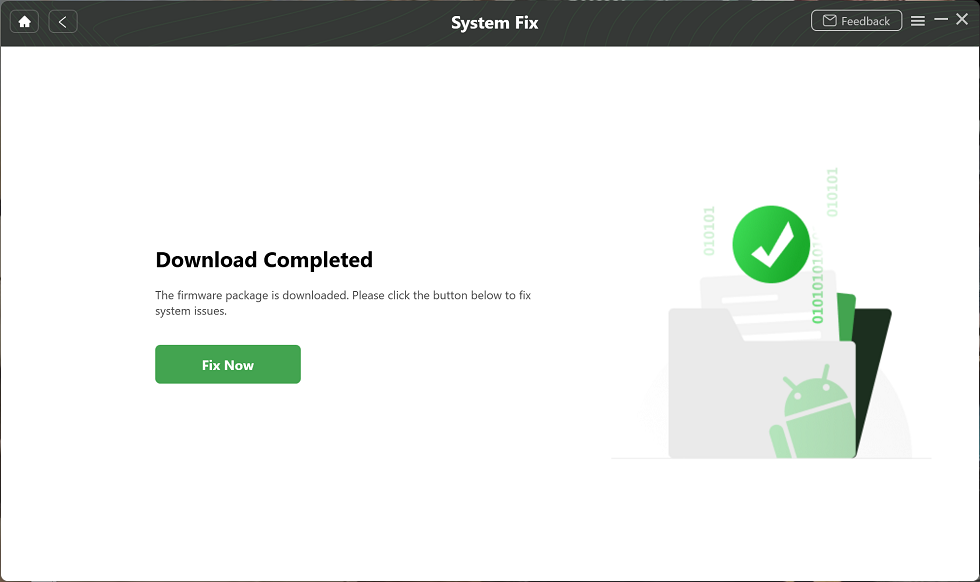
Firmware Downloaded and Click Fix Now
Step 5. Once finished, it will automatically start repairing your Android system. After completing the repair process, you will get the system fixed successfully page as below. All the system issues are fixed and your Android device will be restarted.
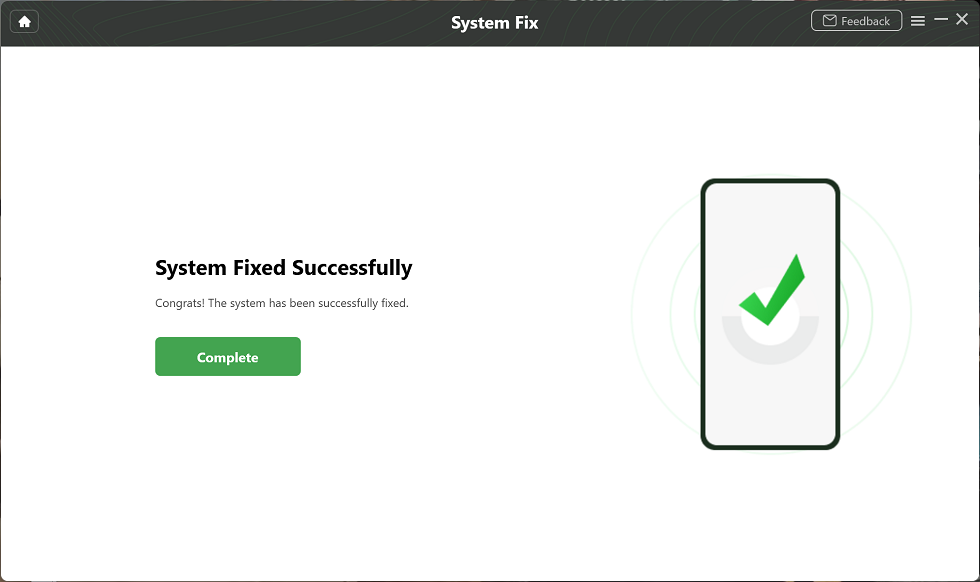
Completing the Repair Process
What Other ADB Errors Will Appear
As you start using ADB on your computer, you will likely come across other ADB errors. Some of the errors you will possibly see on your system are as follows.
Error 1. No Device/Emulator Found
The no emulator/device error usually appears when ADB fails to detect the device connected to your computer. There are various reasons why ADB cannot recognize your device. It might be that you have not enabled USB debugging on your device. Or, it might be that you have not installed the proper ADB drivers on your computer.
In a nutshell, this error is the sign that ADB does not recognize your phone is connected to your computer.
Error 2. Command Not Found
ADB command not found error appears either when your computer does not recognize where ADB is located or when you run a command that does not exist in the ADB library. For these two reasons, you will see the aforesaid error message on your screen.
The Bottom Line
It is frustrating when you set up the whole ADB toolkit only to find ADB not detecting the device. Fortunately, you can follow some of the tips above to fix the issue and get ADB to work as it should on your machine. And if it is caused by system errors, don’t forget to download DroidKit to fix ADB devices not showing. If this article is helpful to you, you can share it with your family and friends.
Free Download * 100% Clean & Safe

Senior writer of the iMobie team as well as an Apple fan, love to help more users solve various types of iOS & Android-related issues.
Product-related questions? Contact Our Support Team to Get Quick Solution >
