How to Fix iTunes Cannot Backup iPhone iPad Because an Error Occurred
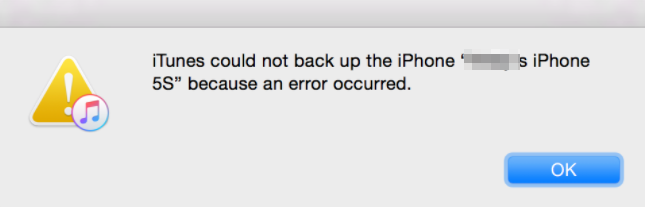
It is upset to receive a message saying iTunes could not backup the iPhone because of an error occurred when backup iPhone to iTunes. Read the post to learn how to get rid of the backup issue. Or you can try other popular iTunes backup alternative to backup iphone to computer.
iTunes Error
iTunes Sync Error
iTunes Connect Error
iTunes Update & Restore Error
iTunes Purchase Error
I’m trying to backup my iPhone before upgrading to iOS 26/27. Right now it’s running iOS 16. After pressing the ‘Back Up Now’ button in iTunes I’m getting this error message: ‘iTunes could not back up the iPhone because an error occurred’.
Most of us rely on iTunes to backup our iPhone, iPad or iPod for it saves the backup file on computer so we won’t worry about data loss. However, iTunes is a huge and complicated program to run and we may bump into some error message like iTunes could not back up the iPhone because an error occurred. And sometimes, you may just see the “Back Up Now” is greyed out, and even get nothing prompts.
So, if you do happen to run into an iTunes backup error like the above user, try the following solutions to fix the problem of iTunes could not back up the iPhone. Or just have a try on an iTunes alternative to successfully backup your iPhone/iPad/iPod in an easy way.
How to Fix iTunes Could Not Backup iPhone Because an Error Occurred
When you meeting the message of “iTunes could not back up the iPhone because an error occurred”, try the following solutions to fix the error easily.
- Restart your computer (Mac or PC) and iOS device (iPad, iPhone, and iPod touch).
- Check your iOS version and update it.
- Quit iTunes and re-launch it to back up again.
- Make sure you are using Apple matched USB cable or lighting port.
- Delete corrupted backups. Just launch iTunes > iTunes > Preferences > Devices > Delete the Backup.
- Install the latest version of iTunes.
- Make sure you have at least 5 GB space on the computer because iOS backups require at least 2 to 3 GB free spaces.
- Clear temporary files with MacClean-like apps.
- Rename backup files. To locate the iTunes & iOS backup files on your computer you can refer to this quick guide.
- Manually delete backup files from AppData/Roaming/Apple Computer/MobileSync/backup.
- Find and delete the null-named apps (empty app name or blank icon) on your iPhone: Settings > General > Usages > Manage Storage. Then trying backup with iTunes again.
The above solutions also can be used to fix the iTunes error: iTunes could not restore the iPhone because an error occurred.
How to Fix iTunes Backup Error via an iTunes Troubleshooter
As mentioned above, iTunes Can’t Back up iPhone/iPad issue may also happen if you haven’t installed the latest version of iOS 26/27 or iTunes. Besides, it may occur when you face an iOS update error. Some iPhone users have reported this issue can’t be fixed either by erasing their phones. No matter what the issue is, you don’t need to panic since there is an iTunes troubleshooter that can help you resolve this problem in minutes. AnyFix – iOS system recovery can fix 200+ iTunes issues just in a few clicks. Also, it supports solving 150+ system problems on iPhone, iPad, iPod, and Apple TV. With AnyFix, no more iTunes errors or iOS system issues at all. The following steps will lead to a clear tutorial to fix this iTunes-Can’t-Back-up issue.
AnyFix – iOS System Recovery
Download AnyFix – iOS System Recovery to update your iPhone to the latest iOS 26/27 or repair your iTunes issues if you have problems with backing up iPhone, iTunes won’t restore, iPhone now showing up in iTunes, etc. iOS 26/27 supported.

Solution 1. Upgrade Your iPhone to the Latest Version of iOS 26/27
First of all, you can use AnyFix to ensure you have upgraded to the latest version of iOS 26/27. In most cases, you can get rid of the iTunes backup error when you have completed the upgrade process.
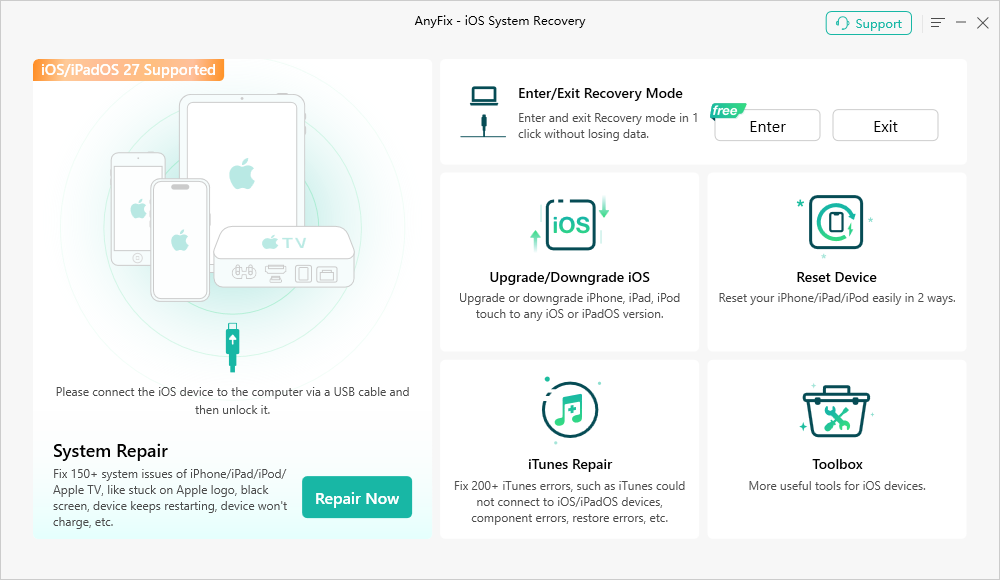
Step 1. Launch AnyFix on your computer > Choose Upgrade/Downgrade iOS to initiate the process.
Step 2. Connect your iPhone or iPad device to the computer and hit 1 click to upgrade iOS/iPadOS.
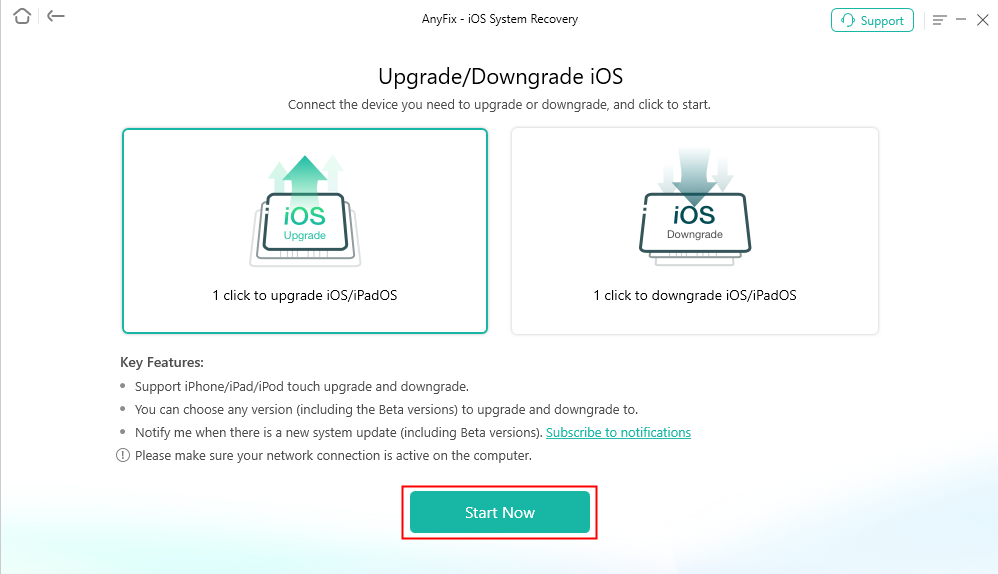
Step 3. Choose the iOS 26/27 version you’d like to upgrade to and tap on the Upgrade button.
Then you can just wait a few minutes for the upgrade process.
Solution 2. Fix iTunes Backup issues
If your iPhone or iPad still fails to perform a backup via iTunes after upgrading to iOS 26/27, you can use AnyFix’s “iTunes Repair” feature to fix iTunes could not backup the iPhone because an error occurred.
Step 1. Download AnyFix and run it on your computer > connect your iPhone to the computer > choose iTunes Repair.
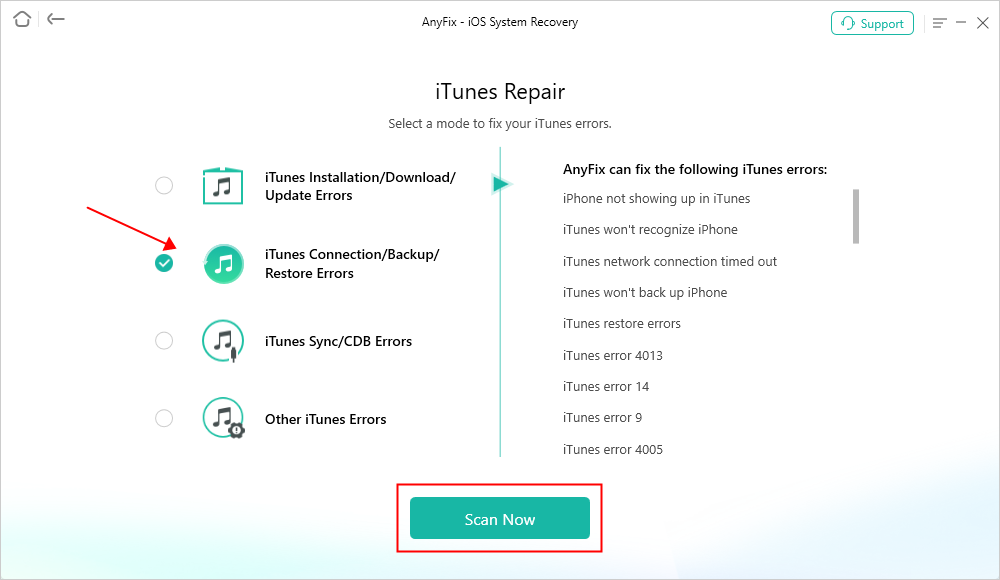
Step 2. In this part, choose the iTunes Connection/Backup/Restore Errors and then tap on Fix Now to go on.
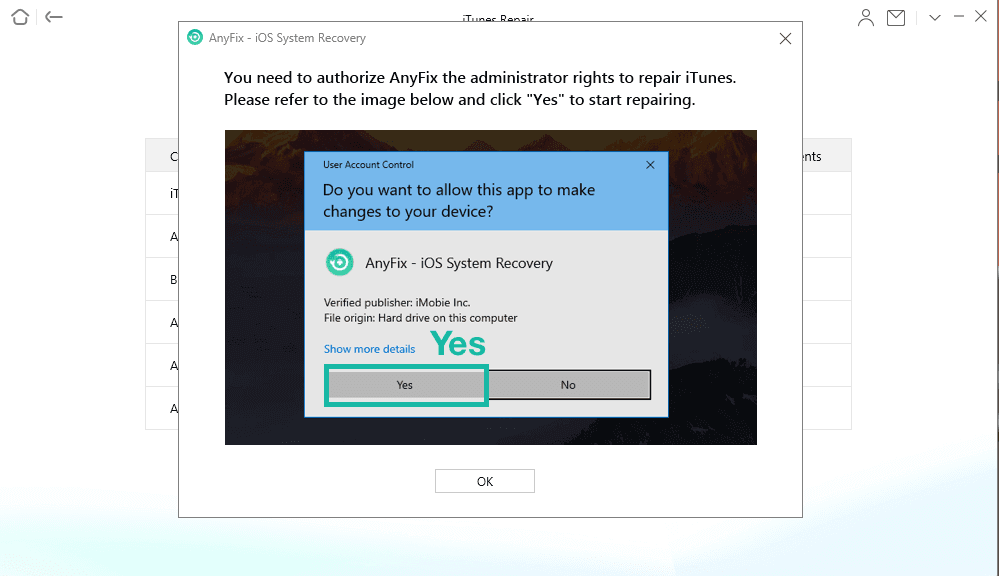
Step 3. Along with the clicks, AnyFix – iOS system recovery will repair the iTunes components on your computer. Here, you have to authorize the administrator’s rights to AnyFix to repair the iTunes. Click on the Yes and OK button to continue.
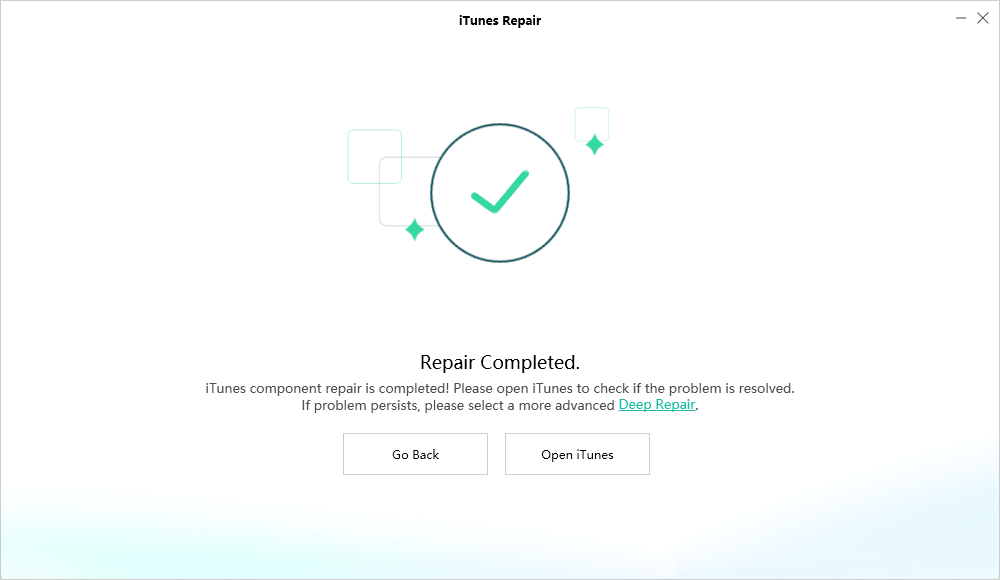
Step 4. It will take some time to repair. Once it is finished, you can choose Go Back or go to iTunes by clicking on Open iTunes.
How to Fix iTunes Could Not Back Up the iPhone with an iTunes Alternative
If the above solutions are not workable for you, you can also use the iTunes alternative – AnyTrans to back up your iPhone/iPad in case suffering from data loss. With the release of iOS 26/27, it is important to back up your iPhone or iPad with AnyTrans before updating to iOS 26/27. Free download AnyTrans and enjoy AnyTrans’ impressive features!
Free Download * 100% Clean & Safe
- Just 1 click to help you back up your iPhone to iTunes Library/computer/another iPhone. The backup you made with AnyTrans can also be detected in iTunes.
- Besides backing up as iTunes does, it also allows you to selectively back up data to the computer. This means that you can only choose one or more specific types of data like photos, videos, contacts, messages, etc. to back up to the computer in a viewable format.
- With AnyTrans, you can locate and view the data in all your backups directly, which is not allowed by iTunes.
- You can also use it to sync data from the computer to the iOS device, as well as sync data from the iOS device back to the computer, which iTunes can’t do for you.
- AnyTrans now supports incremental backup, which means you can only back up new data that is not in the existing backups, which would hugely save your computer storage.
Now, Downloaded AnyTrans on your computer and you can follow the simple steps below to back up your iPhone with ease.
Option 1. How to Make an iTunes Backup with AnyTrans
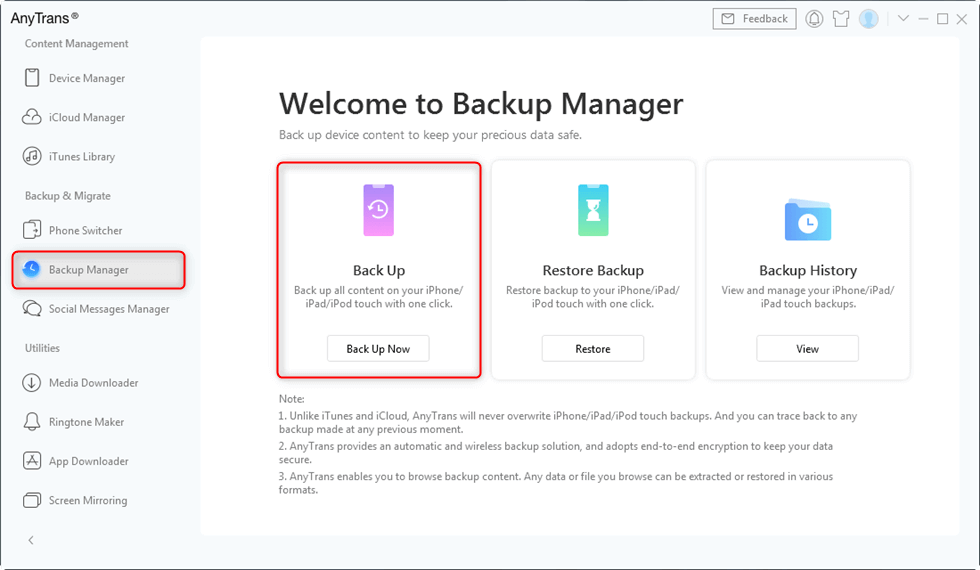
Step 1. Launch AnyTrans and connect your iPhone to the computer. Click on the Backup Manager as we show > Then, click on Back up Now to start making a new backup for your iPhone.
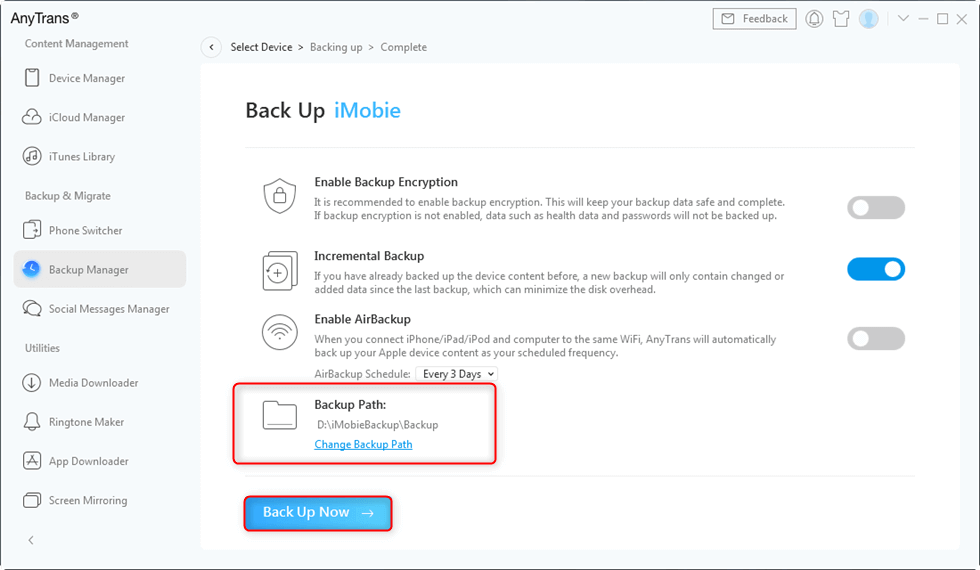
Step 2. You need to choose the backup path and wait for the backing up process. The time depends on the Internet speed and the size of the data on your iPhone.
Step 3. Once the backup process is completed, you will see the Completed Page. After that, you can click the “View” button to locate and preview data in the backup directly.
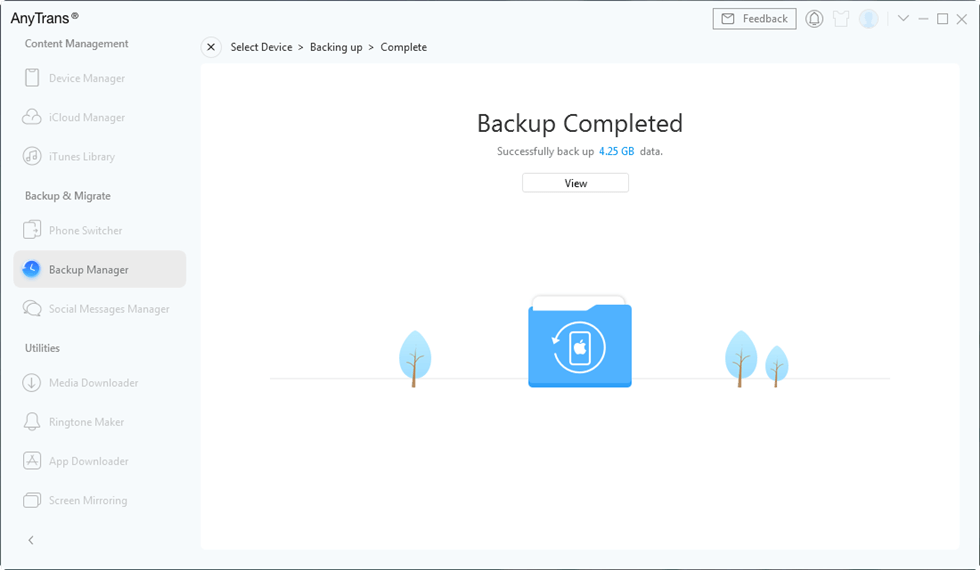
You can also use it to manage and delete old backups. Meanwhile, you can open iTunes, connect your iPhone, and check the backup just made with AnyTrans.
Option 2. How to Backup iPhone Selectively
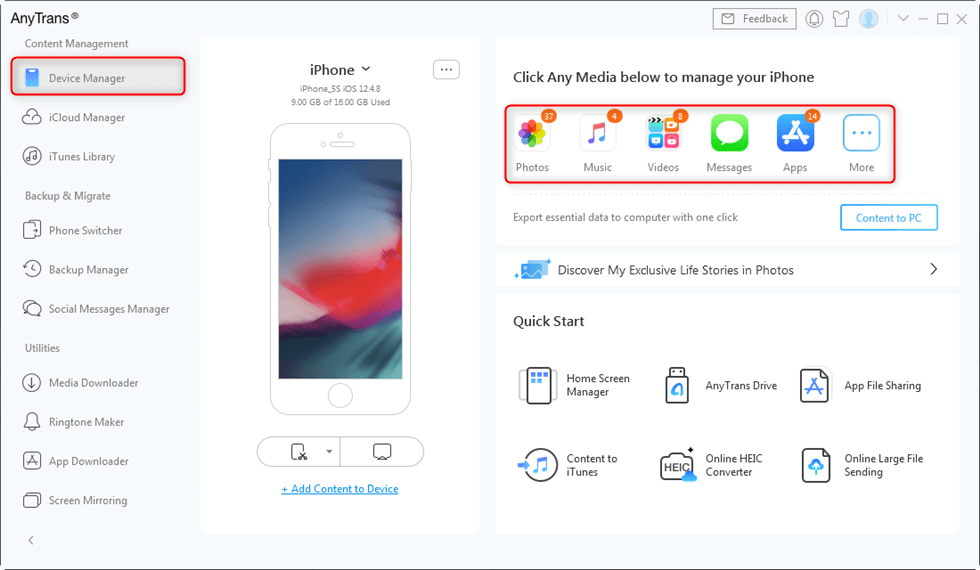
If you want to selectively backup iPhone data to the computer rather than make a whole iTunes backup, you can click “Device Manager” and go to the category page, select the data you want to make a backup and click the To Computer button to transfer selected data to the computer for preservation.
Option 3. Back up Music/Videos and More to iTunes Library
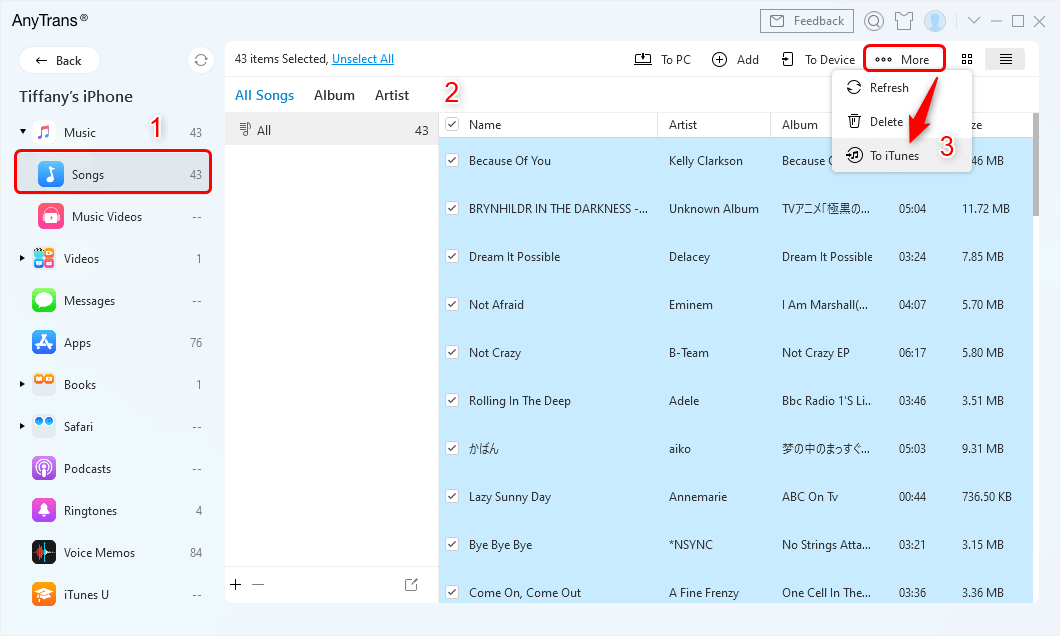
Besides, you can also back up music, videos, and more from iPhone to iTunes library directly. Here take music for example. On the category page of AnyTrans, click on Music and select Songs, then select the songs you want to back up to the iTunes library, and click on the Send to iTunes icon. Then the songs you have chosen are added to the iTunes library successfully.
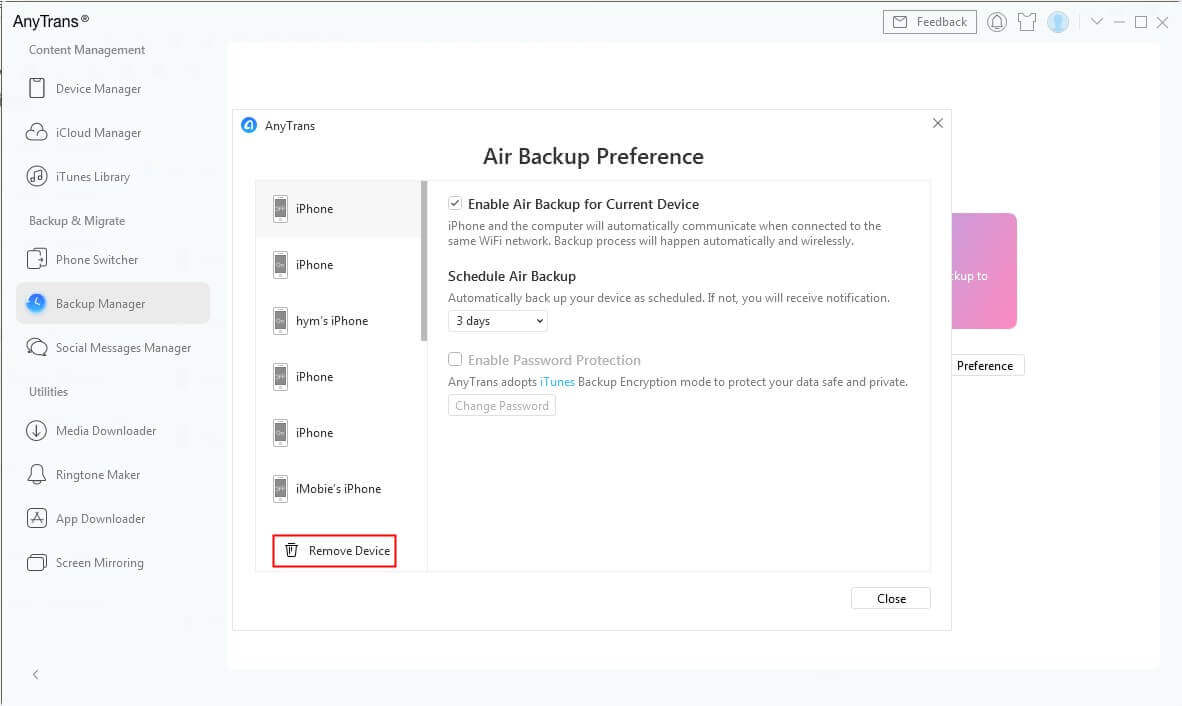
Option 4. Backup iPhone Wirelessly with AnyTrans
AnyTrans also supports users to backup iPhones without a USB cable. But if it is the first time you try the Air Backup function, please connect your device to the computer via a USB cable. Once you have set it up, you can back up your iPhone with Wi-Fi in the future. Tick Air Backup Automatically, turn on Wi-Fi Synchronization on iTunes, make sure your iPhone and your computer are under the same Wi-Fi, and then AnyTrans will back up your device with Wi-Fi.
If you also facing the problem of iTunes not restore the iPhone because an error occurred, then, you can also restore iPhone/iPad without iTunes.
The Bottom Line
After reading this guide about how to fix iTunes could not back up the iPhone because an error occurred, I hope your problem has already been fixed with AnyFix. If you feel this article is helpful, you can share it to help more people having the same issue with you. By the way, as you can see from above, AnyTrans makes iPhone backup easier. If you don’t want to use AnyFix to back up your iPhone anymore, it’s worth trying AnyTrans.

Joy Taylor is a seasoned technical writer with over a decade of experience in mobile technology. At iMobie, she specializes in producing in-depth content on iOS data recovery, iPhone unlocking solutions, and iOS troubleshooting.
Product-related questions? Contact Our Support Team to Get Quick Solution >
